I still remember those rainy Saturday afternoons when the craving for a warm, homemade cookie would strike the house so suddenly, it felt like a little emergency. Grandma didn’t always have a batch of dough resting in the icebox, but she knew the secret to whipping up a treat that tasted like it had been marinating for days. These no chill chocolate chip cookies are born from that same desire for instant comfort—simple, honest, and ready to bake before the kettle even whistles.

What makes this recipe a true keeper in my collection is the browned butter. It adds a rich, nutty depth that usually requires hours of resting to achieve, yet here we are, baking straight away. With a gentle hint of nutmeg and a generous hand with the dark chocolate, these cookies offer a sophisticated, timeless flavor that tastes just like the ones I used to steal from the cookie jar, without the long wait.
A Timeless Treat Ready in Moments
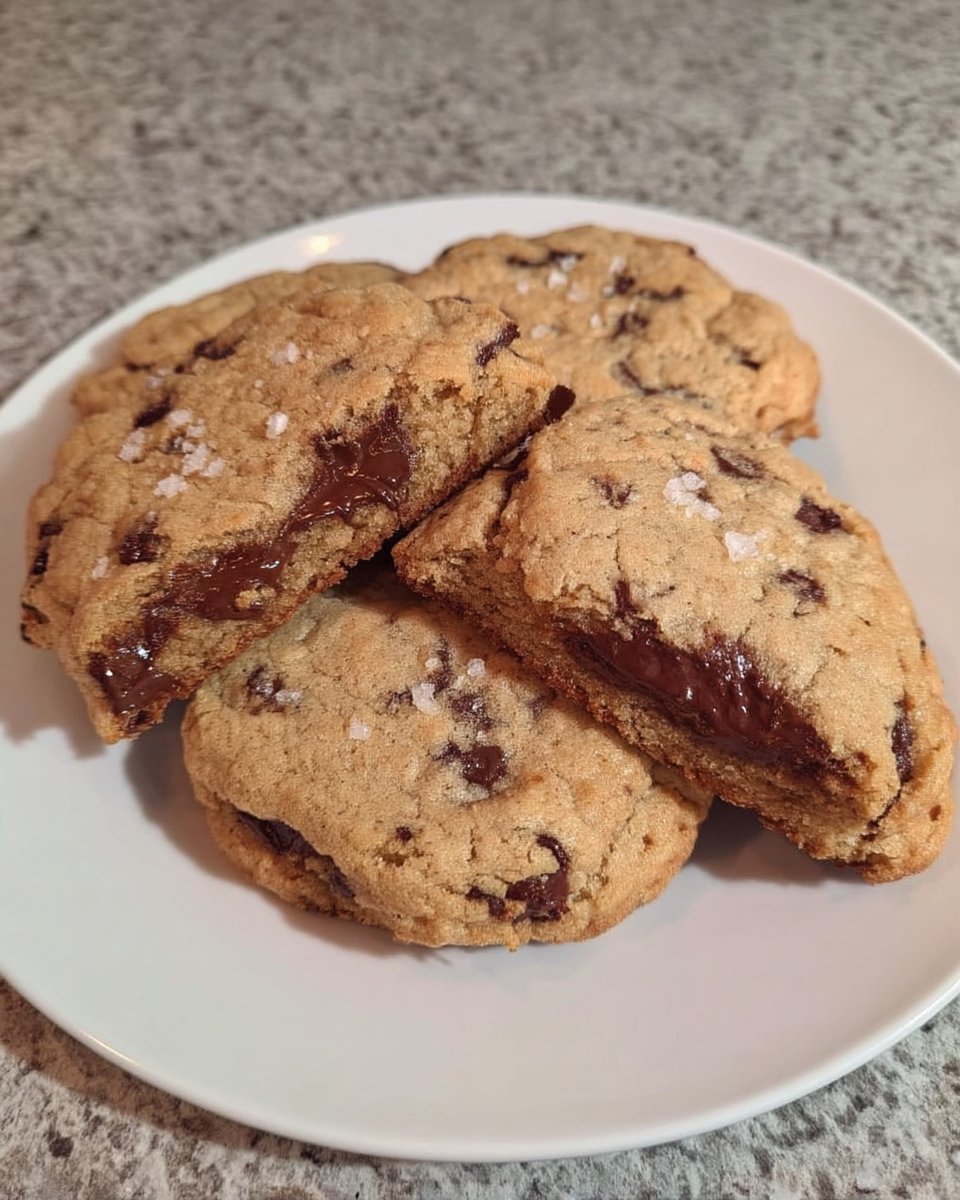
There is a special kind of magic in a recipe that delivers heritage quality without the patience usually required for old-fashioned baking. You are going to cherish these cookies because they marry the deep, caramelized flavor of browned butter with the instant gratification of a quick-mix method. The texture is exactly what a proper cookie should be: crisp and golden on the edges, with a soft, slightly gooey center that melts in your mouth.
Unlike many modern recipes that demand overnight chilling to develop flavor, we build that complexity right on the stovetop. The nutmeg acts as a quiet whisper of spice, a trick I learned from old church cookbooks, giving the dough a warmth that vanilla alone can’t provide. It is a reliable, sturdy recipe that comes together with simple pantry staples, ensuring that a plate of warm comfort is never more than half an hour away.
Print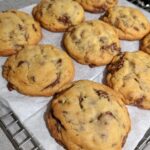
No Chill Chocolate Chip Cookies
- Total Time: 30 mins
- Yield: 14 cookies
- Diet: Vegetarian
Description
Experience the rich, caramelized depth of browned butter in these effortless chocolate chip cookies that require absolutely no chilling time. With a soft, fudgy center and crisp golden edges, these treats deliver old-fashioned heritage quality in just thirty minutes.
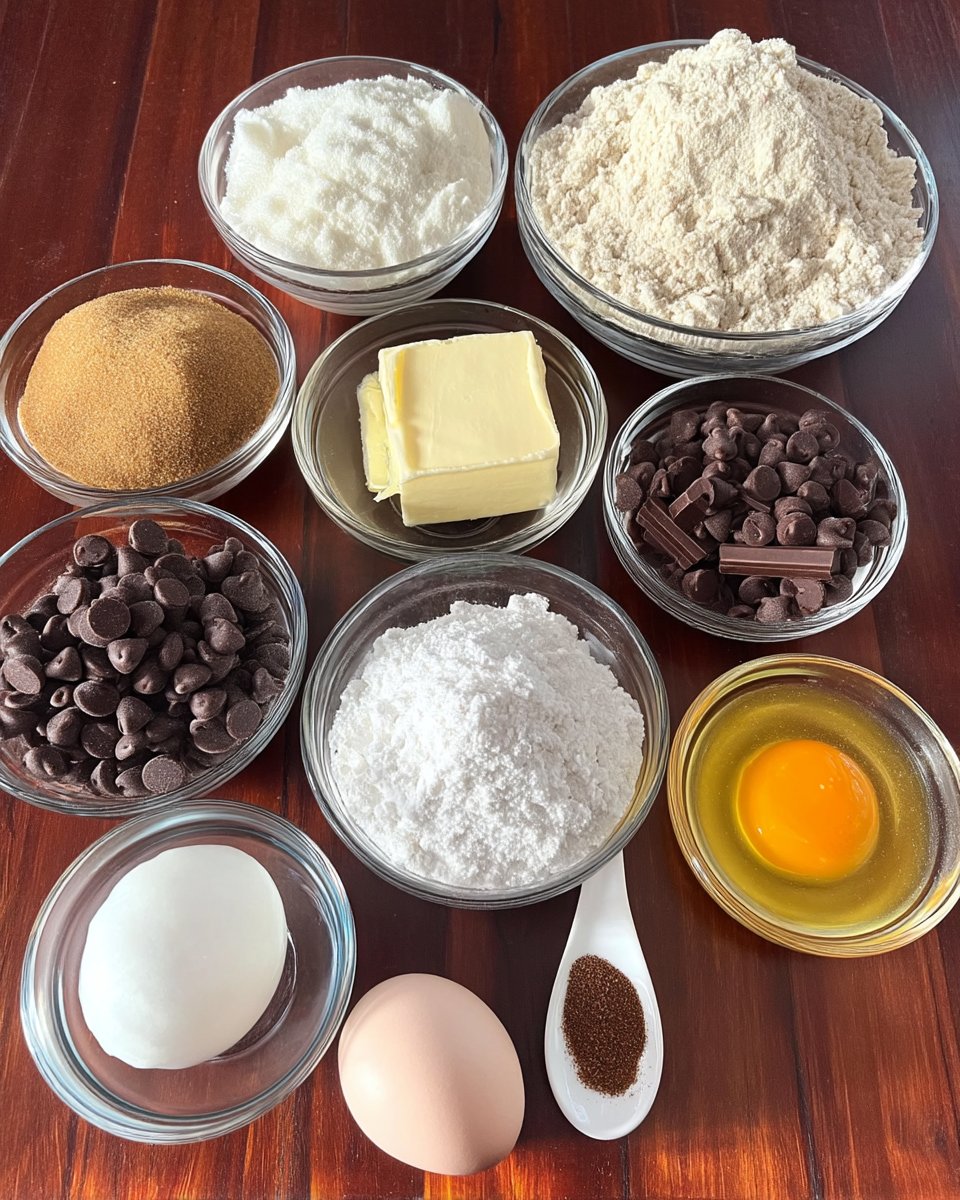
Ingredients
- 1/2 cup unsalted butter
- 3/4 cup dark brown sugar, packed
- 1/4 cup granulated sugar
- 1 teaspoon pure vanilla extract
- 1 pinch ground nutmeg
- 1 large cold egg
- 1 large egg yolk
- 1 1/2 cups all-purpose flour
- 1/2 teaspoon baking soda
- 1/2 teaspoon salt
- 1 cup dark chocolate chips
Instructions
- In a small saucepan over medium heat, melt the butter and cook until it foams and develops brown specks with a nutty aroma, about 8 to 10 minutes.
- Transfer the browned butter to a large mixing bowl and let it cool for 20 to 30 minutes until it is warm to the touch but not hot.
- Whisk the dark brown sugar, granulated sugar, vanilla, and nutmeg into the butter until the mixture looks like wet sand.
- Incorporate the whole cold egg followed by the extra egg yolk, whisking vigorously until the batter becomes glossy, smooth, and creamy.
- Stir in the baking soda and salt, then gently fold in the all-purpose flour using a spatula until only a few streaks remain.
- Fold in the dark chocolate chips until evenly distributed and preheat your oven to 350°F (175°C).
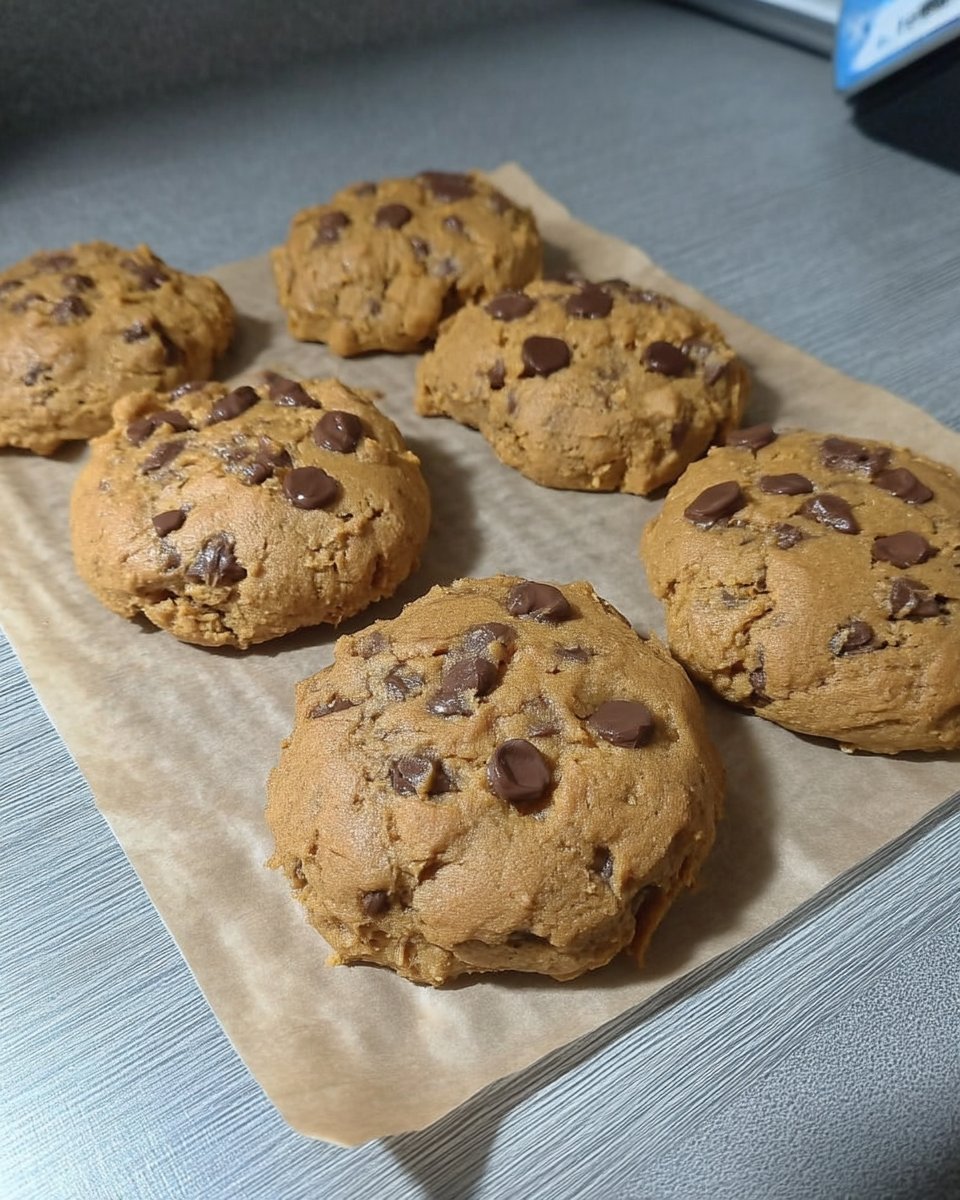
- Portion the dough into 14 balls using a cookie scoop, place them 3 inches apart on parchment-lined sheets, and flatten the tops slightly.
- Bake for 9 to 11 minutes until the edges are golden brown; let them set on the baking sheet for one minute before moving to a wire rack.
Notes
To ensure the perfect chewy texture, avoid over-mixing once the flour is added; a few light folds are all that is needed to keep the cookies tender. For an extra professional finish, reserve a small handful of chocolate chips to press into the tops of the dough balls immediately before they go into the oven.
- Prep Time: 20 mins
- Cook Time: 10 mins
- Category: Dessert
- Method: Baking
- Cuisine: American
Pantry Staples for Honest Baking
To make these cookies, you don’t need fancy equipment, just honest ingredients that you likely already have in your cupboard. Quality really shines through here, so use the best you have on hand.
- Unsalted Butter: We start with real butter and brown it to create a nutty, aromatic base. This step mimics the flavor development of aging the dough. I prefer unsalted so we can control the saltiness later.
- Dark Brown Sugar: Packed firmly. The molasses content here keeps the cookies soft and chewy, providing that classic moisture we love.
- Granulated Sugar: A smaller amount helps achieve those slightly crisp edges that protect the soft center.
- Pure Vanilla Extract: Never imitation. A full teaspoon rounds out the brown butter perfectly.
- Nutmeg: Just a pinch. It doesn’t make the cookies taste spicy; it just adds a vintage warmth that makes people ask for the recipe.
- Eggs: You will need one large cold egg plus an extra yolk. That extra yolk is the secret to a rich, fudgy texture without needing to chill the dough.
- Flour, Baking Soda, & Salt: The backbone of our cookie. Measure your flour carefully so they don’t lose their spread.
- Dark Chocolate Chips: I find semi-sweet or dark chocolate balances the brown sugar best, but use whatever makes your heart happy.
How to Make These Heritage Cookies
Step 1: The Art of Browning Butter
Start by browning your butter, which is the heart of this recipe. Place the butter in a saucepan over medium heat. Watch it closely as it melts and begins to foam. You are looking for brown specks to form at the bottom and a nutty aroma to fill the kitchen—this usually takes about 8 to 10 minutes. Once you see that golden foam, remove it from the heat immediately so it doesn’t burn. Pour it into a large mixing bowl to cool for about 20–30 minutes. It should be warm, not hot.
Step 2: Mixing the Sugars and Eggs
Once your butter has cooled to just above room temperature (it should not be hot to the touch), whisk in the dark brown sugar, granulated sugar, vanilla, and that secret pinch of nutmeg. Whisk vigorously until the mixture looks like wet sand. Add the whole cold egg and whisk until fully incorporated. Then, whisk in the extra egg yolk. Keep mixing until the batter is glossy, smooth, and creamy. This emulsion is crucial for the texture.
Step 3: folding in the Dry Ingredients
Sprinkle the baking soda and salt over the batter and whisk them in. Switch to a wooden spoon or spatula and add the all-purpose flour. Fold the flour in gently—we want to treat the dough with kindness to keep the cookies tender. Stop when there are still a few streaks of flour visible, then pour in your chocolate chips. Fold just until everything is combined. While you preheat your oven to 350°F (175°C), pop the bowl in the fridge for a brief moment, just to firm it up slightly while the oven warms.
Step 4: Scoop and Bake
Line two large cookie sheets with parchment paper. Using a cookie scoop (about 1.35 oz), portion the dough into 14 balls. Roll them briefly in your hands to make them smooth and place them 3 inches apart on the baking sheets. Flatten the tops just slightly. Bake for 9 to 11 minutes. You want the edges to be golden brown, but the centers should still look slightly soft and underbaked. Let them cool on the baking sheet for a minute to set before moving them to a wire rack.
Teresa’s Tips for Perfection

Baking is as much about feeling as it is about measuring. When browning your butter, don’t walk away; it turns from nutty to burnt in a heartbeat. I always use a light-colored pan so I can see the brown specks clearly at the bottom. Also, be mindful of the butter’s temperature before adding the eggs. If it’s too hot, you’ll scramble the eggs; if it’s too cold, the dough might be stiff. You want it tepid and fluid.
If you are interested in the chemistry of why this works, fellow bakers at Scientifically Sweet explain the science of brown butter beautifully, but in my kitchen, we just call it the “golden touch.” For more simple, reliable bakes that don’t require waiting, take a peek at our Quick & Easy Cookies collection.
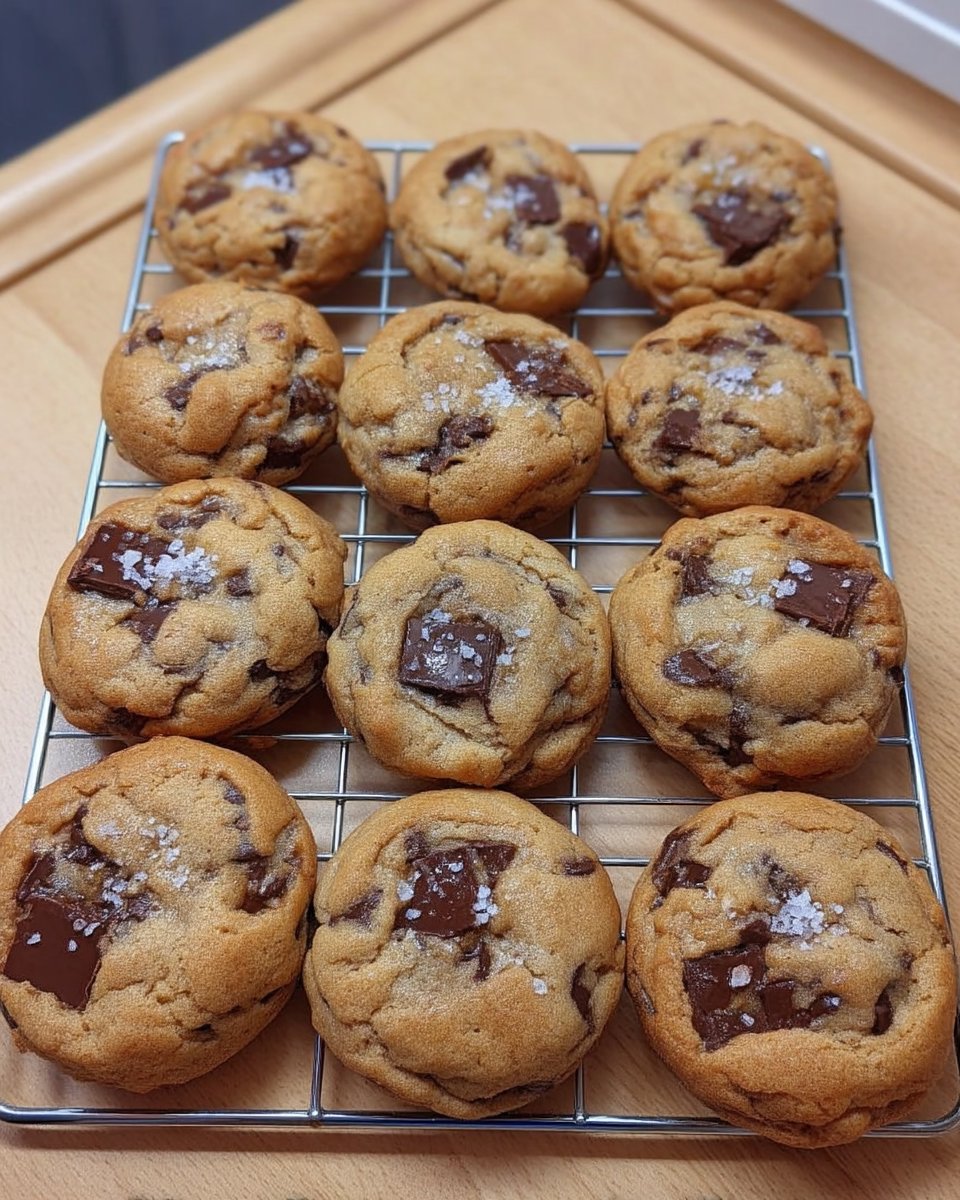
Twists on a Classic Tradition
While I believe this recipe is perfect as written, every family has its own way of filling the cookie jar. For a bit of crunch, try folding in half a cup of chopped walnuts or pecans along with the chocolate; the nuts toast beautifully inside the cookie. If you love a sweet-and-salty combination, a light sprinkling of flaky sea salt on top right after they come out of the oven elevates the flavor wonderfully.
Sometimes I swap the dark chocolate for chopped toffee bits for a deeper caramel flavor. If you are looking for treats that cater to different dietary needs or simpler ingredients for the grandchildren, you might find inspiration in our Wholesome Cookie Options section.
Sharing the Warmth
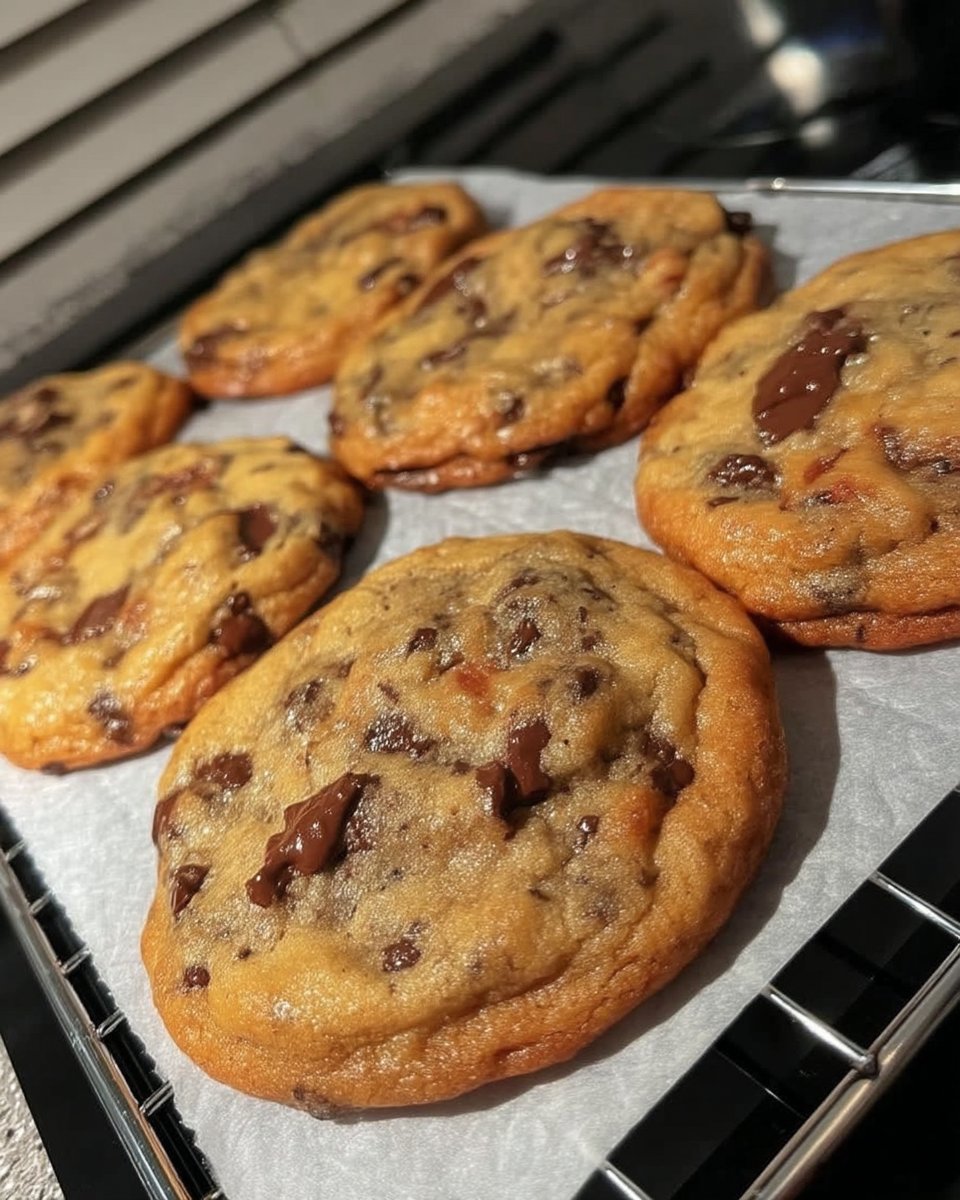
There is nothing quite like a warm cookie and a glass of cold milk—it is a tradition that spans generations. These cookies are best enjoyed about ten minutes after they come out of the oven, when the chocolate is still melty but the edges have set. They also pair wonderfully with a strong cup of coffee for an afternoon pick-me-up.
I often bake a batch of these when I know the house will be full. They pile high on a platter beautifully and make a lovely centerpiece for casual gatherings. If you are preparing for a larger seasonal gathering, consider adding these to a tray alongside favorites from our Holiday Cookie Celebrations.
Keeping the Cookie Jar Full
I hope this recipe brings a little bit of that old-fashioned warmth into your kitchen. There is something truly special about being able to create a heritage-quality treat on a whim, filling your home with the scent of brown butter and vanilla without the long wait. Whether you share them with neighbors or keep them all to yourself (I won’t tell!), these cookies are sure to become a new favorite.
For more timeless recipes that have stood the test of time, be sure to browse our Classic Cookie Recipes. Happy baking, my friends.
