There is something magical about a recipe that delivers bakery-quality results without the fuss of rolling pins and cookie cutters. I love heritage recipes, but I don’t always have the afternoon to dedicate to chilling and rolling dough. These pressed sugar cookies bridge that gap perfectly, offering the tender, melt-in-your-mouth texture of a classic cutout with the speed of a drop cookie.

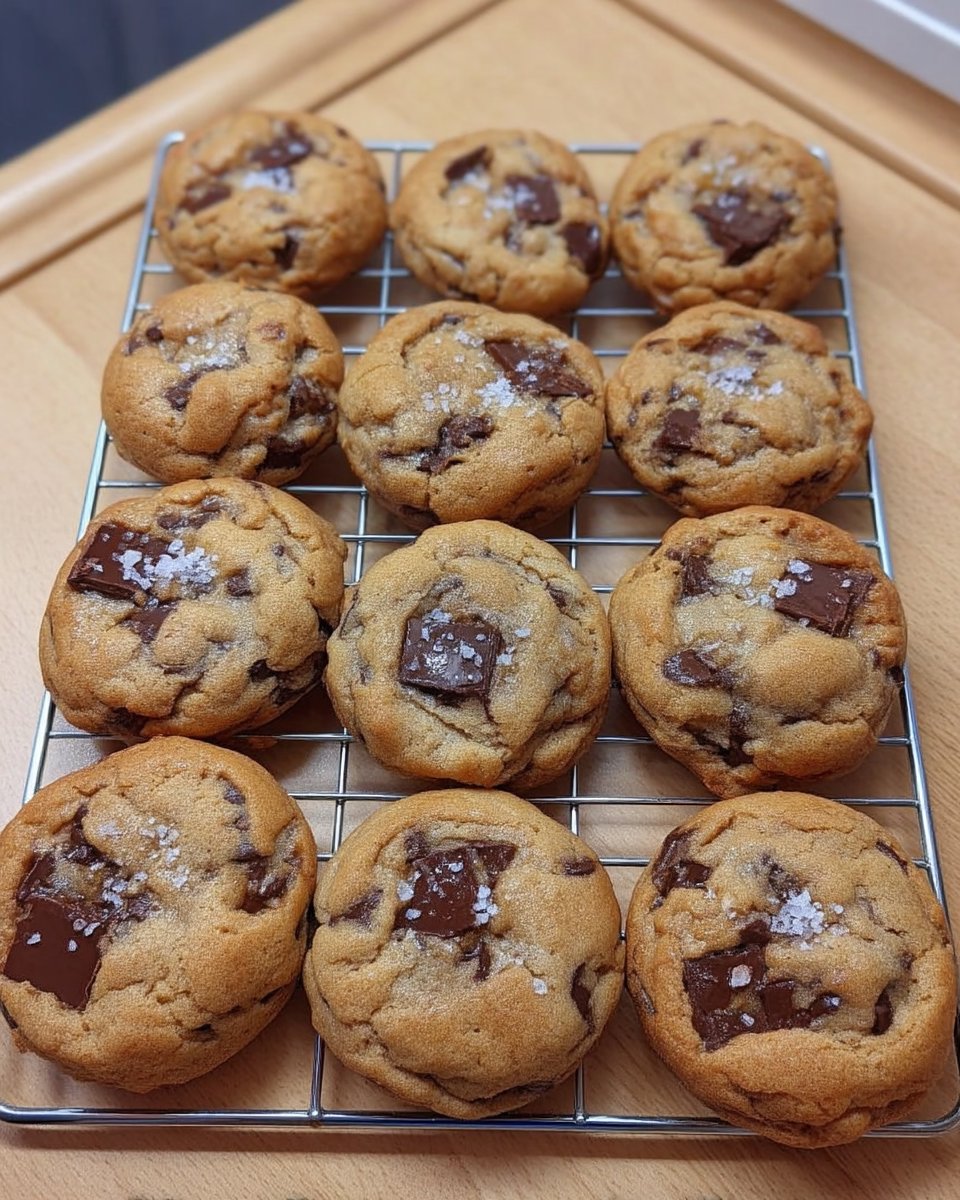
These soft, buttery cookies are famous for their signature rough edges and creamy layer of frosting. By using a clever glass-pressing technique, you achieve that nostalgic, dense texture in half the time. They are the perfect sweet treat for busy families who crave homemade goodness without the all-day cleanup.
Why This Recipe is a Keeper
You will love this recipe because it skips the most tedious parts of sugar cookie making. There is no rolling, no cutting, and no chilling required for the dough. The combination of butter and oil creates a unique, tender crumb that stays soft for days. Plus, the pressed method gives them those iconic jagged edges that hold onto the frosting beautifully. It is a modern shortcut that preserves every bit of the traditional flavor.
Print
Swig Sugar Cookies
- Total Time: 28 mins
- Yield: 24 cookies
- Diet: Vegetarian
Description
Enjoy the classic taste of a bakery-style sugar cookie with this effortless no-roll recipe featuring a soft, buttery base and creamy frosting. These pressed cookies are famous for their unique texture and signature jagged edges, making them a beautiful and delicious treat for any occasion.
Ingredients
- 1 cup salted butter, softened
- 3/4 cup neutral oil
- 1 1/4 cups granulated sugar
- 3/4 cup powdered sugar
- 1/2 teaspoon baking soda
- 1/2 teaspoon cream of tartar
- 1/2 teaspoon salt
- 3 tablespoons sour cream
- 2 large eggs
- 1 teaspoon vanilla extract
- 5 1/2 cups all-purpose flour
- 1/2 cup butter
- 2 tablespoons sour cream
- 1 teaspoon vanilla
- 4 cups powdered sugar
- 2 tablespoons heavy cream
Instructions
- Preheat your oven to 350°F (175°C) and line baking sheets with parchment paper for even baking and easy removal.
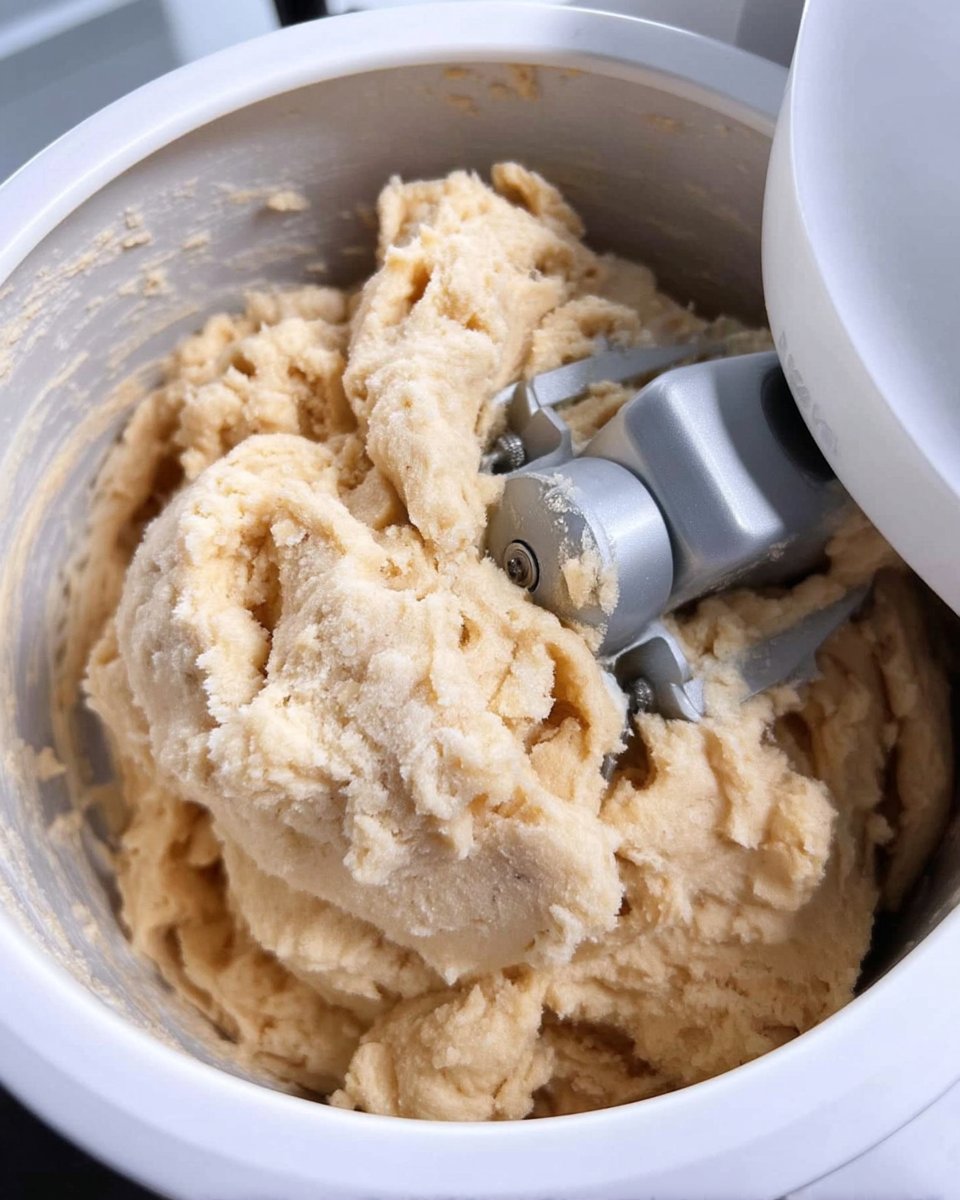
- In a stand mixer or large bowl, cream together the softened butter, oil, granulated sugar, powdered sugar, baking soda, cream of tartar, and salt until light and fluffy.
- Beat in the sour cream, eggs, and vanilla extract until the mixture is completely smooth and well combined.
- Gradually add the all-purpose flour to the wet mixture, mixing just until no dry streaks of flour remain to ensure a tender cookie.
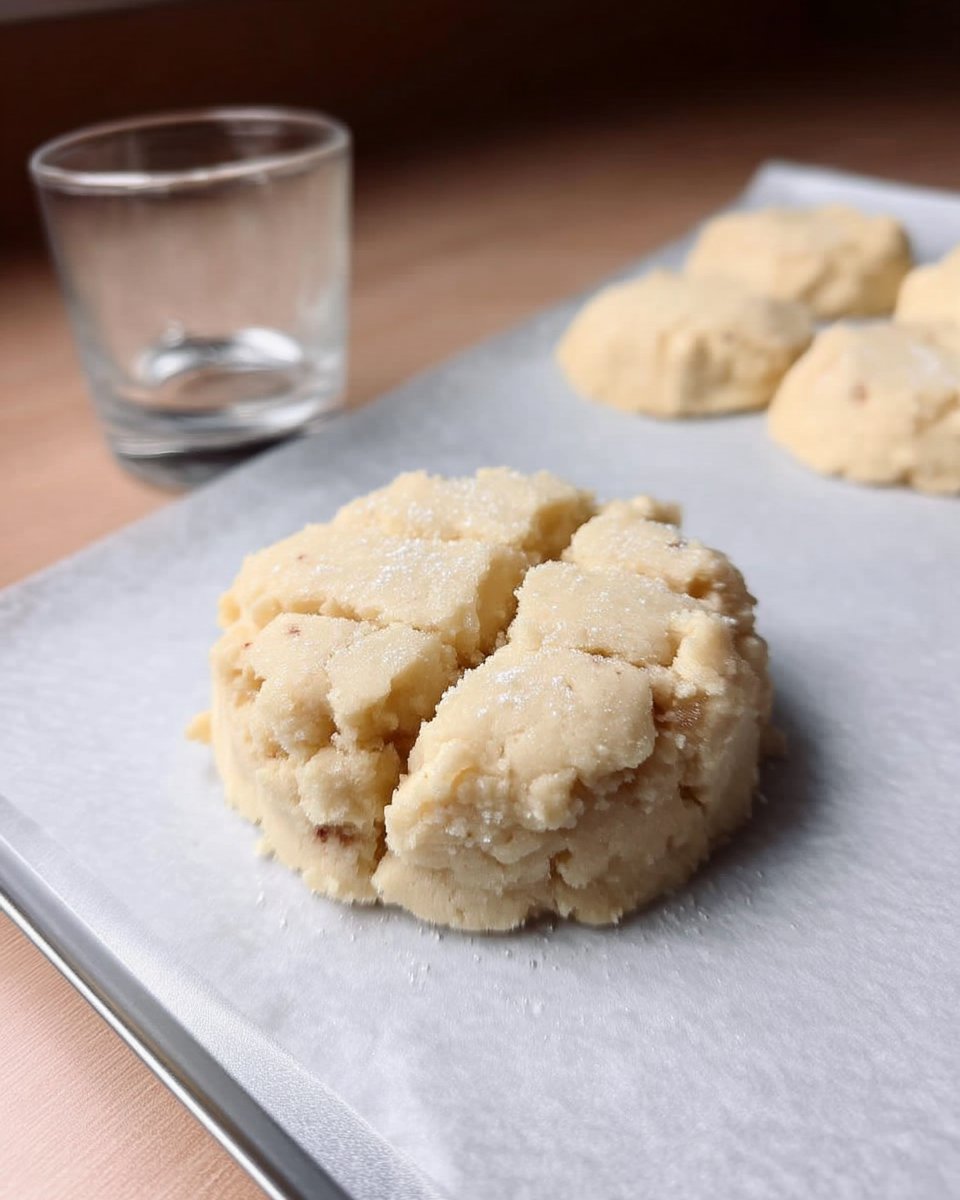
- Scoop the dough into 3-tablespoon sized balls and place them on the prepared baking sheets.
- Dip the bottom of a flat glass into granulated sugar and press down on each dough ball to flatten it and create characteristic rough edges.
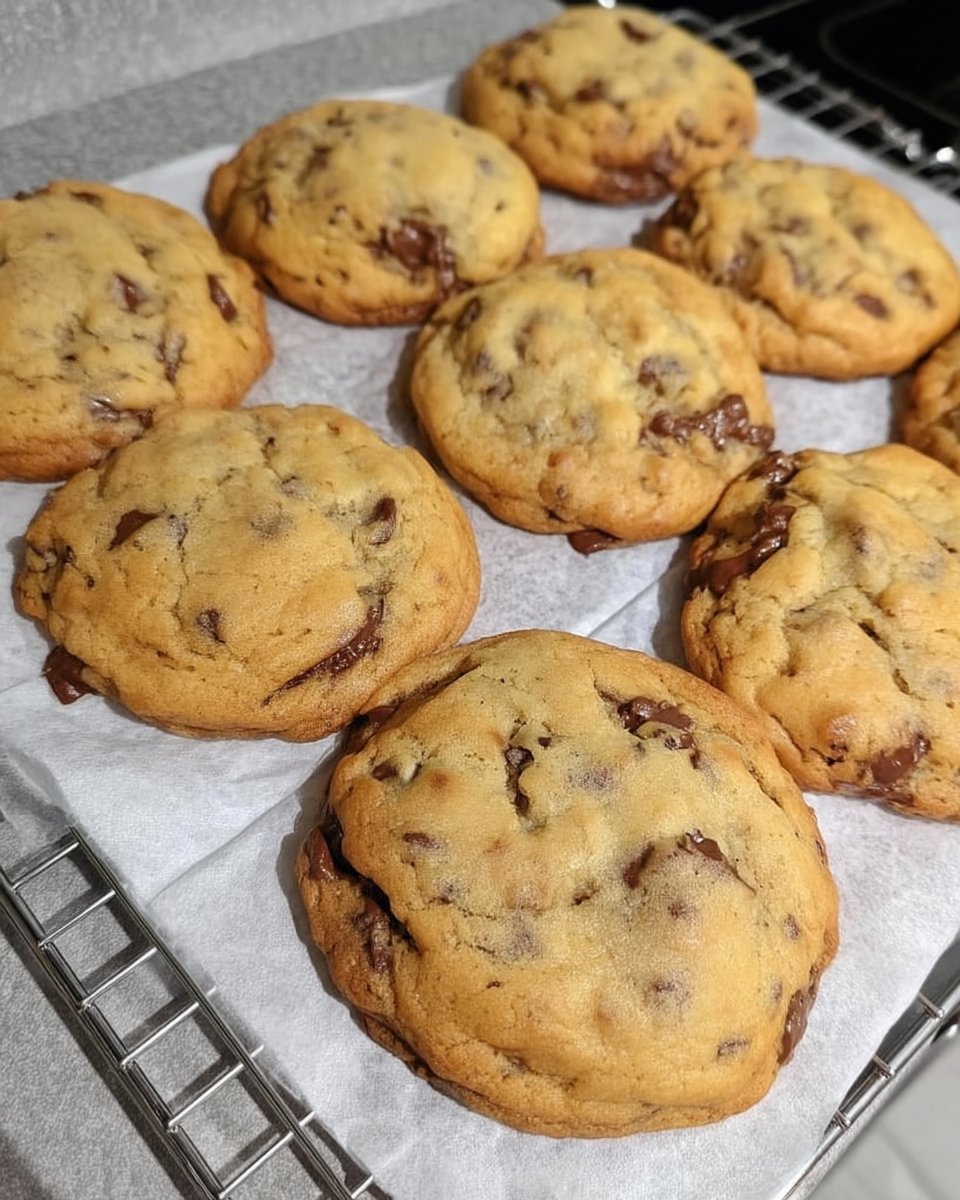
- Bake for 7 to 9 minutes until the edges are just set, then allow the cookies to cool on the pan for several minutes before transferring to a wire rack.
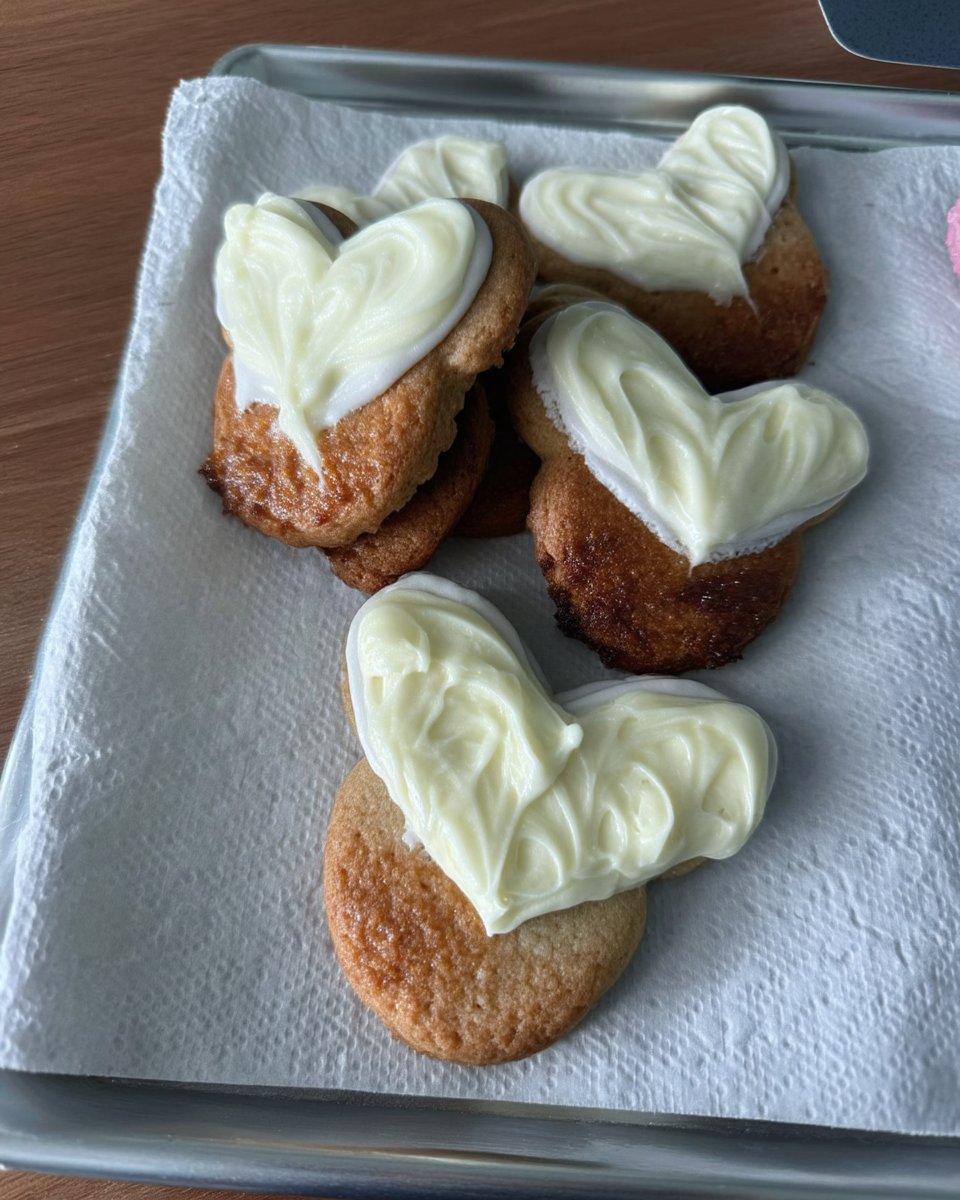
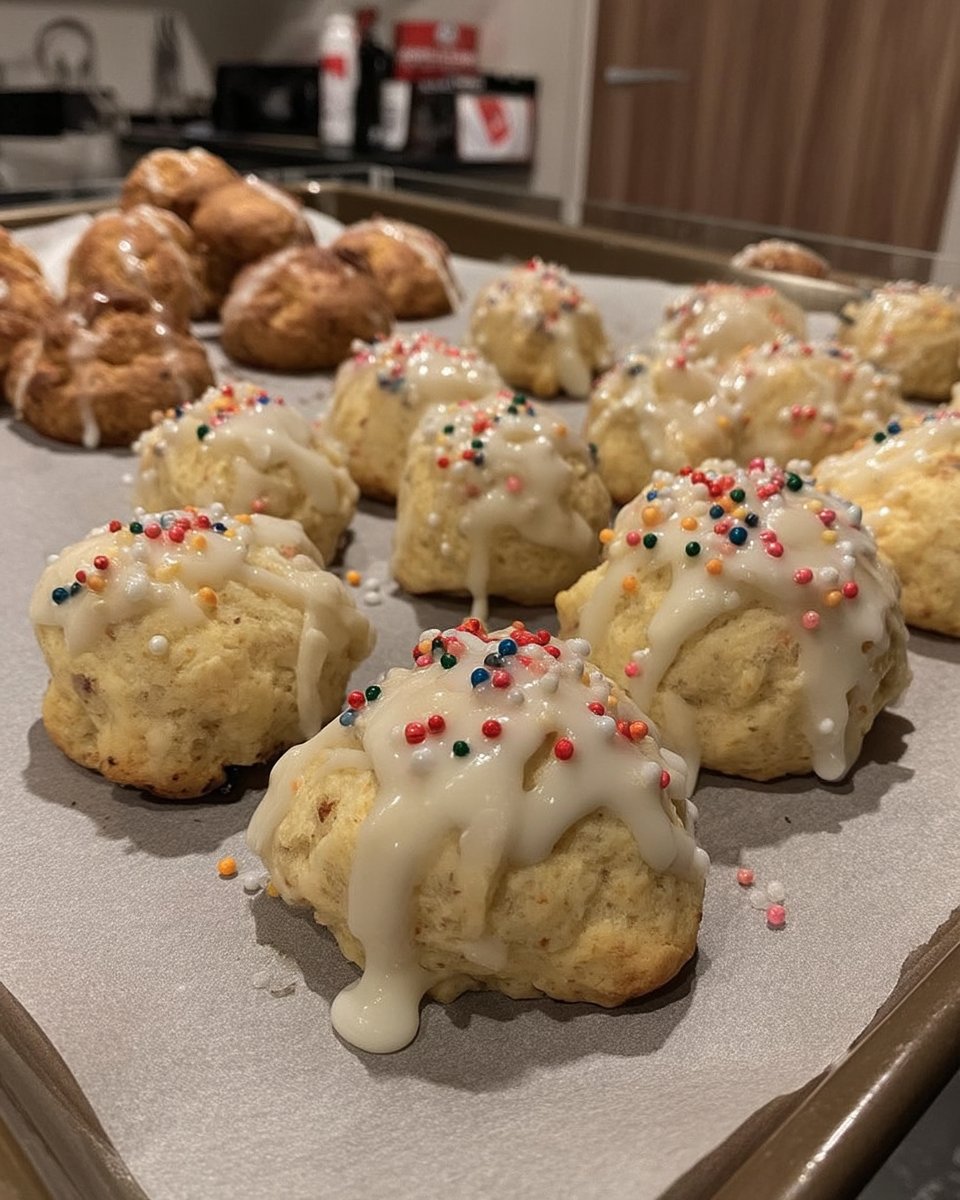
- Once fully cooled, whip the frosting ingredients together and spread a generous layer onto each cookie.
Notes
For an extra festive touch, you can add a few drops of food coloring to the frosting or top with seasonal sprinkles. To achieve the perfect texture, ensure your cookies are not overbaked; they should look slightly soft in the center when removed from the oven. These cookies can be stored in the refrigerator for a chilled treat that highlights the fudgy consistency of the frosting.
- Prep Time: 20 mins
- Cook Time: 8 mins
- Category: Dessert
- Method: Baking
- Cuisine: American
Simple Pantry Ingredients
This recipe relies on standard staples you likely have in your kitchen right now. The magic lies in the specific combination of fats and sugars to create that signature Swig texture.
- Salted Butter & Oil: The blend of butter (for flavor) and neutral oil (for moisture) is the secret to the tender, melt-away texture.
- Sugars: We use both granulated sugar and powdered sugar in the dough. This combination ensures the cookie is sweet but remains soft rather than crunchy.
- Sour Cream: A few tablespoons add a subtle tang and ensure the crumb stays dense and soft, much like a lofthouse cookie.
- Cream of Tartar: This classic leavening agent works with the baking soda to give the cookies their slight lift and tender bite.
- Flour: Standard all-purpose flour works best here. I prefer unbleached for a more natural look.
How to Make It
Step 1: Prep Your Pans
Preheat your oven to 350°F (175°C). Line several baking sheets with parchment paper. This ensures the cookies bake evenly and don’t stick, making cleanup a breeze.
Step 2: Cream the Fats and Sugars
In a stand mixer or large bowl, combine the softened butter, oil, granulated sugar, powdered sugar, baking soda, cream of tartar, and salt. Mix for 1-2 minutes until the mixture is super creamy. Adding the leavening agents now ensures they are evenly distributed.
Step 3: Add Wet Ingredients
Add the sour cream, eggs, and vanilla extract. Mix for another minute or two until everything is well combined and smooth, scraping down the sides of the bowl as needed.
Step 4: Incorporate the Flour
Gradually add the flour to the wet mixture. Mix just until no dry streaks remain. Be careful not to overmix at this stage, or the cookies can become tough.
Step 5: Scoop and Press
Scoop the dough into balls (about 3 tablespoons each) and place them on the baking sheets. Place extra granulated sugar in a shallow dish. Spray the bottom of a flat glass with cooking spray, dip it into the sugar, and press each dough ball flat. Dip the glass in sugar between each press to prevent sticking.
Step 6: Bake and Cool
Bake for 7-9 minutes. The edges should be set, but the centers might look slightly underbaked—that is perfect. Let them cool on the pan for a few minutes before transferring to a wire rack.
Step 7: Frost and Enjoy
Whip up the frosting by beating butter, sour cream, and vanilla, then adding powdered sugar and a splash of cream. Spread generously over the cooled cookies.
Meagan’s Time-Saving Tips
- The Glass Trick: The signature look of these cookies comes from pressing them. If the glass starts sticking, just give it another quick spray of oil, but usually, the sugar coating is enough to keep it moving. This method is much faster than rolling pin work!
- Don’t Overbake: These cookies are meant to be soft and dense. Pull them out when they look set but not browned. They will firm up as they cool on the hot pan.
- Room Temperature Ingredients: Ensure your butter and eggs are at room temperature to get that perfectly smooth emulsion in the dough.
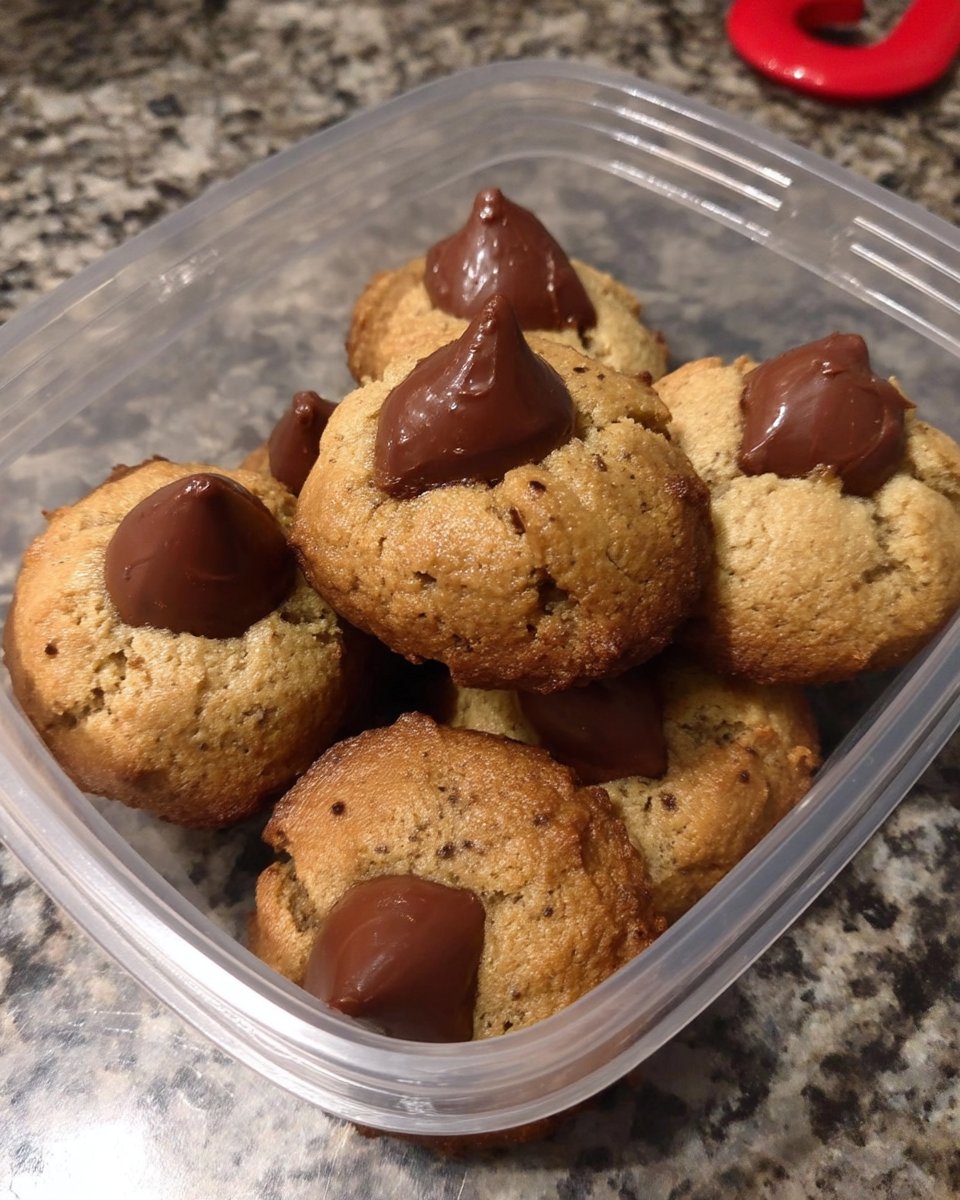
- Quick Storage: If you are prepping for a busy week, these freeze beautifully. For more freezer-friendly ideas, check out our Quick & Easy Cookies category.
Quick Flavor Twists
- Almond Variation: Swap the vanilla extract in the frosting for almond extract. It gives a lovely, nostalgic wedding cake flavor that pairs perfectly with the sugar cookie base.
- Holiday Colors: The white frosting is a blank canvas. Tint it pink for the classic look, or use seasonal colors for holidays. Add festive sprinkles immediately after frosting before it sets.
- Citrus Zest: Add a teaspoon of lemon or orange zest to the dough for a bright, fresh flavor profile.
- Coconut: A splash of coconut extract in the frosting makes these perfect for summer. You can see similar festive ideas in our Holiday Cookie Celebrations section.
How to Serve
In true Swig fashion, these cookies are often served slightly chilled, which makes the frosting fudgy and delicious. They are perfect for birthday parties, potlucks, or just a Tuesday night treat. Since they stack well once the frosting sets, they are excellent for gifting.
If you want to get creative with presentation, try setting up a decorating station for kids. For more inspiration on making baking fun for the family, visit our Cookie Decorating Traditions page.
The Sweet Balance
These Swig sugar cookies prove that you don’t need to spend all day in the kitchen to enjoy heritage-quality baking. They capture the essence of a vintage sugar cookie with a modern method that fits your schedule. Whether you frost them pink or keep them plain, they are sure to become a family favorite.
For more timeless recipes adapted for today’s pace, browse our Classic Cookie Recipes. This recipe was inspired by the fantastic version at Mel’s Kitchen Cafe, a wonderful resource for home cooks.
