I remember watching my grandmother carefully chill her cookie dough overnight, insisting that patience was the only way to get that perfect height. While I treasure those memories, my modern kitchen needs a faster route to that same nostalgic satisfaction. This recipe is my heritage shortcut, delivering those massive, bakery-style treats in a fraction of the time.

By using a clever freezing technique and a specific blend of flours, we can skip the long wait without losing an ounce of quality. These cookies stay tall, soft, and incredibly thick, proving that you can honor old-fashioned flavors even on a busy weeknight. They are the ultimate comfort food for the modern home baker.
Why You’ll Love This
You are going to love these because they solve the age-old problem of the flat, greasy cookie. We have all been there—expecting a pillowy treat and ending up with a thin wafer. This method guarantees a hefty, substantial bite every single time. It is about bringing that gourmet bakery aesthetic into your own home without needing professional equipment or rare ingredients.
Another reason to adore this recipe is the texture. Because we use cold butter and a quick stint in the freezer, the outside gets a beautiful, golden-brown crunch while the center stays gooey and dense. It feels like a hug in cookie form. Plus, the recipe is incredibly forgiving; you do not need to be a master patissier to get these right on your first try.
Finally, this is a fantastic base for all your favorite mix-ins. While we stick to a classic chocolate blend here, the dough is sturdy enough to handle whatever your pantry holds. It is a reliable, tested method that respects the traditions of the past while making life a little easier for the bakers of today. You get the best of both worlds: heritage heart and modern speed.
Print
Thick Chocolate Chip Cookies
- Total Time: 2 hours 5 mins
- Yield: 10 cookies
- Diet: Vegetarian
Description
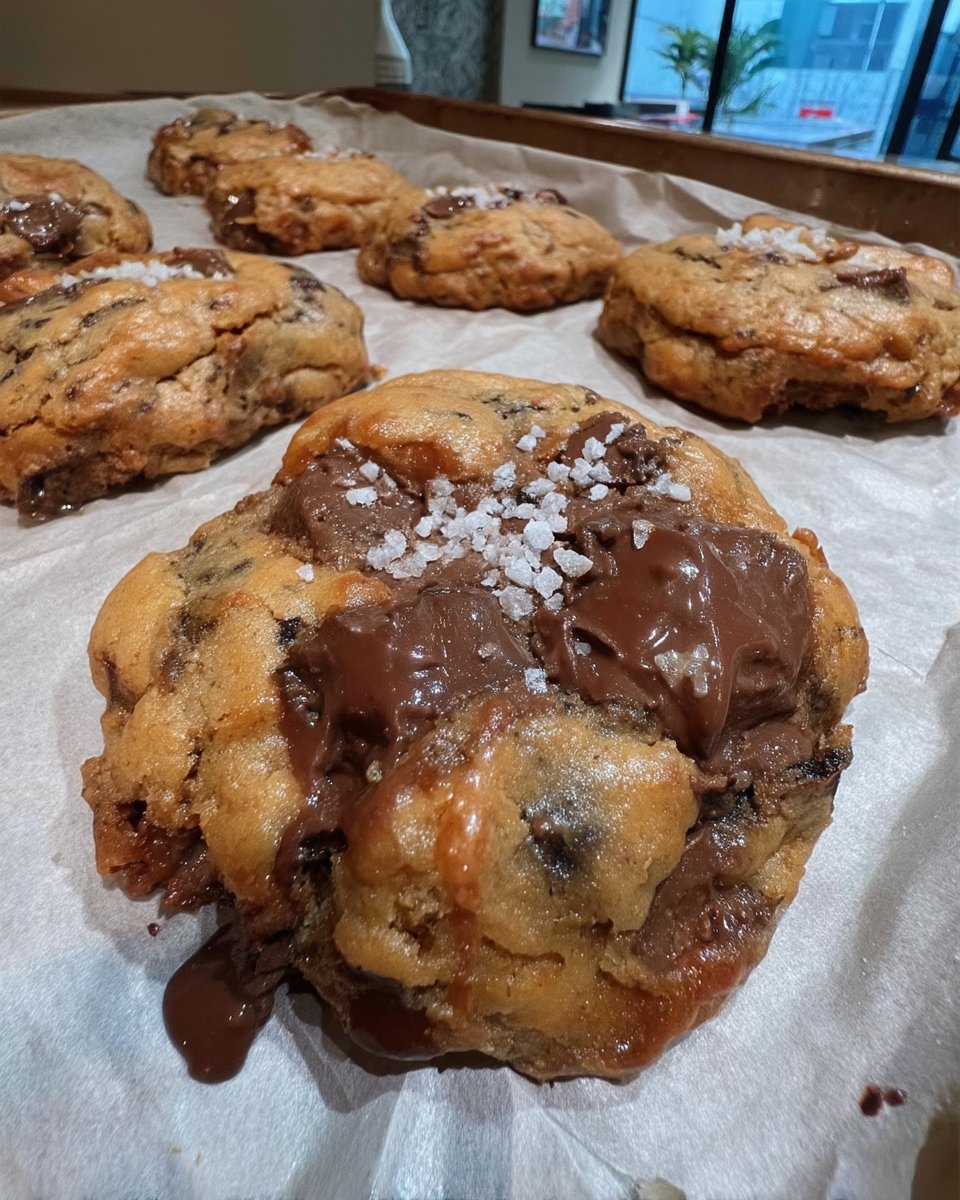
Indulge in these massive, bakery-style chocolate chip cookies that stay incredibly thick and soft using a clever freezing technique. Perfectly balanced with a blend of flours and a trio of chocolate, they offer a nostalgic treat without the long overnight wait.
Ingredients
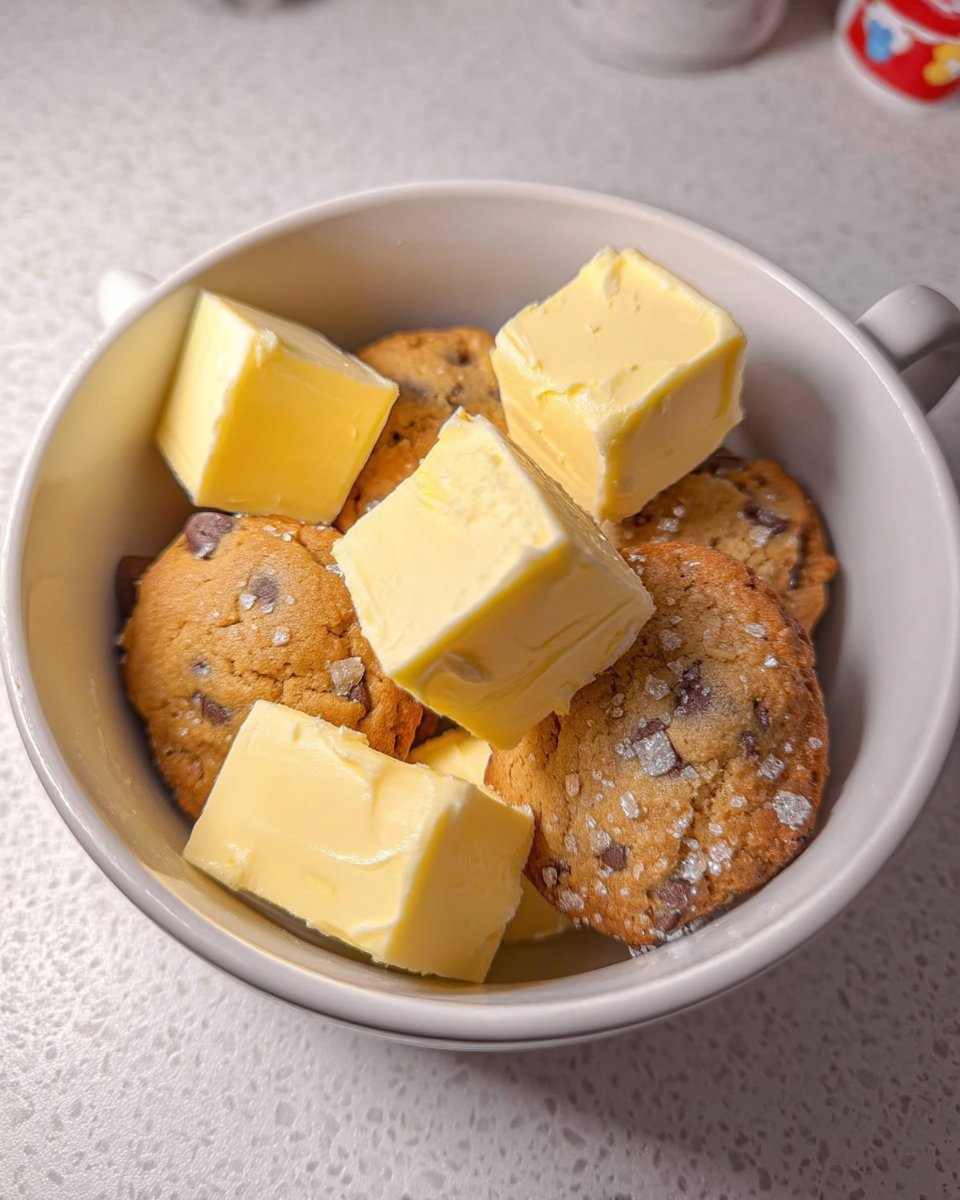
- 250g cold unsalted butter, chopped
- 200g light brown sugar
- 100g white caster sugar
- 2 large eggs, room temperature
- 1 tsp vanilla extract
- 350g self-raising flour
- 100g plain flour
- 1 tsp baking powder
- 1/2 tsp salt
- 300g mixed chocolate chips (milk, dark, and white)
Instructions
- Chop the cold butter into small chunks and beat in a large bowl for one minute until slightly softened.
- Add the light brown and white caster sugars to the butter and beat until just combined.
- Mix in the eggs and vanilla extract until the mixture is incorporated.
- Whisk together the flours, baking powder, and salt in a separate bowl, then fold into the wet ingredients to form a thick dough.
- Fold in the chocolate chips by hand to ensure they are evenly distributed.
- Shape the dough into 120g rustic balls and freeze on a parchment-lined tray for at least 90 minutes.
- Preheat the oven to 180°C (160°C fan) and place an empty baking sheet inside for 5 minutes to get hot.
- Place the frozen dough balls on the hot tray and bake for 15 minutes until edges are golden and centers are soft.
Notes
For the best results, ensure your baking tray is genuinely hot before placing the dough balls onto it; this immediate heat helps set the base for that perfect crunch. If you prefer a less sweet cookie, increase the ratio of dark chocolate chips to milk chocolate for a deeper flavor profile.
- Prep Time: 20 mins
- Cook Time: 15 mins
- Category: Dessert
- Method: Baking
- Cuisine: American
Simple Pantry Ingredients
Finding the right balance for these cookies means looking at everyday items in a new way. We do not need fancy additives to get height; we just need to understand how these basics work together. Here is what you will need to gather from your cupboards.
- Cold Unsalted Butter: This is the secret to height. We want it cold but slightly softened for just 30 minutes. This prevents the cookies from spreading too fast in the oven.
- Light Brown and White Caster Sugar: The brown sugar adds that deep, caramel-like moisture we love in a classic cookie, while the caster sugar helps with those crisp edges.
- Eggs and Vanilla: Use large eggs at room temperature to help them emulsify with the cold butter. Real vanilla extract is always worth it for that nostalgic aroma.
- Self-Raising and Plain Flour: This is a specific Meagan trick. The self-raising flour provides immediate lift, while the plain flour gives the structure needed to hold that weight.
- Baking Powder and Salt: A little extra leavening helps the dough rise up, and salt balances the sweetness of the chocolate.
- Chocolate Chips: I like a mixture of milk, dark, and white chocolate. Using 300 grams makes sure every single bite is loaded with melty goodness.
Using these simple items makes the process approachable for anyone. You do not need to run to a specialty store; everything is likely already in your kitchen. It is about using quality staples to produce a result that feels much more expensive than it actually is.
Quick Method
Step 1: Prep the Butter
Chop your cold unsalted butter into small chunks and place them in a large mixing bowl. Use an electric mixer or a sturdy spoon to beat the butter for about a minute. You are looking for it to be broken up and slightly softened, but it should not be creamy or fluffy yet. Keeping it cool is vital for the structure.
Step 2: Combine the Sugars
Add both the light brown sugar and the white caster sugar to the butter. Beat them together until they are just combined. Be careful not to over-mix here; if you work it too long, the butter will get too warm, and your cookies might spread more than you want.
Step 3: Add Wet Ingredients
Crack in your two large eggs and pour in the vanilla extract. Mix again until everything is incorporated. The mixture might look a bit lumpy or separated at this stage, but do not worry. This is perfectly normal for a dough that starts with cold butter.
Step 4: Fold in the Dry Ingredients
In a separate bowl, whisk together the self-raising flour, plain flour, salt, and baking powder. Gradually add this dry mix to your butter mixture. Use a spatula to fold it all together until a very thick, heavy dough forms. This is where the heritage texture really starts to show.
Step 5: The Chocolate Finish
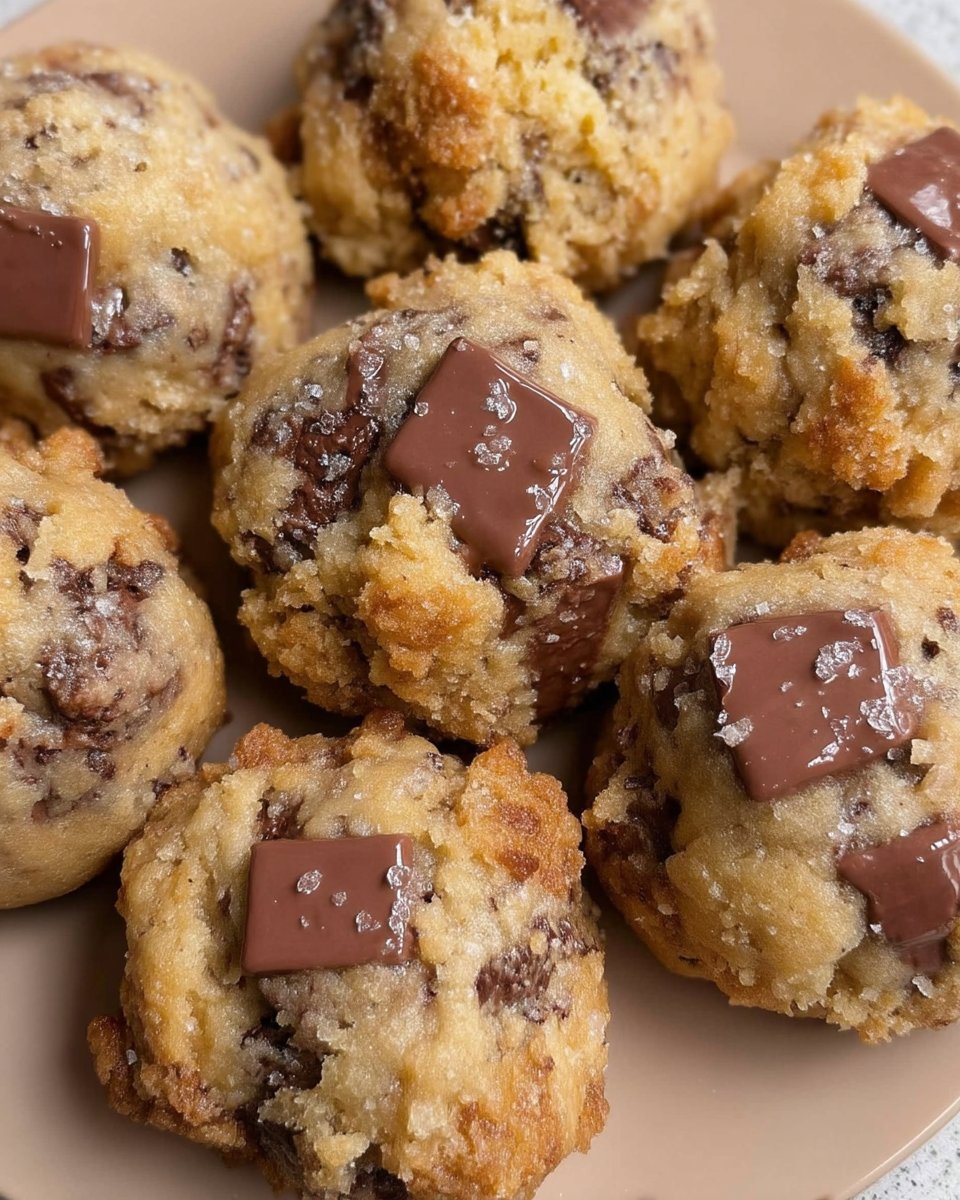
Pour in all your chocolate chips. I find it easiest to use my hands for this part to make sure the chips are evenly distributed throughout the thick dough. It feels like real, old-fashioned baking when you get your hands in the bowl.
Step 6: Shape and Freeze
Line a tray with parchment paper. Weigh out portions of about 120g—these are meant to be big! Roughly shape them into balls, but keep them rustic with lumps and bumps. Place them on the tray and freeze for at least 90 minutes. This freezing step is the modern shortcut that replaces the overnight fridge rest.
Step 7: The Hot Tray Trick
Preheat your oven to 180°C (160°C fan). Five minutes before you are ready to bake, put your empty, parchment-lined baking sheet into the oven to get hot. This helps the bottoms of the cookies crisp up immediately while the centers stay soft.
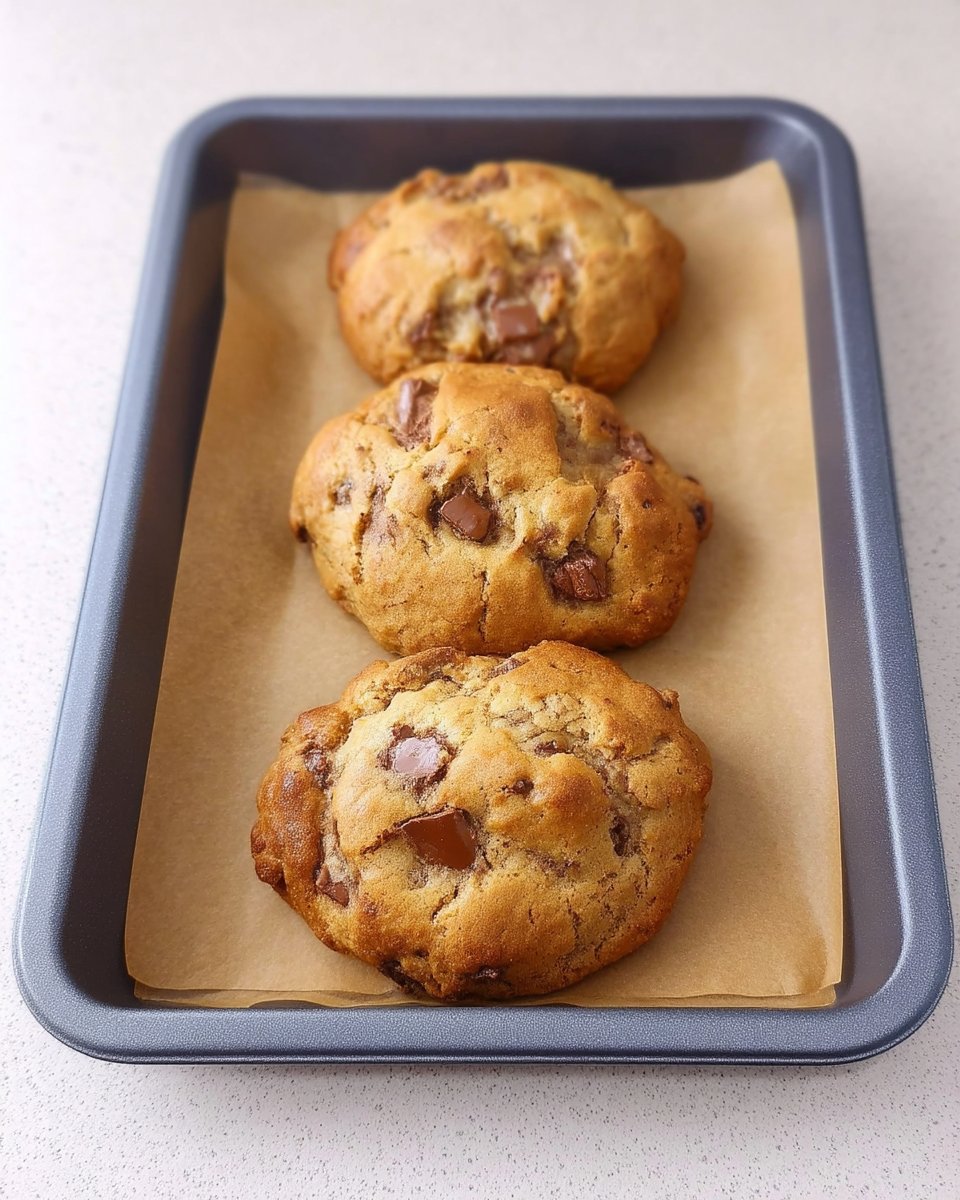
Step 8: Bake to Perfection
Place 3 or 4 frozen dough balls onto the hot tray, leaving plenty of space. Bake on the middle shelf for about 15 minutes. They should be golden on the edges but still look a little pale and soft on top. Let them cool on the tray for at least 5 minutes before moving them.
Quick Wins for Perfect Cookies
To get the best results, always use cold butter rather than room temperature. While many recipes call for softened butter, the cold chunks in this dough act as little pillars of support, keeping the cookie tall as it bakes. Also, make sure you do not skip the freezing step; it is the most important part of achieving that signature thickness. For more time-saving ideas, check out our Quick & Easy Cookies section.
Another trick is to use a large circular cutter or a glass to ‘scoot’ the cookies immediately after they come out of the oven. Simply place the cutter over the warm cookie and move it in a circular motion to pull in any stray edges. This creates a perfectly round, professional shape while keeping the thickness concentrated in the middle. Always bake on the middle rack to prevent the bottoms from browning too quickly before the center is set.
Classic Options for Every Baker
If you want to change things up, try replacing the chocolate chips with chopped nuts or dried fruit. Walnuts or pecans add a wonderful crunch that complements the soft dough perfectly. You can also sprinkle a little sea salt on top right after baking to bring out the depth of the chocolate. If you enjoy experimenting with different styles, you might like our Classic Cookie Recipes for more inspiration.
For a festive twist, add a teaspoon of cinnamon or ginger to the flour mix. This gives the cookies a warm, spiced flavor that is perfect for the holidays. You can even use white chocolate chips and macadamia nuts for a more tropical, buttery profile. The base dough is so sturdy that it can handle almost any addition you choose, as long as you keep the total weight of mix-ins around 300 grams.
Modern Sharing Ideas
These cookies are so large and rich that they are perfect for sharing. I love serving them warm with a cold glass of milk for a classic after-school treat. They also make an incredible base for a decadent dessert—just split one in half while it is still warm and place a large scoop of vanilla bean ice cream in the middle. For more ideas on wholesome snacks, visit our Wholesome Cookie Options page.
You can also wrap these individually in parchment paper and tie them with a bit of twine for a lovely, rustic gift. They look beautiful on a wooden serving board at a casual get-together. Because they are so thick and sturdy, they also travel well, making them a great choice for lunchboxes or office potlucks where you want to bring something that looks and tastes homemade.
Keep Baking the Tradition
There is something so special about a recipe that bridges the gap between the past and the present. These cookies offer all the comfort of Grandma’s kitchen with the efficiency that our modern lives require. I hope they become a staple in your home, bringing a little bit of nostalgic joy to your busy week. For those looking to bake for a special occasion, don’t miss our Holiday Cookie Celebrations for more festive ideas. If you want to see a different take on this style, check out this guide on thick chocolate chip cookies.
Don’t forget to share your baking journey with us! Tag us in your photos and let us know how your cookies turned out. Happy baking!

