I still remember the soft clicking sound of Grandma’s heels on the linoleum floor and the way her flour-dusted apron always had a faint scent of toasted cinnamon. Whenever the weather turned crisp, she would pull out her battered green tin and find that one specific index card, its edges softened by decades of use and splattered with drops of vanilla extract. These Chewy Snickerdoodles weren’t just a snack; they were the heart of her kitchen, a warm welcome for every grandchild who walked through the back door.

This recipe captures that exact same magic, delivering a cookie that is pillowy soft in the center with just the right amount of crinkle on top. The secret lies in the balance of sweet sugar and the gentle tang of cream of tartar, creating a flavor that is both simple and deeply satisfying. When you bake a batch of these Chewy Snickerdoodles, you aren’t just making a treat; you are carrying forward a tradition that has brought smiles to kitchen tables for generations.
A Timeless Classic for Your Cookie Jar
There is something profoundly comforting about a cookie that doesn’t try too hard to be fancy. These cookies are a celebration of honest, simple ingredients coming together to create something much greater than the sum of their parts. You will love how the outside of the cookie has a slight crunch from the cinnamon-sugar coating, while the inside stays tender and moist for days. It is the kind of cookie that stays fresh in the jar, waiting for a quiet moment with a cup of tea or a cold glass of milk.
In our fast-paced world, these cookies represent a pause. They remind us of church potlucks, neighborhood bake sales, and rainy afternoons spent watching the oven light. The texture is the real star here—not too cakey, not too thin, but perfectly chewy. It is a recipe that works every single time, making it a reliable favorite for busy parents and seasoned heritage bakers alike. Whether you are filling a gift box or just looking for a bit of home-baked comfort, this is the snickerdoodle that everyone will ask for again and again.
Another reason to hold this recipe dear is its longevity. Unlike some modern cookies that go hard within hours, the moisture balance here keeps them soft. I often find that they taste even better on the second day, once the cinnamon has had a chance to really settle into the crumb. It is a heritage recipe built for real life, designed to be shared and enjoyed slowly over the course of a week.
Print
Chewy Snickerdoodles
- Total Time: 1 hour 25 mins
- Yield: 24 cookies
- Diet: Vegetarian
Description
Experience the nostalgic taste of these classic snickerdoodles, featuring a signature tangy bite and a perfect balance of chewy centers and crisp cinnamon-sugar edges. These heritage-inspired cookies stay soft for days, making them the ultimate addition to any family cookie jar.
Ingredients
- 2 3/4 cups all-purpose flour
- 2 teaspoons cream of tartar
- 1 teaspoon baking soda
- 1/2 teaspoon salt
- 1 cup unsalted butter, softened
- 1 1/4 cups granulated sugar, divided
- 1/2 cup light brown sugar, packed
- 1 large egg, room temperature
- 1 egg yolk, room temperature
- 1 tablespoon pure vanilla extract
- 2 tablespoons ground cinnamon
Instructions
- In a large mixing bowl, whisk together the flour, cream of tartar, baking soda, cinnamon, and salt.
- In a separate bowl, cream the softened butter with the granulated and brown sugars for about two minutes until pale and fluffy.
- Beat in the egg, egg yolk, and vanilla extract, scraping down the sides of the bowl as needed.
- Slowly mix the dry ingredients into the wet ingredients on low speed just until no white streaks remain.
- Cover and refrigerate the dough for at least one hour to ensure the best texture and flavor.
- Preheat your oven to 350°F (177°C) and line baking sheets with parchment paper.
- In a small bowl, whisk together the coating sugar and cinnamon.
- Roll dough into 1.25-inch balls, coat generously in the cinnamon-sugar mixture, and place on baking sheets 2 inches apart.
- Bake for 8 to 10 minutes until edges are set; let rest on the pan for 5 minutes before transferring to a wire rack.
Notes
For the best results, ensure your cream of tartar is fresh, as this provides the essential tang and lift characteristic of a true snickerdoodle. If you prefer a thicker cookie, do not press down on the dough balls before baking. These treats store beautifully in an airtight container for up to five days at room temperature.
- Prep Time: 15 mins
- Cook Time: 10 mins
- Category: Dessert
- Method: Baking
- Cuisine: American
Simple Ingredients from Grandma’s Pantry
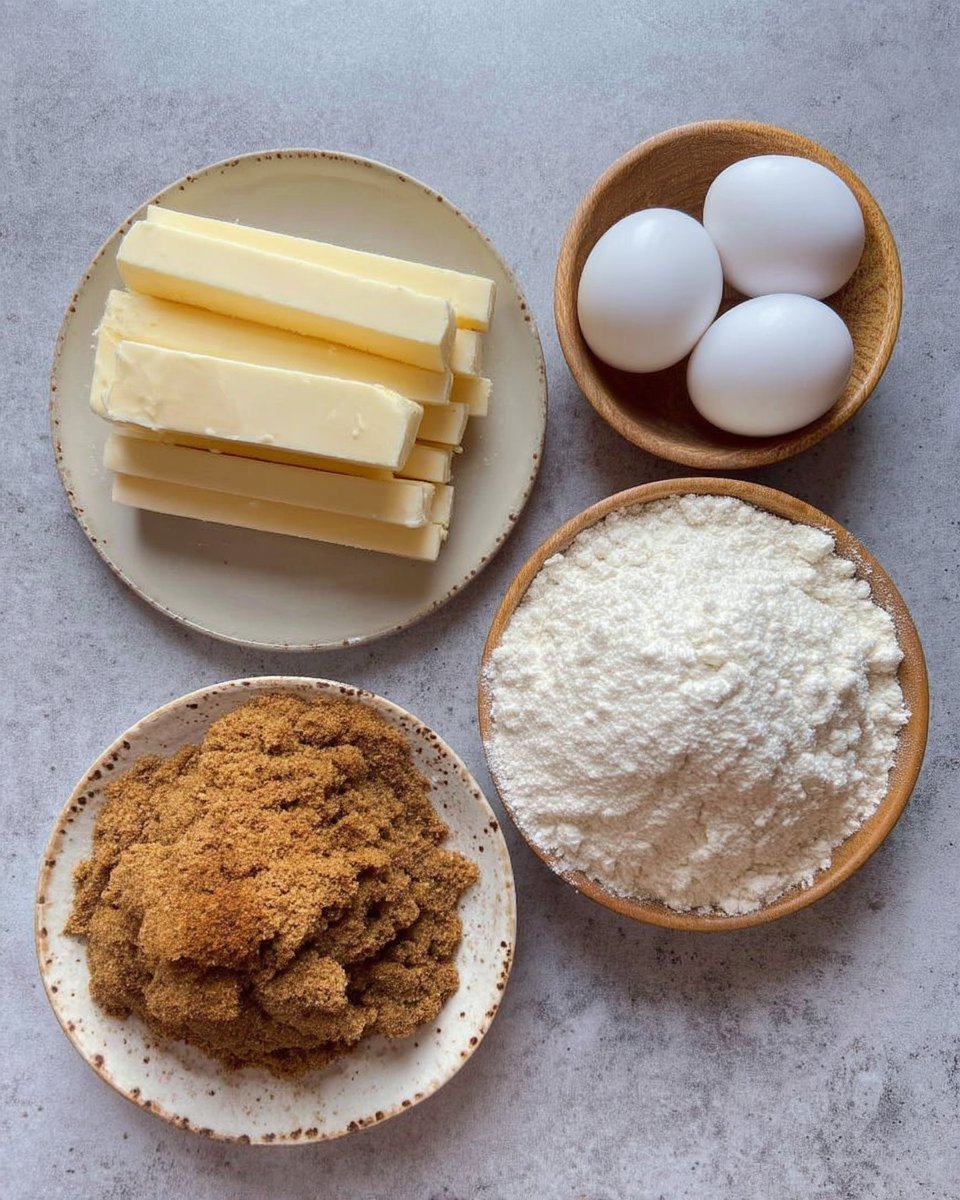
Creating the perfect batch of Chewy Snickerdoodles begins with the basics. You likely already have everything you need tucked away in your cupboards. We use real butter for that unmistakable rich flavor and a combination of sugars to achieve the perfect bite.
- All-Purpose Flour: This provides the structure. Make sure to spoon and level your flour into the measuring cup so the cookies don’t turn out too heavy or dry.
- Cream of Tartar: This is the most important part of a snickerdoodle. It provides that signature slight tang and reacts with the baking soda to give the cookies their characteristic rise and chew.
- Unsalted Butter: Using unsalted butter allows us to control the saltiness. Make sure it is softened to room temperature so it creams together beautifully with the sugars.
- Granulated and Brown Sugar: While many old recipes use only white sugar, I like adding a bit of light brown sugar. It adds a hint of molasses depth and helps keep the center extra chewy.
- Fresh Eggs: A whole egg plus an extra yolk is my little secret for a richer, more tender dough.
- Pure Vanilla Extract: Never settle for the imitation kind. Real vanilla adds a warmth that rounds out the spice of the cinnamon.
- Cinnamon and Sugar Coating: This is the crowning glory. A generous roll in this mixture creates that beautiful, sparkling finish we all love.
Traditional baking relies on the quality of these simple staples. When you use fresh spices and real butter, the heritage of the recipe truly shines through.
The Classic Way to Bake Snickerdoodles
Step 1: Whisk Your Dry Ingredients
Start by gathering your flour, cream of tartar, baking soda, ground cinnamon, and salt. In a large mixing bowl, whisk these together thoroughly. This step makes sure that the leavening agents and the spice are evenly distributed so every bite is perfect. Set this bowl aside for a moment.
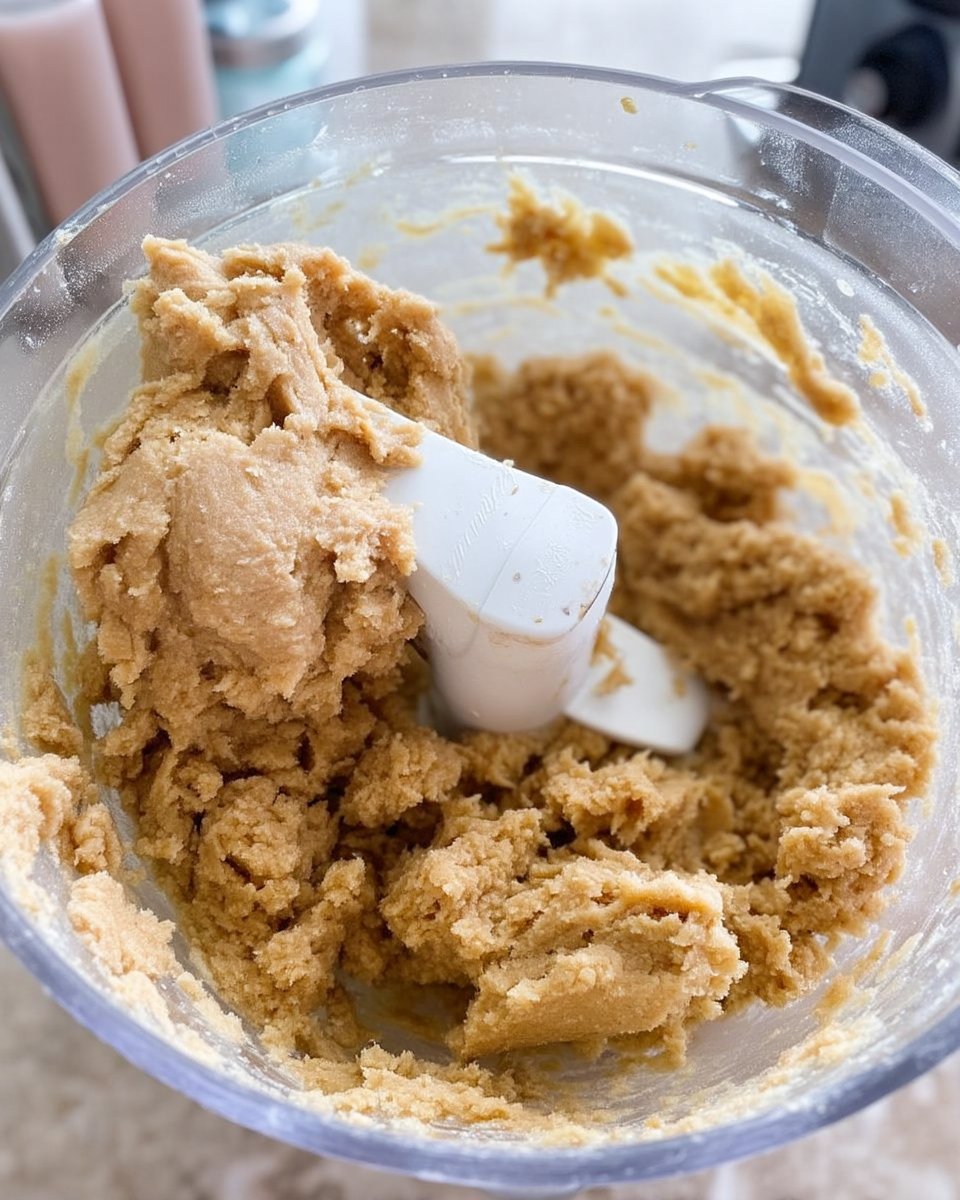
Step 2: Cream the Butter and Sugars
In the bowl of your stand mixer, or using a large bowl and a hand mixer, beat the softened butter with the granulated and brown sugars. You want to keep going for about two minutes until the mixture looks pale and fluffy. This process incorporates air, which helps the cookies have a light, soft texture rather than being dense.
Step 3: Add the Eggs and Vanilla
Add in your room-temperature egg, the extra egg yolk, and the vanilla extract. Mix again on medium speed until everything is well combined. Remember to stop and scrape down the sides of the bowl with a rubber spatula to make sure no butter is hiding at the bottom.
Step 4: Mix in the Flour
Turn your mixer to low and slowly add the dry ingredients. Mix just until the white streaks of flour disappear. You want to avoid overmixing here, as that can make the cookies tough. The dough should be soft but manageable.
Step 5: The Important Chill
Cover your bowl tightly and place it in the refrigerator for at least one hour. Chilling the dough is a vital step because it prevents the cookies from spreading too much in the oven and helps the flavors meld together. It makes the dough much easier to roll later on.
Step 6: Prepare for Baking
Preheat your oven to 350°F (177°C) and line your baking sheets with parchment paper. In a small bowl, whisk together the sugar and cinnamon for the coating. This is the part that always makes my kitchen smell like a dream.
Step 7: Roll and Coat
Scoop about a tablespoon of dough and roll it between your palms into a neat ball, roughly an inch and a quarter wide. Roll the ball through the cinnamon-sugar mixture until it is completely covered in a sparkling coat. Place the balls on the baking sheet about two inches apart.
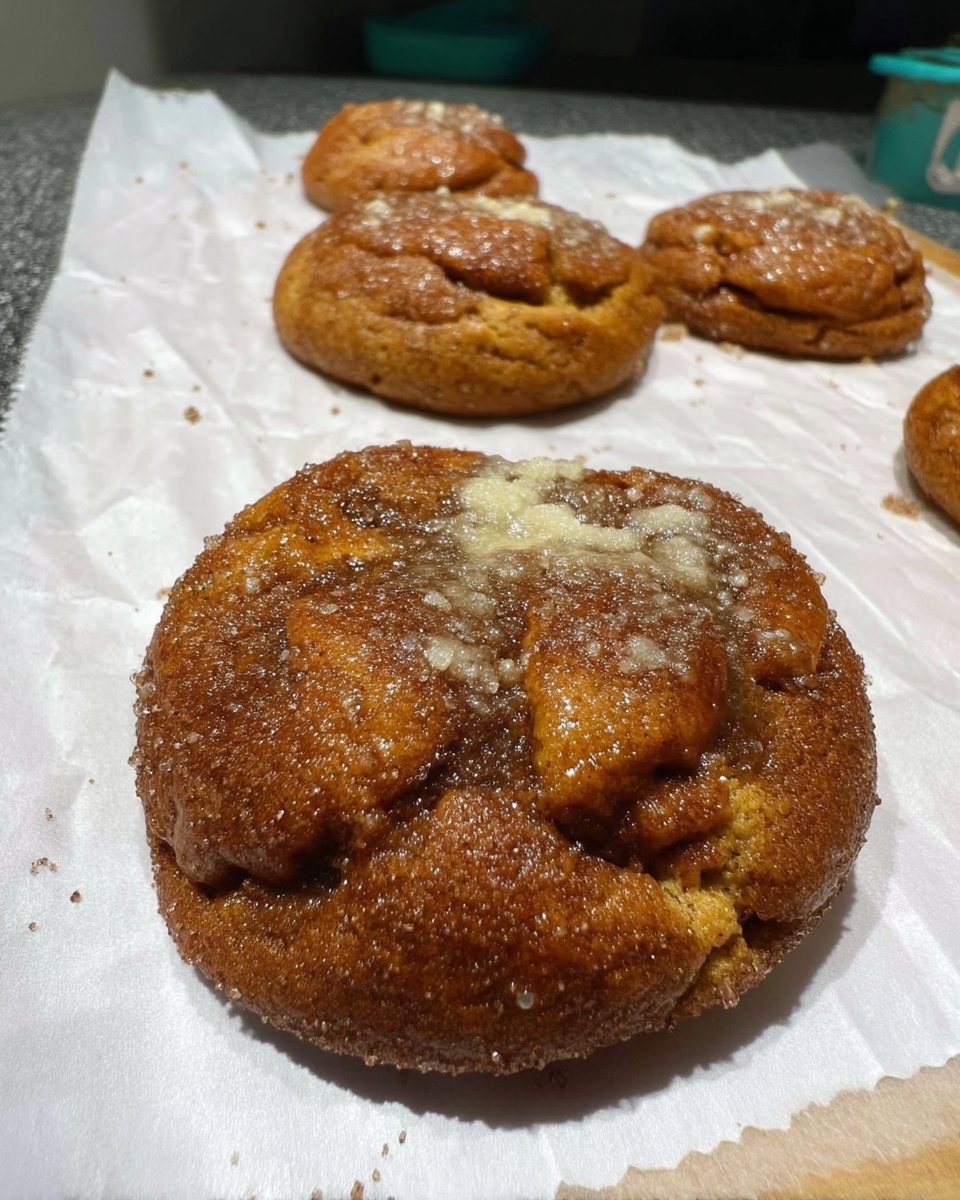
Step 8: Bake to Perfection
Bake for 8 to 10 minutes. You want to pull them out when the edges are just set but the centers still look a little soft. They will firm up as they cool on the hot pan. Let them rest for five minutes before moving them to a wire rack. This patience makes sure the bottoms don’t break.
Grandma’s Secrets for the Perfect Batch
One of the most important things I learned from watching Grandma is the importance of butter temperature. If your butter is too melty, the cookies will spread into puddles; if it’s too cold, they won’t cream properly. It should be soft enough that a gentle press of your finger leaves an indentation, but it shouldn’t look greasy. For more advice on mastering the basics, look through our Classic Cookie Recipes.
Another tip is to check your cream of tartar for freshness. Since it is the key ingredient that gives these cookies their identity, you want to make sure it hasn’t been sitting in the cupboard for five years. If you find yourself out of cream of tartar, you can use baking powder as a substitute, though the flavor will be slightly more mild. Also, if you want that perfect crinkly top, don’t flatten the balls before baking—let the heat of the oven do the work for you.
Heritage Twists for Every Occasion
While the classic version is a treasure, our family has developed a few favorite variations over the years. If you are baking for the holidays, you might try adding a half-teaspoon of ground nutmeg or ginger to the coating for a deeper, more festive spice profile. This is a lovely addition when preparing for Holiday Cookie Celebrations.
For a more modern touch, some folks love to brown the butter before starting the recipe. This gives the cookies a nutty, toasted aroma that pairs wonderfully with the cinnamon. You can also press a walnut half into the center of each dough ball before baking if you enjoy a bit of crunch. If you prefer a very thin, crisp cookie, you can slightly flatten the dough balls with the bottom of a glass before they go into the oven, though this will change that signature pillowy texture we love so much.
Bringing the Tradition to the Table
There is no better way to serve these Chewy Snickerdoodles than straight from the cookie jar with a tall, cold glass of milk. In our family, these were often the centerpiece of the Sunday afternoon coffee hour. We would set them out on a vintage ceramic platter and let the grandkids help themselves. If you are looking for other treats that come together just as easily, you might enjoy our collection of Quick & Easy Cookies.
If you are giving these as a gift, they look beautiful tucked into a simple tin lined with parchment paper. Because they stay soft for a long time, they are the perfect choice for mailing to a loved one who needs a little taste of home. Sometimes, I like to serve them warm with a scoop of vanilla bean ice cream for a simple yet elegant dessert that feels like a warm hug at the end of a long day.
Keeping the Sweet Heritage Alive
Baking is about more than just food; it is about the stories we tell and the traditions we pass down to the next generation. These Chewy Snickerdoodles are a piece of history that you can share with your own family today. For those looking for more mindful baking ideas, be sure to look at our Wholesome Cookie Options. You can also find more inspiration on how to make Soft and Chewy Snickerdoodles from our friends who love heritage baking as much as we do. I hope these cookies bring as much warmth to your home as they have to mine for all these years. Please come visit us on Pinterest, Instagram, and Facebook to share pictures of your own kitchen creations. Happy baking, and may your cookie jar always be full.
