I remember my grandmother’s kitchen always smelling like warm vanilla and toasted sugar, especially on those rainy Tuesday afternoons when she would bake for the whole neighborhood. She would spend hours carefully measuring everything by hand with a heavy wooden spoon, but with my busy schedule, I have found that my reliable stand mixer gets that same nostalgic flavor to the table in a fraction of the time. This recipe is a beautiful way to bring a piece of her heritage into my own modern home without needing an entire day to make it happen.

This particular version of my favorite treat is based on Grandma’s classic recipe, just simplified for the way we live and bake today. By adjusting the oven temperature and refining the mixing process, we can achieve those perfect golden edges and gooey centers in about thirty minutes total. It is the perfect solution for when you need a quick family treat that still carries the heart of a time-honored tradition.
A Modern Twist on a Quick Classic
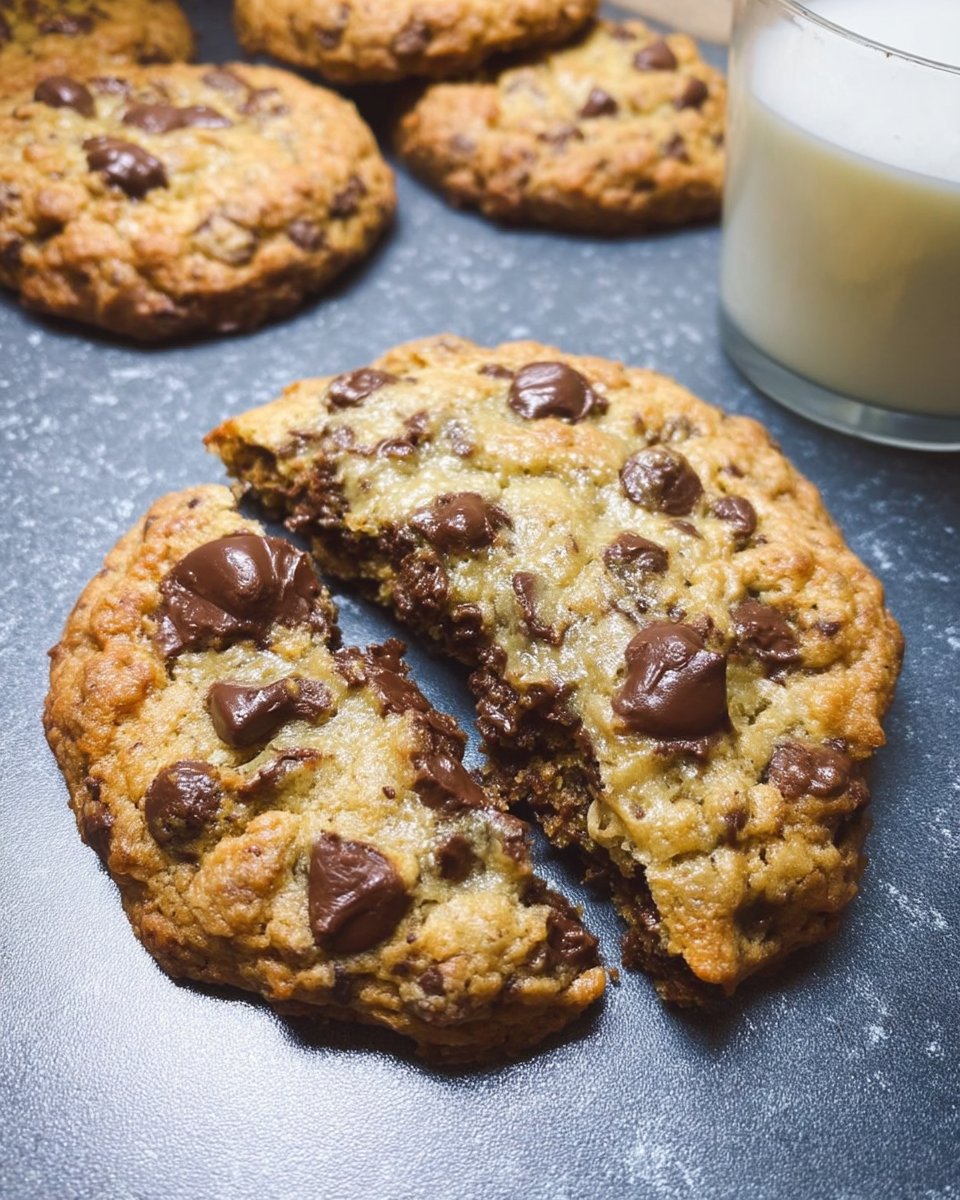
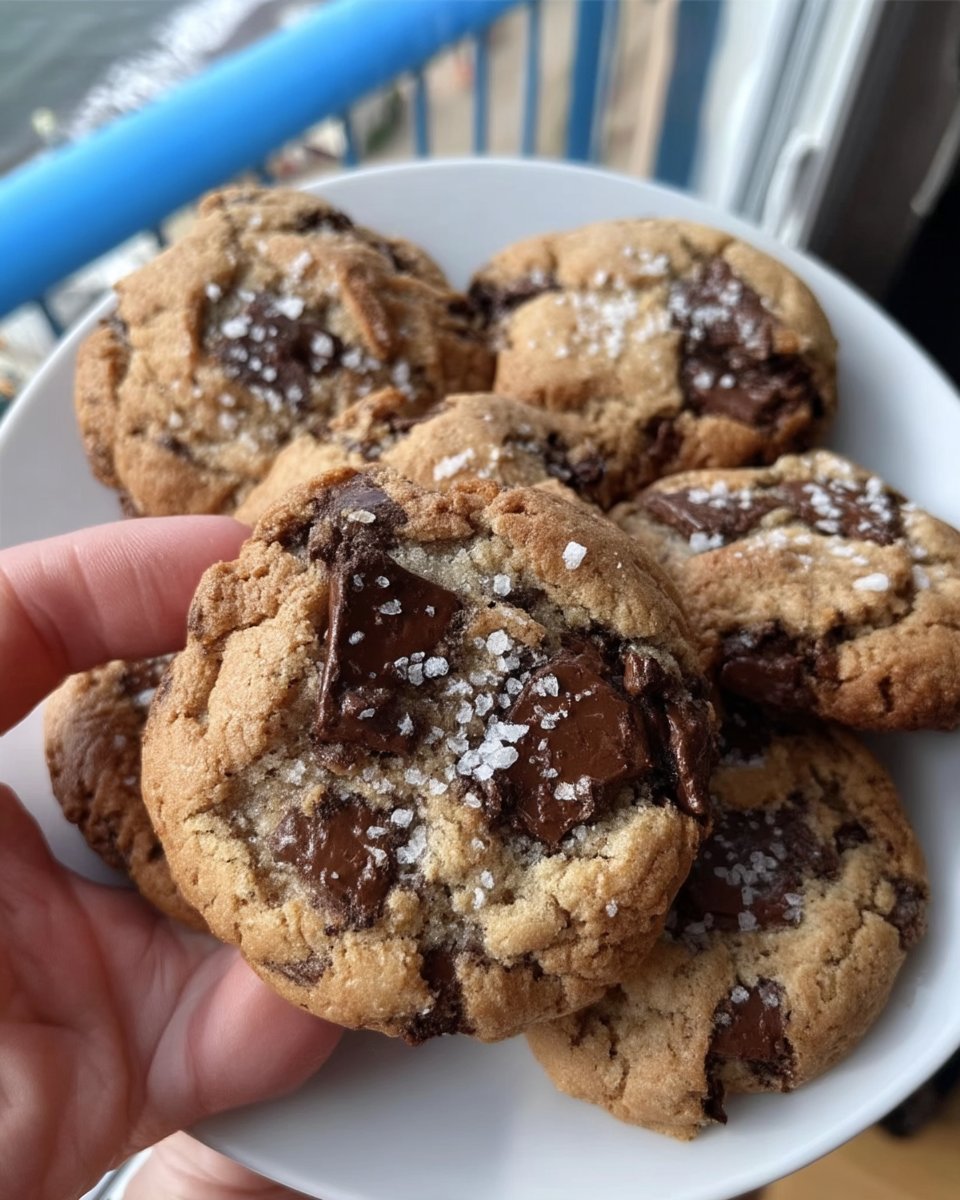
You will love these cookies because they offer the ultimate comfort of a heritage recipe with the practical speed of a modern drop cookie. There is no need for long chilling times or complicated rolling techniques here; we focus on simple methods that produce consistent, professional results every single time. These cookies are thick, soft, and packed with enough chocolate to make any day feel like a special occasion.
The magic lies in the high-temperature bake. By setting the oven to 375 degrees Fahrenheit, we create a quick sear on the outside of the dough, which keeps the inside incredibly soft and doughy. This is the secret to getting that bakery-style texture at home in just eight minutes of baking. It is a reliable method that I have tested dozens of times to make sure it works perfectly for busy families who do not have time to wait for dough to rest in the fridge.
Furthermore, this recipe is a true pantry staple hero. You likely already have every single ingredient in your kitchen right now. It uses basic all-purpose flour, standard sugars, and everyday butter to create something extraordinary. It is the kind of recipe you can pull out at 7:00 PM on a school night and have a warm tray of treats ready before the kids are even in their pajamas.
Print
Chocolate Chip Cookies 2
- Total Time: 25 mins
- Yield: 30 cookies
- Diet: Vegetarian
Description
These bakery-style chocolate chip cookies use a high-temperature bake to achieve perfectly golden edges and soft, doughy centers in under thirty minutes. It is a nostalgic, heritage-inspired recipe updated for modern kitchens using simple pantry staples and efficient mixing techniques.
Ingredients
- Salted butter, softened
- Granulated sugar
- Light brown sugar, packed
- 2 large eggs
- Pure vanilla extract
- All-purpose flour
- Baking soda
- Baking powder
- Sea salt
- 2 cups chocolate chips
Instructions
- Preheat your oven to 375 degrees Fahrenheit (190 degrees Celsius) and line three large baking sheets with parchment paper.
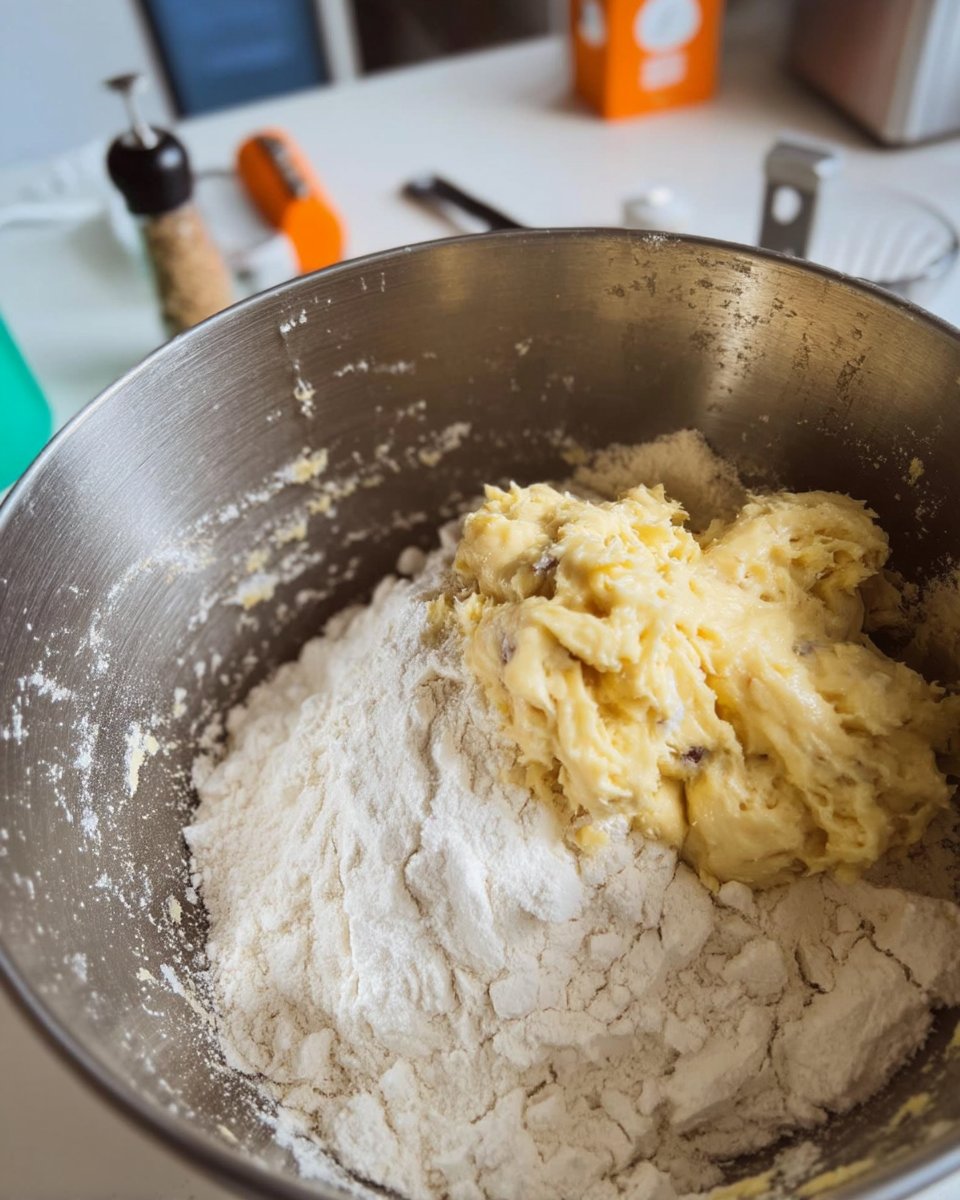
- In a medium-sized mixing bowl, whisk together the all-purpose flour, baking soda, baking powder, and sea salt until well combined.
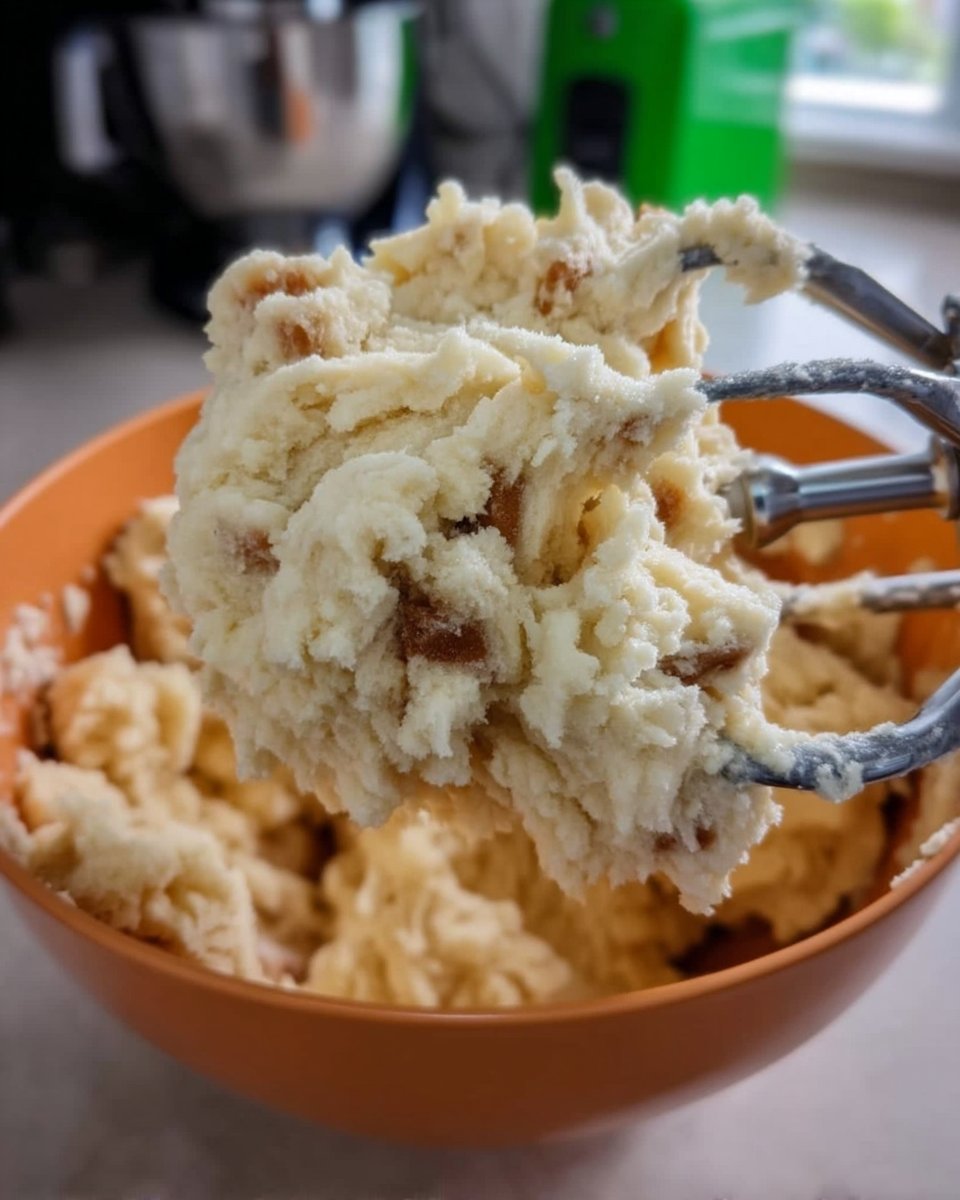
- In a stand mixer or with a hand mixer, beat the softened salted butter with the granulated sugar and light brown sugar for 2-3 minutes until light and fluffy.
- Add the two large eggs and pure vanilla extract to the butter mixture and beat for about one minute until the mixture is pale and well-combined.
- Turn the mixer to the lowest setting and slowly add the dry ingredients to the wet ingredients, mixing only until the flour streaks disappear.
- Fold in the 2 cups of chocolate chips by hand using a sturdy spatula to ensure even distribution without over-working the dough.
- Using a cookie scoop or spoon, portion out 2-3 tablespoons of dough, roll into balls, and place them on prepared sheets two inches apart.
- Bake for 8 to 10 minutes until edges are golden and centers remain soft, then let them rest on the hot pan for five minutes before moving to a cooling rack.
Notes
To keep these cookies soft for days, store them in an airtight container with a single slice of white bread; the cookies will absorb the moisture from the bread. If you prefer a more textured look, reserve a handful of chocolate chips to press into the tops of the dough balls right before they go into the oven.
- Prep Time: 15 mins
- Cook Time: 10 mins
- Category: Dessert
- Method: Baking
- Cuisine: American
Simple Pantry Staples
To make these cookies, we stay true to the classic building blocks of a great American bake. Each ingredient serves a specific purpose in recreating that vintage flavor profile while keeping the process fast and easy.
- Salted Butter: I prefer using salted butter because it adds a depth of flavor that balances the sweetness of the sugars. Make sure it is softened to room temperature so it creams easily with the sugar.
- Granulated and Light Brown Sugar: Using a mix of both gives us the best of both worlds—crisp edges from the white sugar and a chewy, molasses-hinted center from the brown sugar.
- Pure Vanilla Extract: This is the soul of the cookie. Use a high-quality extract to get that deep, aromatic scent that defines a home-baked treat.
- All-Purpose Flour: I recommend unbleached flour for the best structure. It provides a sturdy base that still feels light and tender.
- Sea Salt: A touch of fine sea salt makes the chocolate flavors pop. It is a modern addition to a vintage base that really makes a difference.
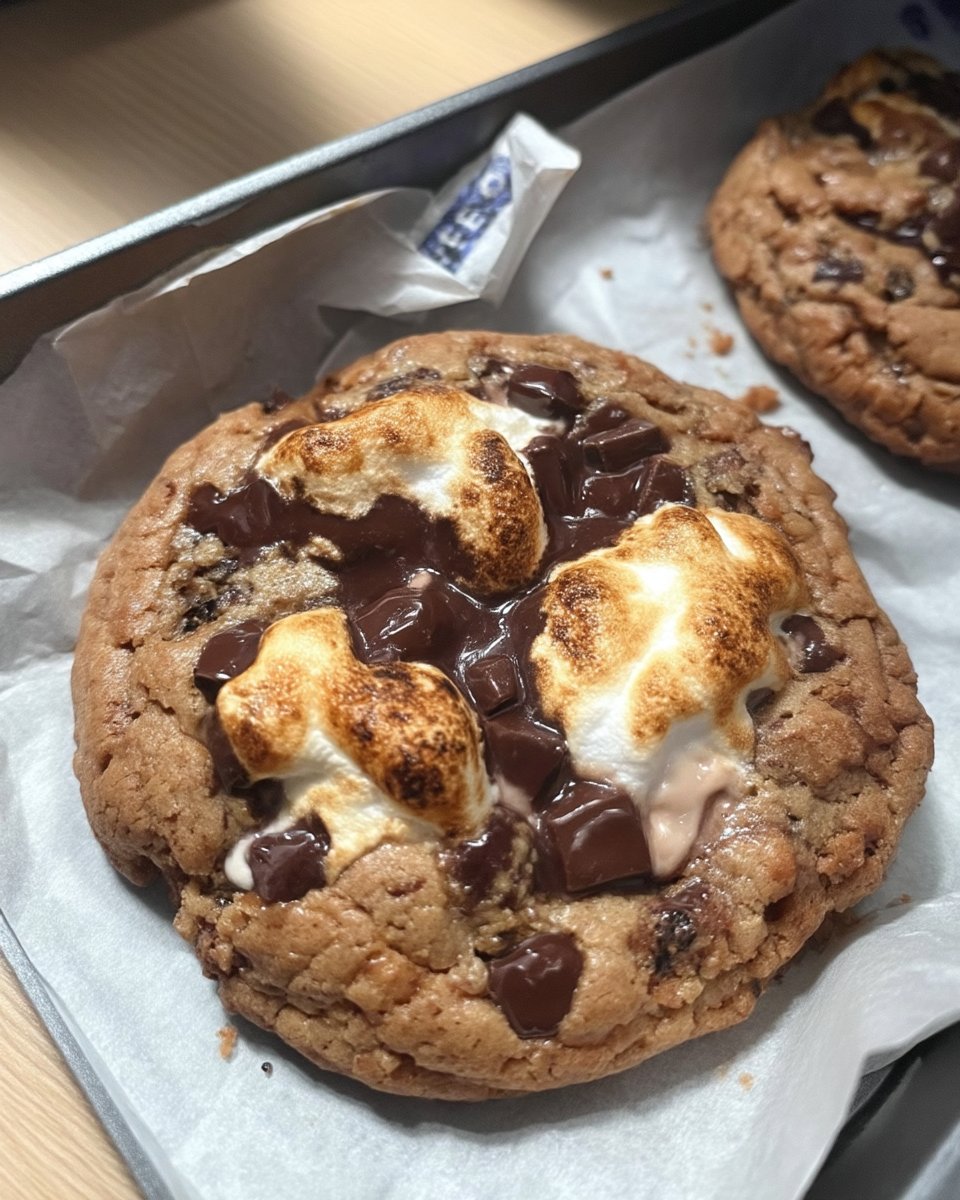
- Chocolate Chips: Whether you choose semi-sweet, dark, or milk chocolate, these are the star of the show. You can even use chunks if you want a more rustic, hand-cut look.
Using these simple components allows the natural flavors of the butter and vanilla to shine through. We do not need fancy additions or expensive chocolates to make a cookie that everyone will ask for. This is about quality ingredients handled with care and efficiency.
The Quick Method
Step 1: Prep and Preheat
Start by preheating your oven to 375 degrees Fahrenheit (190 degrees Celsius). This higher temperature is vital for getting the right texture. While the oven warms up, line three large baking sheets with parchment paper. This is a great modern shortcut that prevents sticking and makes cleanup a breeze.
Step 2: Whisk the Dry Goods
In a medium-sized mixing bowl, whisk together your all-purpose flour, baking soda, baking powder, and sea salt. Taking a moment to do this separately helps make sure the leavening agents are evenly distributed throughout the dough, preventing any metallic-tasting pockets.
Step 3: Cream the Butter and Sugars
In the bowl of your stand mixer or using a hand mixer, beat the softened salted butter with the granulated sugar and packed light brown sugar. You want to mix these until the texture is light and slightly fluffy. This usually takes about two to three minutes on medium speed.
Step 4: Add the Wet Ingredients
Add the two large eggs and the pure vanilla extract to the butter mixture. Beat these in for about one minute until the mixture looks pale and well-combined. This step builds the structure that will hold all those chocolate chips in place.
Step 5: Incorporate the Flour Mixture
Turn your mixer to the lowest setting and slowly add the dry ingredients to the wet ingredients. Mix just until you no longer see streaks of white flour. Over-mixing at this stage can lead to tough cookies, so keep it brief and gentle.
Step 6: Fold in the Chocolate
Pour in your two cups of chocolate chips. I like to use a sturdy spatula to fold these in by hand to make sure they are spread evenly throughout the dough without over-working the batter. Every bite should have a generous amount of chocolate.
Step 7: Scoop and Bake
Using a cookie scoop or a large spoon, portion out about 2-3 tablespoons of dough and roll them into balls. Place them on your prepared sheets, leaving about two inches of space between each. Bake for 8 to 10 minutes. They are done when the edges are just starting to turn golden, even if the centers still look a bit soft.
Step 8: Cool and Set
Let the cookies rest on the hot baking pan for at least five minutes after removing them from the oven. This carries over the heat to finish the centers while allowing them to set enough to be moved to a cooling rack. This patience is what guarantees that perfect chewy texture.
Meagan’s Time Savers
To get the best results every time, I recommend using a cookie scoop. It is a practical tool that keeps every cookie the same size, which means they all bake at the exact same rate. If you find your kitchen is very warm, you can pop the scooped dough balls into the freezer for five minutes before baking to help them hold their shape even better. For more ways to save time in the kitchen, check out our Quick & Easy Cookies section.
Another wonderful trick is to use room temperature eggs. If you forgot to take them out of the fridge, just place them in a bowl of warm water for five minutes. This helps them incorporate into the butter more smoothly, creating a better emulsion. If you want to see a similar approach to these flavors, you might enjoy this amazing recipe which also emphasizes the importance of not over-baking for that perfect gooey center.
Quick Twists and Easy Changes
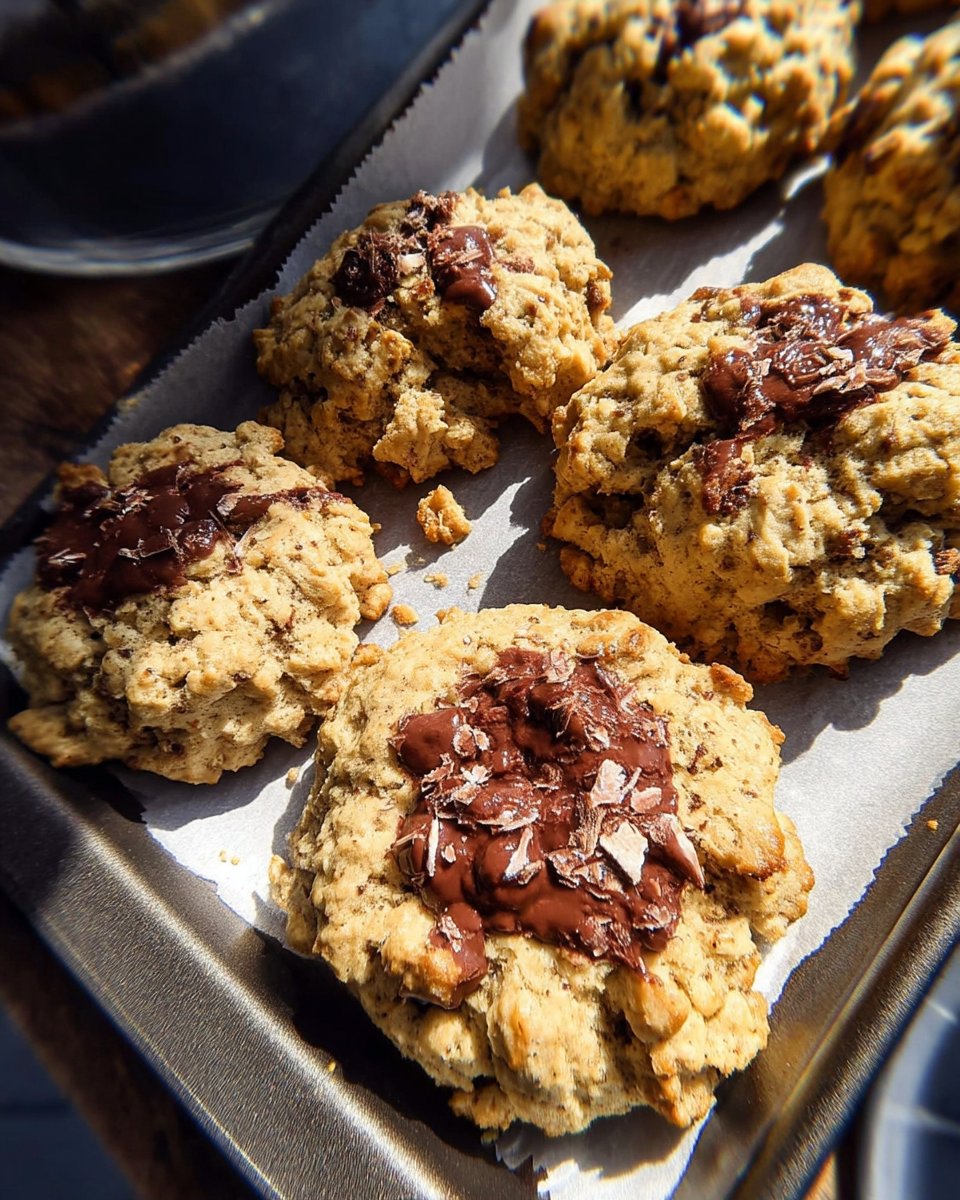
If you want to vary the flavor profile without adding extra work, try swapping the vanilla extract for almond or rum extract for a different aromatic experience. You can also mix in a half cup of chopped walnuts or pecans if you enjoy a bit of crunch in your cookies. For those who love holiday baking, adding some festive sprinkles or white chocolate chips can turn these into a themed treat. I often look through our Holiday Cookie Celebrations for inspiration on how to adapt this base dough for different times of the year.
You can also experiment with the type of sugar you use. While light brown sugar is standard, using dark brown sugar will give the cookies a deeper, more intense molasses flavor and a slightly softer texture. If you are looking for a vegan alternative, you can use coconut oil in place of the butter and a flax egg, though the texture will be slightly more crisp than the original heritage version.
Modern Sharing Ideas
These cookies are a joyful addition to any lunchbox or as an after-school snack. Because they stay soft for days, they are also the perfect choice for a community potluck or a neighborhood cookie swap. If you want to turn them into a more formal dessert, try serving them warm with a scoop of high-quality vanilla bean ice cream. For more creative ideas on presenting your bakes, take a look at our Cookie Decorating Traditions for tips on making your treats look as good as they taste.
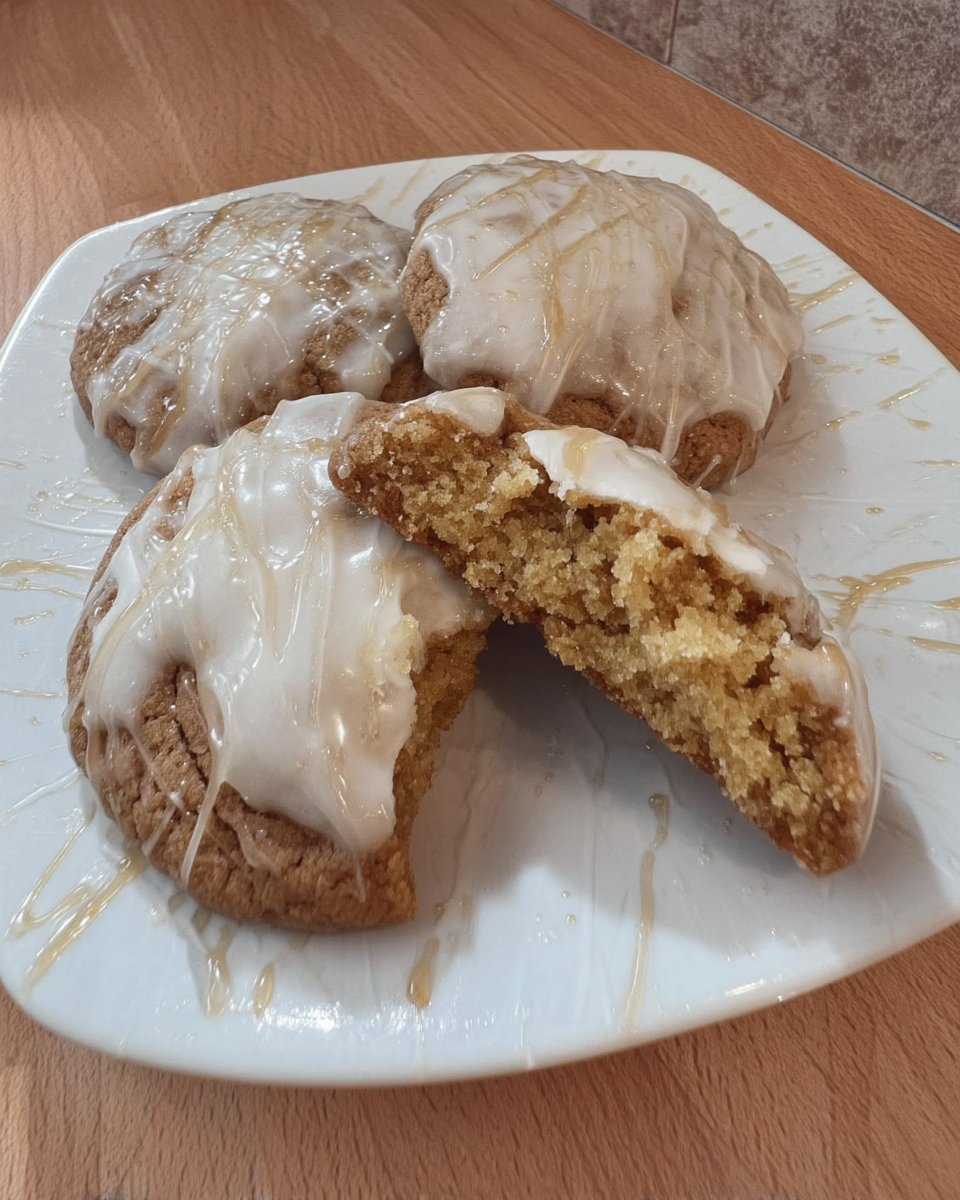
For a fun family activity, you can set out various toppings like sea salt flakes, extra chocolate drizzle, or even a little caramel sauce for everyone to customize their own warm cookie. These are best enjoyed with a cold glass of milk or a hot cup of coffee, making for a simple yet deeply satisfying heritage moment in your busy day.
The Sweet Balance of Tradition
Baking these cookies always reminds me that we do not have to choose between our busy modern lives and the traditions that make us feel at home. This recipe delivers that classic, time-tested flavor in a way that fits into a Tuesday evening or a hectic weekend. I hope you find as much joy in sharing these as I do. For more heritage-inspired bakes that respect your time, visit our Classic Cookie Recipes collection. Please share your baking success with us on Pinterest, Instagram, and Facebook. Happy baking!
