I remember the click of the heavy ceramic lid on Grandma’s cookie jar like it was yesterday. Inside, there were always these Classic Soft Chocolate Chip Cookies, stacked tall and waiting for little hands to find them after school. She didn’t need fancy gadgets; just a wooden spoon, a stained index card, and a heart full of love. This recipe has been a part of my life for decades, and every time I smell that vanilla-scented air, I am right back in her kitchen.

This recipe is a tribute to those quiet afternoons and the simple joy of a home-baked treat. With their honey-gold edges and centers that stay soft for days, these cookies are a timeless staple for any kitchen. They represent the very best of heritage baking—honest, comforting, and absolutely delicious. If you have been looking for that perfect balance of a tender bite and a crisp rim, you have found it right here in this heritage collection.
A Timeless Treasure for Your Cookie Jar
There is a reason why this particular cookie remains the heartbeat of American baking. It is the gold standard of comfort. When you take a bite of these Classic Soft Chocolate Chip Cookies, you aren’t just tasting sugar and flour; you are tasting a tradition that has been passed down through generations. These cookies offer a texture that is increasingly rare in our fast-paced world—a center so pillowy it feels like a hug, contrasted with a delicate crunch that only real butter can provide.
You will love this recipe because it relies on the honesty of simple pantry staples. There are no strange additives or complicated techniques here. It is about the patience of creaming butter and the magic of a hot oven. These cookies also keep remarkably well, staying soft and fresh in the jar for up to five days, making them the perfect companion for a tall glass of cold milk or a quiet cup of afternoon tea. They are, quite simply, the taste of home.
Print
Classic Soft Chocolate Chip Cookies
- Total Time: 1 hour 34 mins
- Yield: 24 cookies
- Diet: Vegetarian
Description
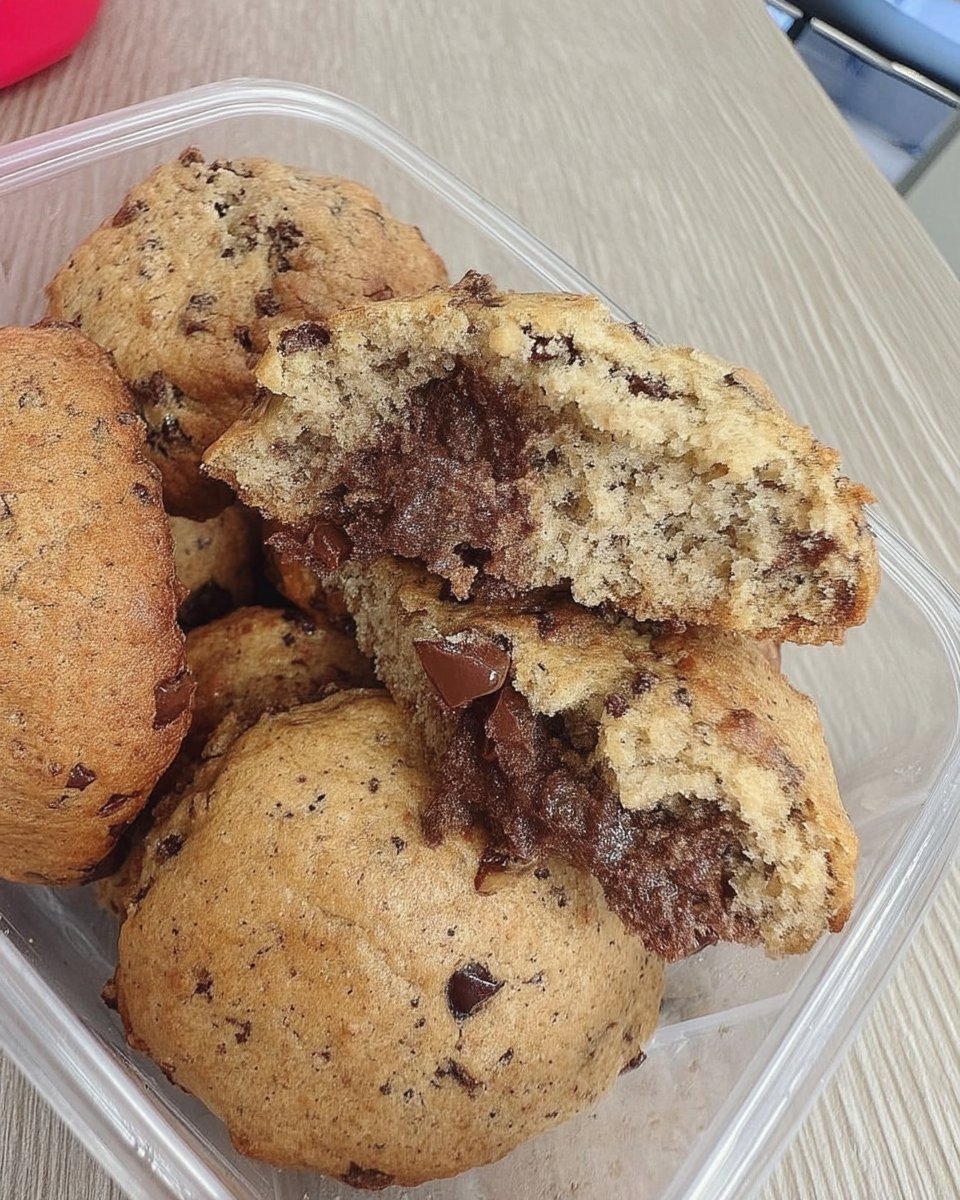
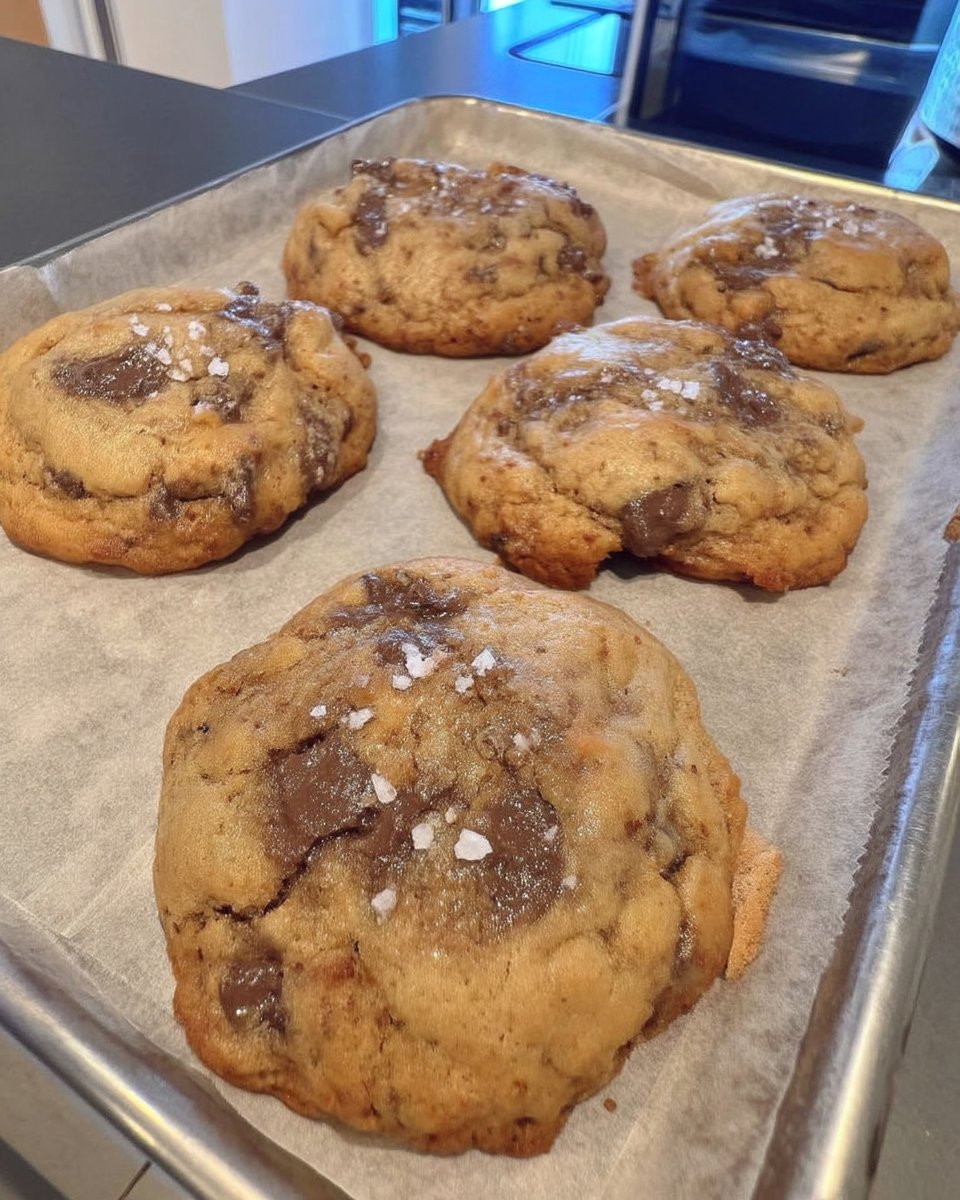
These classic soft chocolate chip cookies offer a nostalgic, pillowy texture with golden edges and melty semisweet chips. Perfect for stocking a family cookie jar, they stay fresh and tender for days, bringing a touch of heritage baking to your home kitchen.
Ingredients
- Unsalted butter, softened
- Light brown sugar
- Granulated sugar
- All-purpose flour
- Pure vanilla extract
- Semisweet chocolate chips
- Large egg
- Baking soda
- Salt
Instructions
- Preheat your oven to 350°F and line two large baking sheets with parchment paper to prevent sticking.
- In a medium-sized mixing bowl, whisk together the all-purpose flour, baking soda, and salt until evenly combined.
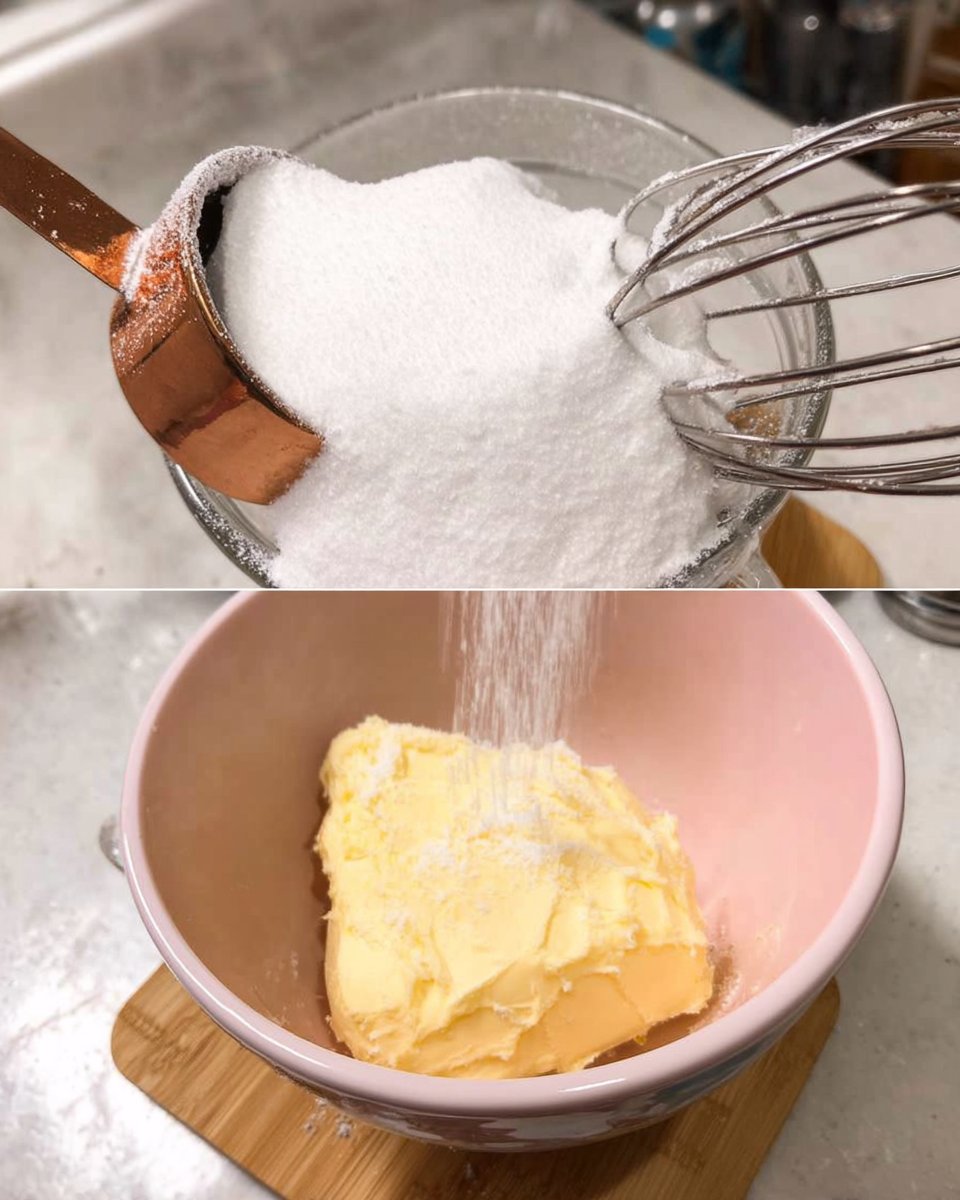
- In a separate large bowl, beat the softened butter with the brown and granulated sugars on medium-low speed for five minutes until the mixture is light and fluffy.
- Add the egg and vanilla extract to the butter mixture, beating until well combined and scraping down the sides of the bowl as needed.
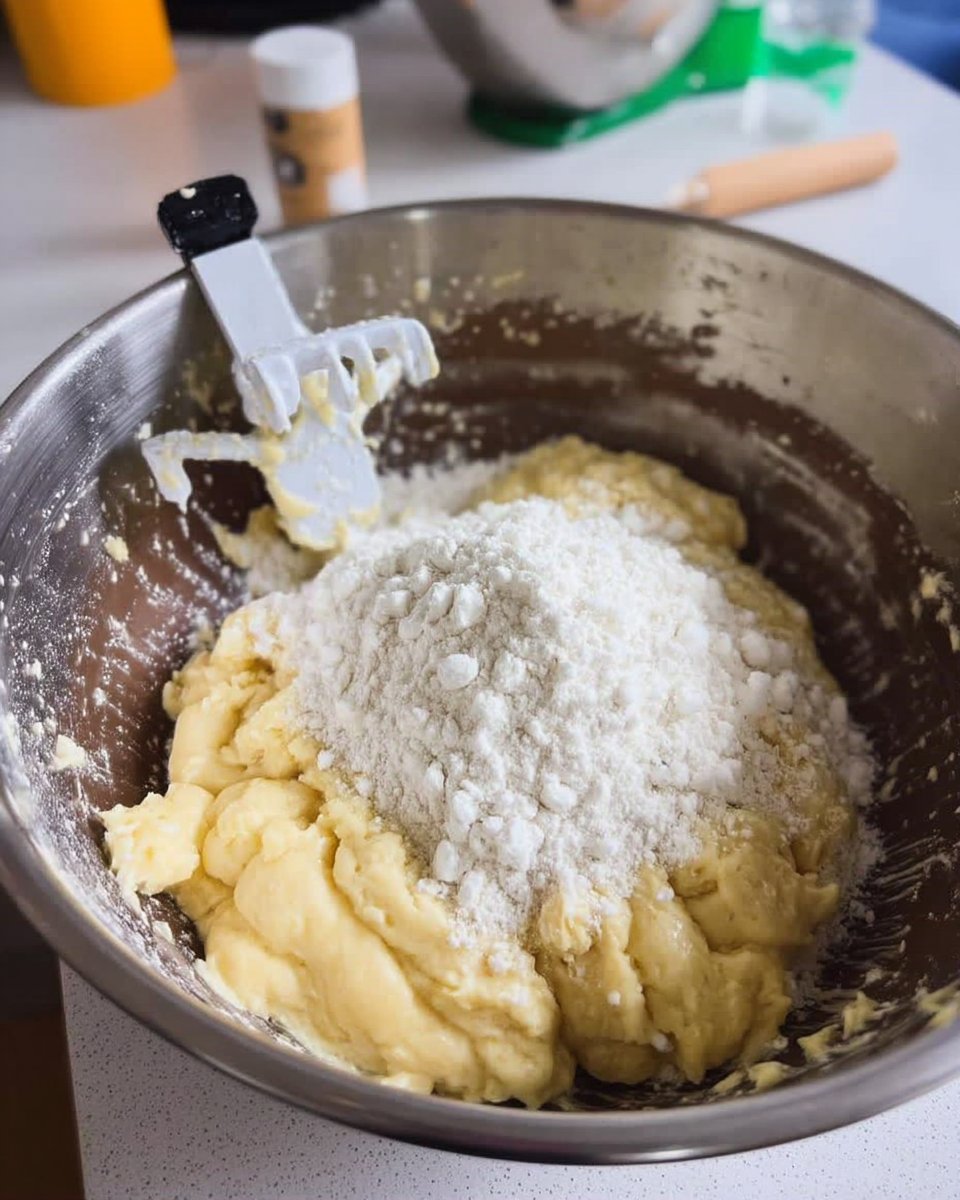
- Turn the mixer to the lowest setting and gradually add the dry flour mixture, mixing only until the white streaks disappear.
- Gently fold in the chocolate chips by hand, then scoop 1.5-tablespoon balls of dough onto the prepared baking sheets.
- Refrigerate the dough balls for at least one hour, then bake one sheet at a time for 12 to 14 minutes until the edges are golden but the centers are still slightly puffed.
- Allow the cookies to rest on the hot baking sheet for 10 minutes before transferring them to a wire rack to cool completely.
Notes
For a superior texture, ensure your butter and egg are at room temperature before you begin to help create a smooth, stable emulsion. If you are not using a kitchen scale, be sure to use the spoon-and-level method when measuring your flour to avoid a dry or crumbly cookie.
- Prep Time: 20 mins
- Cook Time: 14 mins
- Category: Dessert
- Method: Baking
- Cuisine: American
Pantry Staples for Simple Joy
To make these cookies just like I do, you will need to look no further than your own pantry. Each ingredient plays a vital role in creating that nostalgic flavor profile we all cherish.
- Unsalted Butter: This is the foundation of flavor. Make sure it is softened to room temperature so it creams perfectly with the sugars. Using real butter instead of shortening provides that rich, heritage taste.
- Brown and Granulated Sugars: We use a higher ratio of light brown sugar because the molasses in it keeps the cookies moist and soft. The granulated sugar helps give those edges their signature golden crunch.
- All-Purpose Flour: This provides the structure. I always recommend weighing your flour to avoid a dry, crumbly cookie. A heavy hand with the flour is the most common reason cookies lose their softness.
- Vanilla Extract: Always use pure vanilla if you can. It carries the flavor of the dough and brings everything together in a warm, aromatic way.
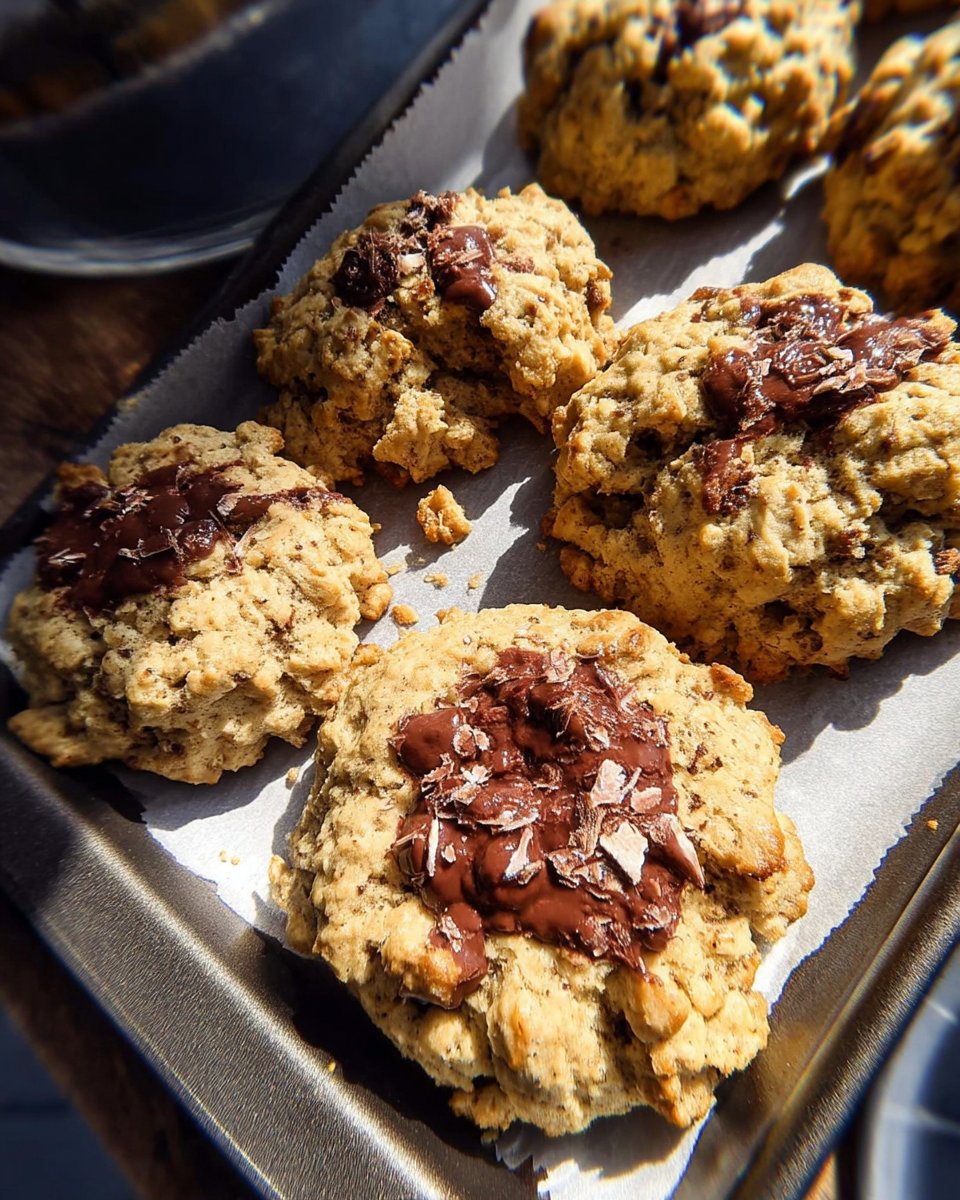
- Semisweet Chocolate Chips: These provide those classic pools of melty chocolate. You can use chips or hand-cut chunks if you prefer a more rustic, old-fashioned look.
- Egg: Just one large egg is needed to bind our dough and add a touch of richness to the crumb.
The Classic Way to Bake
Step 1: Prepare Your Kitchen
Begin by preheating your oven to 350°F. This is the ideal temperature for setting the edges while leaving the centers tender. Line two large baking sheets with parchment paper. This simple step prevents sticking and makes cleanup a breeze, just like the old days when we used to grease the pans with a bit of butter wrap.
Step 2: Whisk the Dry Staples
In a medium-sized mixing bowl, whisk together your all-purpose flour, baking soda, and salt. Mixing these ahead of time helps the leavening agent distribute evenly, so every cookie rises just right. Set this bowl aside for a moment.
Step 3: The Secret to the Creaming Method
In your large mixing bowl, combine the softened butter with both the brown and white sugars. This is where the magic happens. Beat them together on medium-low speed for a full five minutes. You want the mixture to look very light, fluffy, and almost like a pale cloud. This incorporates air and helps the cookies stay soft.
Step 4: Adding the Heart and Soul
Add the egg and that wonderful splash of vanilla extract to your butter mixture. Continue to beat the ingredients until they are well combined. Be sure to scrape down the sides of the bowl with a spatula so nothing is left behind.
Step 5: Folding in the Flour and Chocolate
Turn your mixer to its lowest setting and gradually add the flour mixture. Mix only until the white streaks of flour disappear. Over-mixing at this stage can make a cookie tough, and we want ours to be tender. Gently stir in those chocolate chips by hand with a sturdy spoon.
Step 6: Scooping and Chilling
Using a 1.5-tablespoon scoop, create round balls of dough and place them on your prepared sheets. For the best flavor, I like to let these dough balls rest in the refrigerator for at least an hour. This allows the flour to fully hydrate and the flavors to deepen, a trick Grandma always used for her best batches.
Step 7: Baking to Golden Perfection
Bake one sheet at a time for 12 to 14 minutes. Watch for the edges to turn a soft, golden brown while the centers still look slightly puffed and a bit underdone. They will finish setting as they cool on the hot pan. Let them rest on the sheet for 10 minutes before moving them to a wire rack.
Grandma’s Secrets for Perfect Cookies
The secret to a truly soft cookie often lies in how you measure your ingredients. If you don’t have a kitchen scale, use the ‘spoon and level’ method for your flour to keep the dough light. Also, never underestimate the power of room temperature ingredients. When your egg and butter are at the same temperature, they create a smooth emulsion that leads to a superior texture. If you enjoy learning about the fundamentals, you might find our Classic Cookie Recipes section very helpful for mastering these old-fashioned techniques. Another tip is to pull the cookies out just before you think they are finished; the residual heat from the pan is what creates that perfect, fudgy middle.
Heritage Twists on a Family Favorite
While the classic recipe is perfect on its own, there are many ways to make it your own. My family often adds a half-cup of chopped walnuts or pecans for a bit of crunch and a deeper, earthy flavor. During the colder months, I sometimes swap the semisweet chips for dark chocolate chunks and a pinch of sea salt on top to bring out the richness. If you are looking for ideas for the holidays, our Holiday Cookie Celebrations guide has wonderful ways to adapt this base dough. For those who love a more intense chew, you can look at how others achieve a different texture, such as these chewy chocolate chip cookies which use different ratios of fat and sugar.
Sharing the Warmth
There is nothing quite like serving these cookies while they are still slightly warm from the oven. I love to set them out on a vintage platter alongside a pitcher of cold milk for the grandkids. If you are looking for a way to make tea time special, these cookies pair beautifully with a strong black tea or a mild coffee. For those busy days when you need a treat fast, you can explore our Quick & Easy Cookies for more serving ideas that fit into a modern schedule while keeping that old-world charm. Storing them in a ceramic jar with a tight seal will keep them tasting like they were baked this morning.
The Sweet Heritage of Home Baking
Baking these Classic Soft Chocolate Chip Cookies is about more than just satisfying a sweet tooth; it is about keeping a tradition alive. Every time we preheat the oven and pull out the mixing bowl, we are connecting with the generations of bakers who came before us. I hope this recipe finds a permanent home in your own family index card box and that it brings as much joy to your kitchen as it has to mine for all these years. If you want to see how we decorate these for special events, please visit our Cookie Decorating Traditions page. Please share your baking photos with our community on Facebook, Instagram, or Pinterest. Happy baking, and keep that cookie jar full!
