Many gluten-free cookies turn into dry, sandy pucks within hours of leaving the oven, a problem that has plagued the cookie jars of wheat-free bakers for years. I spent months adjusting my family’s heritage recipe to guarantee these treats stay soft and chewy for a full week. By focusing on moisture retention and the right balance of fats, we can finally have a jar-fresh classic that doesn’t crumble the moment you take a bite.

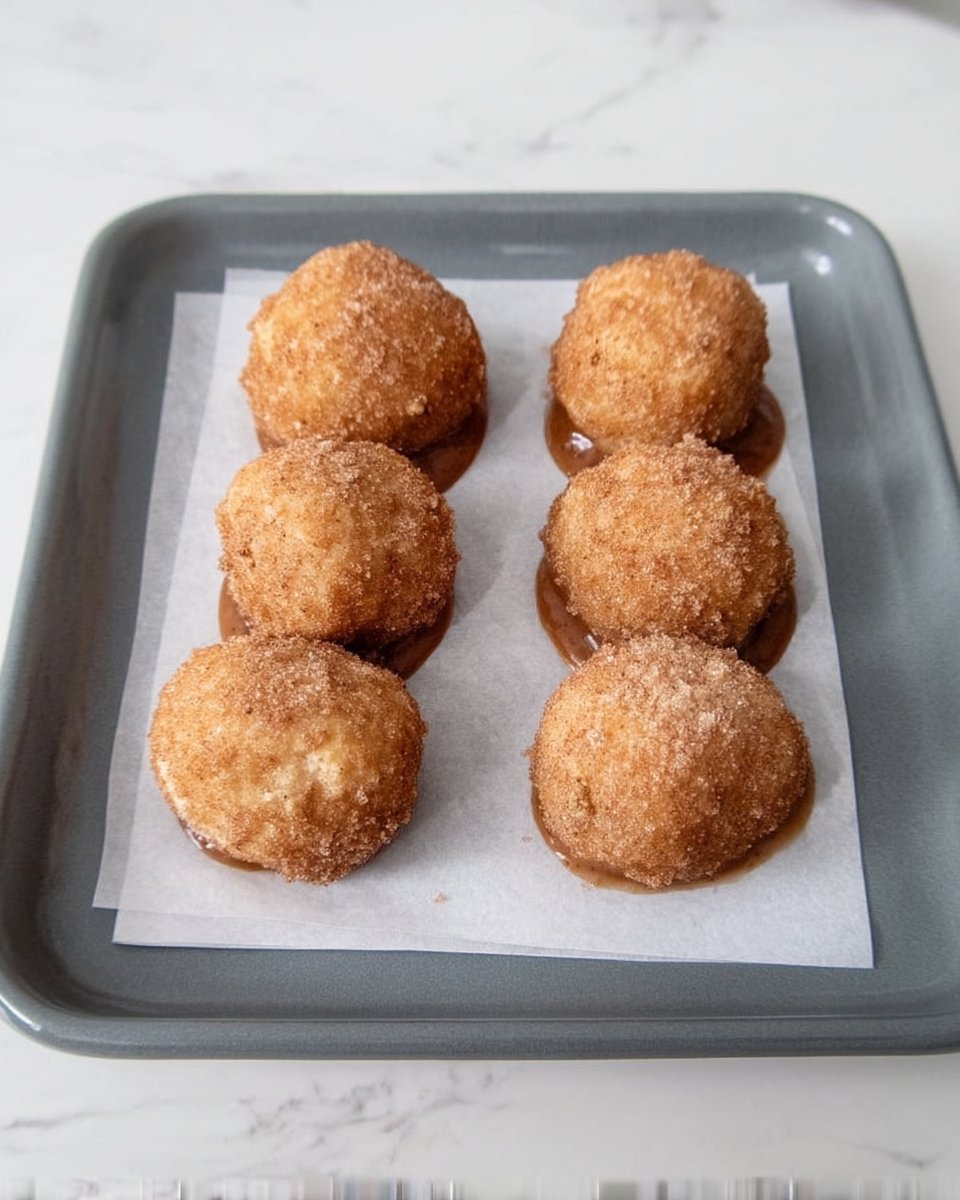
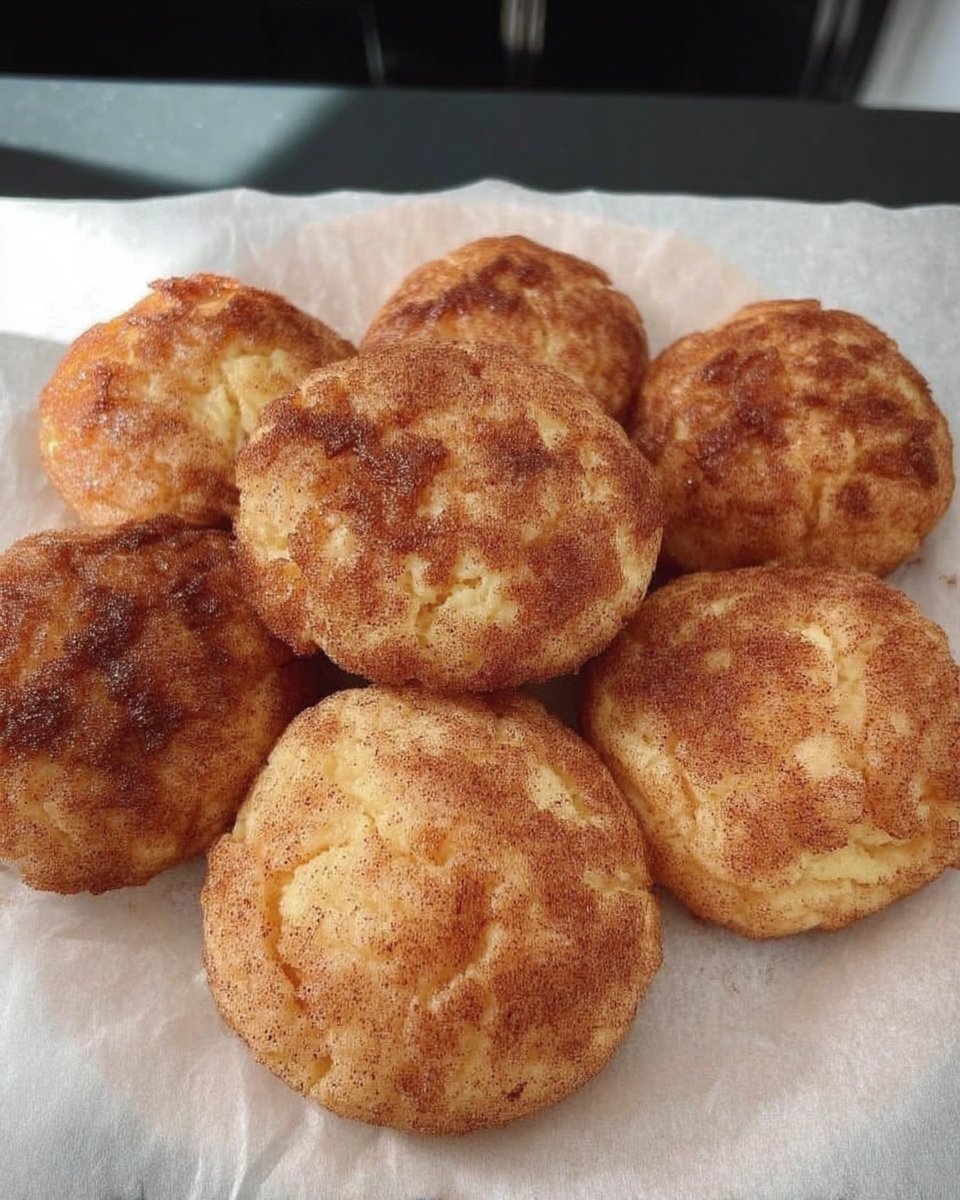
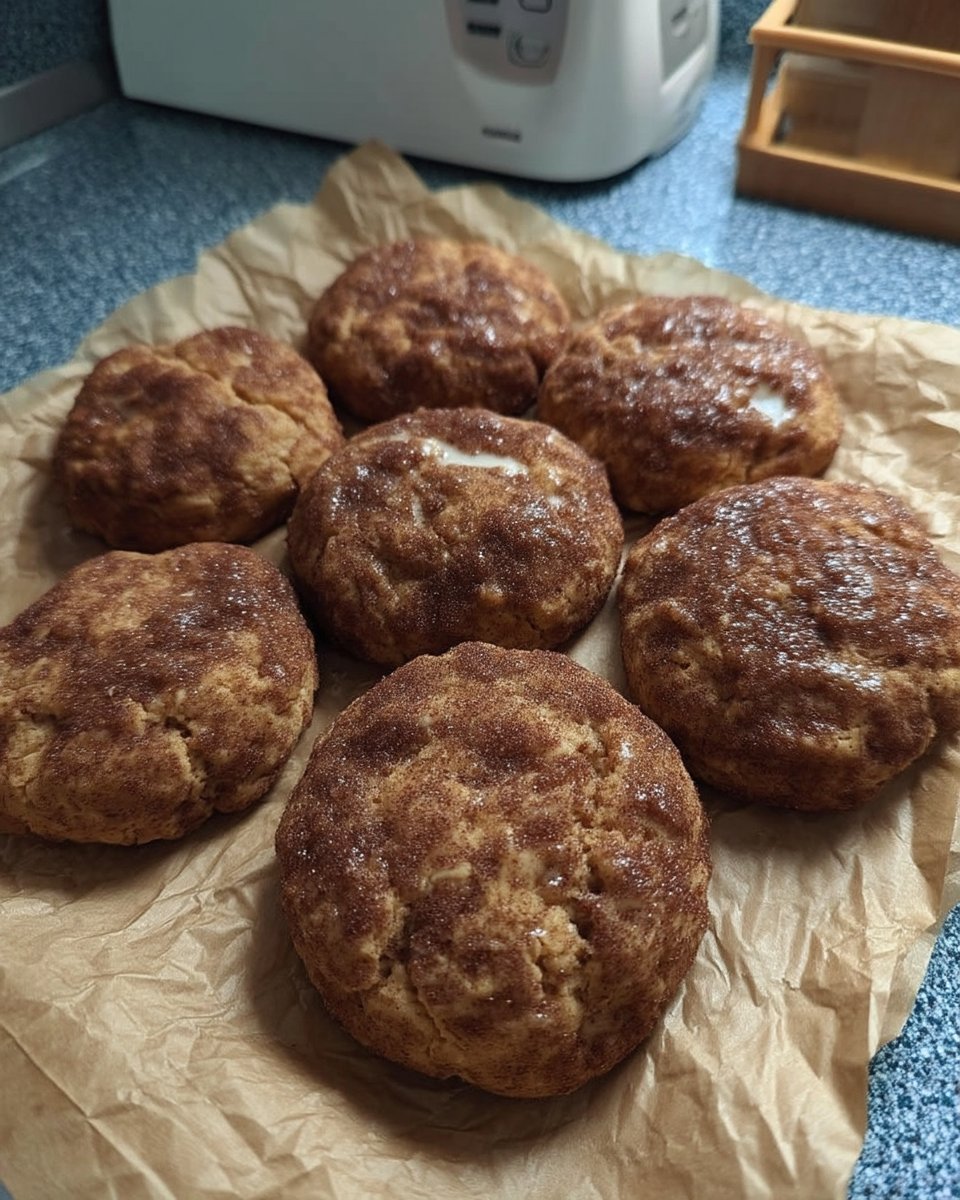
These sweet and tangy gluten-free snickerdoodles capture that nostalgic cinnamon-sugar aroma perfectly without any of the gluten. With a beautiful crackled crust and a pillowy, tender center, they prove that vintage flavors can be preserved while making modern texture improvements. You will love how the signature cream of tartar tang shines through in every soft, satisfying mouthful.
A Perfect Soft Texture That Stays Fresh
The real magic of this recipe lies in its longevity. Most gluten-free bakes are best eaten within minutes of cooling, but these are designed to be better on day two and three. We achieve this by using a high ratio of butter to flour and a specific chilling period that allows the gluten-free starches to fully hydrate. This prevents that gritty mouthfeel that often ruins gluten-free desserts.
Another reason to love these cookies is the crackle. A true snickerdoodle is defined by its crinkled top and the slight crunch of the cinnamon-sugar coating. By using a double-rolling technique, we make sure the crust is prominent while the interior remains moist and doughy. It is the ultimate comfort food for anyone who misses the simple joy of a bakery-style cookie that actually bends instead of snaps.
Finally, the flavor profile is balanced to perfection. The cream of tartar provides a subtle acidity that cuts through the sweetness of the sugar. It reacts with the baking soda to create a light, airy lift that is hard to find in dense gluten-free recipes. These cookies aren’t just “good for being gluten-free”; they are objectively wonderful cookies that happen to be safe for everyone at the table.
Print
Gluten Free Snickerdoodles
- Total Time: 1 hour 25 mins
- Yield: 12 cookies
- Diet: Gluten-Free
Description
These gluten-free snickerdoodles feature a classic tangy flavor and a signature crackled cinnamon-sugar crust. Engineered to stay soft and pillowy for days, they offer the perfect nostalgic treat for those following a wheat-free lifestyle.
Ingredients
- 2 cups gluten-free flour blend (rice flour and starch based)
- 1/2 teaspoon xanthan gum (omit if already in blend)
- 2 teaspoons cream of tartar
- 1 teaspoon baking soda
- 1/4 teaspoon salt
- 1/2 teaspoon ground cinnamon (for dough)
- 1 cup unsalted butter, room temperature
- 1 1/2 cups granulated sugar
- 1 large egg, room temperature
- 1 teaspoon pure vanilla extract
- 1/4 cup granulated sugar (for coating)
- 2 tablespoons ground cinnamon (for coating)
Instructions
- In a medium bowl, whisk together the gluten-free flour, xanthan gum, salt, baking soda, cream of tartar, and a pinch of cinnamon.
- Using a stand mixer or hand mixer, beat the room-temperature butter and 1.5 cups sugar for at least 4 minutes until light and aerated.
- Add the egg and vanilla extract to the butter mixture and beat on medium speed for 1 minute until pale and fluffy.
- Turn the mixer to low and slowly add the dry ingredients, mixing until just combined into a sticky dough.
- Wrap the dough tightly in plastic wrap and refrigerate for at least one hour to allow the flours to hydrate.
- Preheat oven to 375°F (190°C) and line a baking sheet with parchment paper.
- Divide the chilled dough into 12 equal pieces and roll into smooth balls.
- Roll each ball in the cinnamon-sugar coating mixture, let rest for 5 minutes, then roll a second time for a thick, crackly crust.
- Place balls on the baking sheet and bake for 10 minutes until puffed; let them cool completely on the pan to reach the perfect chewy consistency.
Notes
For the best texture, always ensure your egg and butter are at true room temperature to create a stable emulsion that prevents the cookies from drying out. If you notice the cookies becoming firm after a few days, store them with a slice of gluten-free bread to restore their original softness.
- Prep Time: 15 mins
- Cook Time: 10 mins
- Category: Dessert
- Method: Baking
- Cuisine: American
The Secrets to Gluten-Free Moisture

To get that perfect chew, we have to look closely at our ingredients. Gluten-free flour lacks the protein structure of wheat, so we compensate with moisture-locking components. Here is what you will need for these soft wonders:
- Gluten-Free Flour Blend: Look for a high-quality blend that includes rice flour and starches. If your blend doesn’t have it, we add xanthan gum to provide the “stretch” usually found in gluten.
- Cream of Tartar: This is the non-negotiable heart of a snickerdoodle. It gives the tangy flavor and helps create that signature crackled surface.
- Unsalted Butter: We use room temperature butter to create a stable emulsion with the sugar. This fat content is what keeps the cookies from drying out in the jar.
- Cinnamon and Sugar: We use a high-quality ground cinnamon for both the dough and the coating to provide a warm, aromatic finish.
- Egg at Room Temperature: A cold egg can seize your butter, leading to an uneven bake. A room-temp egg blends smoothly, creating a more uniform crumb.
- Vanilla Extract: Always use pure vanilla to round out the sweetness and add depth to the butter notes.
When selecting your flour, consistency is key. I have found that blends using a mix of brown rice flour and potato starch tend to hold onto moisture better than those based primarily on cornstarch. This small detail is what keeps your cookies soft for days instead of hours.
How to Master the Perfect Snickerdoodle
Step 1: Prepare the Dry Base
In a medium bowl, whisk together your gluten-free flour, xanthan gum, salt, baking soda, and that essential cream of tartar. Adding a pinch of cinnamon directly into the dough at this stage helps the flavor permeate every bite, rather than just sitting on the surface.
Step 2: Cream the Butter and Sugar
Using a stand mixer or a hand mixer, beat the room-temperature butter and granulated sugar together. You want to do this for at least 4 minutes. This process isn’t just about mixing; it’s about aerating the butter. The tiny air pockets you create now will expand in the oven, giving you a light, soft texture rather than a heavy disk.
Step 3: Emulsify the Wet Ingredients
Add the egg and vanilla extract to the butter mixture. Beat on medium speed for about a minute. You want the mixture to look pale and fluffy. This emulsion is what holds the structure of the cookie together once the flour is added.
Step 4: Combine and Chill
Turn your mixer to low and slowly add the dry ingredients. Mix until just combined. The dough will be quite sticky and soft—this is a good sign! It means there is plenty of moisture. Wrap the dough tightly in plastic wrap and chill it in the refrigerator for at least one hour. Chilling allows the rice flour to absorb the liquid, which eliminates grit.
Step 5: Shape and the Double-Roll Secret
Once chilled, divide the dough into 12 equal pieces. Roll them into smooth balls. Now, roll each ball in your cinnamon-sugar mixture. Let them sit for 5 minutes, then roll them in the sugar a second time. This double-coating is the secret to a thick, crackly crust that stays beautiful after baking.
Step 6: Bake to Perfection
Place the balls on a parchment-lined sheet and bake at 375°F (190°C) for 10 minutes. The cookies should look slightly puffed and no longer wet in the middle. They will look underdone, but that is the secret. They will firm up on the hot pan while keeping their soft, chewy heart.
Mehmet’s Wisdom for Jar-Fresh Softness
The biggest mistake people make with gluten-free cookies is overbaking. Because these cookies don’t brown as quickly as wheat cookies, it is easy to leave them in too long. Take them out when the edges are just set. They will settle into a perfect chew as they cool. For those interested in more specialized dietary bakes, I recommend checking out our Wholesome Cookie Options for more texture-tested ideas.
Another pro tip is the “slice of bread” trick. If you find your cookies are starting to firm up after a few days, put a single slice of gluten-free bread in the airtight container with them. The cookies will pull the moisture from the bread, staying soft for much longer. You can also refer to Gluten Free on a Shoestring for excellent technical deep-dives into how gluten-free starches behave during the cooling process.
Creative Tweaks for Modern Heritage
While the classic cinnamon-sugar is hard to beat, you can try a few variations to suit your taste. For a deeper, more caramel-like flavor, replace half of the granulated sugar in the dough with light brown sugar. This adds even more moisture and a soft, fudgy quality to the center. If you are baking for the holidays, you might want to look at our Holiday Cookie Celebrations for inspiration on adding ginger or nutmeg to the rolling sugar for a seasonal twist.
You can also make these dairy-free by using a high-quality vegan butter stick. Make sure it is the kind designed for baking, as tub margarines have too much water and will cause the cookies to spread too thin. A touch of maple extract in place of vanilla can also add a wonderful autumnal depth that pairs beautifully with the cinnamon.
How to Enjoy Your Fresh Snickerdoodles
These cookies are best served at room temperature with a cold glass of milk or a hot cup of coffee. The cinnamon notes are particularly wonderful when paired with a light roast coffee. If you are serving these at a gathering, they look beautiful stacked in a glass pedestal jar, which also keeps them airtight and soft. For more serving ideas and vintage presentation tips, check out our Classic Cookie Recipes.
If you want that “just-out-of-the-oven” experience on day four, simply pop a cookie in the microwave for 5 to 8 seconds. This softens the butter and sugars just enough to bring back that pillowy, warm texture. It makes for a perfect mid-afternoon treat that feels like a hug in a bite.
The Final Word on Texture
Achieving a soft, long-lasting gluten-free cookie is a matter of respecting the ingredients and giving the dough the time it needs to rest. Once you master the double-roll and the quick-bake method, you will never have to settle for dry cookies again. These snickerdoodles are a testament to the fact that we don’t have to give up our favorite traditions just because we’ve changed our flour. For more time-saving treats, feel free to browse our Quick & Easy Cookies. We would love to see your baking results, so please share your photos and tag us on Pinterest, Instagram, or Facebook.
