I still remember the first time I saw my grandmother making these delicate French treats in her small kitchen. The original recipe was scribbled in her faded handwriting on a card that had clearly seen decades of butter and flour. While she spent hours meticulously shaping every batch, I’ve found a way to bring that same heritage flavor into our busy modern lives without the stress.

These Tuile Cookies are the perfect example of how we can respect tradition while working with modern speeds. They are light, buttery, and have a satisfying snap that makes every bite feel like a special occasion. You only need a few pantry staples and a little bit of patience to create a cookie that everyone will think came from a professional pastry shop.
A Modern Twist on a Vintage Classic
You will love this recipe because it captures the essence of sophisticated French baking with a streamlined process that fits your schedule. These cookies are incredibly thin and crisp, offering a delicate texture that is hard to find in standard drop cookies. They are the ultimate way to show off your baking skills without needing an entire day in the kitchen.
Because they use basic ingredients like eggs, sugar, and butter, you can whip them up whenever a craving for something light and sweet hits. The golden, toasted edges provide a rich caramel flavor that pairs beautifully with a cup of afternoon tea or a scoop of cool ice cream. It is a heritage recipe that has been updated for efficiency, making it accessible for even the busiest home baker.
They are also highly customizable, allowing you to experiment with different shapes and flavors once you master the basic technique. Whether you leave them flat, curl them into classic roof-tile shapes, or roll them into elegant cigarettes, the result is always impressive. This is a recipe that honors the past while staying perfectly practical for today.
Print
Tuile Cookies
- Total Time: 1 hour 17 mins
- Yield: 24 cookies
- Diet: Vegetarian
Description
These delicate French Tuile cookies are incredibly thin, buttery, and offer a satisfying crispness that elevates any dessert spread. By using a modern chilling technique, this heritage recipe becomes an easy yet sophisticated way to bring professional pastry shop quality into your own kitchen.
Ingredients
- Egg
- Powdered Sugar
- Melted Butter
- Almond Flour
- All-Purpose Flour
- Vanilla Extract
- Salt
- Optional: Toasted almonds or dark chocolate
Instructions
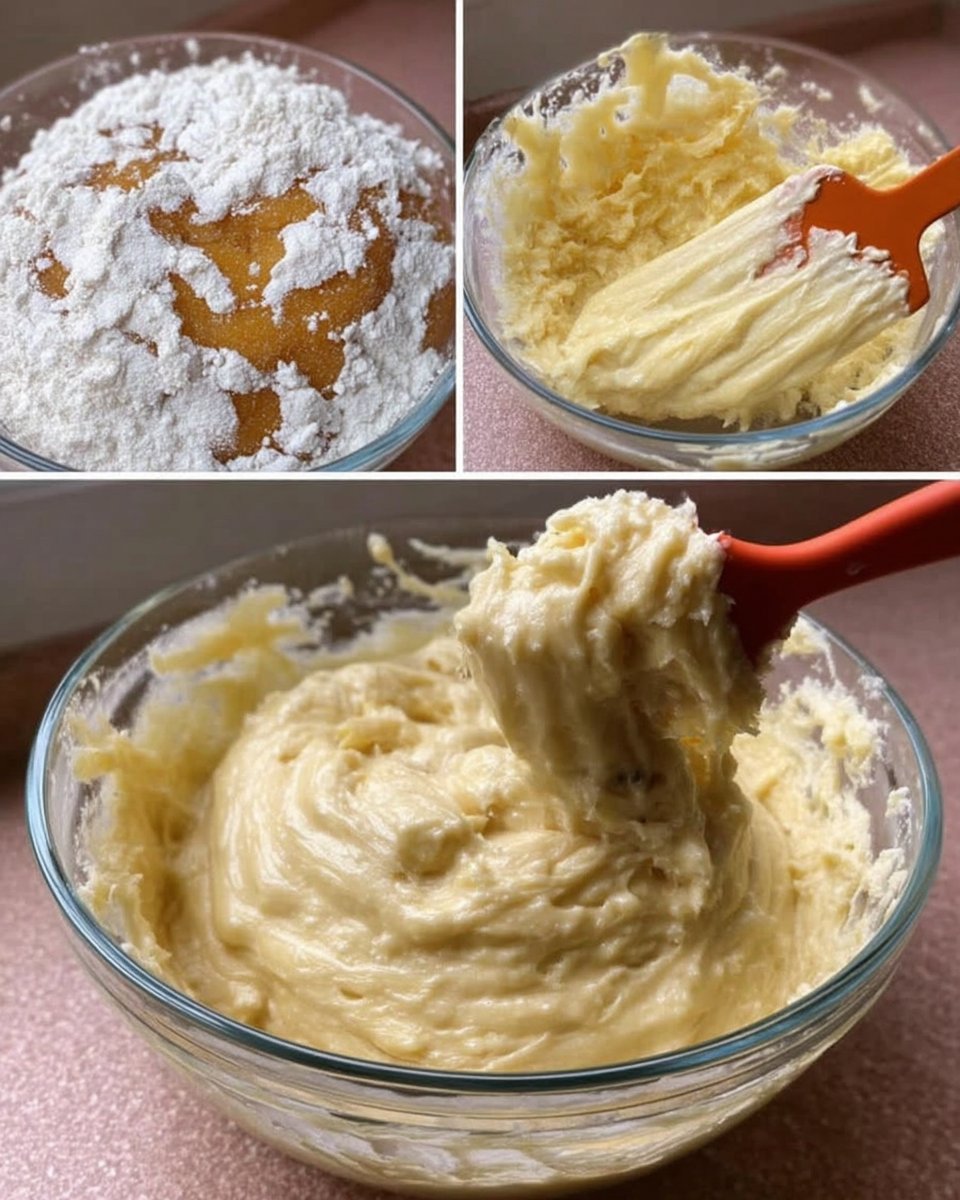
- In a medium bowl, whisk together the egg, vanilla extract, salt, and powdered sugar until the mixture is completely smooth and no lumps remain.
- Slowly pour the warm melted butter into the egg mixture while stirring continuously until the batter looks glossy and uniform.
- Add the almond flour and all-purpose flour, then use a rubber spatula to fold them in gently until just combined.
- Place the batter in the refrigerator to chill for at least one hour to allow it to firm up for easier spreading.
- If using almonds, lightly toast them in a pan until they are golden brown before starting the baking process.
- Line a baking sheet with parchment paper and spread a small amount of batter very thinly (about 1mm thick) using an offset spatula.
- Bake at 330ºF (165ºC) for 4 to 7 minutes until the edges are honey-gold and the center is set.
- Working quickly, remove the hot cookies from the oven and immediately drape them over a rolling pin or dowel to create a curved shape.
Notes
To achieve the perfect texture, ensure the batter is spread so thinly that it is almost translucent on the parchment paper. If your cookies harden before you can finish shaping them, simply pop the tray back into the oven for 30 seconds to soften them up again.
- Prep Time: 1 hour 10 mins
- Cook Time: 7 mins
- Category: Dessert
- Method: Baking
- Cuisine: French
Simple Ingredients for Heritage Results
Making these cookies doesn’t require a trip to a specialty store; you likely have everything you need in your pantry right now. I always suggest using a kitchen scale for the most accurate results, as the balance of ingredients is what creates that iconic crispness.
- Egg: This acts as the binder, providing the structure needed to hold the thin batter together during the bake.
- Powdered Sugar: We use this instead of granulated sugar to keep the batter smooth and ensure a delicate, melt-in-your-mouth finish.
- Melted Butter: This gives the cookies their rich, golden color and that signature buttery flavor we all remember from childhood.
- Almond Flour: A small amount of almond flour adds a subtle nuttiness and improves the final snap of the cookie.
- All-Purpose Flour: This provides just enough strength to allow the cookies to be shaped while they are still warm.
- Vanilla Extract and Salt: These simple additions round out the flavors and make the sweetness pop.
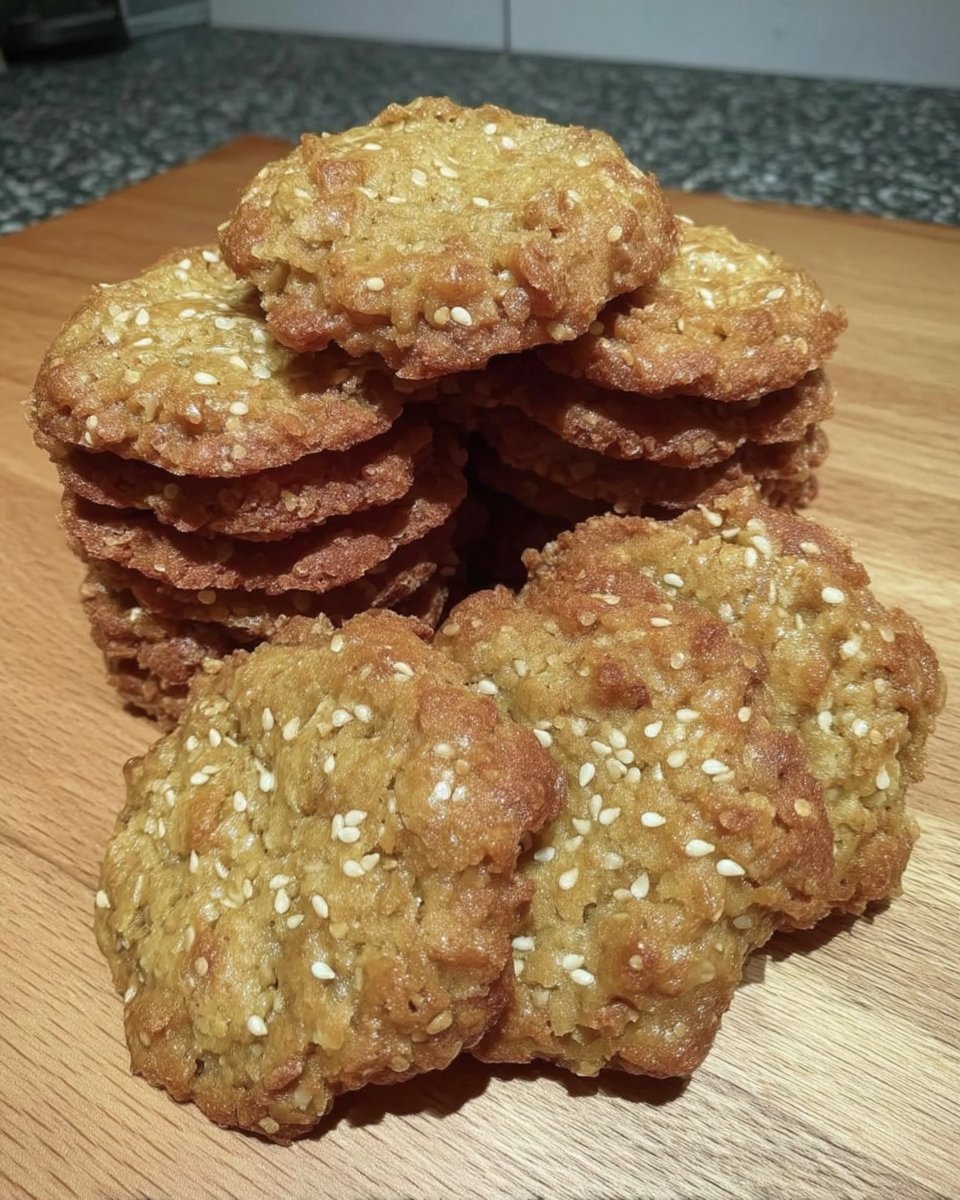
- Optional Toppings: Toasted almonds or dark chocolate can be added to personalize your batch for different occasions.
How to Make Perfect Tuiles
Step 1: Whisk the Base Batter
In a medium bowl, combine your egg, vanilla extract, salt, and powdered sugar. Use a whisk to blend everything together until the mixture is completely smooth and there are no lumps of sugar left.
Step 2: Incorporate the Melted Butter
Slowly pour your warm melted butter into the egg mixture. Stir continuously to make sure the butter is fully incorporated and the batter looks glossy and uniform.
Step 3: Mix in the Flours
Add the almond flour and the all-purpose flour to the bowl. Use a rubber spatula to fold the flours in gently until just combined, being careful to scrape the sides and bottom of the bowl so the batter is even throughout.
Step 4: Chill for Modern Speed
Place the batter in the refrigerator to chill for at least one hour. This step is a modern shortcut that makes the batter firmer and much easier to spread into those paper-thin circles later on.
Step 5: Prep Your Almonds (Optional)
If you are making almond tuiles, take this time to lightly toast your sliced almonds in a pan until they are golden brown. This step is vital because the cookies bake so quickly that the almonds won’t have time to toast in the oven.
Step 6: Spread and Shape
Line a baking sheet with parchment paper and spread a small amount of batter very thinly using an offset spatula. You want it to be about one millimeter thick. For almond tuiles, sprinkle the toasted nuts on top now.
Step 7: Bake to Golden Perfection
Bake at 330ºF (165ºC) for 4 to 7 minutes. Watch the oven closely rather than relying on a timer; you want the edges to be a beautiful honey-gold while the center is just set.
Step 8: The Hot Shape
Working quickly, remove the cookies from the oven and immediately drape them over a rolling pin or dowel to create a curve. If they cool too much and become brittle, pop them back in the oven for 30 seconds to soften them up again.
Meagan’s Quick Tips for Success
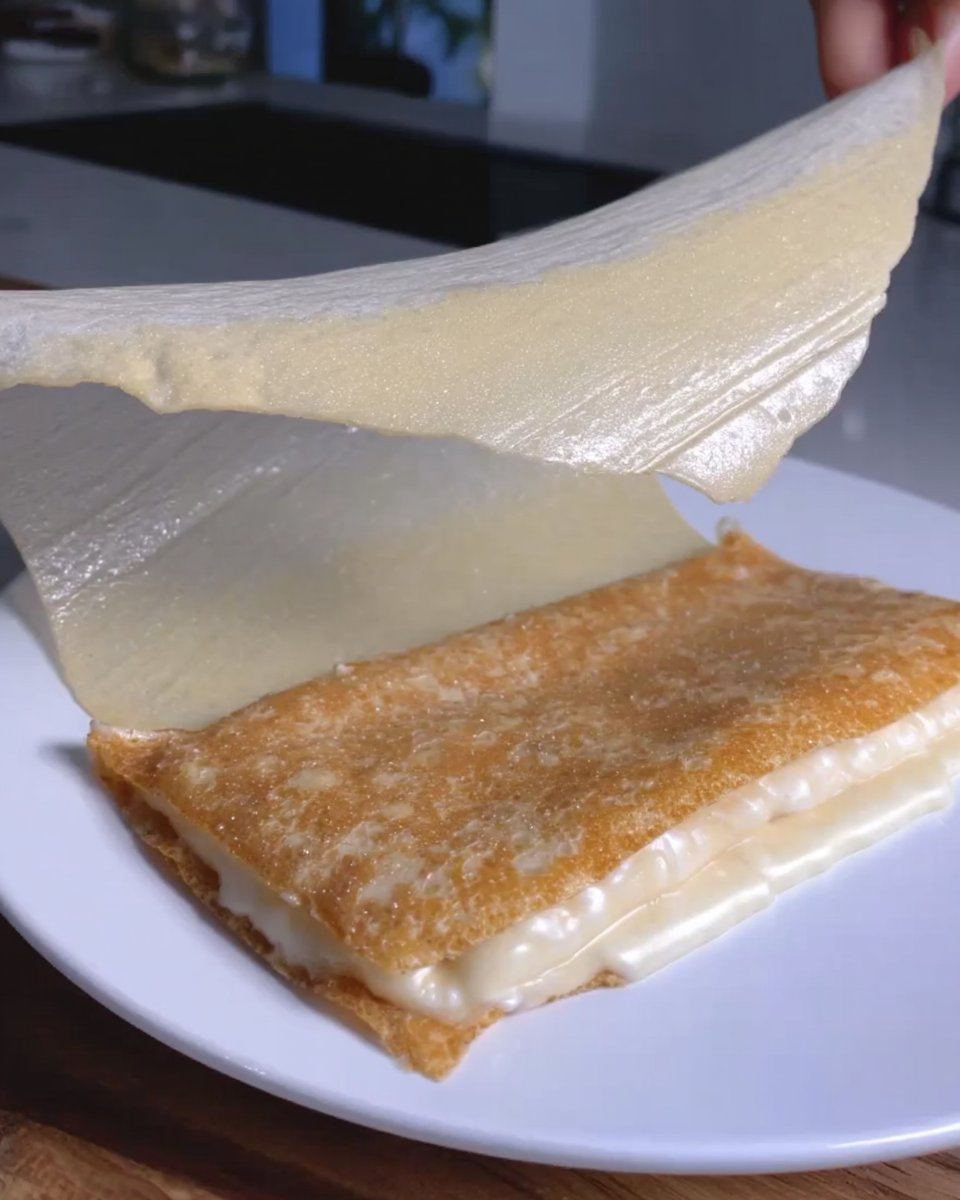
The most important secret to a perfect tuile is the thickness; if the batter is too thick, the cookie will be chewy rather than crisp. I always aim for a layer so thin you can almost see the parchment paper through it. Using parchment paper instead of a silicone mat makes it much easier to peel the cookies off without breaking them. Always shape your cookies directly on the hot baking tray to keep them flexible for as long as possible. If you want to learn more about basic techniques, our Quick & Easy Cookies section has plenty of advice. For those who want to master the rolling technique, I highly recommend looking at this detailed guide on shaping cigarette cookies to get your technique just right.
Easy Ways to Change the Flavor
You can easily adapt this heritage recipe to suit your family’s tastes with a few simple pantry swaps. Try replacing the vanilla extract with almond, lemon, or even orange extract for a bright citrus note. For a beautiful presentation at a party, dip the ends of cooled cigarette cookies into melted dark chocolate and let them set at room temperature. You can also create ‘lace’ tuiles by piping the batter in a random pattern rather than spreading it smooth. If you are looking for more festive ideas for your next get-together, see our Holiday Cookie Celebrations for inspiration.
Simple Ways to Serve and Share
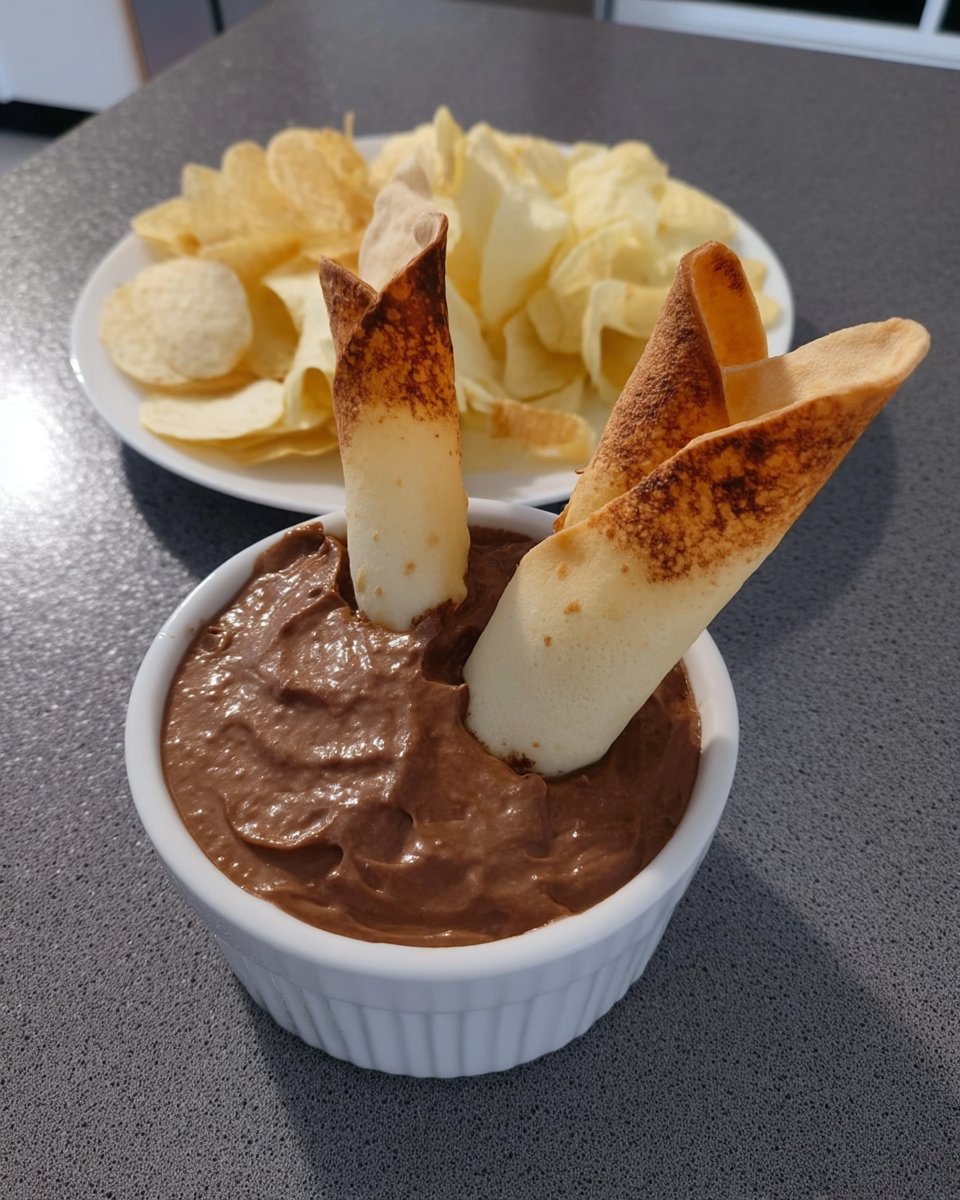
These cookies are a wonderful addition to any dessert spread, especially when you want something light to balance out heavier treats. I love serving them alongside a bowl of fresh berries and whipped cream for a quick weeknight dessert that feels elegant. They also make a fantastic garnish for chocolate mousse or vanilla bean ice cream. If you are putting together a gift basket, these fit perfectly in a tall tin alongside other favorites from our Classic Cookie Recipes collection.
Heritage Rediscovered
Making Tuile Cookies is a beautiful way to bring a bit of history into your modern kitchen without needing a lot of extra time. By simplifying the process and using a few quick techniques, we can keep these traditional recipes alive for the next generation to enjoy. I hope this recipe becomes a regular part of your baking routine, just as it has in mine. For more ways to celebrate heritage through baking, visit our Cookie Decorating Traditions page. Don’t forget to share your creations with us on Instagram, Pinterest, and Facebook!

