I still remember the way the winter light would filter through my grandmother’s kitchen window, catching the vibrant crimson of her cooling Red Velvet Cookies. It was a recipe she kept tucked away on a stained index card, a treasure she only brought out when the world outside turned grey and cold. There was something magical about the way that deep red dough transformed into soft, pillowy treats that tasted like a warm hug from the past.

These Red Velvet Cookies have been a mainstay in my own kitchen for over forty years now, carrying with them the laughter of my children and the quiet joy of slow Sunday afternoons. They are simple, honest cookies that rely on the timeless combination of cocoa, butter, and sweet vanilla to create a flavor that is truly unforgettable. This recipe is a testament to the beauty of heritage baking, where every ingredient serves a purpose and every bite feels like coming home.
A Timeless Classic for Your Cookie Jar
You will fall in love with these Red Velvet Cookies because they offer a sense of comfort that modern, flashy recipes often miss. There is a deep, nostalgic satisfaction in biting into a cookie that has the perfect balance of a light cocoa base and the creamy sweetness of white chocolate. These cookies are sturdy enough to be tucked into a lunchbox yet soft enough to melt in your mouth, making them a versatile favorite for any generation.
They represent the kind of baking that doesn’t require fancy equipment or hard-to-find ingredients, just a bit of patience and a lot of heart. The striking red color makes them feel like a special occasion treat, but the simplicity of the method means you can whip up a batch whenever you need a little bit of cheer. They stay fresh and soft for days, ensuring your cookie jar is always a place of discovery and delight for anyone who wanders into your kitchen.
Print
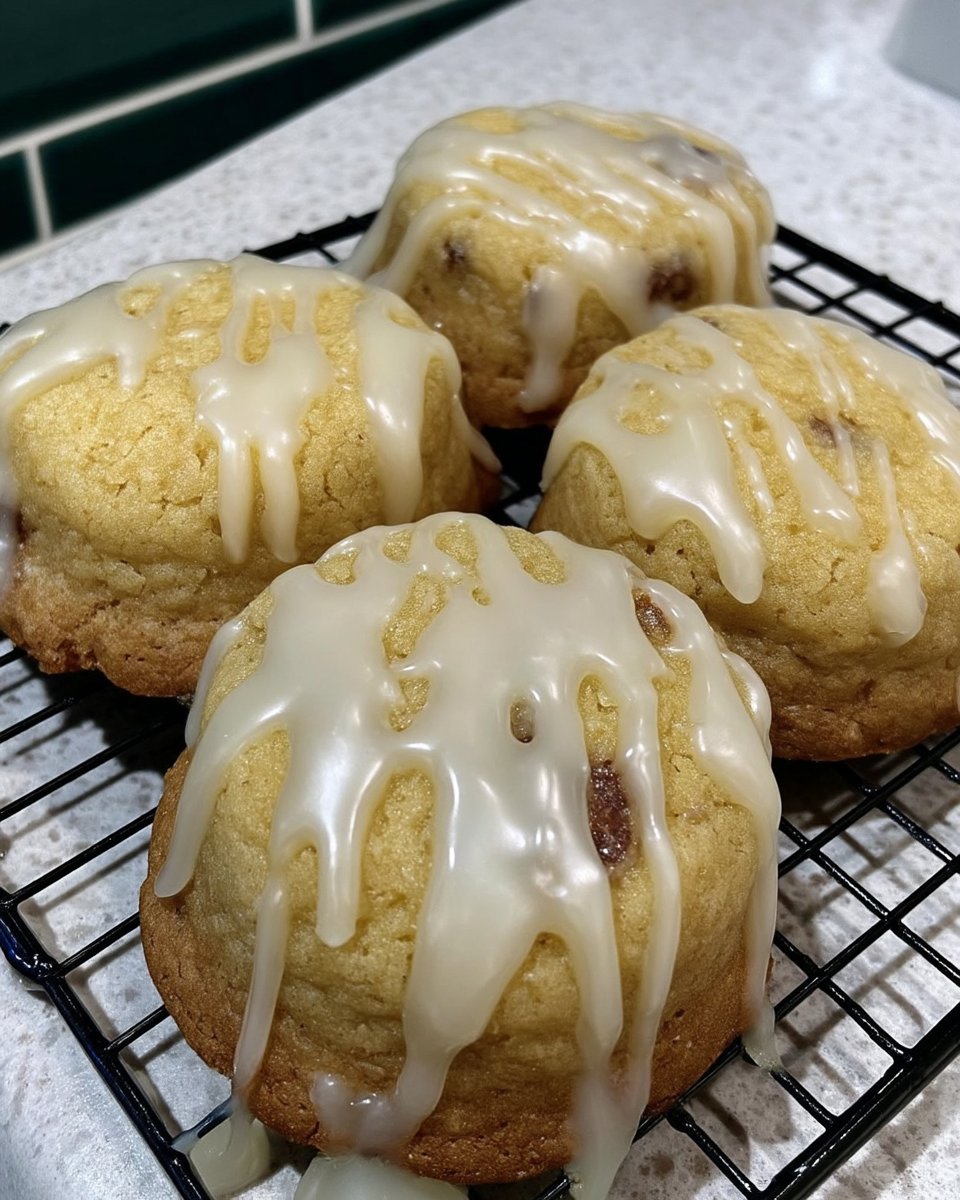
Red Velvet Cookies
- Total Time: 1 hour 29 mins
- Yield: 8 large cookies
- Diet: Vegetarian
Description
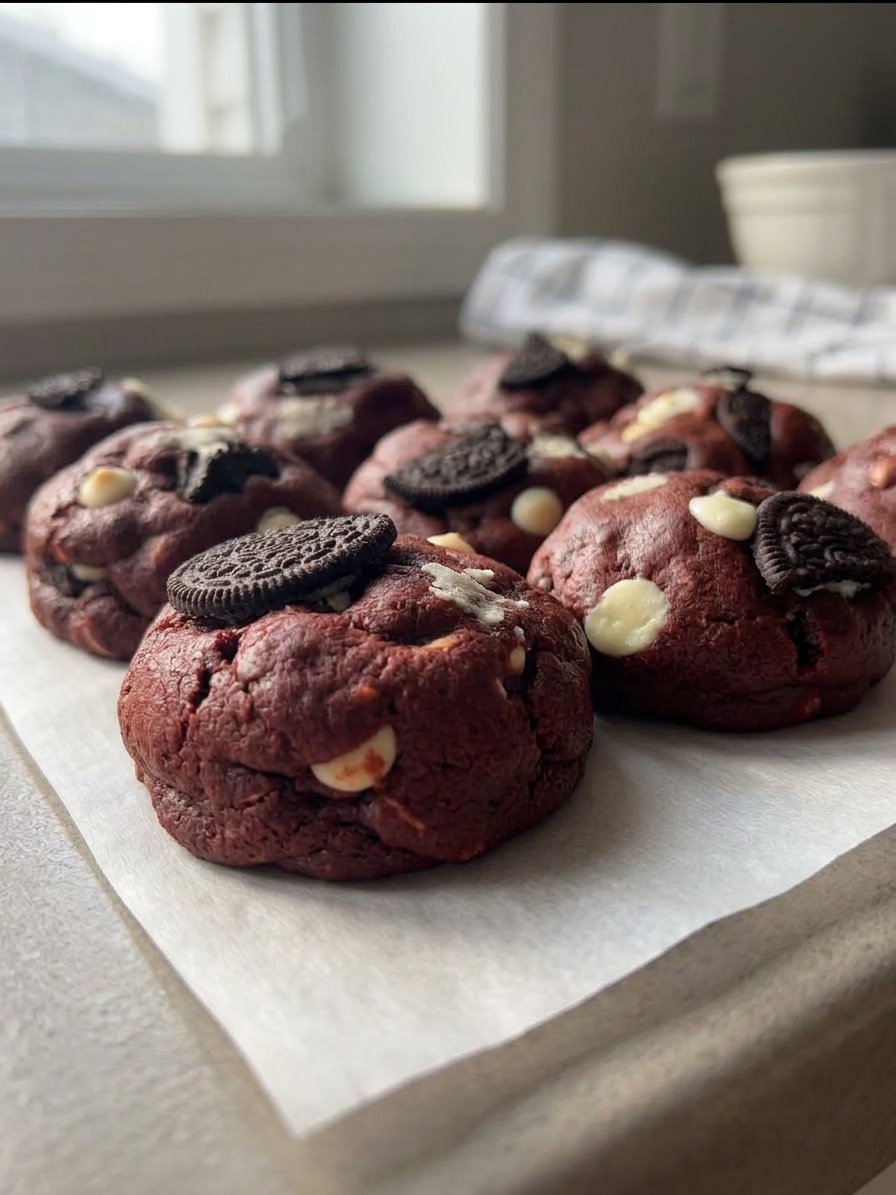
These heritage-style Red Velvet Cookies are thick, soft-centered, and bursting with a gentle cocoa flavor. Adorned with sweet white chocolate chips and a vibrant crimson hue, they bring a touch of nostalgic elegance to any dessert platter.
Ingredients
- Unsalted Butter, softened
- Light Brown Sugar
- White Sugar
- 1 Medium Egg
- Pure Vanilla Extract
- Red Food Coloring
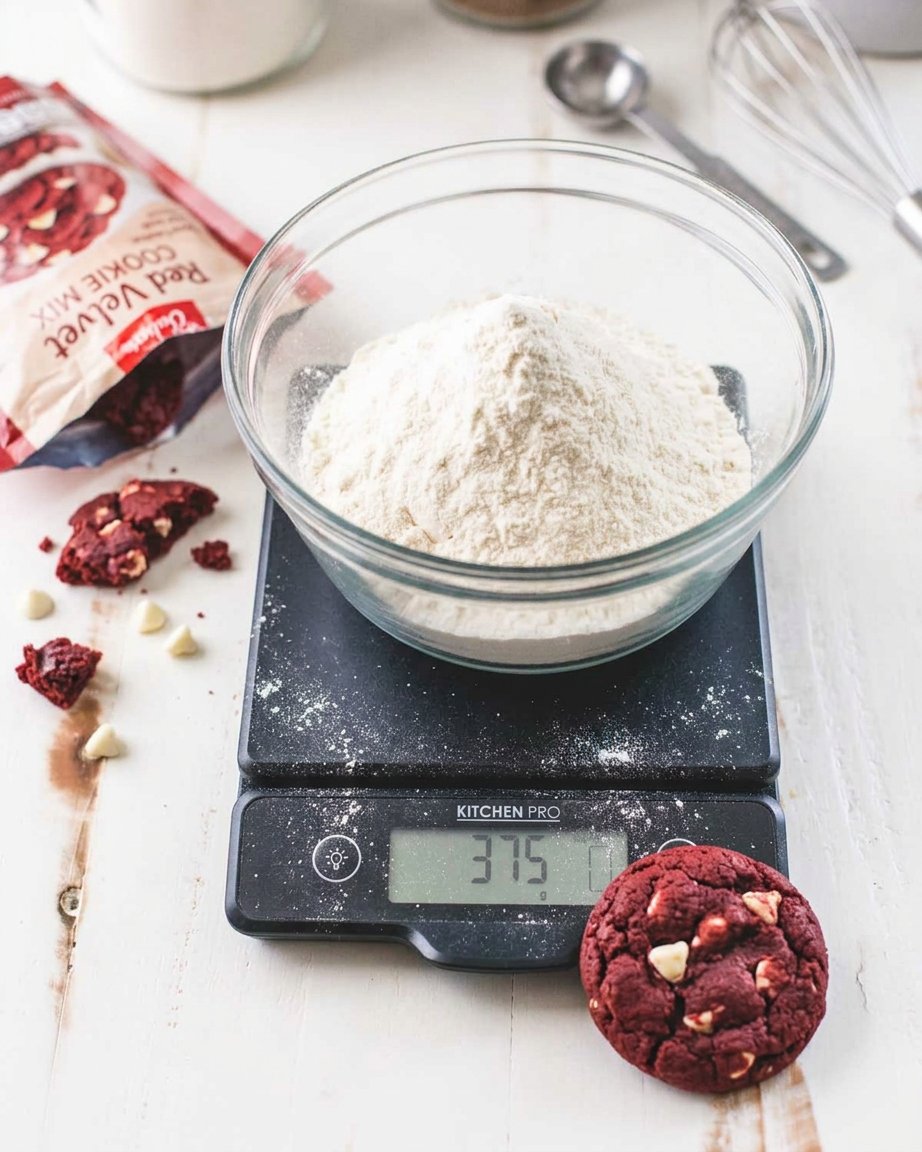
- Plain Flour
- Cocoa Powder
- Baking Powder
- Bicarbonate of Soda
- Sea Salt
- White Chocolate Chips
Instructions
- In a large mixing bowl, beat together the softened unsalted butter, light brown sugar, and white sugar until the mixture is light and fluffy.
- Add the egg, vanilla extract, and red food coloring to the bowl, beating until the color is vibrant and thoroughly combined.
- Gently sift in the plain flour, cocoa powder, baking powder, bicarbonate of soda, and sea salt, mixing until a soft dough forms.
- Fold in the white chocolate chips by hand to ensure they are evenly distributed throughout the red dough.
- Roll the dough into eight large balls (weighing approximately 115-120g each) and chill them in the refrigerator for at least 60 minutes.
- Preheat your oven to 180C (350F) and bake the chilled dough balls on a lined tray for 12 to 14 minutes before allowing them to firm up on the sheet.
Notes
For the best results, use gel-based food coloring to achieve a deep red tone without thinning out the cookie dough. Ensure your butter is softened at room temperature rather than melted to maintain the structure of these thick, bakery-style treats during the baking process.
- Prep Time: 15 mins
- Cook Time: 14 mins
- Category: Dessert
- Method: Baking
- Cuisine: American
Simple Pantry Staples for Your Kitchen
Gathering the ingredients for these cookies feels like preparing for a familiar visit with an old friend. Most of these items are likely already sitting in your pantry, waiting to be turned into something wonderful. Using high-quality butter and pure vanilla makes all the difference in capturing that authentic heritage flavor we all crave.
- Unsalted Butter: This provides the rich, golden foundation for our dough and ensures a tender crumb.
- Light Brown and White Sugars: We use a mix to get that perfect chewy center and crisp outer edge.
- Medium Egg: This acts as the gentle binder that holds our memories and ingredients together.
- Pure Vanilla Extract: A splash of vanilla brings out the warmth in the cocoa and the sweetness of the chocolate.
- Red Food Coloring: This is what gives our cookies their iconic, festive appearance.
- Plain Flour and Cocoa Powder: The base of our cookie, offering a subtle chocolate note that is the hallmark of true red velvet.
- Baking Powder and Bicarbonate of Soda: These traditional leaveners give our cookies the lift they need to stay soft.
- White Chocolate Chips: These sweet morsels provide a beautiful contrast to the deep red dough and add a creamy finish.
The Classic Way to Bake Memories
Step 1: Cream the Butter and Sugars
Begin by placing your softened butter and both sugars into a large bowl. Beat them together until the mixture is light, fluffy, and looks like a soft cloud. This step is vital for creating the right texture in your Red Velvet Cookies, as it incorporates the air needed for a gentle rise.
Step 2: Incorporate the Flavor and Color
Add your egg, vanilla extract, and the red food coloring to the creamed mixture. Continue to beat the dough until the color is vibrant and evenly distributed. You’ll see the dough take on that beautiful heritage red that makes these cookies so recognizable and beloved.
Step 3: Sift in the Dry Ingredients
Gently add the plain flour, cocoa powder, baking powder, bicarbonate of soda, and sea salt. Mix slowly until a soft, cohesive cookie dough forms. Be careful not to overwork the dough; we want to maintain that tender, velvet-like consistency that gives the recipe its name.
Step 4: Fold in the Sweetness
Pour in your white chocolate chips and stir them in by hand. Ensure they are scattered throughout the dough so every bite has a bit of creamy chocolate. At this point, the kitchen will already start to smell like the sweet, comforting bakeries of years gone by.
Step 5: Shape and Chill the Dough
Roll the dough into eight generous balls, each weighing about 115-120g. Place them on a tray and let them rest in the fridge for at least an hour. This chilling time is a secret Grandma always insisted on, as it allows the flavors to settle and prevents the cookies from spreading too thin.
Step 6: Bake Until Just Set
Preheat your oven to 180C (350F) and place the chilled dough balls onto a lined baking sheet. Bake for 12 to 14 minutes. They may look slightly soft when you pull them out, but they will continue to firm up on the tray, resulting in a perfectly baked, soft-centered cookie.
Grandma’s Secrets for the Perfect Batch
One of the most important things to remember is that patience is an ingredient itself. Always allow your butter to reach room temperature naturally rather than using the microwave, as this ensures the most stable texture for your dough. For those who want to see how this fits into a wider tradition of baking, you can look through our Classic Cookie Recipes to see how these techniques have been used for generations. If you find your oven runs a bit hot, don’t be afraid to lower the temperature slightly to prevent the vibrant red from browning too much. Storing these in a heavy ceramic cookie jar with a tight lid will keep them tasting like they were pulled from the oven for nearly a week.
Heritage Twists for Every Occasion
While the white chocolate chips are the traditional choice, our family has occasionally enjoyed adding a handful of chopped pecans or walnuts for an earthy crunch. For those who enjoy a more modern flair, you can find inspiration in this NYC Red Velvet Cookies version which uses different proportions. If you are looking for more ways to celebrate the season with color, our Holiday Cookie Celebrations offer several ways to adapt this base dough for different festivities. Some even like to sprinkle a tiny pinch of sea salt on top before baking to really make the chocolate notes sing.
Sharing the Tradition with Loved Ones
There is no better way to enjoy these than with a cold glass of milk or a hot cup of tea during a quiet afternoon. These cookies are also a wonderful way to involve the younger generation in Cookie Decorating Traditions, as their bright color makes them a natural centerpiece for any dessert table. I often find that laying them out on a vintage lace doily or a wooden serving board brings out the rustic charm of the bake. They make a thoughtful gift when wrapped in simple brown paper and tied with a piece of red twine, sharing a little bit of your home with a neighbor.
The Sweet Heritage of Baking Together
Baking these Red Velvet Cookies is about more than just satisfying a sweet tooth; it is about honoring the traditions that connect us to our past. Every time I see that flash of red in the cookie jar, I am reminded of the simple joys that come from a warm kitchen and a shared treat. If you are looking for more ways to fill your home with these scents, explore our Quick & Easy Cookies for more timeless inspiration. We would love to see your beautiful bakes, so please share them with our community on Pinterest, Instagram, and Facebook. Keep the oven warm and the traditions alive.
