Many home bakers worry that gluten-free cookies will turn into dry, crumbly pucks the moment they hit the cookie jar. I remember trying to adapt my family’s heritage recipes and feeling frustrated when they became rock-hard by the second morning. These Gluten Free Snickerdoodles solve that texture problem entirely, staying soft and chewy for days on end.

The secret lies in how we handle the moisture and the specific chemistry of the cinnamon-sugar coating. This recipe delivers that iconic tangy flavor and crackled top while maintaining a tender middle that satisfies everyone, gluten-free or not. It is a true jar-classic that brings back the joy of a soft, simple treat.
A Perfect Soft Texture That Lasts
Finding a cookie that maintains its integrity without gluten can be a challenge, but these Gluten Free Snickerdoodles are a revelation. The primary reason you will love these is the balance between the crisp, sugary exterior and the pillowy, moist center. Most alternative flour recipes suffer from a sandy mouthfeel, but our method of using melted butter and a precise resting period creates a smooth crumb that mimics traditional wheat versions perfectly. You get that wonderful cinnamon warmth in every bite without any of the dryness usually associated with gluten-free baking. They are reliable, quick to whip up, and guaranteed to be the first things gone at any gathering. This is about more than just a diet restriction; it is about bringing a beloved heritage flavor back to the table with a texture that actually stays fresh.
Print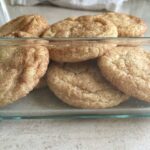
Gluten Free Snickerdoodles
- Total Time: 1 hour 25 mins
- Yield: 24 cookies
- Diet: Gluten-Free
Description
These gluten-free snickerdoodles offer a perfect balance of a crackled cinnamon-sugar crust and a soft, pillowy center that stays fresh for days. By using melted butter and a specific hydration rest, you can achieve a traditional heritage texture without any of the grit often found in alternative flour baking.
Ingredients
- 2 3/4 cups All-Purpose Gluten-Free Flour blend
- 1/2 teaspoon xanthan gum (omit if included in flour blend)
- 2 teaspoons cream of tartar
- 1 teaspoon baking soda
- 1/4 teaspoon salt
- 1 1/2 cups white sugar
- 1 cup unsalted butter, melted
- 2 large eggs
- 1 tablespoon pure vanilla extract
- 2 tablespoons white sugar (for coating)
- 1 tablespoon ground cinnamon (for coating)
Instructions
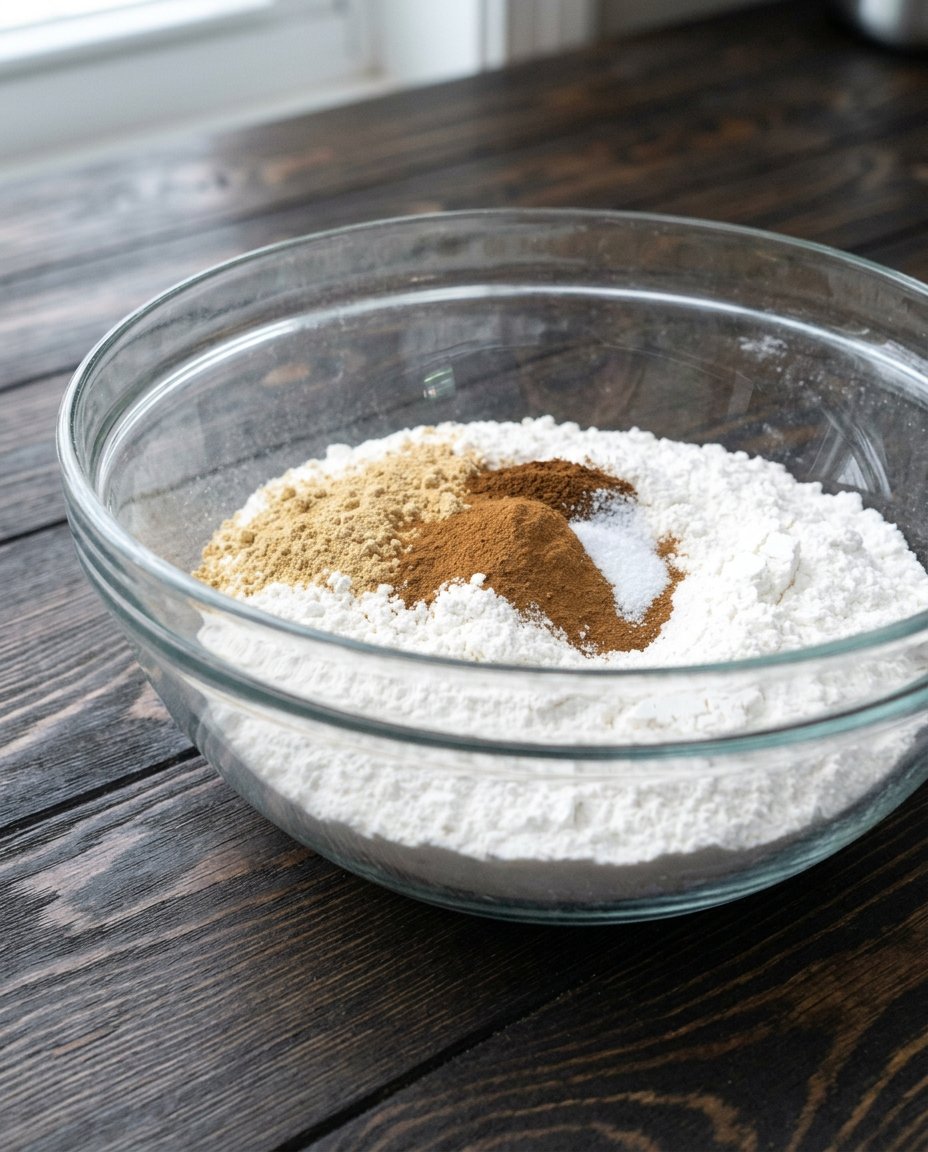
- In a small mixing bowl, whisk together the gluten-free flour, xanthan gum, cream of tartar, baking soda, and salt until the leavening agents are evenly distributed.
- In the bowl of a standing mixer, beat the white sugar and melted butter together for 20 to 30 seconds until well-incorporated.
- Add the eggs and vanilla extract to the mixture and beat on medium speed for another 20 to 30 seconds until the batter is glossy and smooth.
- Turn the mixer to the lowest setting and add the dry flour mixture, mixing only until the white streaks disappear.
- Cover the bowl and refrigerate the dough for one hour to allow the rice flours and starches to fully hydrate.
- Preheat your oven to 400°F (205°C) and line your baking sheets with parchment paper or silicone mats.
- In a small bowl, stir together the 2 tablespoons of sugar and the cinnamon for the coating.
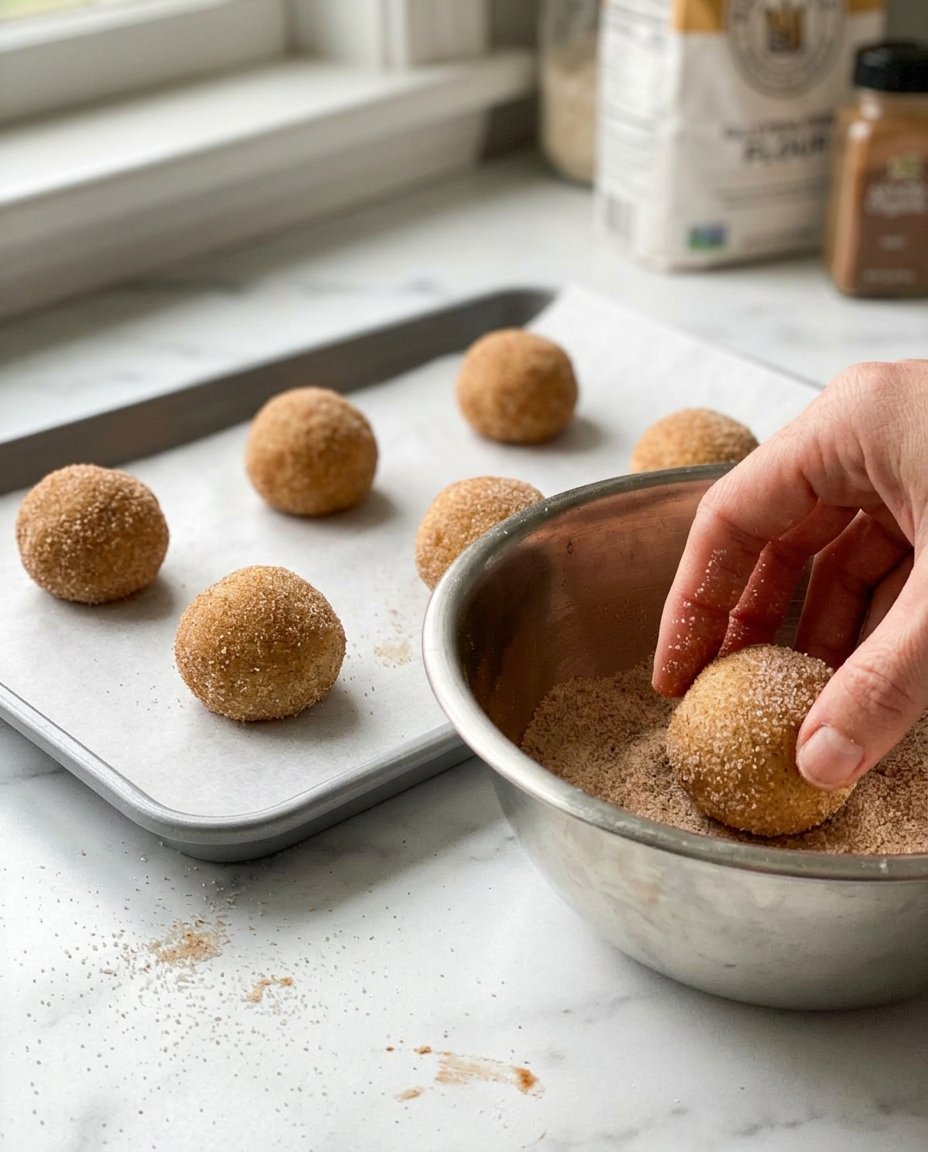
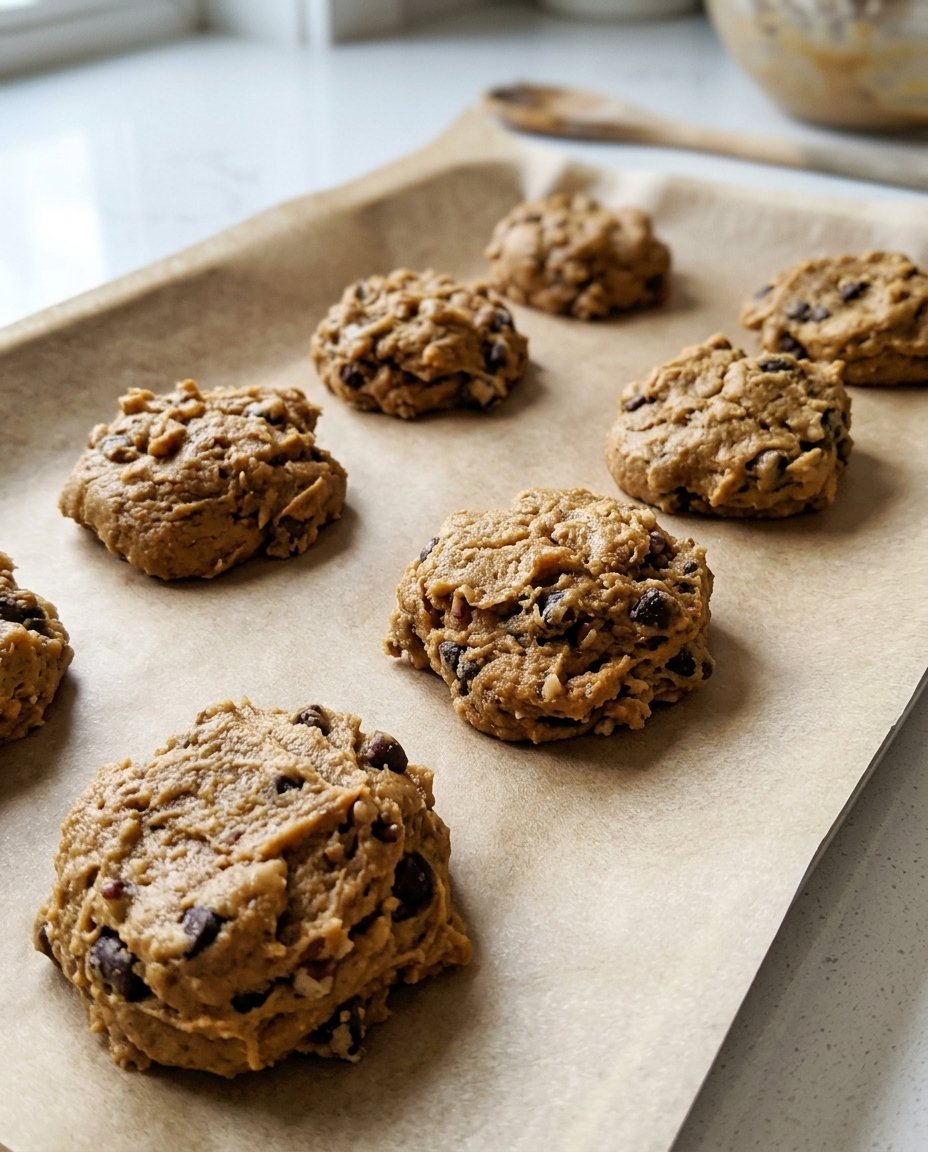
- Using a cookie scoop, form dough into balls (approximately 19g to 34g) and roll each ball generously in the cinnamon-sugar mixture.
- Place the balls two inches apart on the prepared sheets and press down slightly on each ball to help them spread.
- Bake for 7-10 minutes depending on size, removing them when the edges are set but the center cracks still look slightly moist.
- Slide the parchment paper off the pan and onto a cooling rack to allow the cookies to firm up and maintain their chewy texture.
Notes
To keep these cookies exceptionally soft, ensure you do not overbake them; the centers should still look slightly underdone when pulled from the oven. If your gluten-free flour blend is particularly absorbent, you can add a tablespoon of milk to the dough if it appears too crumbly to roll after the refrigeration period.
- Prep Time: 15 mins
- Cook Time: 10 mins
- Category: Dessert
- Method: Baking
- Cuisine: American
The Essentials for Gluten Free Success
To achieve a result that stays soft for days, every ingredient plays a specific role in moisture retention and structure. We focus on components that prevent the ‘crumbly’ fate of most gluten-free treats.
- All-Purpose Gluten-Free Flour: Use a high-quality blend like gfJules or King Arthur Measure for Measure. These provide the fine structure needed for a tender cookie. If your blend lacks binders, make sure to add the xanthan gum mentioned in the recipe.
- Cream of Tartar: This is the heart of the snickerdoodle. It provides the signature tang and reacts with the baking soda to create the classic ‘puffed-then-cracked’ appearance.
- Melted Butter: Unlike creamed butter, melted butter adds density and chew. It helps the sugar dissolve more thoroughly, which results in a moister cookie that doesn’t go stale quickly.
- Large Eggs: These provide the necessary binding and fat. The proteins in the eggs help replace the structure usually provided by gluten.
- Cinnamon and Sugar: This simple duo creates the aromatic crust that defines the snickerdoodle experience. Use a high-quality cinnamon for the best fragrance.
- Pure Vanilla Extract: A splash of quality vanilla rounds out the flavors and adds a layer of comfort to the spice.
How to Bake Perfect Snickerdoodles
Step 1: Whisk the Dry Base
In a small mixing bowl, combine your gluten-free flour, xanthan gum (if your blend doesn’t already include it), cream of tartar, baking soda, and salt. Whisk these thoroughly to make sure the leavening agents are distributed evenly, which prevents uneven rising or metallic hot spots from the baking soda.
Step 2: Combine the Fat and Sugar
In the bowl of your standing mixer, add the white sugar and the melted butter. Beat them together for about 20 to 30 seconds. You are looking for a well-incorporated mixture where the sugar begins to dissolve into the warm butter, creating the foundation for a chewy texture.
Step 3: Add the Wet Ingredients
Drop in your eggs and the pure vanilla extract. Beat for another 20 to 30 seconds on medium speed. The mixture should look glossy and smooth. This step builds the moisture that will keep the cookies tender after they cool.
Step 4: Merge the Components
Turn your mixer to the lowest setting and add the dry flour mixture. Mix only until the white streaks disappear. In gluten-free baking, you don’t have to worry about developing tough gluten, but overmixing can still add too much air, which might cause the cookies to deflate too much in the oven.
Step 5: The Hydration Rest
If your dough feels too sticky or soft to roll into balls, cover the bowl and place it in the refrigerator for one hour. This resting period allows the rice flours and starches in the gluten-free blend to fully hydrate, which eliminates any ‘gritty’ texture and makes the dough easier to handle.
Step 6: Prepare for Baking
Preheat your oven to 400°F (205°C). Line your baking sheets with parchment paper or silicone mats. In a small bowl, stir together the 2 tablespoons of sugar and the cinnamon for rolling.
Step 7: Roll and Coat
Using a cookie scoop, form balls of dough. For small cookies, aim for about 19 grams; for medium, go for 34 grams. Roll each ball generously in the cinnamon-sugar mixture until fully coated. This coating is what creates the beautiful crackle.
Step 8: Flatten and Bake
Place the balls two inches apart on your prepared sheets. Press down slightly on each ball so they aren’t perfectly domed; this helps them spread and crack. Bake small cookies for 7-8 minutes or medium ones for 9-10 minutes. Pull them out when the edges are set but the center cracks still look slightly ‘wet.’
Step 9: Cool and Set
Slide the entire sheet of parchment paper off the hot pan and onto a cooling rack. This prevents the cookies from breaking while they are still soft and allows them to firm up gradually for the perfect chew.
Secrets for a Stays-Fresh Cookie
The biggest secret to keeping Gluten Free Snickerdoodles soft for days is the ‘underbake.’ You must resist the urge to wait for the centers to look dry. If the cracks still look a bit moist when you pull them out, you have done it right. They will finish setting as they cool on the counter. Also, keep in mind that different flour blends absorb moisture differently. If your first test cookie comes out too puffy, press the remaining dough balls down a bit more before baking. For more guidance on achieving the perfect bake every time, browse our Classic Cookie Recipes. For those looking for even more technical advice on gluten-free textures, I often find great inspiration at My Gluten-Free Kitchen.
Flavor and Texture Tweaks
If you prefer a cookie with a deeper, more caramel-like undertone, you can replace a quarter cup of the white sugar in the dough with brown sugar. This also adds a bit more moisture to the crumb. For those who want to try different wholesome variations, check out our Wholesome Cookie Options. You can also add a pinch of cardamom or nutmeg to the rolling sugar for a sophisticated spice profile. If you need to make these dairy-free, use a high-quality vegan butter stick; just make sure it is one designed for baking to maintain that specific snickerdoodle fat ratio.
How to Serve and Store Your Treats
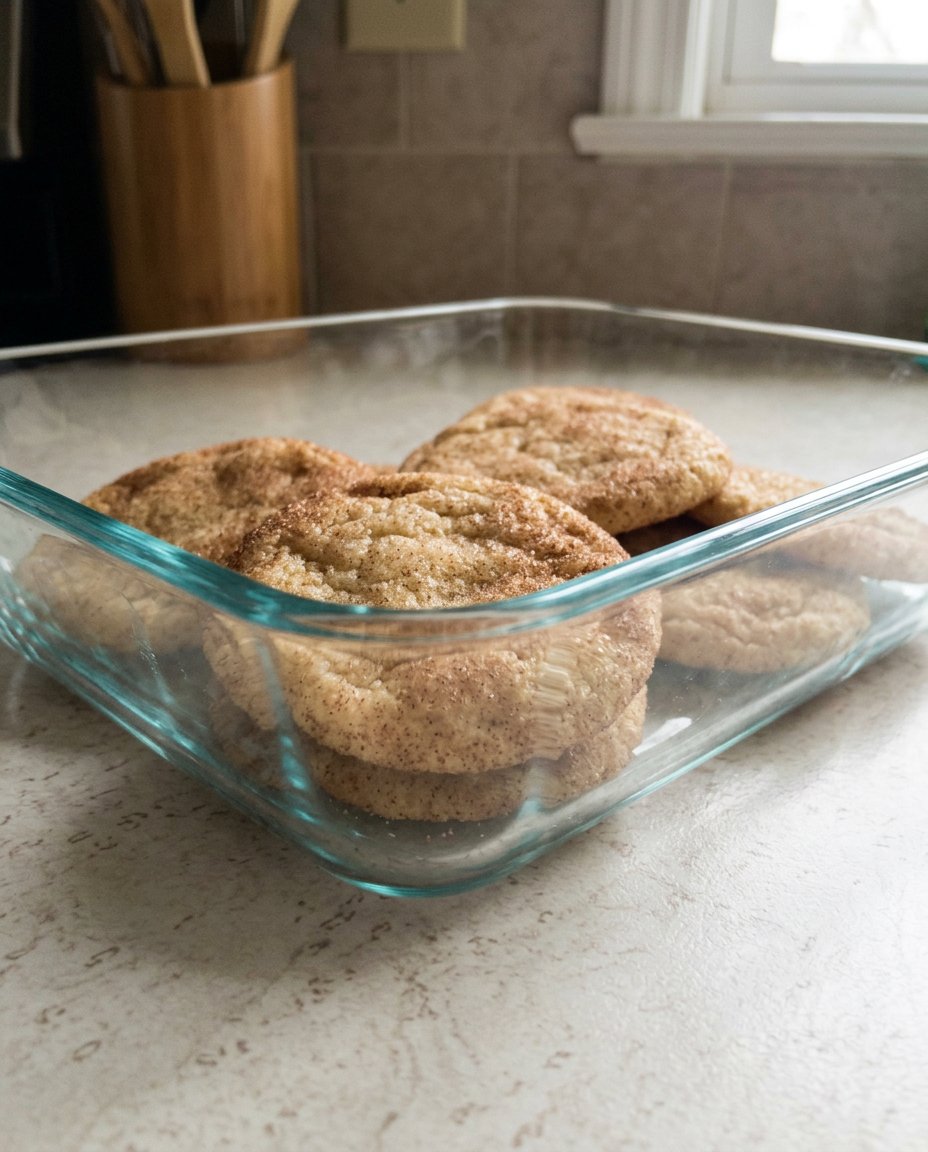
These cookies are a delight when served slightly warm with a cold glass of milk. Because of the melted butter and the specific flour ratios, they stay incredibly soft in a sealed cookie jar for up to five days. If you find they are starting to firm up, simply pop one in the microwave for 5 to 10 seconds to revive that fresh-baked chewiness. To see more ways to share your favorite bakes, visit our Quick & Easy Cookies section. They also freeze beautifully; just place them in a freezer-safe bag with parchment paper between layers.
The Final Texture Truth
Baking heritage recipes without gluten doesn’t mean you have to settle for anything less than perfection. These Gluten Free Snickerdoodles provide that nostalgic cinnamon comfort with a modern focus on moisture and softness that lasts. Once you master the timing of the bake, you will never have to worry about dry cookies again. For more ideas on seasonal baking and celebrations, check out our Holiday Cookie Celebrations. I would love to see your beautiful, crackled cookie results! Please share your photos and tag us on Instagram, Facebook, Pinterest, or TikTok.
