Many vintage cookie jar favorites suffer from a frustrating flaw: they become hard as bricks within twenty-four hours of coming out of the oven. I remember my grandmother’s kitchen always smelling like warm vanilla, but her cookies often lost their tender charm much too quickly. Through years of texture-focused testing, I have found a way to preserve those heirloom flavors while guaranteeing a soft, chewy bite that stays fresh for a full week.

This specific baking cookies aesthetic focuses on moisture retention and the deep caramel notes of dark brown sugar. By allowing the dough to rest and using a touch of honey, we create a cookie that feels like a warm hug and remains perfectly moist. It is a slow-process treat that honors the past while utilizing modern texture science to keep your cookie jar full of soft wonders.
The Secret to a Stays-Fresh Texture
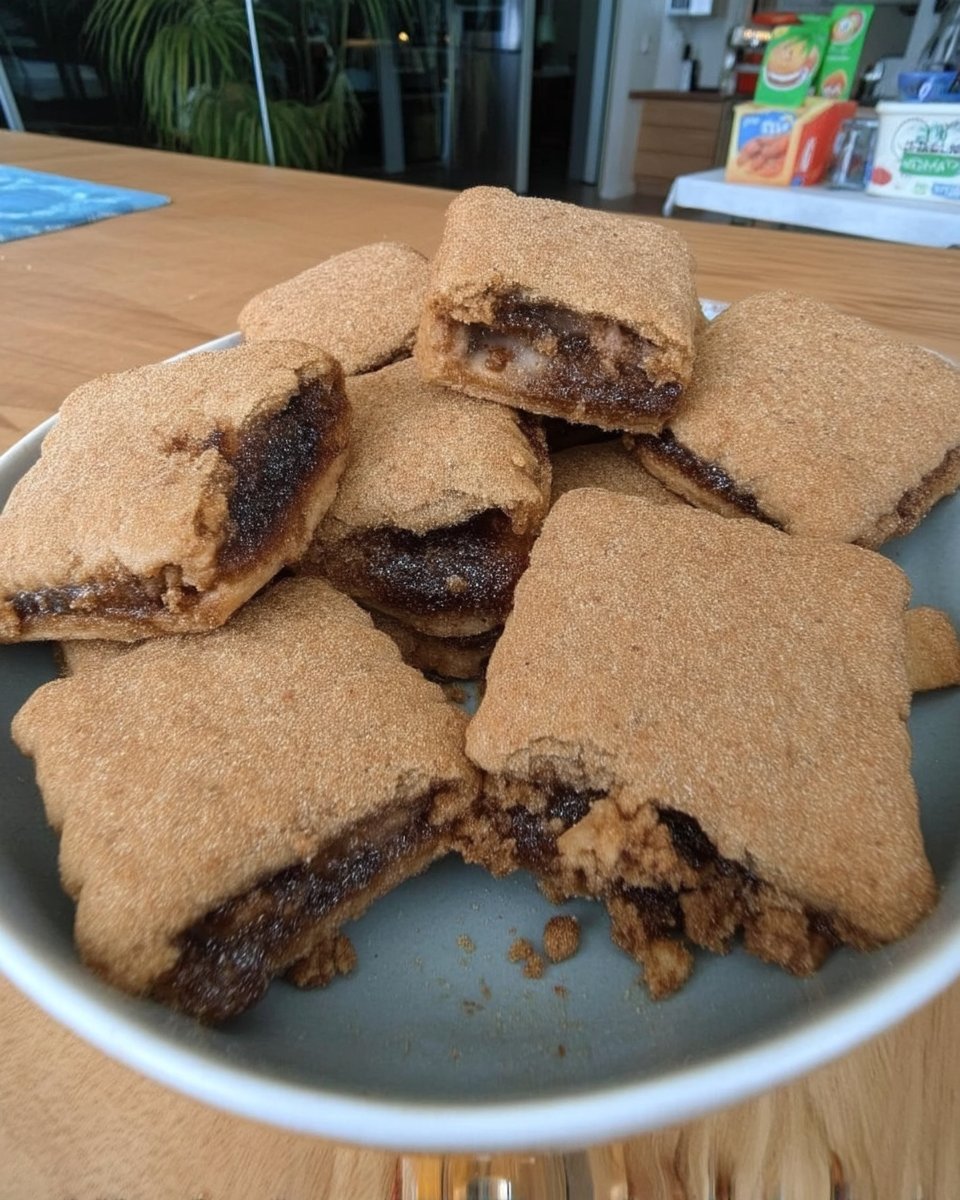
There is nothing more satisfying than reaching into a jar days after a baking session and finding a cookie that is still as tender as the moment it cooled. This recipe is designed for longevity, using a high ratio of dark brown sugar and a hint of honey to pull moisture from the air and keep the crumb from drying out. You will love how the edges stay slightly golden and crisp while the centers remain buttery and soft.
Beyond the texture, the flavor profile is deep and complex thanks to a long chilling period. This isn’t a quick, sugary snack; it is a thoughtful, heritage-inspired cookie that develops its character over time. If you have been searching for a reliable way to recreate that nostalgic, bakery-style chew at home, this is the method you have been waiting for.
Print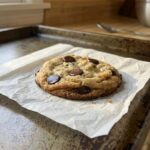
Baking Cookies Aesthetic
- Total Time: 8 hours 25 mins
- Yield: 18 cookies
- Diet: Vegetarian
Description
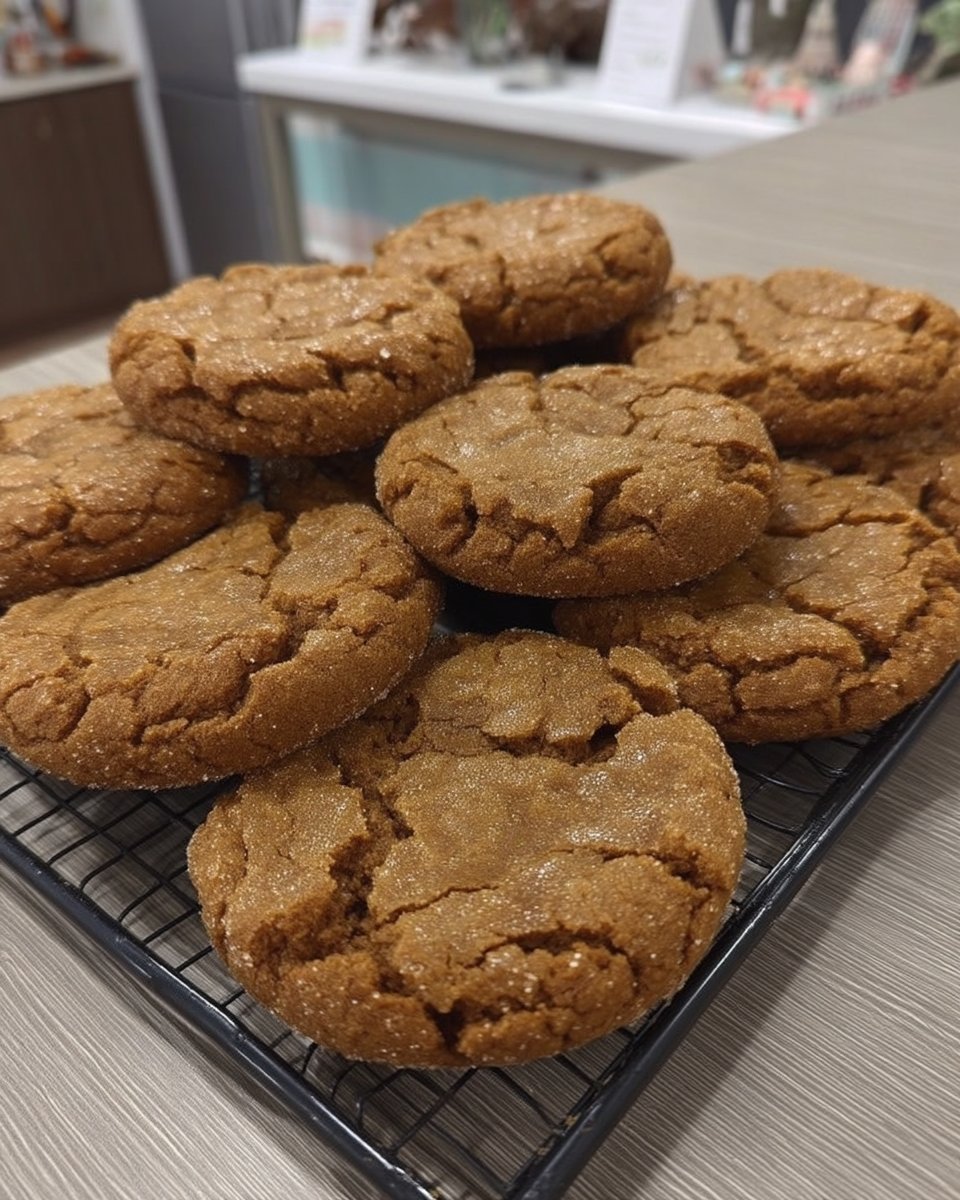
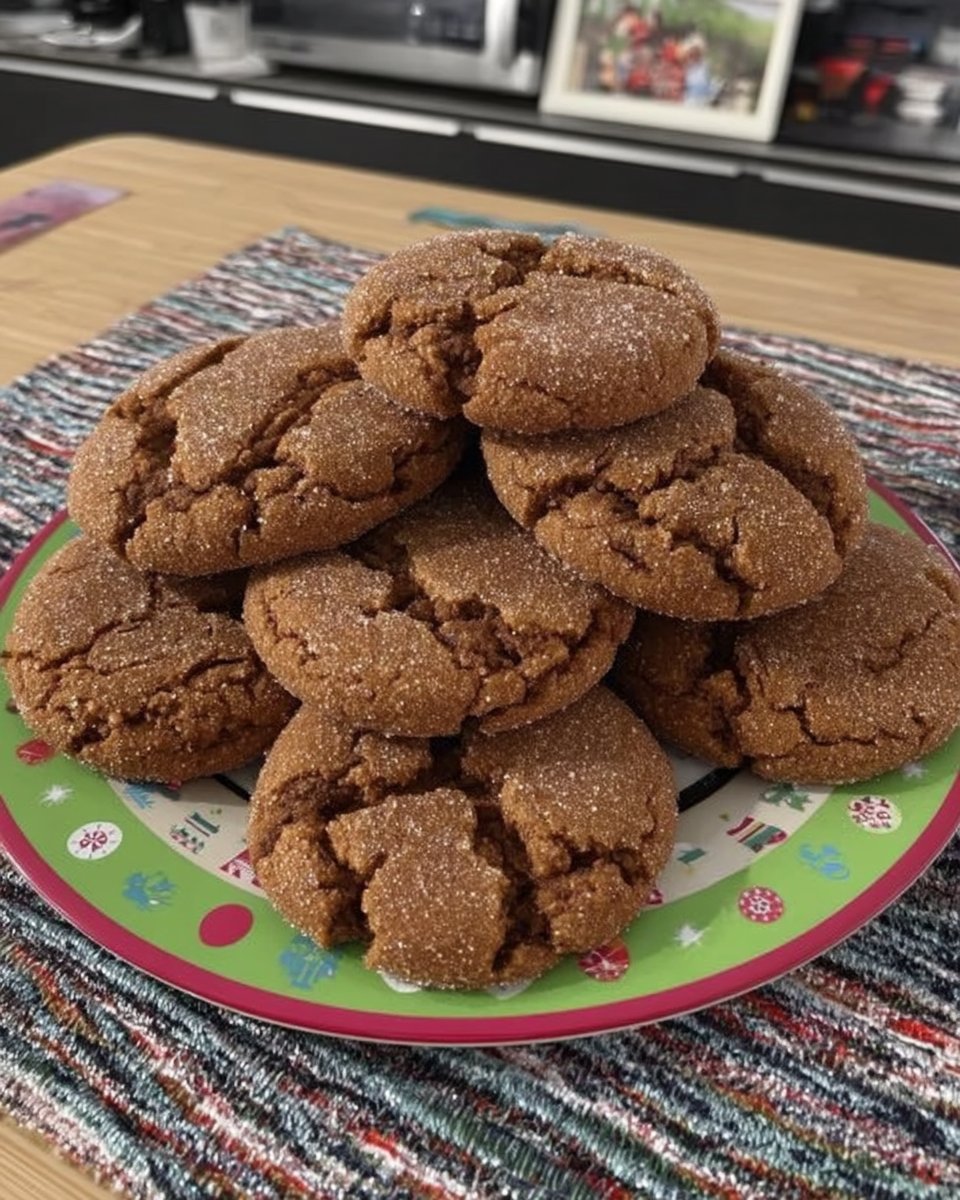
These heritage-inspired chocolate chip cookies prioritize a soft, chewy texture that lasts for up to a week. By using dark brown sugar and a touch of honey, you can recreate a nostalgic, bakery-style treat that stays perfectly moist and flavorful.
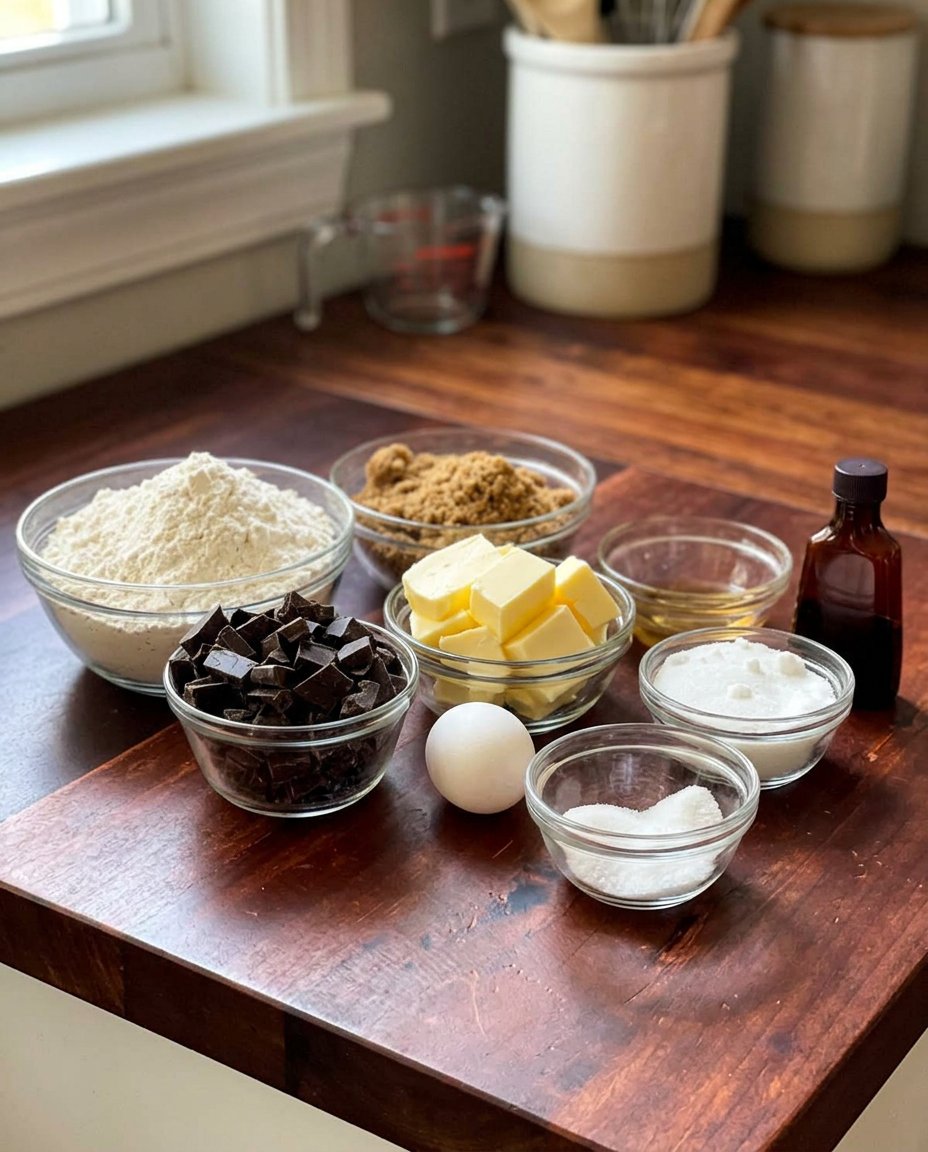
Ingredients
- 2 cups all-purpose flour
- 1/2 teaspoon baking soda
- 1/2 teaspoon salt
- 1/2 cup salted butter, softened
- 3/4 cup dark brown sugar
- 1/4 cup granulated sugar
- 1 tablespoon pure vanilla extract
- 1 tablespoon honey or corn syrup
- 1 large egg, room temperature
- 1 cup dark chocolate chunks, hand-chopped
Instructions
- Whisk together the all-purpose flour, baking soda, and salt in a medium bowl until uniform.
- In a separate bowl, use a rubber spatula to cream the softened butter with the dark brown sugar, granulated sugar, and vanilla until it forms a thick, damp paste.
- Stir in the honey and the room temperature egg, mixing until the dough is smooth and fully incorporated.
- Pour the flour mixture into the butter mixture and stir gently until most of the flour is absorbed, then fold in the dark chocolate chunks.
- Cover the dough with plastic wrap and refrigerate for at least 8 hours, though 24 hours is recommended for the best flavor.
- Preheat your oven to 350°F (175°C) and scoop 1.35-ounce portions of dough, rolling them into smooth spheres.
- Place the dough balls on a parchment-lined baking sheet, top with a few extra chocolate chunks, and bake for 9 to 11 minutes until the edges are lightly golden.
- Let the cookies rest on the baking sheet for 2 minutes before transferring them to a wire rack to cool completely.
Notes
To ensure your cookies stay soft for days, pull them out of the oven when the centers still look slightly underbaked; they will firm up perfectly on the hot pan. For the most consistent results, use a kitchen scale to measure each dough ball to exactly 1.35 ounces. If you want to keep them extra fresh, store the cooled cookies in an airtight glass jar with a small slice of white bread to maintain moisture.
- Prep Time: 15 mins
- Cook Time: 10 mins
- Category: Dessert
- Method: Baking
- Cuisine: American
The Soft Texture Blueprint
To achieve the perfect baking cookies aesthetic, every ingredient serves a purpose in maintaining moisture and creating that signature chewy bite. We avoid ingredients that lead to a cakey or dry result, focusing instead on fats and sugars that promote a dense, tender crumb.
- Dark Brown Sugar: This is our moisture powerhouse. The molasses content provides a rich flavor and keeps the cookies soft long after baking.
- Granulated Sugar: We use just enough to give the edges a light golden crunch without making the cookie brittle.
- Salted Butter: Room temperature butter is creamed just enough to incorporate air without over-aerating, which keeps the cookies from becoming too puffy.
- Honey or Corn Syrup: This small addition is a secret weapon. As an invert sugar, it prevents crystallization and ensures the cookies stay soft for days.
- Dark Chocolate Chunks: Large, irregular pieces create beautiful pockets of melted chocolate that look as good as they taste.
- All-Purpose Flour: Provides the necessary structure to hold all that chocolate without making the dough heavy.
- Baking Soda: Used sparingly to provide just the right amount of lift and promote beautiful browning.
- Vanilla Extract: Always use pure vanilla to complement the deep notes of the dark brown sugar.
The Texture-First Method
Step 1: Prepare the Dry Base
Whisk together your all-purpose flour, baking soda, and salt in a medium bowl. Make sure the mixture is uniform so the leavening agent is distributed evenly throughout the dough.
Step 2: Cream for Texture
Combine your softened butter with the dark brown sugar, granulated sugar, and vanilla. Use a rubber spatula to smear the mixture together against the side of the bowl until it looks like a thick paste or damp sand. Avoid using a high-speed mixer for too long, as we want to avoid trapping too much air which leads to a cakey texture.
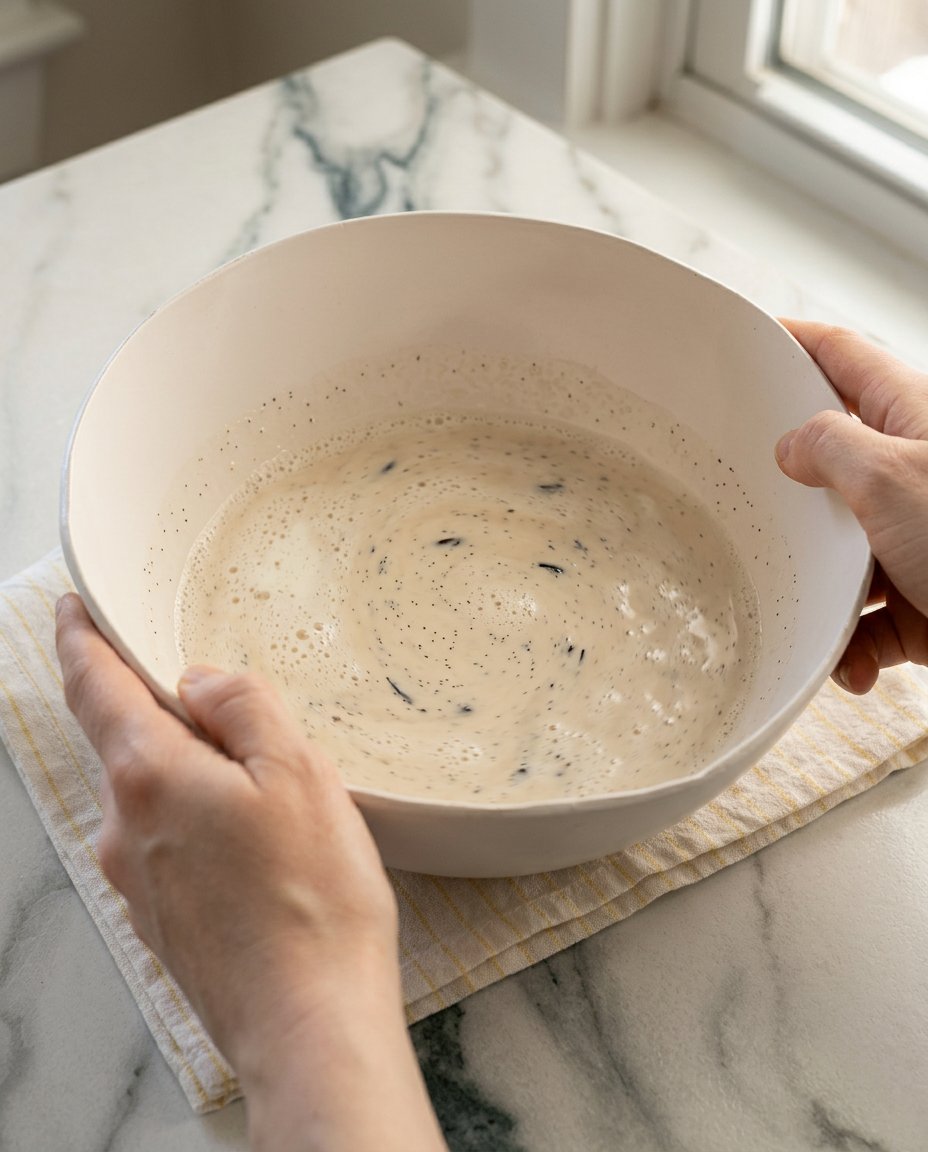
Step 3: Add Moisture and Binding
Stir in the honey until well blended. Add the room temperature egg and mix until the dough looks smooth and fully incorporated. The egg provides the structure needed for that perfect chew.
Step 4: Fold in the Flour and Chocolate
Pour the flour mixture into the butter mixture all at once. Stir gently until most of the flour is absorbed, then fold in your hand-chopped chocolate chunks. You want a soft, moderately moist dough that holds together well.
Step 5: The Essential Chill
Cover the surface of the dough with plastic wrap and refrigerate for at least 8 hours, though 24 hours is better. This rest period allows the flour to fully hydrate and the flavors to concentrate, which is the true secret to a heritage-quality cookie.
Step 6: Portion and Roll
Preheat your oven to 350°F (175°C). Use a cookie scoop to create 1.35-ounce balls of dough. Roll them into smooth spheres and place them on a parchment-lined sheet, leaving at least 2 inches of space between each one to allow for a natural spread.
Step 7: The Gentle Bake
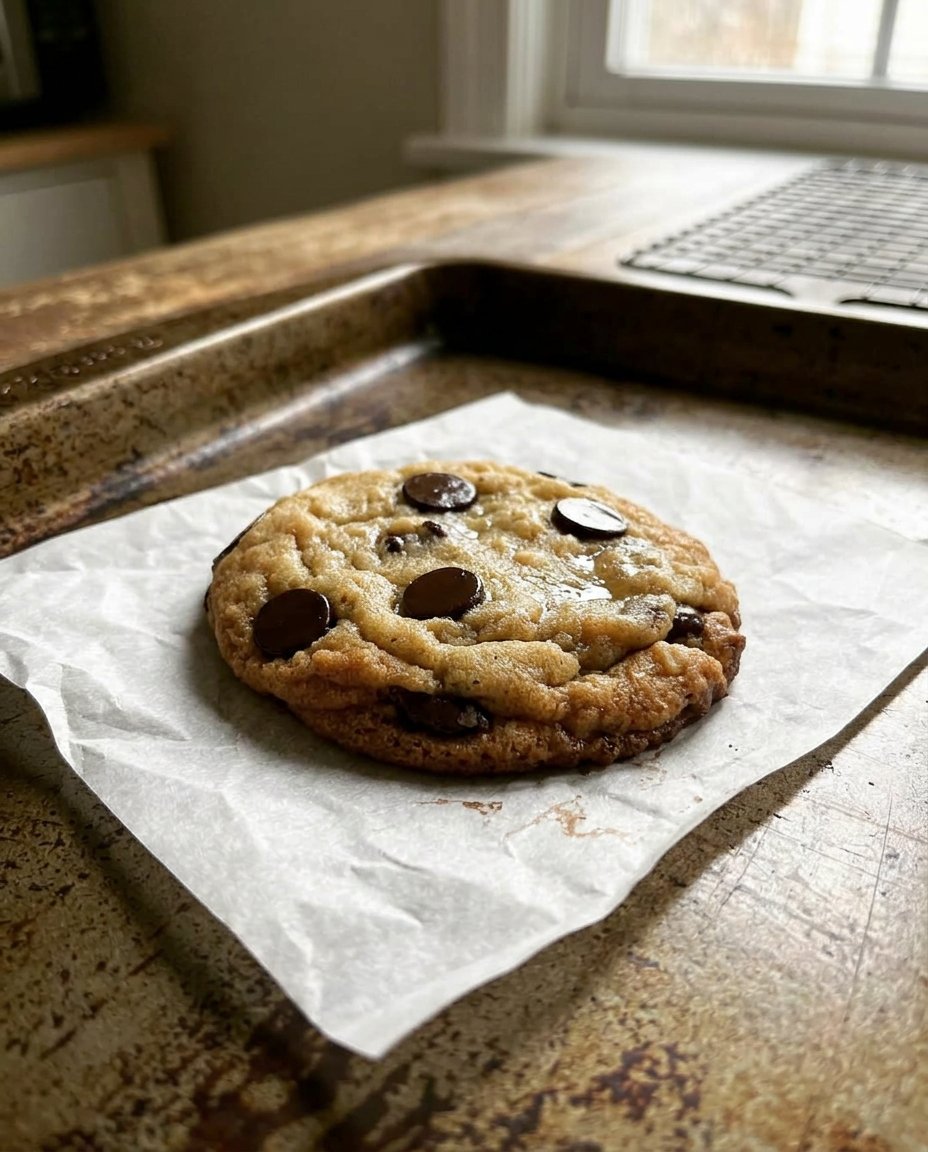
Press a few extra chocolate chunks on top of each ball for a beautiful finish. Bake for 9 to 11 minutes until the edges are just starting to turn golden and the tops are slightly puffed. They should still look very soft in the center; they will finish setting on the warm pan.
Step 8: Cool and Set
Let the cookies rest on the baking sheet for about 2 minutes to firm up. Move them to a wire rack to cool completely. This patience prevents the cookies from breaking and allows the internal moisture to stabilize.
Mehmet’s Freshness Wisdom
To master the baking cookies aesthetic, you must resist the urge to over-bake. The cookies should look slightly underdone when you pull them out; the residual heat from the baking sheet will finish the job without drying out the center. If you wait until they look fully cooked in the oven, they will be hard by the next morning. For more tips on maintaining that perfect jar-fresh feel, check out our Classic Cookie Recipes section.
Another trick for keeping cookies soft is the storage environment. Once they are completely cool, place them in an airtight glass jar with a small piece of white bread. The cookies will absorb the moisture from the bread, staying soft for an incredibly long time. For more advanced techniques on chocolate integration, you can also look at the advice over at Scientifically Sweet. Always remember that a kitchen scale is your best friend for consistent texture; measuring by weight prevents the accidental addition of too much flour which leads to dry cookies.
Heritage Flavor Tweaks
While this recipe is a tribute to the classic chocolate chip, you can adjust the profile to suit your family’s preferences. For a deeper, more sophisticated flavor, try using a bittersweet chocolate with at least 70% cocoa. If you prefer a bit of crunch against the soft dough, adding toasted walnuts or pecans provides a wonderful contrast. If you are looking for more ideas to customize your treats, our Wholesome Cookie Options offer several ways to adjust ingredients without losing that signature chew.
For those who love a bit of salt to balance the sweetness, a generous sprinkle of flaky sea salt right after baking makes the chocolate notes pop. You can also experiment with the size of the cookies; making them smaller will result in a slightly crispier edge, while making them larger will maximize that soft, doughy center we all love. Just remember to adjust your baking time by a minute or two depending on the size of the dough balls.
The Art of the Cookie Jar
Serving these treats is all about creating a moment of comfort. They are best enjoyed with a cold glass of milk or a warm cup of coffee, which complements the rich dark chocolate. If you are preparing these for a gathering, they look beautiful stacked on a vintage pedestal or tucked into a clear glass jar with a ribbon. For more ideas on presenting your bakes for guests, visit our Quick & Easy Cookies guide for serving inspiration.
If you want that just-out-of-the-oven experience several days later, you can pop a cookie into the microwave for about 8 to 10 seconds. This softens the chocolate and revives the buttery aroma, making it taste like it was just baked. These cookies also make wonderful gifts when wrapped in parchment paper and placed in a decorative tin, as they travel well and stay soft through the journey.
The Texture Truth
Creating a baking cookies aesthetic that lasts isn’t about magic; it’s about respecting the ingredients and giving the dough the time it needs to rest. By focusing on moisture-rich sugars and proper chilling, you can enjoy vintage flavors without the disappointment of a stale cookie. For more ways to celebrate traditional baking, explore our Cookie Decorating Traditions. We would love to see your results, so please share your photos with us on Instagram or Pinterest. Happy baking, and may your cookie jar always be full of soft, chewy treasures.
