I remember standing on a wooden stool in Grandma’s kitchen, the late afternoon sun spilling across the linoleum as the first daffodils began to peek through the garden soil. Grandma would reach for that heavy metal cookie press, its barrel worn smooth by decades of Sunday afternoons and church socials, and we would begin the ritual of making Spring Flower Cookies. There was a certain magic in the rhythmic clack of the press and the way a perfect doughy bloom would appear on the cold baking sheet, ready to be topped with a single bright candy egg. This recipe was written on a stained index card tucked behind the sourdough starter notes, a true heritage treasure that has filled our family cookie jars for more than seventy years.

These Spring Flower Cookies are the very definition of a timeless treat, offering a delicate, buttery crumb that truly melts in your mouth with every bite. By using simple pantry staples and the classic spritz method, you create a cookie that is as beautiful to look at as it is comforting to eat. The addition of a candy-coated chocolate egg in the center provides a cheerful splash of color and a tiny crunch that perfectly complements the soft, crumbly texture of the shortbread base. Whether you are filling your own cookie jar or preparing a basket for a neighbor, these little blooms carry the warmth of tradition and the hope of a new season.
A Timeless Classic for Your Cookie Jar
You will find that these Spring Flower Cookies are more than just a sweet snack; they are a celebration of simplicity and heritage. One of the reasons I treasure this recipe so much is how it relies on basic, honest ingredients like real creamery butter and pure vanilla to create a flavor that feels like a warm hug from the past. There is no need for fancy gadgets beyond the trusty cookie press, and the process of clicking out row after row of uniform blossoms is a peaceful, grounding activity that connects you to generations of home bakers.
Another reason to love these treats is their remarkable texture. Because we use confectioner’s sugar instead of granulated sugar, the cookies have a fine, silky consistency that dissolves quickly on the tongue, much like a traditional Scottish shortbread but with a lighter, more airy feel. They are not overly sweet, which makes them the perfect companion for a midday cup of tea or a cold glass of milk. Plus, making 100 cookies in one batch means there is always plenty to share with friends, family, or the local bake sale, keeping the tradition of generosity alive in your community.
Print
Spring Flower Cookies
- Total Time: 1 hour
- Yield: 100 cookies
- Diet: Vegetarian
Description
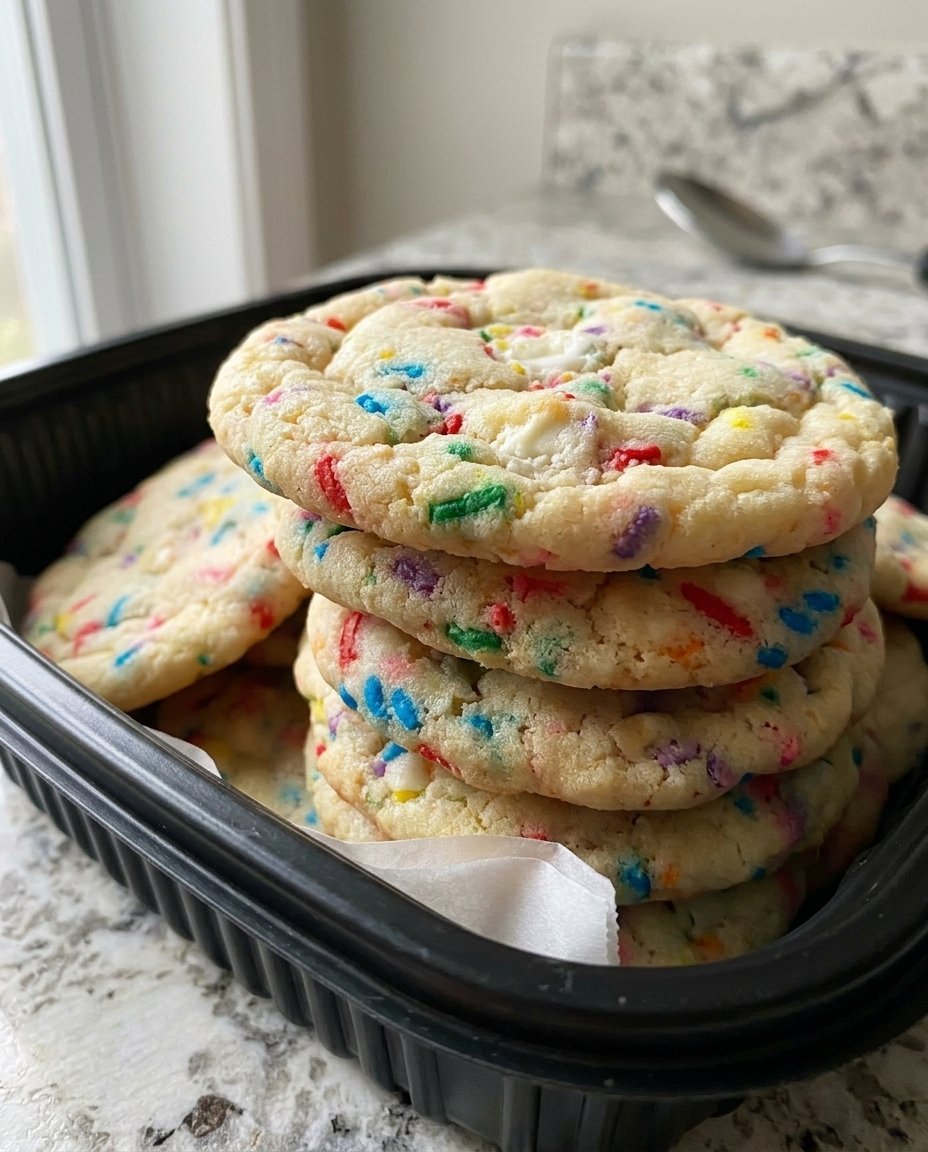
These charming, buttery spritz cookies are shaped like spring blossoms and finished with a colorful chocolate egg center. They offer a delicate, melt-in-your-mouth texture that makes them a perfect heritage treat for Easter or any seasonal celebration.
Ingredients
- 1 cup unsalted butter, softened
- 1 cup confectioner’s sugar
- 1 large egg
- 1 teaspoon pure vanilla extract
- 2 1/4 cups all-purpose flour, sifted
- 1/2 teaspoon baking powder
- 1 bag Cadbury Mini Eggs
Instructions
- Preheat your oven to 350°F (175°C) and line your baking sheets with silicone mats for the best grip.
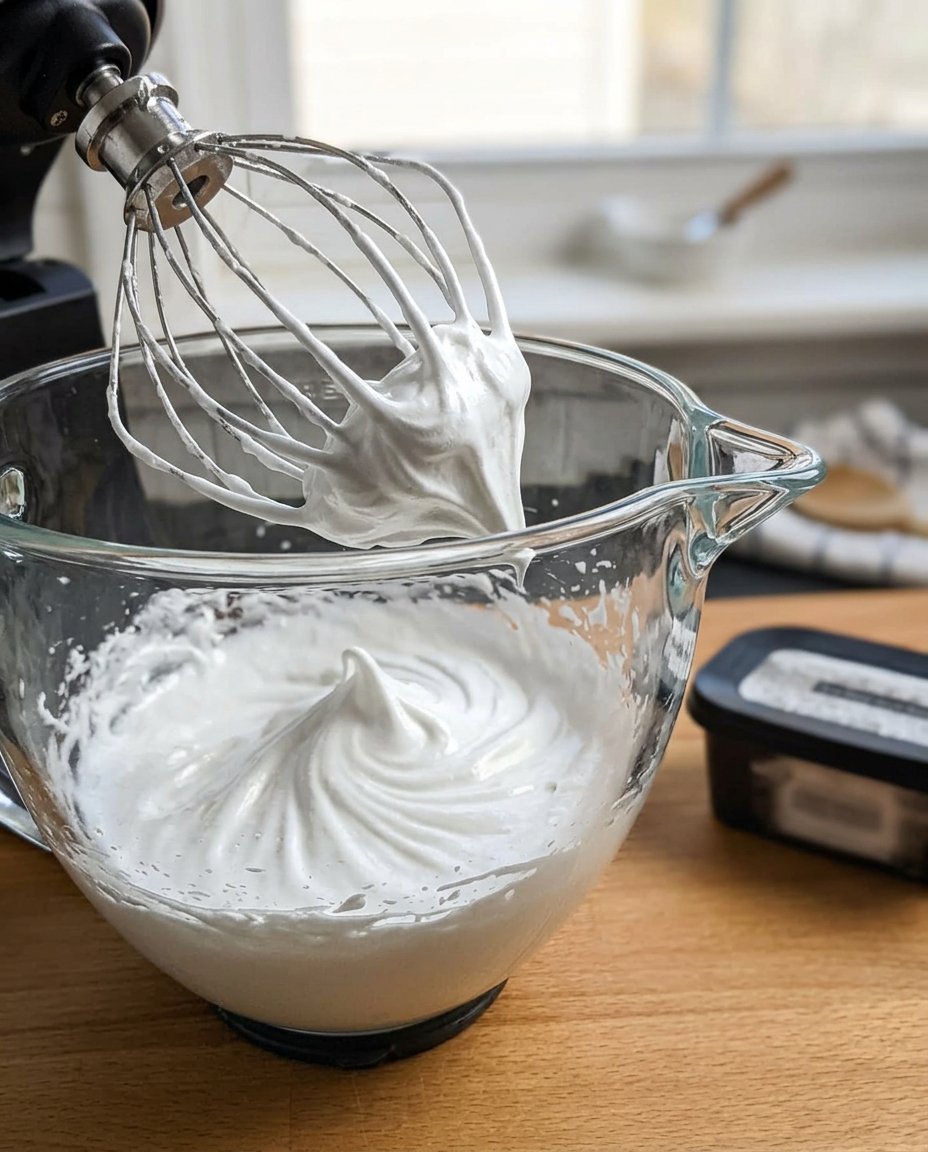
- In a large bowl, cream together the softened butter and confectioner’s sugar for about 2 minutes until light and fluffy.
- Beat in the egg and vanilla extract until the mixture is smooth and well-combined.
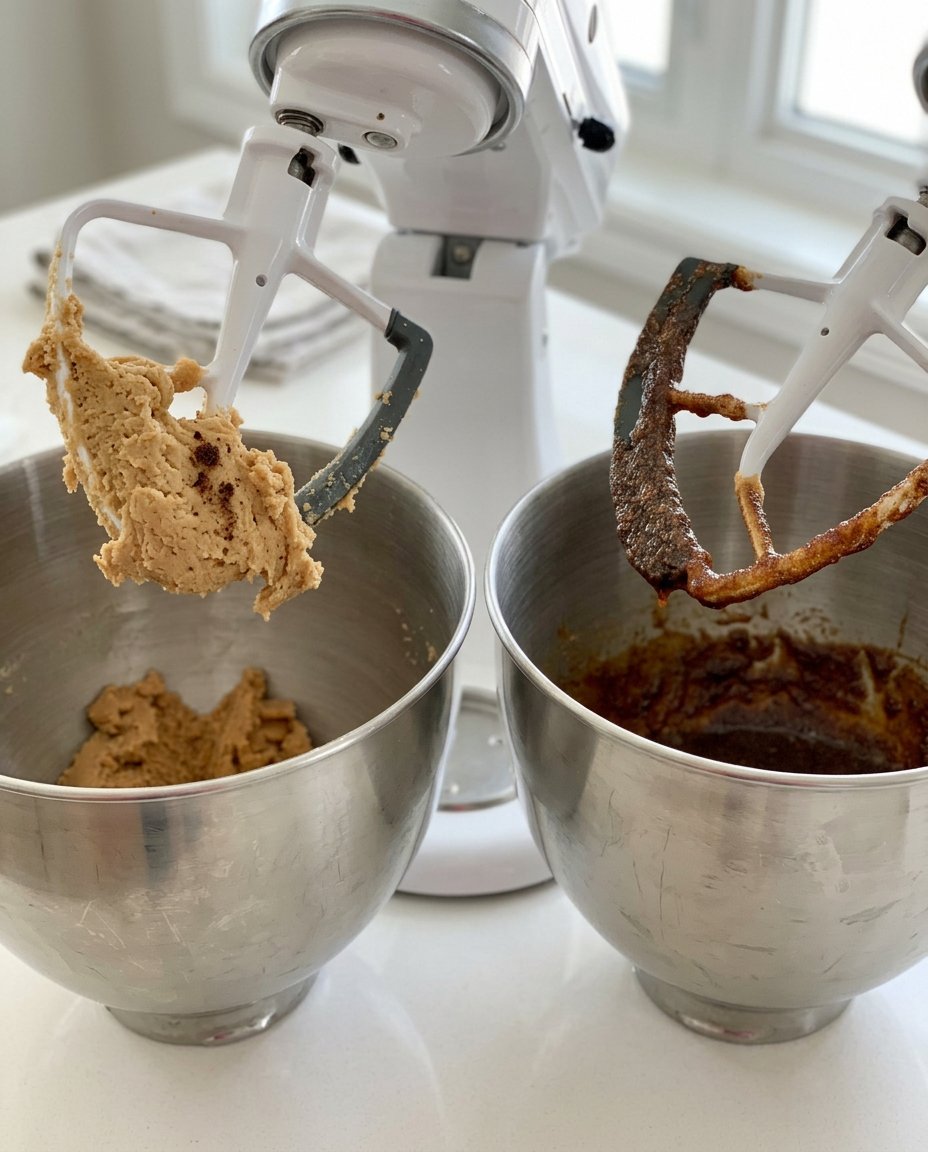
- Gradually fold in the sifted all-purpose flour and baking powder until a soft, non-sticky dough forms.
- Fit a cookie press with a flower-shaped disc and fill the barrel with dough, pressing out any air pockets.
- Press the dough flowers onto the prepared baking sheets, spacing them about 1 inch apart.
- Gently press a Cadbury Mini Egg into the center of each dough flower.
- Bake for 7 to 8 minutes until the cookies are set and the bottoms are just slightly golden.
- Let the cookies rest on the sheet for 2 minutes before transferring them to a wire rack to cool completely.
Notes
To ensure the best results, always use room temperature butter and avoid over-mixing the dough once the flour is added. If your kitchen is warm, chilling the loaded cookie press for a few minutes can help the dough hold its intricate flower shape more effectively.
- Prep Time: 20 mins
- Cook Time: 40 mins
- Category: Dessert
- Method: Baking
- Cuisine: American
Simple Ingredients for Spring Flower Cookies
To make these heritage treats, you only need a handful of items that are likely already sitting in your pantry. Using high-quality staples is the secret to capturing that authentic, old-fashioned flavor that makes these cookies stay fresh in the jar for days.
- Unsalted Butter: Make sure your butter is properly softened at room temperature. This is the heart of the cookie, providing the rich, golden flavor and the tender structure that spritz cookies are known for.
- Confectioner’s Sugar: Also known as powdered sugar, this is what gives our blooms their melt-away texture. It blends into the butter much more smoothly than granulated sugar, preventing a grainy finish.
- Large Egg: A single egg acts as the binder, giving the dough just enough strength to hold its shape when pressed through the decorative discs.
- Pure Vanilla Extract: A splash of vanilla adds that nostalgic aroma that fills the whole house while these are in the oven. It is the scent of a happy kitchen.
- All-Purpose Flour: This provides the foundation. We sift it to make sure there are no lumps, which helps the dough flow through the cookie press without any trouble.
- Baking Powder: Just a touch helps the cookies rise slightly, keeping them from being too dense while maintaining those crisp, detailed edges.
- Cadbury Mini Eggs: These are the crowning glory of our Spring Flower Cookies. Each candy-coated chocolate egg sits right in the center, looking like a little nest in a blooming flower.
The Heritage Method: Step by Step
Step 1: Prepare Your Kitchen and Pans
Before you begin mixing, set your oven to 350 degrees F (175 degrees C). For the best results with a cookie press, I recommend lining your baking sheets with a silicone baking mat. This provides the perfect surface for the dough to grip onto when you lift the press away, making sure each flower stays exactly where it should.
Step 2: Cream the Butter and Sugar
In your favorite large mixing bowl, combine the softened butter and the confectioner’s sugar. Using a sturdy spoon or a hand mixer, beat them together for about 2 minutes until the mixture is pale and fluffy. You want to see the butter lighten in color, which means you have incorporated enough air to keep the cookies light.
Step 3: Add the Flavor and Binder
Crack your egg into the bowl and pour in the vanilla extract. Continue beating the mixture until the egg is completely incorporated and the batter looks smooth and creamy. It should smell wonderful already, like the beginning of a beautiful baking day.
Step 4: Sift and Fold the Dry Ingredients
In a separate smaller bowl, sift together your all-purpose flour and baking powder. Gradually add these dry ingredients to your butter mixture. Mix gently until just combined; you want to avoid overworking the dough, as this can make the cookies tough. The dough should be soft, pliable, and not sticky to the touch.
Step 5: Load the Cookie Press
Choose the flower-shaped disc for your cookie press and fit it into the base. Fill the barrel with your dough, packing it down slightly to remove any air pockets. This makes sure that every click of the press results in a full, perfectly shaped flower.
Step 6: Press the Flowers
Hold the press flat against the prepared baking sheet and click the handle. Lift the press straight up to leave a beautiful dough flower behind. Space them about 1 inch apart; they do not spread much, but they need a little room to breathe as they bake.
Step 7: Add the Heart of the Flower
Take a Cadbury Mini Egg and place it right in the center of each pressed dough flower. Press it down very slightly so it nestles into the dough. This makes sure the candy stays put during the baking process and looks like a natural part of the bloom.
Step 8: Bake to Perfection
Slide your trays into the oven. If your press is set to a small size, bake for 7 minutes. For larger settings, 8 minutes is just right. Keep a close eye on them; the cookies should be set and very slightly golden on the bottom, but they should not brown on the top. We want to preserve that delicate, pale look.
Step 9: Cool and Store
Let the cookies rest on the baking sheet for about 2 minutes to firm up. Then, carefully move them to a wire cooling rack. Once they are completely cool, they are ready to be tucked into your favorite glass cookie jar or shared with loved ones.
Grandma’s Secrets for Spritz Success
One of the most important things to remember when making these Spring Flower Cookies is the temperature of your baking sheets. If the pans are too warm from a previous batch, the butter in the dough will start to melt before the cookie is even pressed, causing them to slide and lose their shape. I always keep a few extra sheets on hand or run the back of the pan under cold water between batches to keep things cool. For more advice on managing your baking schedule, look at our guide on Quick & Easy Cookies.
Another secret from Grandma’s kitchen is the importance of the dough’s consistency. If your kitchen is very warm, the dough might become too soft to hold the intricate details of the flower disc. If this happens, simply pop the loaded cookie press into the refrigerator for ten minutes. This firms up the butter and helps the dough snap cleanly away from the press, resulting in those sharp, beautiful petals we all love. Also, remember that spritz cookies do best on a surface they can ‘grab,’ so avoid greasing your pans or using parchment paper if you find the dough isn’t sticking well; a silicone mat or a clean, ungreased heavy-duty pan is usually the best choice.
Family Favorites and Heritage Twists
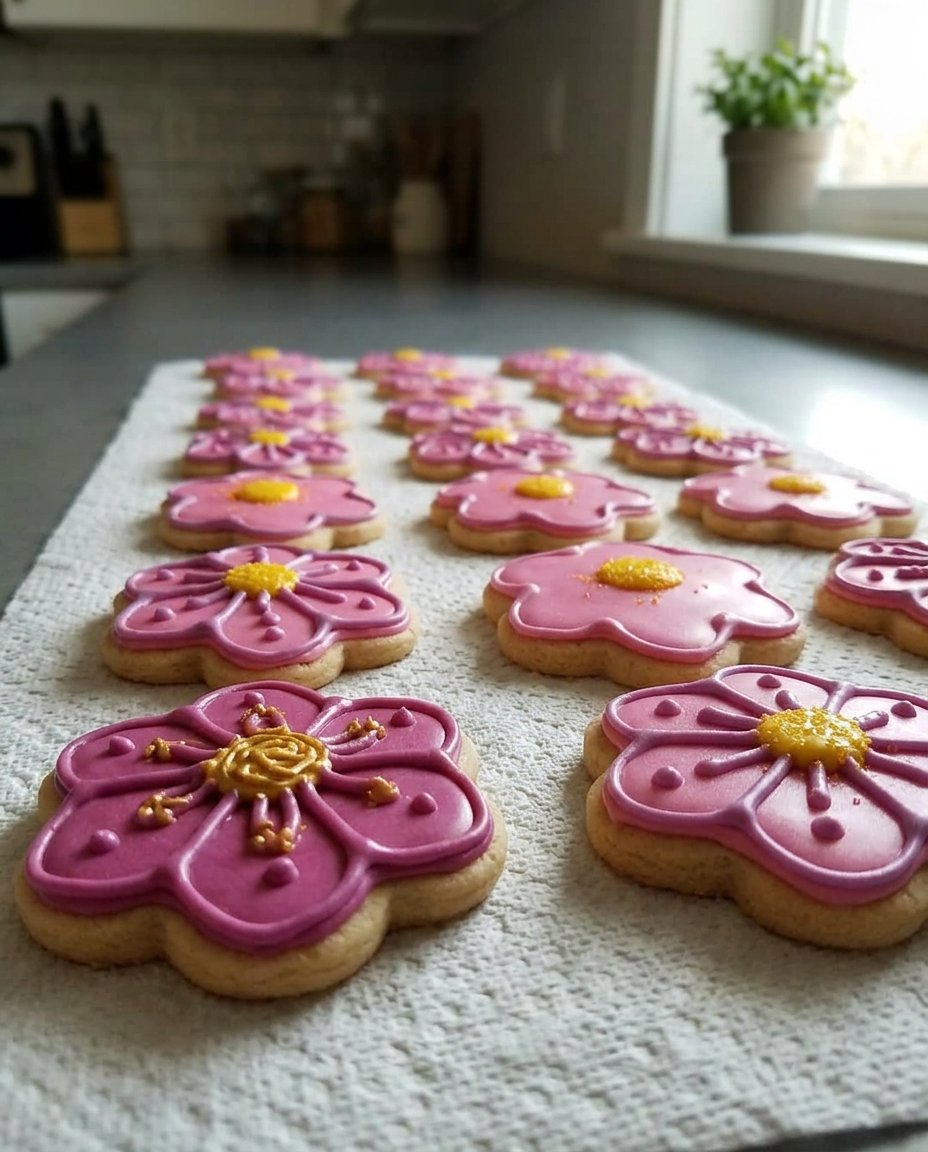
While the classic vanilla bloom is a staple in our home, there are many ways to bring a personal touch to this recipe. You might try swapping the vanilla extract for almond extract to give the cookies a sophisticated, nutty aroma that reminds me of old-fashioned wedding cakes. If you are feeling festive, you can add a few drops of pastel food coloring to the dough—soft pinks, greens, and yellows make a beautiful bouquet on a serving platter. To see how we use different colors for other holidays, check out our Cookie Decorating Traditions.
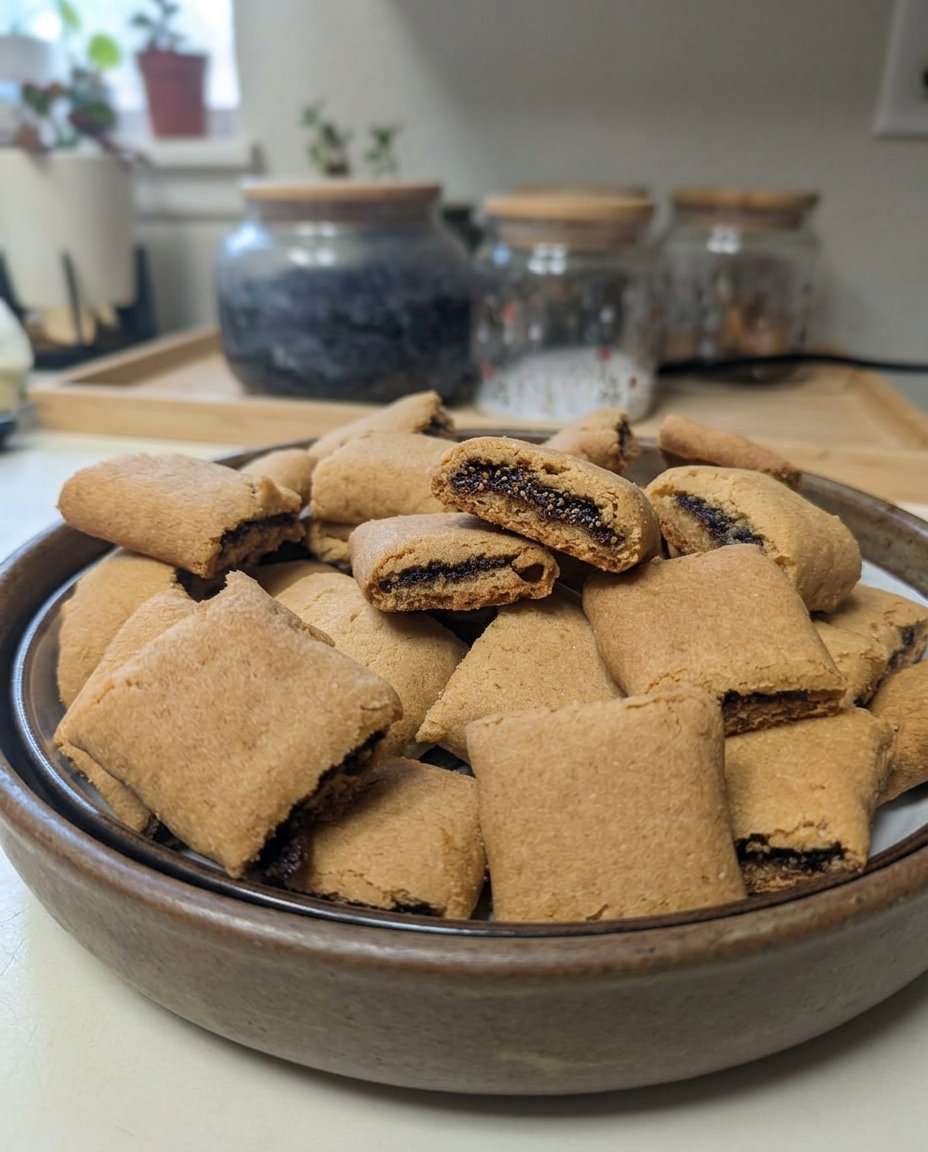
For those who enjoy a bit of extra texture, you can finely mince some walnuts or pecans and press them into the edges of the petals before baking. If Cadbury eggs aren’t in season, a simple chocolate kiss or even a small dollop of raspberry jam in the center works wonderfully. Some families even like to dip the bottoms of the cooled cookies in melted dark chocolate for a bit of extra decadence. No matter which variation you choose, the heart of the recipe remains a tribute to the simple joy of heritage baking.
Cookie Jar Time: How to Serve
Serving these Spring Flower Cookies is all about creating a moment of peace and connection. I love to pile them high in a vintage glass pedestal bowl so the pastel colors of the candy eggs can catch the light. They make a stunning centerpiece for an Easter brunch or a simple afternoon tea with friends. For more ideas on planning your seasonal gatherings, see our section on Holiday Cookie Celebrations.
If you are giving these as a gift, find a pretty tin and line it with some floral tissue paper. These cookies are sturdy enough to be stacked, making them ideal for sharing. For a truly nostalgic experience, serve them alongside a pot of Earl Grey tea or a cold bottle of milk for the little ones. There is something so special about seeing a child’s eyes light up when they get to pick out their favorite color egg from the middle of a buttery flower. It is these small traditions that turn a simple recipe into a lifelong memory.
The Sweet Heritage of Baking
As we pull the last tray of Spring Flower Cookies from the oven and the house smells of sweet butter and vanilla, I am reminded that the best things in life are often the ones we pass down through the years. This recipe is a bridge between the past and the present, a way to bring a little bit of Grandma’s sunshine into our own modern kitchens. If you enjoyed this trip down memory lane, I invite you to look at our other Classic Cookie Recipes to find your next family favorite. For more inspiration and to see these cookies in action, please visit Lord Byron’s Kitchen and join our community of heritage bakers. Don’t forget to share your own baking photos with us on Pinterest and Instagram. Happy baking, and may your cookie jar always be full of love.
