I remember standing on a wooden stool in Grandma’s kitchen, watching her stir a heavy bowl of dough with a worn wooden spoon. Her cookies were legendary, but she often spent all afternoon chilling and rolling them. I loved those flavors, but my own schedule rarely allows for a four-hour baking project.

This updated recipe captures that exact heritage flavor in a fraction of the time. By using a simple one-bowl method and melted butter, we get the same gooey centers and crisp edges without the fuss. It is the perfect way to bring a little bit of the past into your busy modern week.
Modern Nostalgia in Every Bite
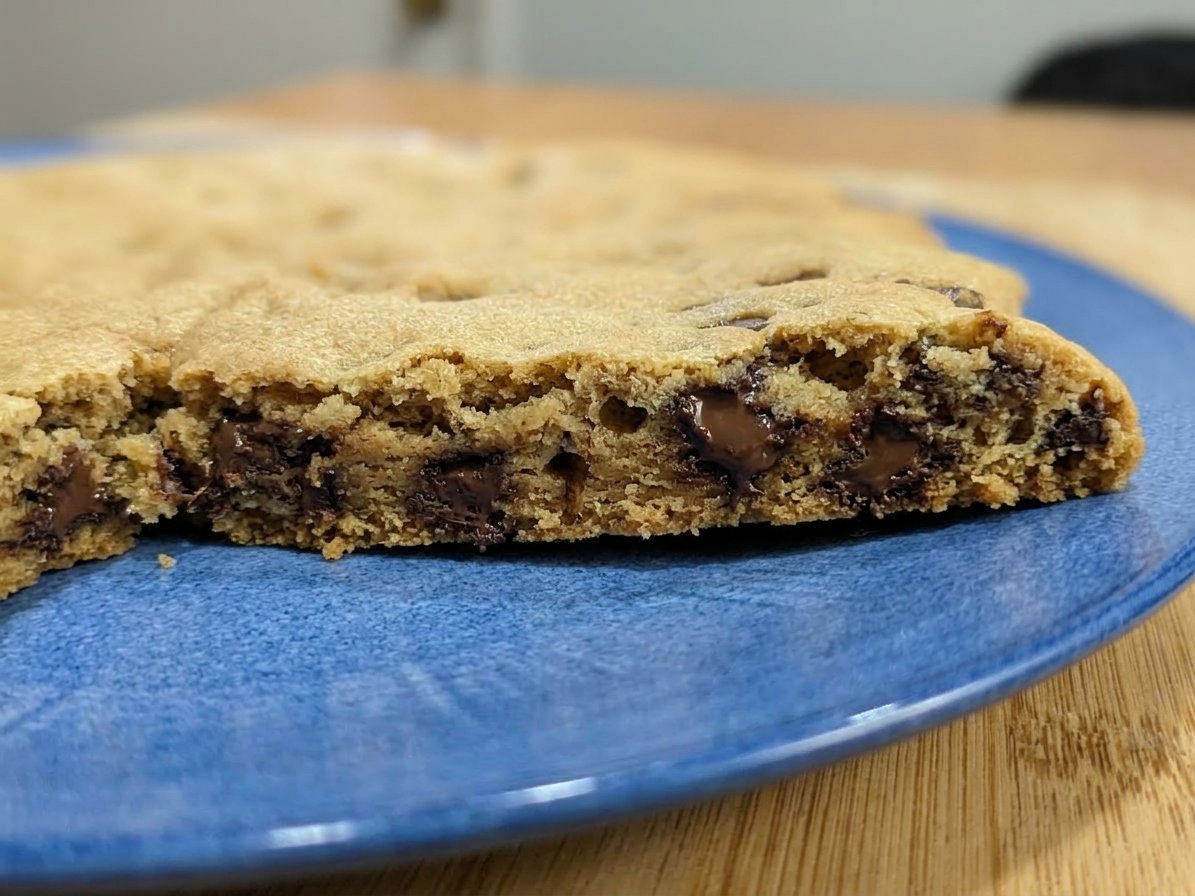
You are going to love these cookies because they provide a bridge between old-fashioned quality and modern speed. Most traditional recipes require you to cream room-temperature butter for several minutes, but this version uses melted butter to speed things up while creating a denser, chewier texture. It is a win-win for anyone who wants a cookie that tastes like it came from a professional bakery but only took ten minutes to prep.
Another reason these are a keeper is the one-bowl cleanup. Busy families do not have time to wash a mountain of dishes after a quick baking session. By mixing everything together in one large bowl, you save time and energy. Plus, the dough is incredibly versatile. You can bake a few now and freeze the rest for later, making it easier to have a warm, nostalgic treat ready at a moment’s notice. The balance of salty and sweet here is also perfectly tuned, especially if you add that final pinch of sea salt on top.
Print
Ultimate Chewy Chocolate Chip Cookies
- Total Time: 41 mins
- Yield: 20 cookies
- Diet: Vegetarian
Description
These effortless one-bowl cookies combine the rich, nostalgic flavor of a heritage recipe with a modern melted-butter method for maximum chewiness. Featuring pools of dark chocolate and a hint of sea salt, they are the perfect quick treat for any busy modern schedule.
Ingredients
- 1 cup unsalted butter, melted and slightly cooled
- 1 cup light brown sugar, packed
- 1/2 cup granulated white sugar
- 1 large egg, room temperature
- 1 tablespoon pure vanilla extract
- 2 cups all-purpose flour
- 1 teaspoon baking soda
- 1/2 teaspoon salt
- 1.5 cups dark chocolate chunks
- Flaky sea salt for sprinkling
Instructions
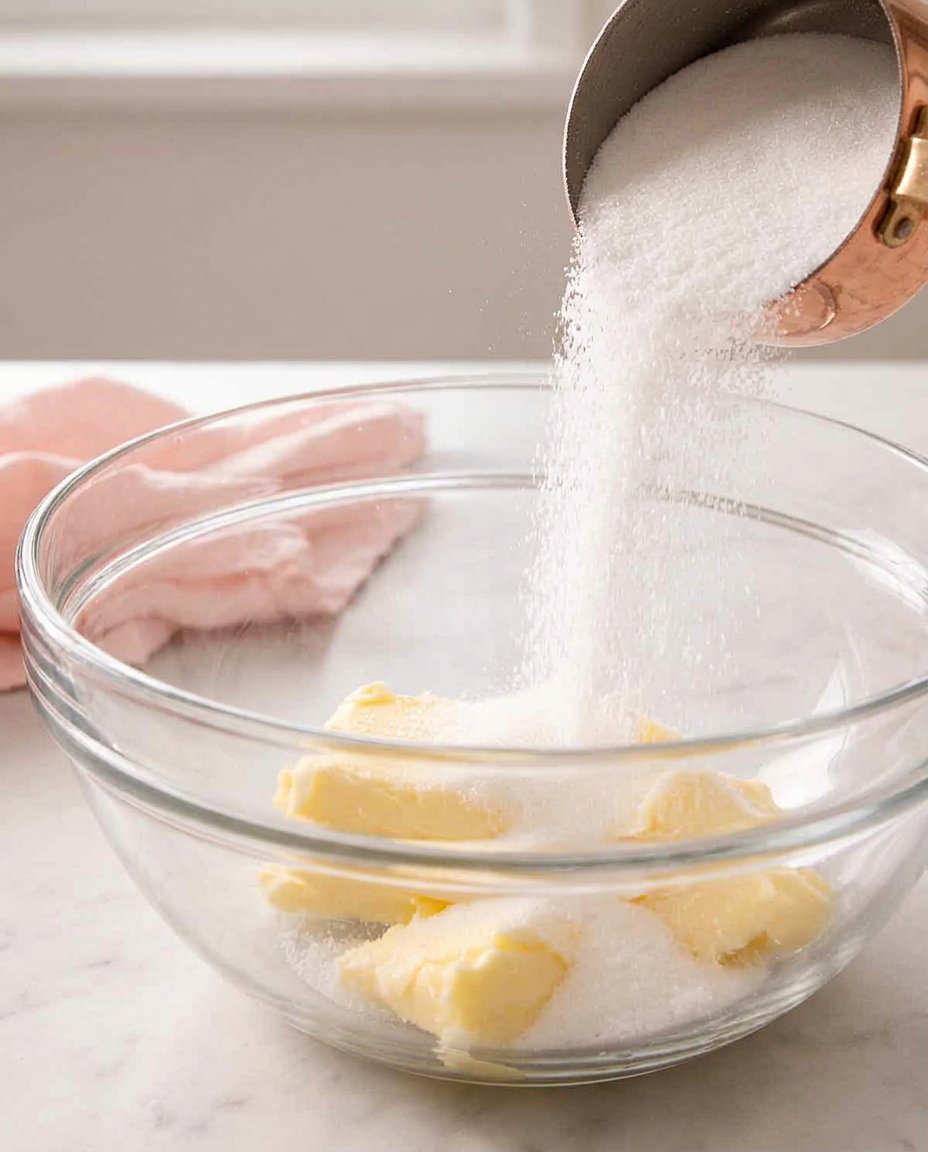
- In a large mixing bowl, whisk together the melted butter, brown sugar, and granulated sugar until the mixture is smooth and well incorporated.
- Add the egg and vanilla extract, whisking vigorously until the batter looks glossy and cohesive.
- Add the flour, baking soda, and salt directly into the wet ingredients and use a spatula to fold them in until just combined.
- Gently fold in the dark chocolate chunks until they are evenly distributed throughout the dough.
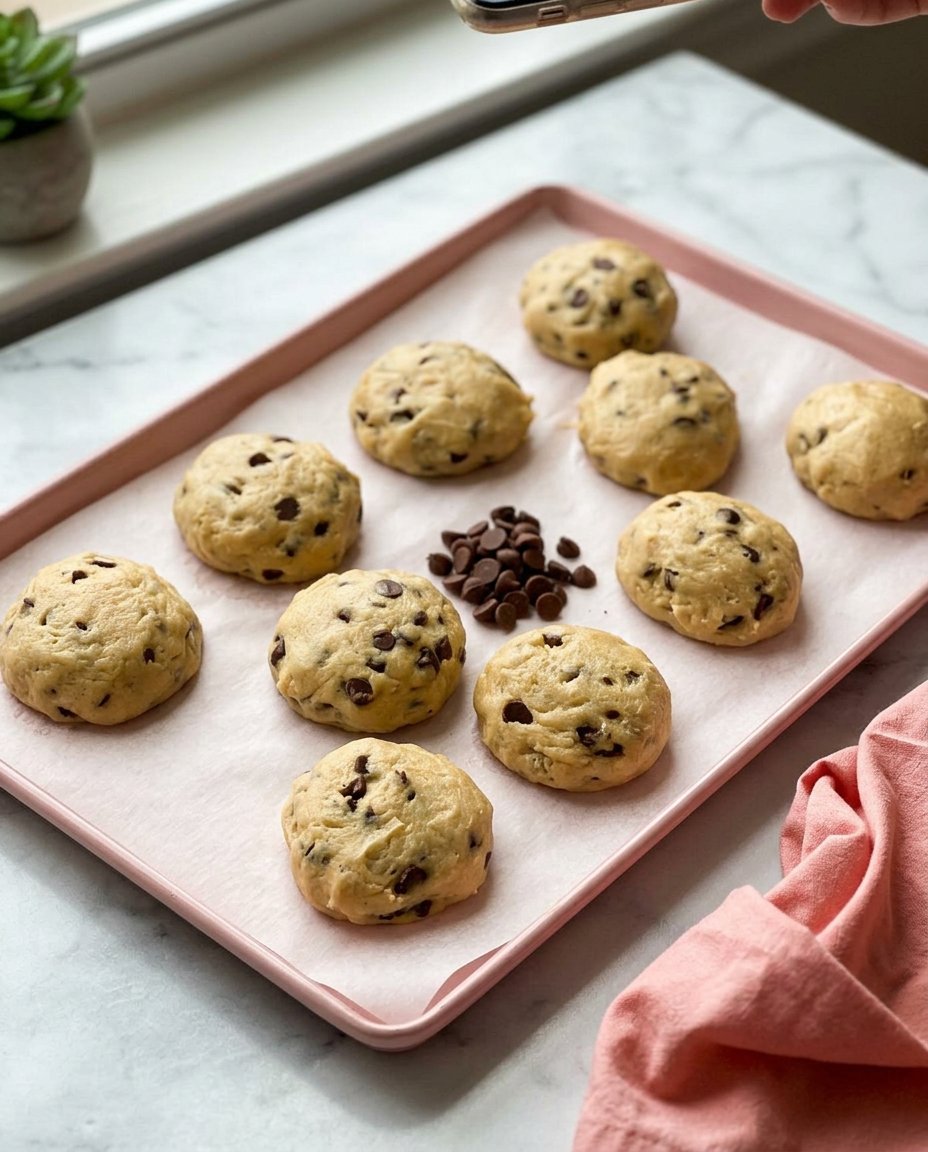
- Form the dough into 1.5-tablespoon balls using a cookie scoop and place them on a tray to chill in the refrigerator for at least 20 minutes.
- Preheat your oven to 350°F (175°C) and line a large baking sheet with parchment paper.
- Space the chilled dough balls 2 inches apart on the baking sheet and bake for 10 to 11 minutes until the edges are golden but the centers remain soft.
- Remove from the oven, sprinkle with flaky sea salt, and let the cookies rest on the hot pan for 5 minutes before moving them to a wire rack.
Notes
For the best results, ensure your melted butter has cooled slightly before adding the sugars to prevent the dough from becoming too greasy. If you have extra time, chilling the dough balls for a full 24 hours will deepen the molasses flavor and create an even richer cookie.
- Prep Time: 30 mins
- Cook Time: 11 mins
- Category: Dessert
- Method: Baking
- Cuisine: American
Simple Pantry Essentials
To make these cookies, you likely already have everything you need sitting in your cupboard. This recipe relies on basic staples that work together to create a complex, deep flavor. We avoid fancy, hard-to-find items in favor of the classics that have worked for generations.
- Unsalted Butter: We melt the butter to create a fudgy, dense interior. This also makes the dough easier to stir by hand if you do not want to pull out the heavy mixer.
- Brown and Granulated Sugars: Using more brown sugar than white sugar is the secret to that classic molasses-like chewiness. It keeps the cookies soft for days.
- Large Egg: This acts as the binder, providing structure and a little bit of lift without making the cookie too cakey.
- Vanilla Extract: A heavy hand with vanilla adds that warm, comforting aroma that defines a home-baked cookie.
- All-Purpose Flour: This provides the backbone. We use just enough to hold the chocolate together while keeping the center soft.
- Baking Soda and Salt: These simple leaveners and flavor balancers are essential for the perfect rise and a pop of flavor.
- Dark Chocolate: Chunks are better than chips here because they create pools of melted chocolate that look as good as they taste.
Quick Method for Busy Bakers
Step 1: Mix the Base
Start by grabbing your favorite large mixing bowl. Pour in your melted butter, brown sugar, and granulated sugar. Whisk these together until the mixture is smooth and the sugar is well incorporated. This usually takes about a minute of vigorous stirring. Once the base is smooth, crack in your egg and add the vanilla extract. Continue mixing until the batter looks glossy and cohesive.
Step 2: Incorporate Dry Ingredients
You do not need a separate bowl for the flour. Simply add your all-purpose flour, baking soda, and salt directly into the wet ingredients. Use a spatula to fold everything together. Stop mixing the very second you no longer see streaks of white flour. Over-mixing can lead to tough cookies, and we want to keep these tender. Finally, fold in those dark chocolate chunks until they are evenly distributed.
Step 3: Shape and Chill
Use a standard cookie scoop to form the dough into balls, roughly one and a half tablespoons each. Place these on a plate or a small tray. You will want to pop these into the fridge for at least 20 minutes. This short rest helps the flour hydrate and prevents the cookies from spreading too thin in the oven. If you have the time, leaving them in longer will only improve the flavor.
Step 4: Bake to Perfection
Preheat your oven to 350ºF (175ºC) and line a baking sheet with parchment paper. Space the chilled dough balls about two inches apart to allow for spreading. Bake for 10 to 11 minutes. The key is to look for golden brown edges while the centers still look a little soft. They will firm up as they cool on the hot pan.
Step 5: The Finishing Touch
As soon as you pull the tray out, sprinkle a tiny bit of flaky sea salt over the tops. This is optional but highly recommended to cut through the richness of the chocolate. Let the cookies rest on the baking sheet for five minutes before moving them to a wire rack. This cooling period is vital to keep the centers gooey and the edges crisp.
Meagan’s Time Savers
One of the best ways to save time is to use parchment paper every single time you bake. It prevents sticking and makes cleanup a breeze. If you are looking for more ways to keep things simple, check out our Quick & Easy Cookies section for recipes that skip the complicated steps. Another tip is to use a cookie scoop for uniform sizes. This makes sure every cookie in the batch bakes at the same rate, so you do not end up with some burnt and some raw.
If you find your cookies are spreading too much, make sure your butter was not piping hot when you added the sugar. Let it cool for just a minute after melting. Also, do not skip the 20-minute chill. It is a small window of time that makes a huge difference in the final texture. You can even prep the dough the night before if you know you have a busy day ahead. This recipe is designed to work with your life, not against it.
Classic Options for Every Taste
While the dark chocolate is a personal favorite, you can easily swap it out for milk chocolate or even white chocolate chips for a sweeter profile. If you want to follow more traditional paths, you can find inspiration in our Classic Cookie Recipes gallery. For a bit of crunch, try adding half a cup of toasted walnuts or pecans to the dough.
For a different texture, some bakers enjoy comparing methods with other famous versions, such as this AsassySpoon recipe. You can also play with the extracts. Swapping vanilla for a tiny bit of almond or even rum extract can give these cookies a completely different personality while keeping the core method the same. If you are feeling festive, adding some colorful sprinkles into the dough is a fast way to turn these into birthday treats for the kids.
Quick Enjoyment for Modern Sharing
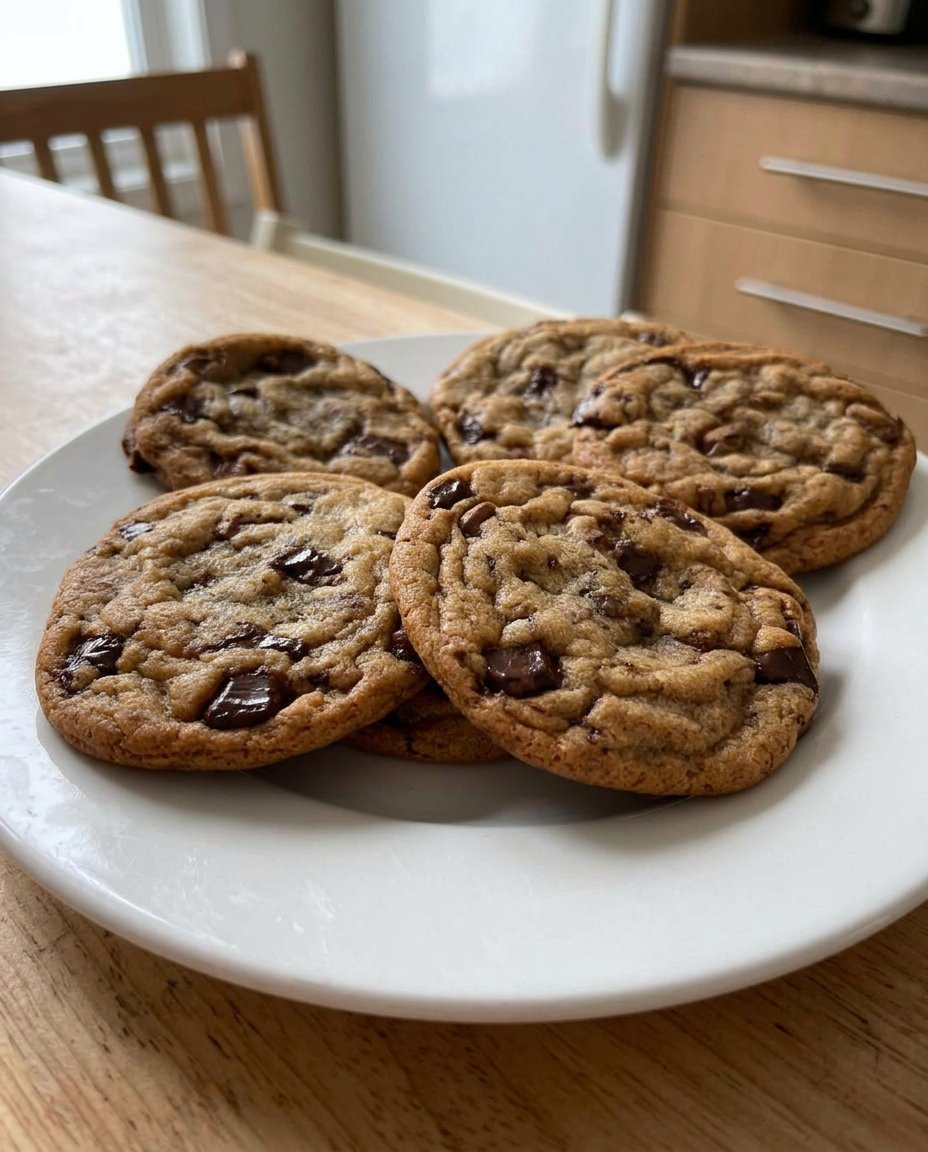
These cookies are best served while they are still slightly warm from the oven, when the chocolate chunks are still melty. They are the ultimate after-school snack or a quick treat for a weeknight movie. If you are planning for a party or a holiday, you might find more ideas in our Holiday Cookie Celebrations collection.
For a fun twist, use two cookies to make a quick ice cream sandwich. Simply place a scoop of vanilla bean ice cream between the flat sides of two cooled cookies and press together. You can also serve them on a platter with a selection of fresh fruit and a cold glass of milk to keep things simple and classic. They pack beautifully in lunchboxes, too, as they stay soft for several days when stored in an airtight container.
The Sweet Balance of Heritage
Baking doesn’t have to be a chore that takes up your entire weekend. By taking a few shortcuts like melting the butter and using a single bowl, we can honor the flavors of the past while respecting the speed of our modern lives. I hope these cookies bring a little bit of that nostalgic joy to your home. If you enjoy making these, you might also love looking through our Cookie Decorating Traditions for more inspiration. Please share your baking results with us on Pinterest, Instagram, or Facebook. We love seeing how these heritage recipes fit into your world. Keep baking and keep those traditions alive!
