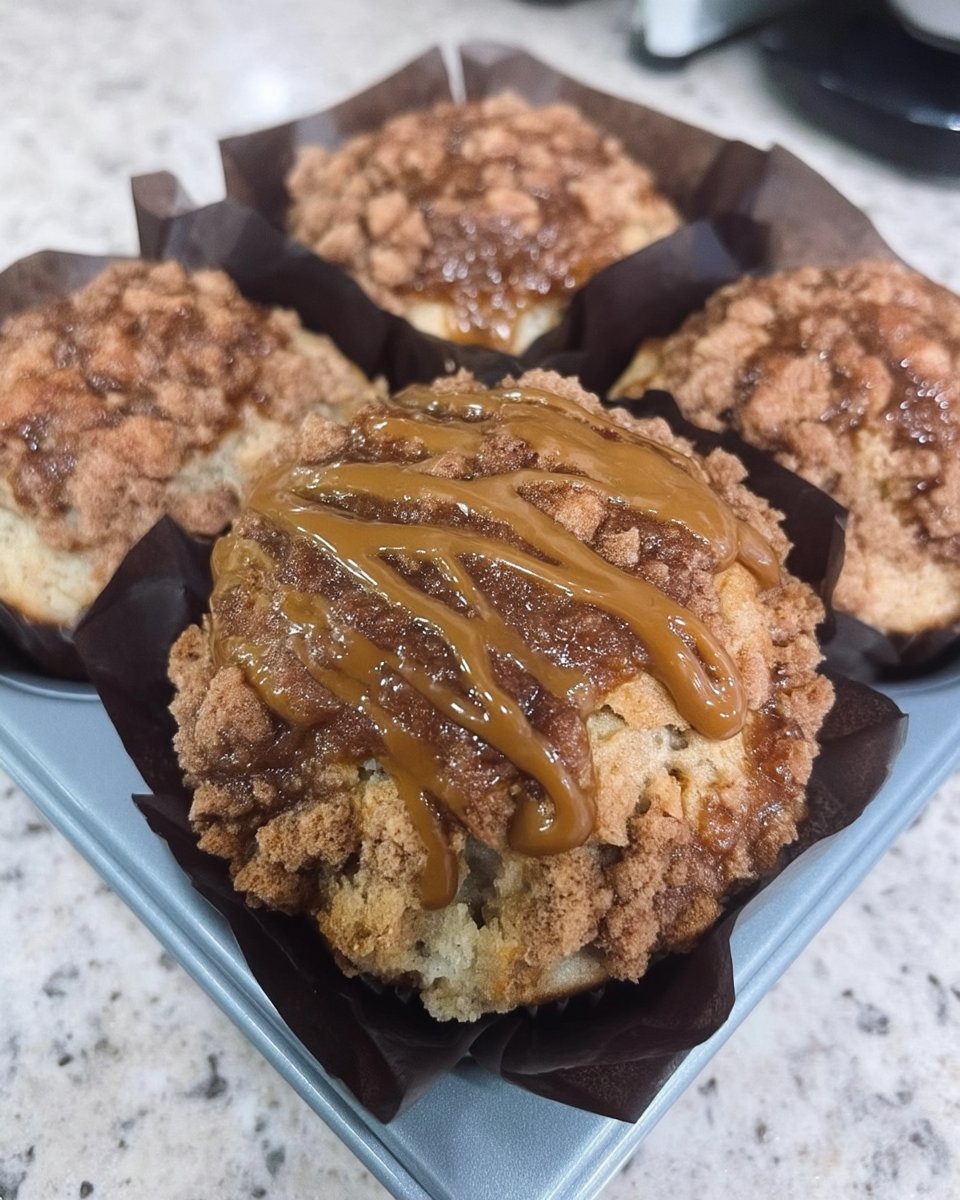
Most home bakers struggle with those store-bought Dutch treats that arrive hard and brittle in the package. I spent months perfecting a version that brings that authentic street-market warmth into your kitchen, making certain the centers stay gooey while the waffles remain tender. This recipe is a heritage improvement that solves the dry cookie jar problem, keeping your waffles soft and fresh for days.

These Stroopwafel Cookies are more than just a snack; they are a masterpiece of moisture retention and spiced caramel. By using a yeasted dough and a carefully balanced cinnamon syrup, we achieve a texture that honors the original Dutch tradition while offering a much more satisfying chew. Get your waffle iron ready for a batch of cookies that your family will treasure as a new household classic.
A Perfect Treat for Any Occasion
You will fall in love with these cookies because they provide a sensory experience that standard drop cookies simply cannot match. The combination of a warm, yeasted dough and the rich, buttery stroop filling creates a texture-perfected snack that stays soft and chewy for a full week. Unlike factory-made versions, these homemade beauties have a depth of flavor from the high-quality cinnamon and brown sugar that makes every bite feel like a special occasion.
This recipe is specifically designed for those who value longevity in their baking. I have tweaked the traditional ratios to make certain the waffle doesn’t turn into a cracker the moment it hits the cooling rack. Instead, you get a pliable, fragrant cookie that yields perfectly to the tooth. Whether you are looking to impress guests at a holiday gathering or just want a reliable treat for your afternoon coffee, these cookies deliver a consistent, jar-fresh texture every single time.
Print
Stroopwafel Cookies
- Total Time: 2 hours
- Yield: 18 cookies
- Diet: Vegetarian
Description
Master the art of authentic Dutch street-market treats with this recipe for soft, chewy stroopwafels. Featuring a tender yeasted dough and a rich, spiced caramel filling, these cookies are designed to stay perfectly pliable and fresh for days.
Ingredients
- 1 cup warm whole milk
- 2 1/4 tsp active dry yeast
- 1 cup unsalted butter, melted
- 2 large eggs, room temperature
- 1/2 cup granulated sugar
- 1 tsp ground cinnamon
- 1/2 tsp salt
- 4 cups all-purpose flour
- 1 cup Dutch stroop (or 1/2 cup molasses and 1/2 cup light corn syrup)
- 1 cup packed brown sugar
- 1/2 cup unsalted butter
- 1 tsp ground cinnamon
- 1/4 tsp salt
Instructions
- In a small saucepan, combine Dutch stroop, brown sugar, 1/2 cup butter, cinnamon, and salt; heat over medium until melted and bubbling, then set aside in a separate bowl to cool and thicken.
- In a stand mixer, combine warm milk and yeast, letting it sit for a few minutes until frothy.
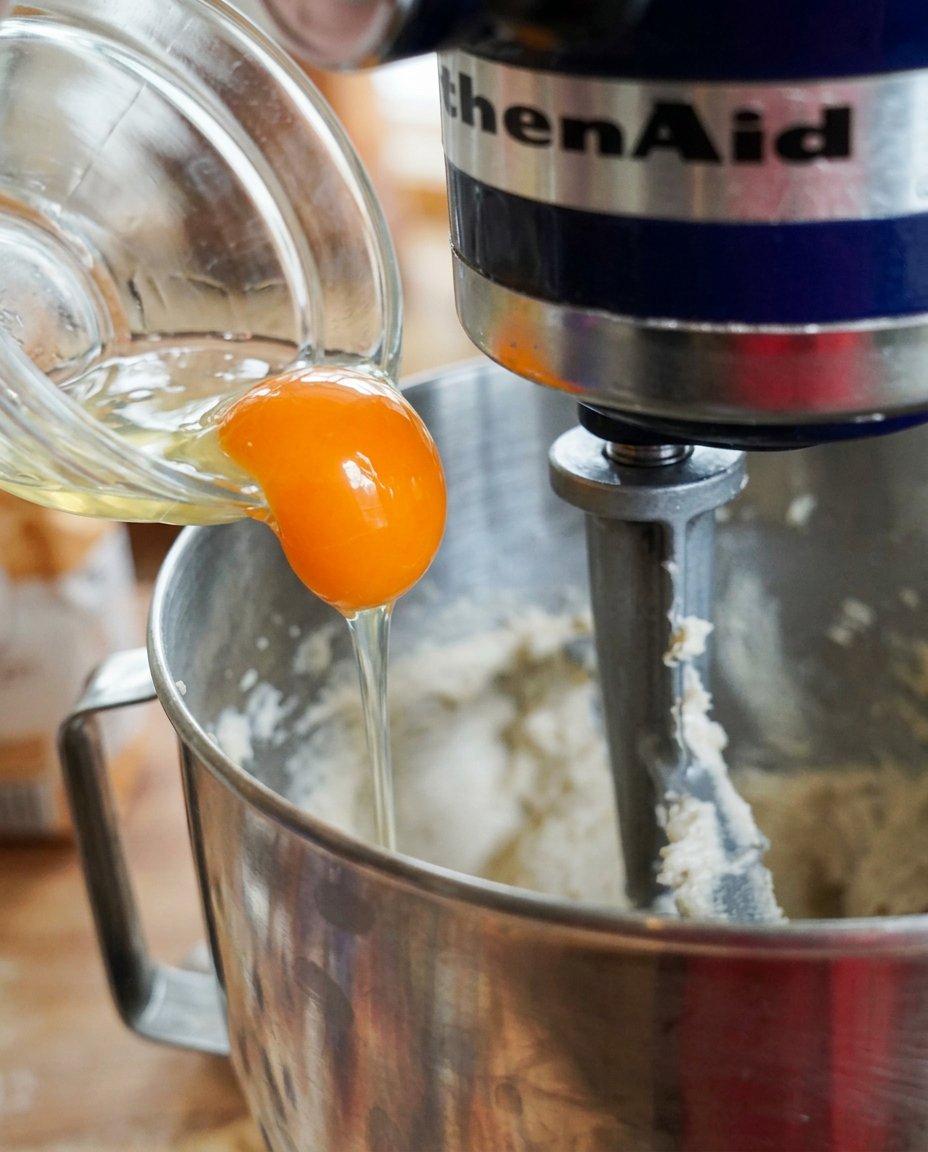
- Add 1 cup melted butter, eggs, and granulated sugar to the yeast mixture and mix on low speed until the base is smooth.
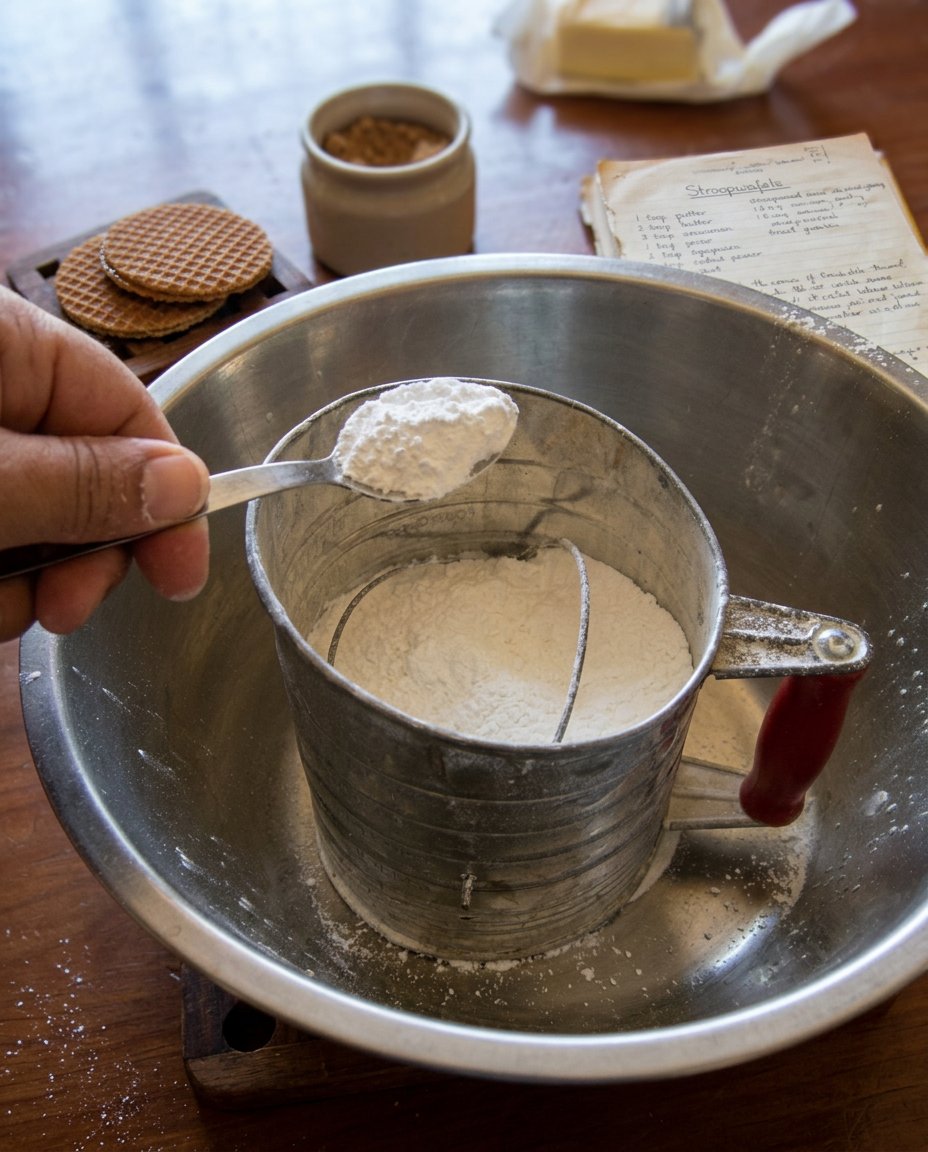
- Incorporate the cinnamon, salt, and all-purpose flour into the mixer, then turn the dough onto a lightly floured surface and knead into a soft, smooth ball.
- Divide the dough into 18 equal pieces (about 50g each), roll into smooth balls, place on a sheet pan, and let them rest covered for one hour.
- Flatten a dough ball into a disc and bake in a preheated waffle iron for 2 to 3 minutes until golden brown.
- Immediately split the hot waffle horizontally with a thin, sharp knife, spread a generous tablespoon of filling inside, and press the halves back together while still warm.
Notes
To ensure the best results, use a very thin, sharp palette knife or paring knife to split the waffles while they are still emitting steam. If the dough feels too sticky during the kneading process, resist the urge to add excess flour, as the high butter content will naturally become more manageable and yield a softer texture after the resting period.
- Prep Time: 20 mins
- Cook Time: 40 mins
- Category: Dessert
- Method: Waffle Iron
- Cuisine: Dutch
The Secret Ingredients for Soft Texture
To achieve that signature chewy waffle, we focus on ingredients that promote moisture and elasticity. The yeast is the foundation, providing a light lift that prevents the waffle from becoming too dense or hard.
- Dutch Stroop (or Molasses/Corn Syrup Mix): This is the heart of the cookie. If you cannot find authentic Dutch stroop, a 50/50 blend of light corn syrup and molasses provides a similar dark, rich flavor and sticky texture.
- Whole Milk and Yeast: This combination creates a brioche-style dough that is far more tender than a standard cookie base.
- Brown Sugar: Used in the filling to provide deep caramel notes and to keep the syrup from crystallizing, which helps the cookies stay soft for days.
- Unsalted Butter: We use high-quality butter in both the dough and the filling to provide a rich mouthfeel and to act as a moisture barrier, preventing the waffles from drying out.
- Large Eggs: At room temperature, these emulsify better into the dough, creating a stable structure that can handle being split with a knife while hot.
The Texture-Perfected Method
Step 1: Craft the Spiced Stroop Filling
In a small saucepan, combine your Dutch stroop, brown sugar, butter, cinnamon, and salt. Heat over medium until the butter is completely melted and the mixture just begins to bubble. It is vital to move the filling to a separate bowl to cool so it thickens into a spreadable consistency before you begin the waffles.
Step 2: Prepare the Yeasted Dough
Warm your milk slightly and combine it with the yeast in a stand mixer. Let it sit for a few minutes until it looks frothy. Add your melted butter, eggs, and granulated sugar. Using the beater attachment, mix on low speed until the ingredients are fully combined and the base of your dough is smooth.
Step 3: Mix and Knead the Flour
With the mixer still on low, add the cinnamon, salt, and all-purpose flour. Mix until the flour is mostly incorporated. Turn the dough out onto a lightly floured surface and knead it into a soft, smooth ball. This dough should feel pliable and slightly oily from the butter, which is a great sign for future moisture retention.
Step 4: Portion and Rest for Texture
Divide your dough into 18 equal pieces, roughly 50g each. Roll them into smooth balls and place them on a sheet pan. Cover them with plastic wrap and let them rest for one hour. This resting period allows the gluten to relax and the yeast to begin its work, which guarantees a tender bite rather than a tough one.
Step 5: Bake in the Waffle Iron
Preheat your waffle iron or pizzelle maker. Take a dough ball, flatten it into a disc, and place it in the center of the iron. Close the lid and bake for about 2 to 3 minutes until the waffle is a beautiful golden brown. Work quickly here, as the temperature is key to the next step.
Step 6: Split and Fill Immediately
As soon as the waffle comes off the iron, use a sharp, thin knife to split it horizontally into two thin rounds. While the waffle is still steaming hot, spread a generous tablespoon of the prepared stroop filling inside and press the halves back together. The residual heat will melt the syrup just enough to bond the two sides into a single, chewy cookie.
Mehmet’s Freshness Secrets
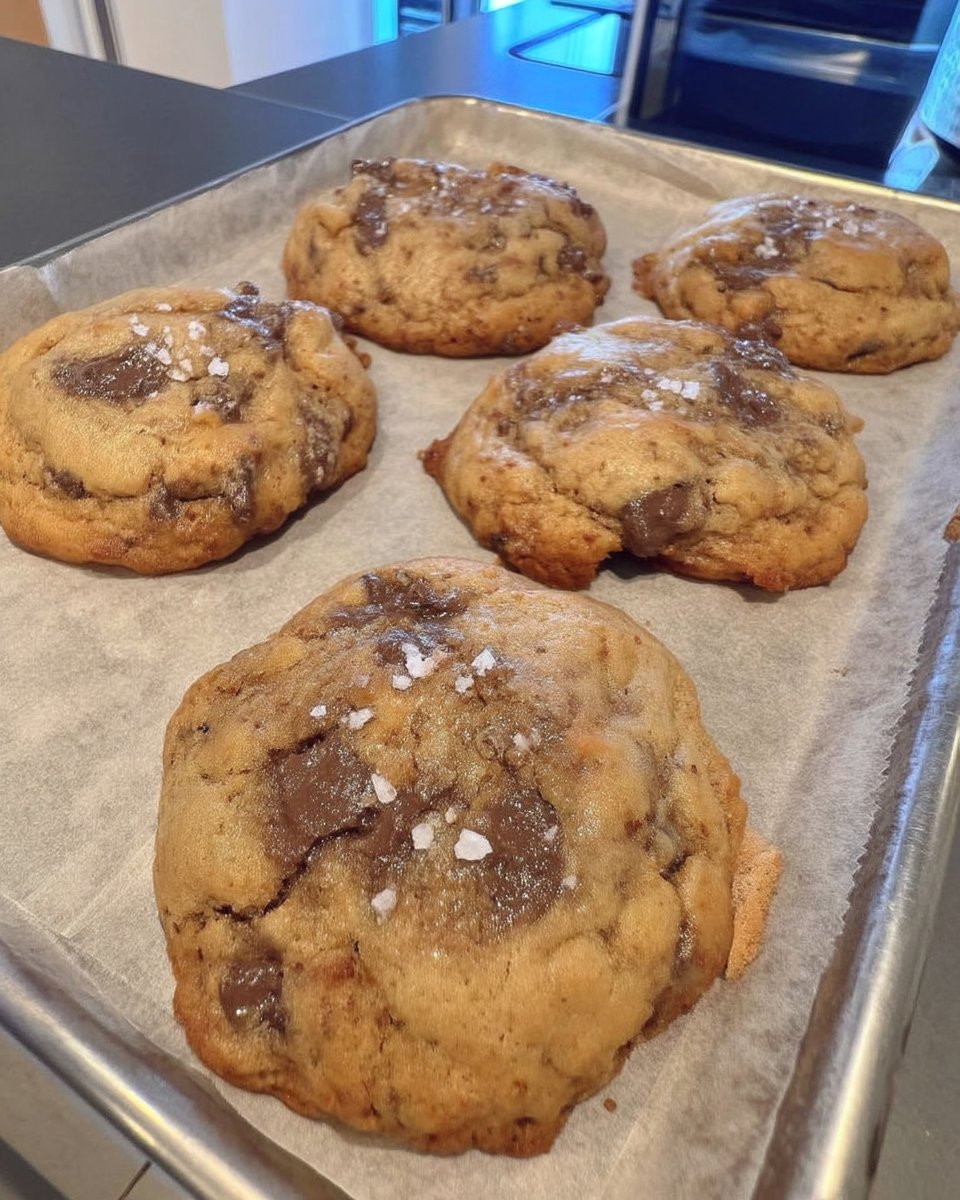
One of the biggest mistakes bakers make is letting the waffles cool before trying to split them. You must work while the dough is still hot and flexible. If a waffle cools too much, it will likely crumble or tear when you try to insert the knife. For more advice on handling traditional doughs, you might find our guide on Classic Cookie Recipes very helpful for mastering these movements.
Another trick for the best texture is to monitor your waffle iron temperature closely. If the iron is too hot, the outside will burn before the inside is cooked enough to split. For a visual guide on the perfect golden-brown shade, you can check out this detailed Dutch stroopwafel tutorial which shows the process in action. Always keep your finished cookies in a sealed container to prevent the air from stealing their moisture.
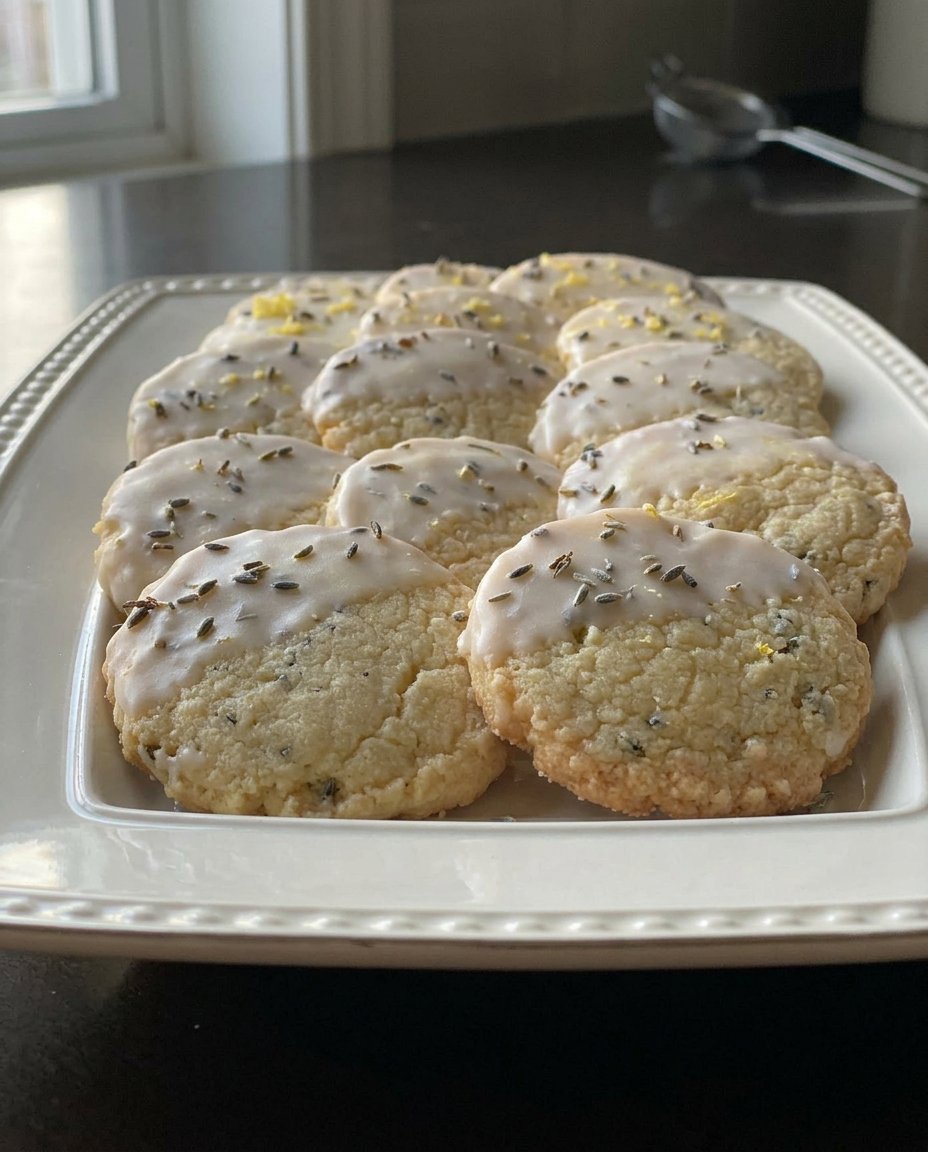
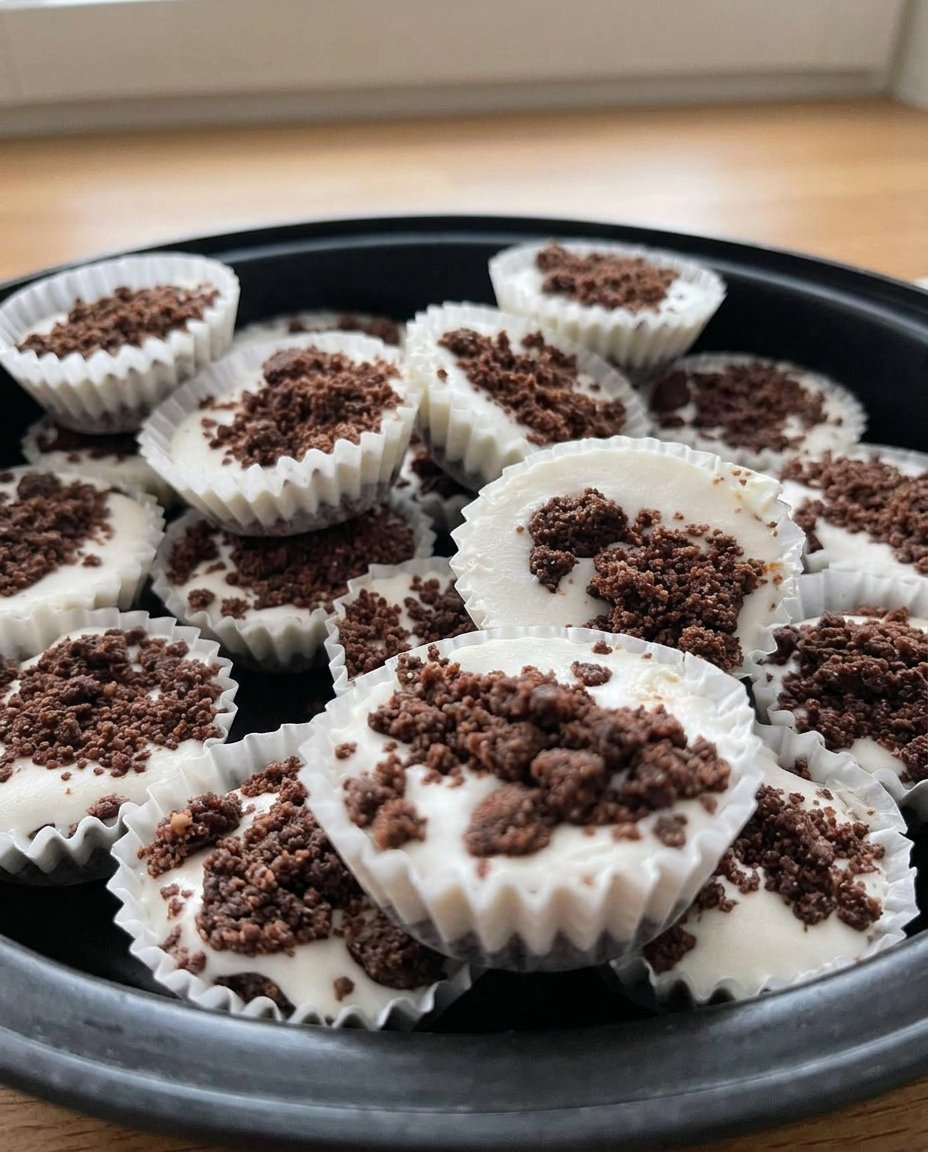
Texture Tweaks and Flavor Options
While the classic cinnamon and caramel profile is timeless, you can easily adapt this recipe to suit your preferences. If you prefer a cookie with a bit more bite, you can replace a portion of the all-purpose flour with whole wheat pastry flour for a nuttier flavor that still keeps the soft texture. For those who love Holiday Cookie Celebrations, try dipping half of the finished, cooled stroopwafel into melted dark chocolate and sprinkling it with sea salt.
Another favorite variation is to add a tiny amount of orange zest to the dough. The citrus oils interact beautifully with the cinnamon in the stroop, creating a brighter flavor profile. If you find yourself without Dutch stroop, remember that a thick honey can work in a pinch, though it will produce a much sweeter and less complex cookie than the traditional syrup.
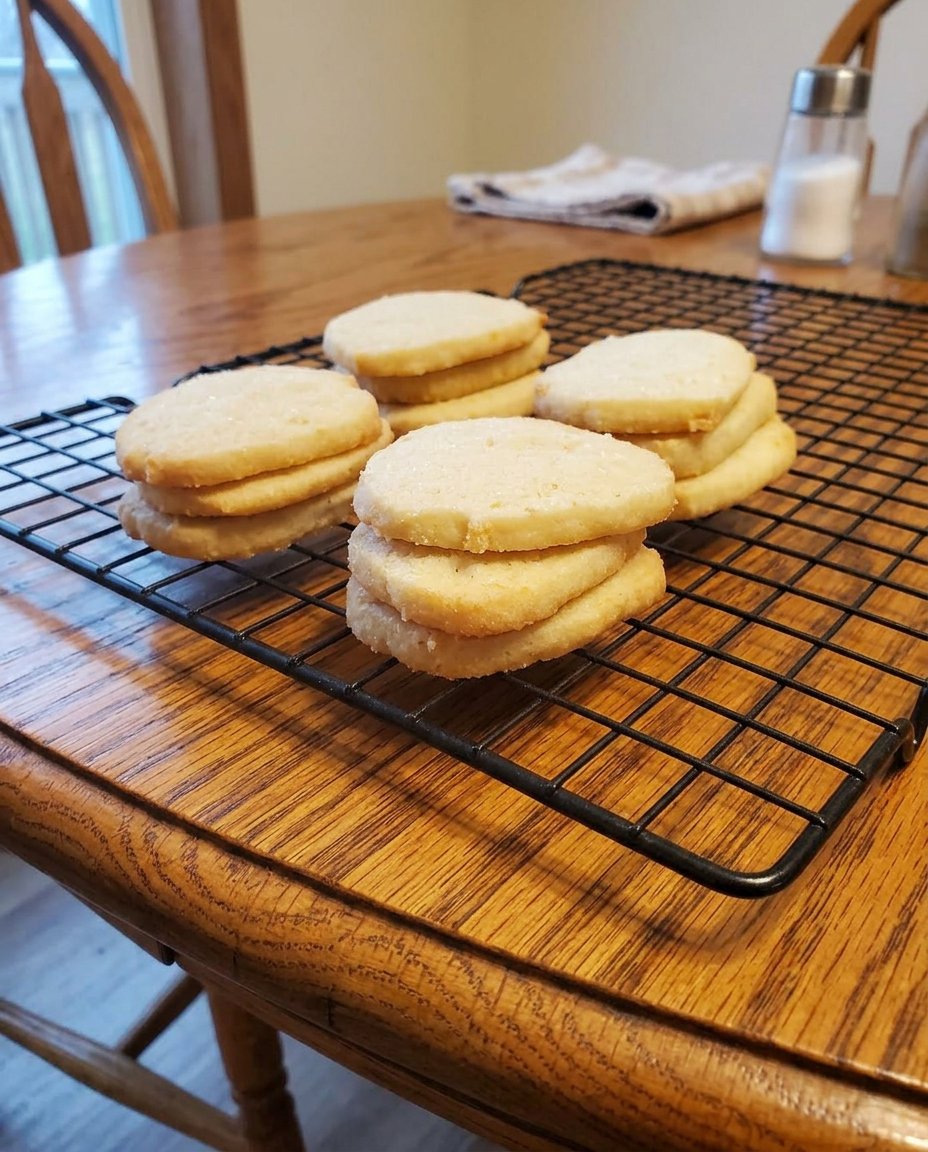
How to Serve for Maximum Chewiness

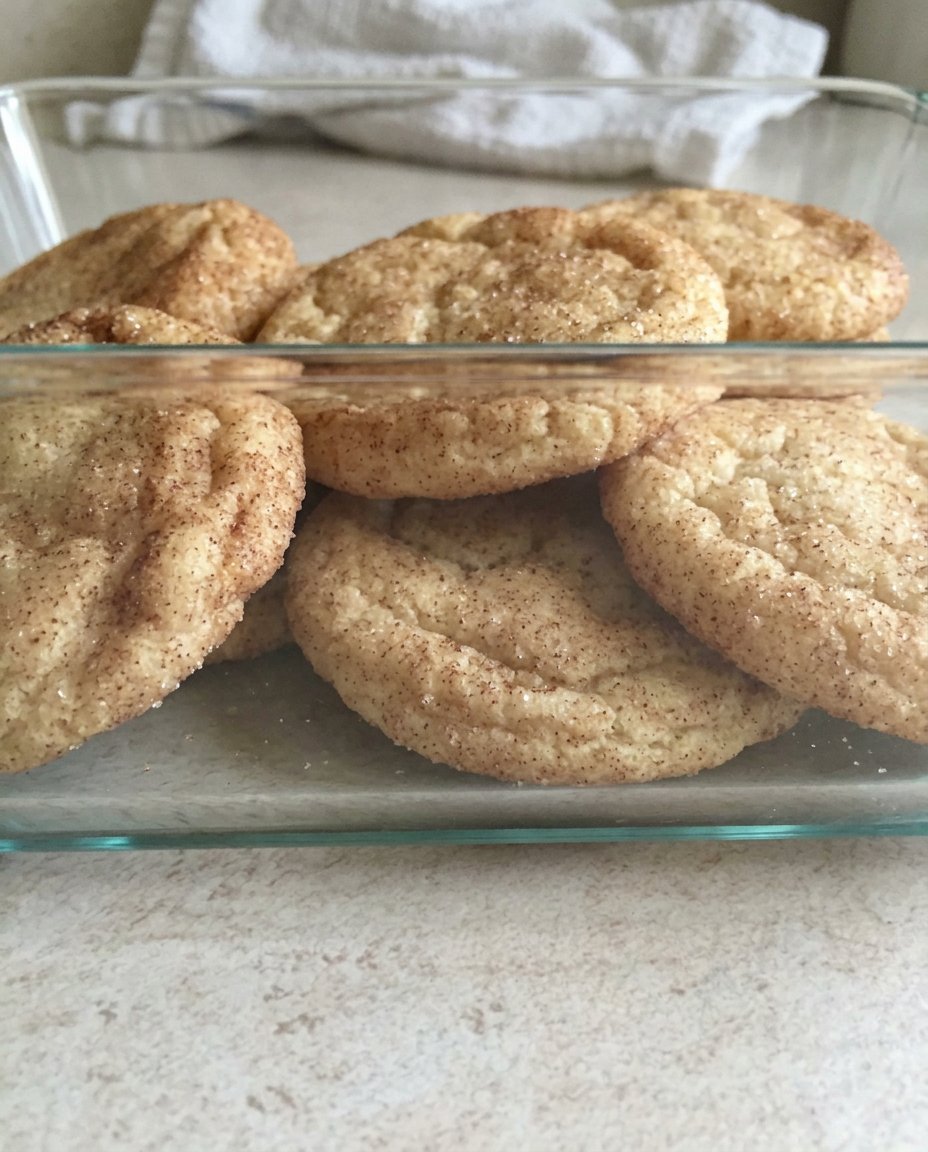
To get the most out of your Stroopwafel Cookies, I always recommend serving them alongside a steaming beverage. The heat from the drink is the secret to reviving the caramel center to its most decadent state. If you are preparing a platter for a party, these look beautiful stacked in a vintage glass jar, showcasing their golden pattern. For more ideas on presenting your bakes, look through our tips on Quick & Easy Cookies for display inspiration.
If you have leftovers that have been sitting for a few days, a quick five-second zap in the microwave will return them to that just-baked, flexible state. These cookies also pair wonderfully with a scoop of vanilla bean ice cream, where the cold cream provides a stark, delightful contrast to the spiced, chewy waffle layers. No matter how you serve them, make certain they are the star of the show by keeping them at the center of your dessert table.
The Texture Truth
Bringing the tradition of the Dutch stroopwafel into your home is a rewarding journey that results in a cookie far superior to any store-bought alternative. By focusing on the moisture in the dough and the timing of the split, you create a treat that honors the past while staying fresh and soft for your modern family to enjoy. I invite you to make these a part of your own Cookie Decorating Traditions and share the joy of a perfectly chewy cookie with your loved ones. Please share your baking results with us on Instagram, Pinterest, and Facebook so we can celebrate your texture mastery together!
