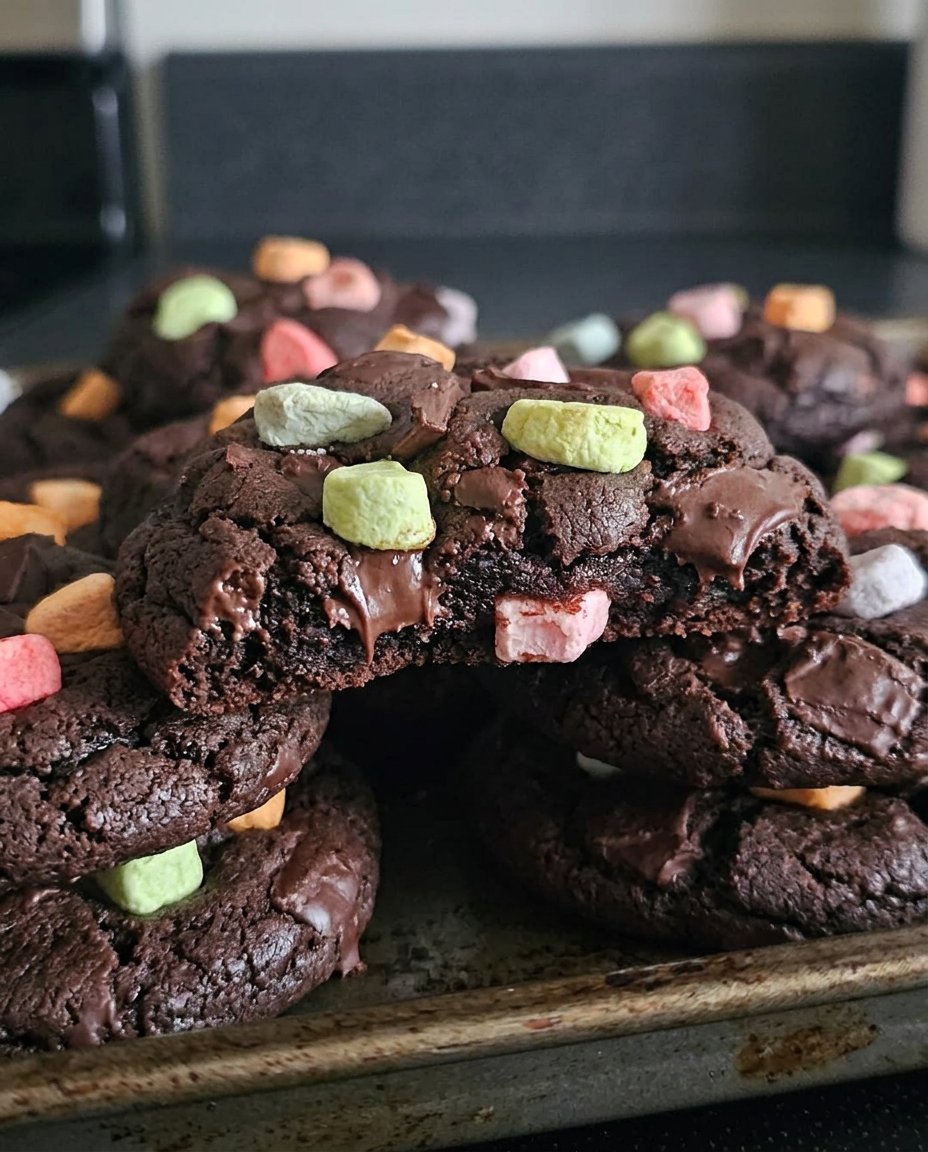
Growing up, our October treats often became rock-hard by the next morning, leaving us with a jar full of dry disappointment. I took my mother’s classic recipe and adjusted the moisture balance to create Halloween Chocolate Chip cookies that stay soft and chewy for a full week. These aren’t just festive; they are a masterclass in moisture retention that solves the stale cookie problem forever.

These delightful treats feature a tender crumb and adorable chocolate spiders that make them a hit at any spooky gathering. By focusing on the specific ratio of brown sugar and proper cooling times, we achieve a jar-fresh texture that honors family tradition while embracing modern baking science. You will love how these maintain their perfect bite long after the party ends.
The Secret to Spooky Softness
You will love these cookies because they finally solve the issue of festive bakes going stale too quickly. Most seasonal recipes focus so much on the look that they forget about the feel. My version prioritizes a high moisture content using packed brown sugar, which acts as a humectant to keep the crumb tender. The addition of both baking soda and powder provides a lift that keeps the structure light rather than dense and heavy.
Beyond the texture, the visual appeal is unmatched for the holiday season. The little chocolate spiders are easy to create and add a whimsical touch without requiring professional decorating skills. This recipe is a reliable treasure for busy families who need to bake a batch ahead of time and still serve something that tastes like it just came out of the oven. It is a satisfying way to bring comfort and joy to your autumn celebrations while guaranteeing a quality result every single time.
Print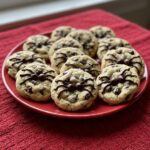
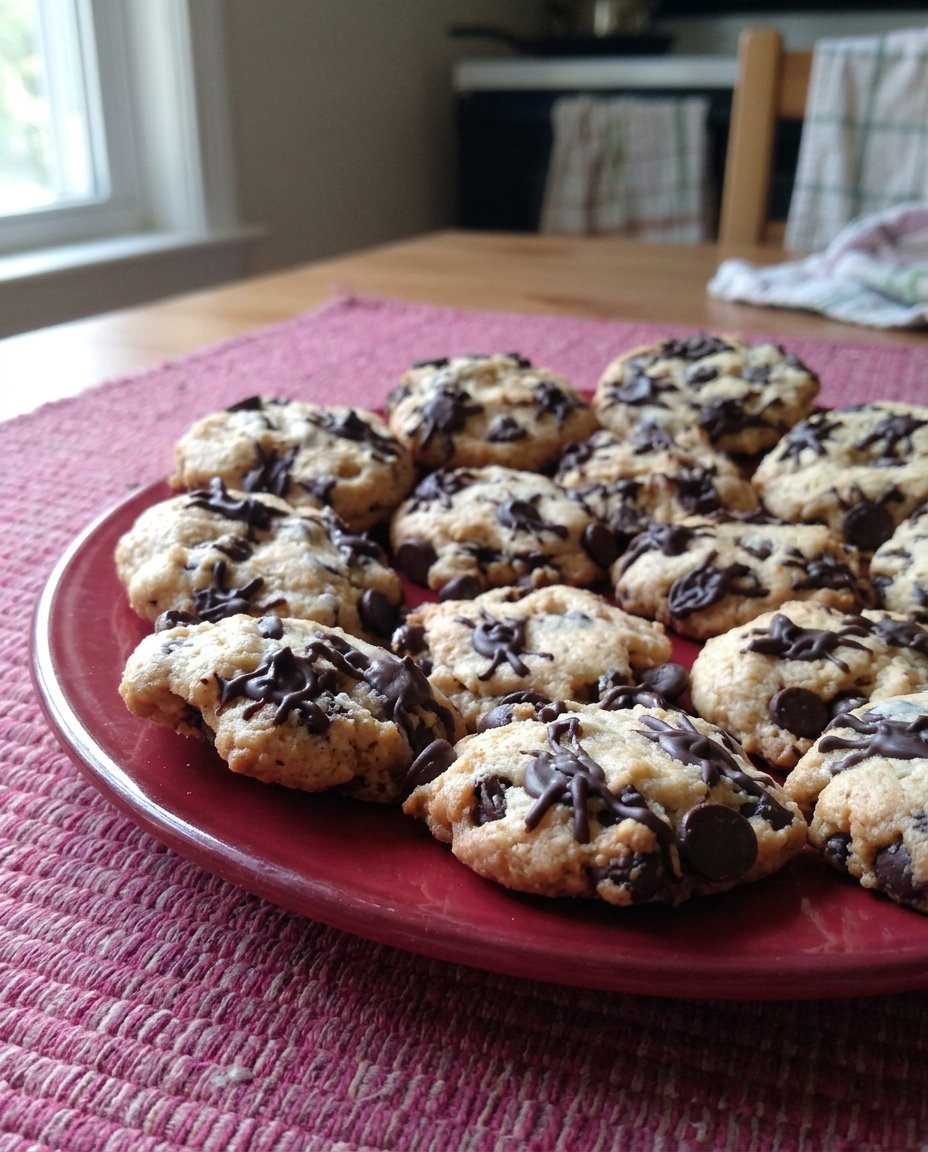
Halloween Chocolate Chip
- Total Time: 35 mins
- Yield: 24 cookies
- Diet: Vegetarian
Description
These festive Halloween cookies use a specific balance of sugars and a soft-bake technique to ensure they stay chewy for days. Adorable chocolate spiders sit atop a tender crumb, making them the perfect spooky centerpiece for any autumn celebration.
Ingredients
- 2.5 cups All-Purpose Flour
- 1 cup Unsalted Butter, softened
- 0.75 cup Packed Brown Sugar
- 0.75 cup White Sugar
- 2 Large Eggs, room temperature
- 1 teaspoon Vanilla Extract
- 1 teaspoon Baking Soda
- 0.5 teaspoon Baking Powder
- 0.5 teaspoon Salt
- 2.5 cups Semisweet Chocolate Chips, divided
Instructions
- Preheat oven to 350 degrees F (175 degrees C) and prepare ungreased baking sheets.
- In a large bowl, whisk together the flour, baking soda, baking powder, and salt until well combined.
- In a separate bowl, cream together the softened butter and sugars with an electric mixer until fluffy, then beat in the eggs and vanilla.
- Gently fold the dry ingredients into the wet mixture, followed by 1.5 cups of the chocolate chips.
- Drop rounded spoonfuls of dough onto the sheets and press 3 to 4 chocolate chips into the top of each to form spider bodies.
- Bake for 10 to 15 minutes until edges are light gold; let cool on the pan for 1 minute before moving to a wire rack.
- Melt the remaining chocolate chips and pipe three legs on each side of the chips to complete the spider design.
Notes
To ensure the best spider leg definition, wait until the cookies are completely cool before piping the melted chocolate. If the dough feels too soft after mixing, chilling it for 30 minutes before scooping can help prevent excessive spreading in the oven.
- Prep Time: 20 mins
- Cook Time: 15 mins
- Category: Dessert
- Method: Baking
- Cuisine: American
The Foundation of Fresh Texture
To achieve a cookie that stays soft for days, every ingredient must serve a purpose for the final texture. We use a blend of fats and sugars that work together to prevent that dreaded “cookie-jar crunch.”
- All-Purpose Flour (2.5 cups): This provides the necessary structure. Make sure to spoon and level your flour to avoid over-packing, which leads to dry, crumbly cookies.
- Unsalted Butter (1 cup): At room temperature, this creams perfectly with the sugars to create tiny air pockets for a light bite.
- Brown Sugar (0.75 cup): This is our secret weapon for chewiness. The molasses in the brown sugar keeps the cookies moist and soft.
- White Sugar (0.75 cup): This helps the edges get that wonderful golden crispness while the center stays tender.
- Large Eggs (2): These provide binding and moisture. They should be at room temperature to incorporate smoothly into the fat.
- Semisweet Chocolate Chips (2.5 cups): Divided between the dough and the spider decorations. High-quality chocolate melts better for the piping process.
- Leavening Agents: A combination of baking soda and powder ensures a perfect rise and a soft, cake-like interior.
By choosing these specific ratios, we create a dough that holds its shape but doesn’t dry out in the oven’s heat.
The Texture-First Method
Step 1: Prep Your Ingredients and Oven
Begin by preheating your oven to 350 degrees F (175 degrees C). This temperature is the sweet spot for cookies; it is hot enough to set the edges quickly but gentle enough to keep the centers from overcooking. Prepare your baking sheets by leaving them ungreased. Using parchment paper is an option, but for the best golden bottoms, a naked, high-quality baking sheet works beautifully. Make sure your butter is soft but not melting, as this affects the final spread of the cookie.
Step 2: Whisk the Dry Components
In a large bowl, combine your flour, baking soda, salt, and baking powder. I prefer using a fork or a whisk to mix these thoroughly. This step is vital because it distributes the leavening agents evenly. If you have clumps of baking soda, you might end up with bitter spots in your cookies. A well-mixed dry base guarantees a consistent rise across the entire batch, keeping every cookie uniform in its soft texture.
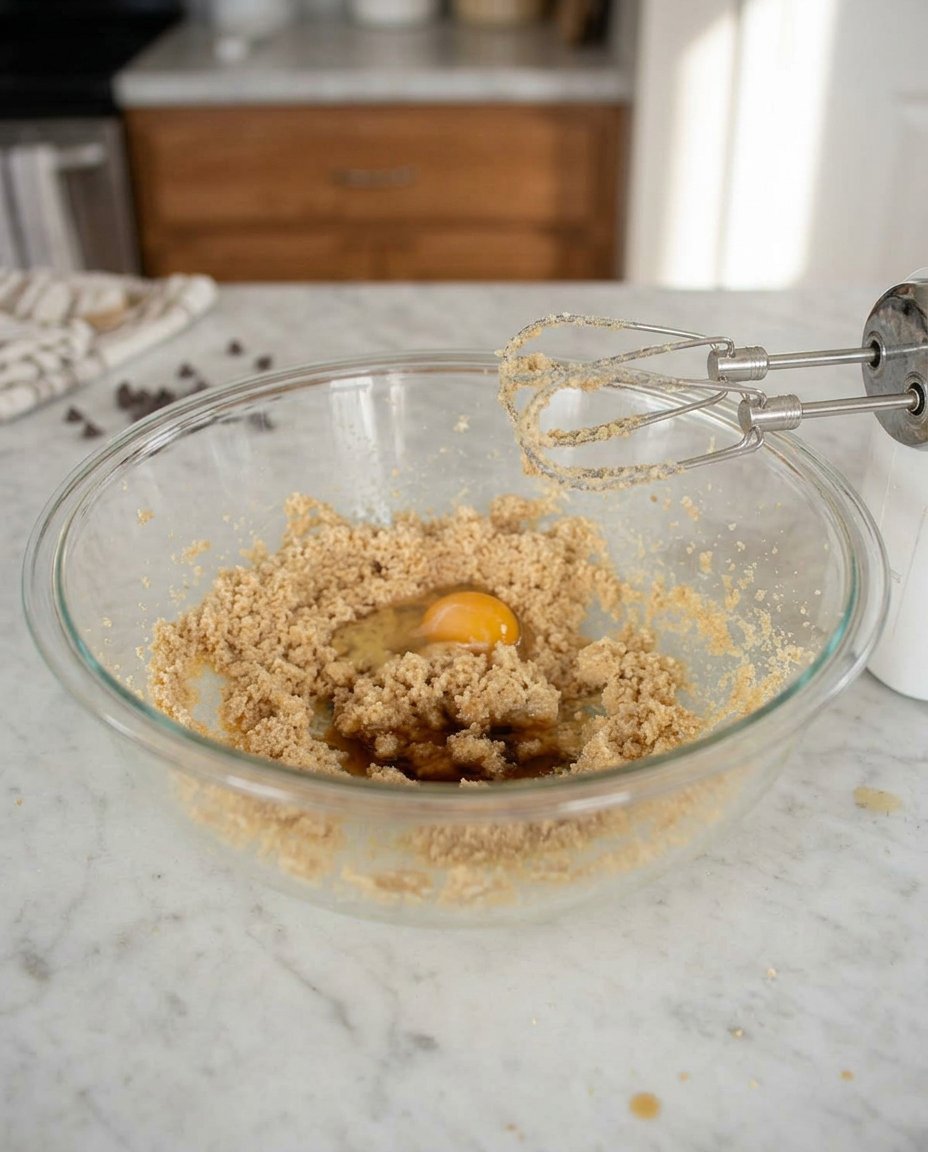
Step 3: Cream the Butter and Sugars
In a separate large bowl, use an electric mixer to beat the butter with both the white and brown sugars. You want to reach a state where the mixture is smooth and creamy. This usually takes about three minutes of medium-speed mixing. Once the sugars are incorporated, beat in the eggs one at a time, followed by the vanilla extract. The mixture should look fluffy and pale. This aeration is what makes the cookies light and prevents them from becoming hard discs.
Step 4: Fold in the Flour and Chips
Slowly add the flour mixture to the wet ingredients, about one cup at a time. Use a spatula to fold the flour in gently rather than using the electric mixer on high. Over-mixing at this stage develops too much gluten, which leads to a tough, bread-like texture. We want a tender crumb, so mix only until no white streaks remain. Finally, fold in 1.5 cups of the semisweet chocolate chips, distributing them evenly throughout the thick dough.
Step 5: Shape the Spiders
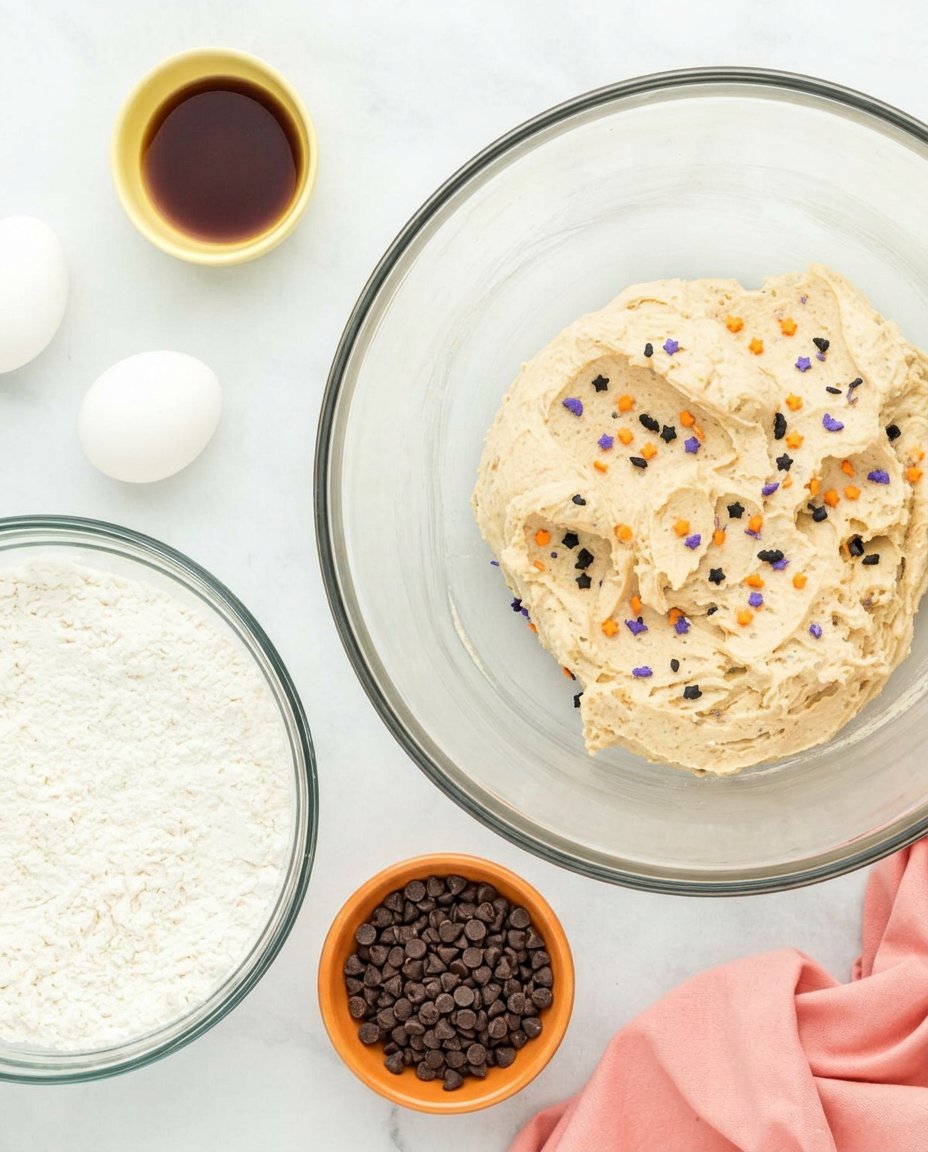
Drop rounded spoonfuls of dough onto your baking sheets, leaving about two inches of space between them. For the spider bodies, take the reserved chocolate chips and gently press 3 to 4 into the surface of each dough ball. Place them tip-side down so the flat bottom of the chip creates a smooth surface for the spider’s back. This visual preparation before baking makes the final decorating step much easier and more effective.
Step 6: Bake for Perfection
Slide the sheets into the oven and bake for 10 to 15 minutes. The key here is to watch for the edges to turn a light honey-gold. The centers should still look slightly underdone and soft. This is the secret to a cookie that stays fresh for days. Carryover cooking will finish the centers while the cookies rest on the hot pan. Let them cool on the sheet for just one minute before moving them to a wire rack to cool completely.
Step 7: Draw the Spider Legs
Melt the remaining chocolate chips in the microwave in 15-second intervals, stirring each time until smooth. Transfer the melted chocolate to a piping bag with a very small tip or a plastic bag with a tiny corner snipped off. Carefully draw three little legs on each side of the chocolate chips you pressed into the cookies. Let the chocolate set at room temperature until firm before moving them to your cookie jar.
Mehmet’s Texture Secrets
To keep these cookies jar-fresh for up to a week, place a single slice of white bread in the airtight container with them. The cookies will absorb the moisture from the bread, staying incredibly soft. Another vital tip is to never over-bake. If the cookies look fully done in the oven, they will be hard once they cool. Pull them out when the centers still look a bit puffy and pale. For more advanced techniques on making your treats look professional, check out our guide on Cookie Decorating Traditions. Always use room temperature eggs to prevent the butter from curdling, which can lead to an uneven, greasy texture. If you are baking in a very dry climate, you can add one teaspoon of honey to the dough to help lock in even more moisture naturally.
Heritage Tweaks and Flavor Spells
If you prefer a cookie with a bit more crunch on the outside but a soft middle, you can replace half of the butter with vegetable shortening. This change creates a slightly different crumb structure that many vintage recipes used. For those who want a faster process, you can look into our Quick & Easy Cookies section for base doughs that work well with these decorations. You might also consider adding a half-teaspoon of cinnamon to the dry ingredients for a warm, autumnal spice profile that complements the chocolate. If you want to change the look, use white chocolate chips for the spider bodies and add a tiny drop of black food coloring to the melted chocolate for the legs to create a high-contrast spooky effect.
Serving Your Spooky Treats
These cookies are best served at room temperature to appreciate the soft texture. If you want that just-baked experience, you can pop a cookie in the microwave for five to eight seconds to soften the chocolate and warm the dough. They pair beautifully with a cold glass of milk or a warm apple cider. For a full spread of seasonal delights, browse our Holiday Cookie Celebrations for ideas on how to plate these alongside other autumn favorites. When gifting these, use a decorative tin lined with wax paper to keep the spider decorations from smudging. They make wonderful party favors or school treats because they don’t crumble easily, making them perfect for little hands.
A Tradition of Tender Bites
Baking these cookies is about more than just a holiday theme; it is about preserving a legacy of quality treats that bring people together. By focusing on moisture and proper technique, we ensure that every bite is as soft and satisfying as the first. No more dry, crumbly cookies in the jar—just pure, chewy comfort that lasts. For more time-tested favorites, explore our Classic Cookie Recipes. If you make these spiders, I would love to see your creations! Please share your photos and tag us on Instagram, Facebook, Pinterest, or TikTok. Happy baking, and may your cookie jar always be full of fresh, soft treats!
