I remember finding this recipe on a worn index card tucked between the pages of an old church cookbook. The ink was a bit faded, but the title Blue Character Cookies stood out in my mother’s neat, cursive hand. She used to make these whenever we needed a bit of extra cheer in the kitchen, and the bright, happy color never failed to bring a smile to everyone gathered around the table.

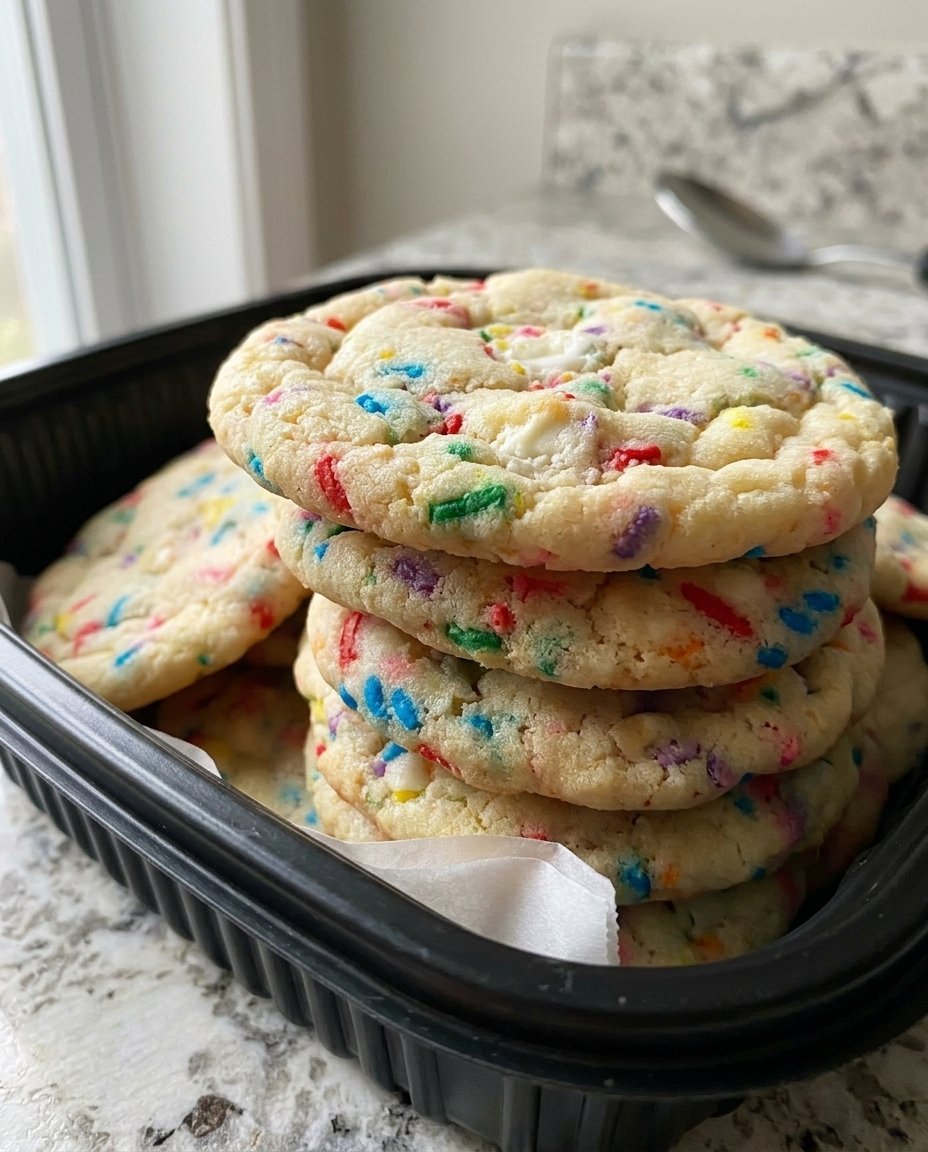
These cookies are more than just a sweet treat; they are a delightful surprise that brings out the child in everyone. With their vibrant blue hue and a hidden treasure tucked inside, these homemade delights are perfect for filling the cookie jar and creating new family memories. Let’s walk through the steps of making these whimsical, monster-sized treats together, just as we did in my childhood home.
A Jar Favorite for Every Generation
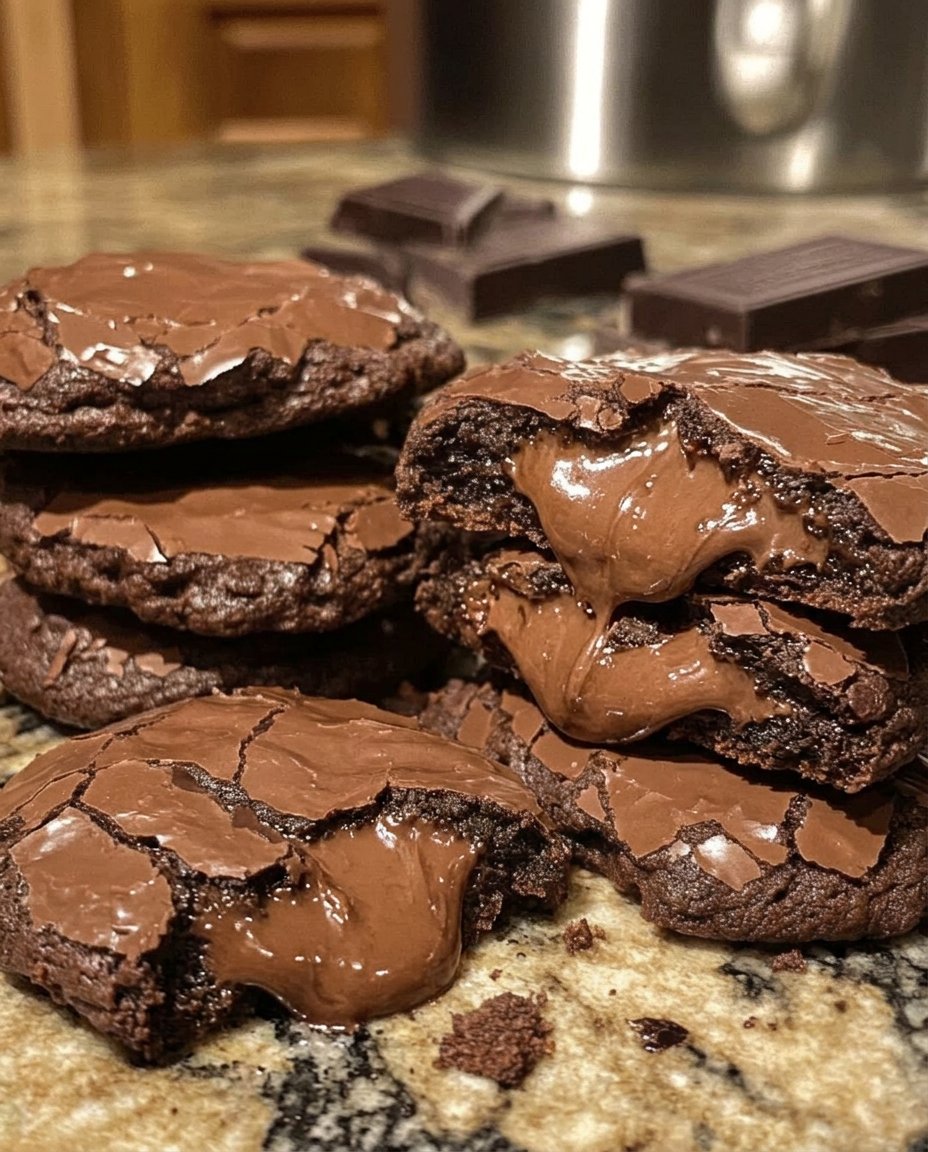
There is something truly magical about a cookie that hides a secret. These Blue Character Cookies are a timeless classic in our home because they combine the comfort of a traditional chocolate chip cookie with a playful, modern twist. The sheer size of these cookies—often called ‘monster cookies’ in our family—makes them feel like a special gift every time you pull one out of the jar.
What makes these truly special is the texture. By using real butter and a mix of granulated and light brown sugar, we achieve those honey-gold edges while keeping the centers wonderfully tender and soft. The addition of chopped Oreos and mini chocolate chip cookies right in the dough adds layers of crunch and flavor that keep you coming back for another bite.
Moreover, the bright blue color is a wonderful way to celebrate heritage baking with a splash of fun. Whether you are baking these for a birthday, a school bake sale, or just a quiet Tuesday afternoon, they carry a sense of joy that is irreplaceable. They stay fresh in the jar for nearly a week, though in my experience, they rarely last that long because the grandkids always know exactly where to find them.
Print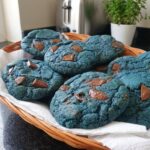
Blue Character Cookies
- Total Time: 30 mins
- Yield: 5 large cookies
- Diet: Vegetarian
Description
These vibrant blue cookies are a whimsical delight, featuring a soft, chewy dough loaded with chocolate chips and a hidden whole Oreo cookie inside. Perfect for adding a splash of color to your dessert table, these oversized treats are as fun to eat as they are to bake.
Ingredients
- 2/3 cup butter, softened
- 1/2 cup granulated sugar
- 1/2 cup light brown sugar
- 1 large egg
- 1 tablespoon vanilla extract
- 1/4 to 1/2 teaspoon blue food coloring
- 2 cups plus 2 tablespoons all-purpose flour
- 1/2 teaspoon salt
- 1/2 teaspoon baking soda
- 1/2 cup semisweet chocolate chips
- 1/2 cup white chocolate chips
- 10 whole Oreo cookies
- 4 Oreo cookies, chopped
- 1/2 cup mini chocolate chip cookies, chopped
Instructions
- Preheat your oven to 350°F (175°C) and line two large baking sheets with parchment paper.
- In a large mixing bowl, beat the softened butter with the granulated and light brown sugars until the mixture is light, fluffy, and pale.
- Mix in the egg, blue food coloring, and vanilla extract until the color is consistent and vibrant throughout the dough.
- Sift in the flour, salt, and baking soda, then mix on low speed until the flour streaks just disappear.
- By hand, gently fold in the chocolate chips, chopped Oreos, and chopped mini cookies until evenly distributed.
- Scoop 10 large portions of dough; press a whole Oreo cookie into the center of five portions, then cover each with the remaining five portions, sealing the edges completely.
- Bake for 8 to 10 minutes until the edges are set, then allow the cookies to rest on the baking sheet for 10 minutes to firm up before transferring to a cooling rack.
Notes
For the best results, use a gel-based food coloring to achieve a deep, vibrant blue without affecting the consistency of your dough. Ensure your butter is truly softened at room temperature rather than melted to ensure these monster-sized cookies maintain their thick, soft texture during baking.
- Prep Time: 20 mins
- Cook Time: 10 mins
- Category: Dessert
- Method: Baking
- Cuisine: American
Simple Pantry Staples and Whimsical Additions
To make these cherished treats, we look to our pantry for honest, simple ingredients. This recipe relies on the basics that Grandma always kept on hand, with just a few colorful additions to make them unique.
- Real Butter: I always recommend using 2/3 cup of softened butter. Whether you choose regular dairy or a quality vegan alternative, the fat provides the rich, nostalgic flavor we all treasure.
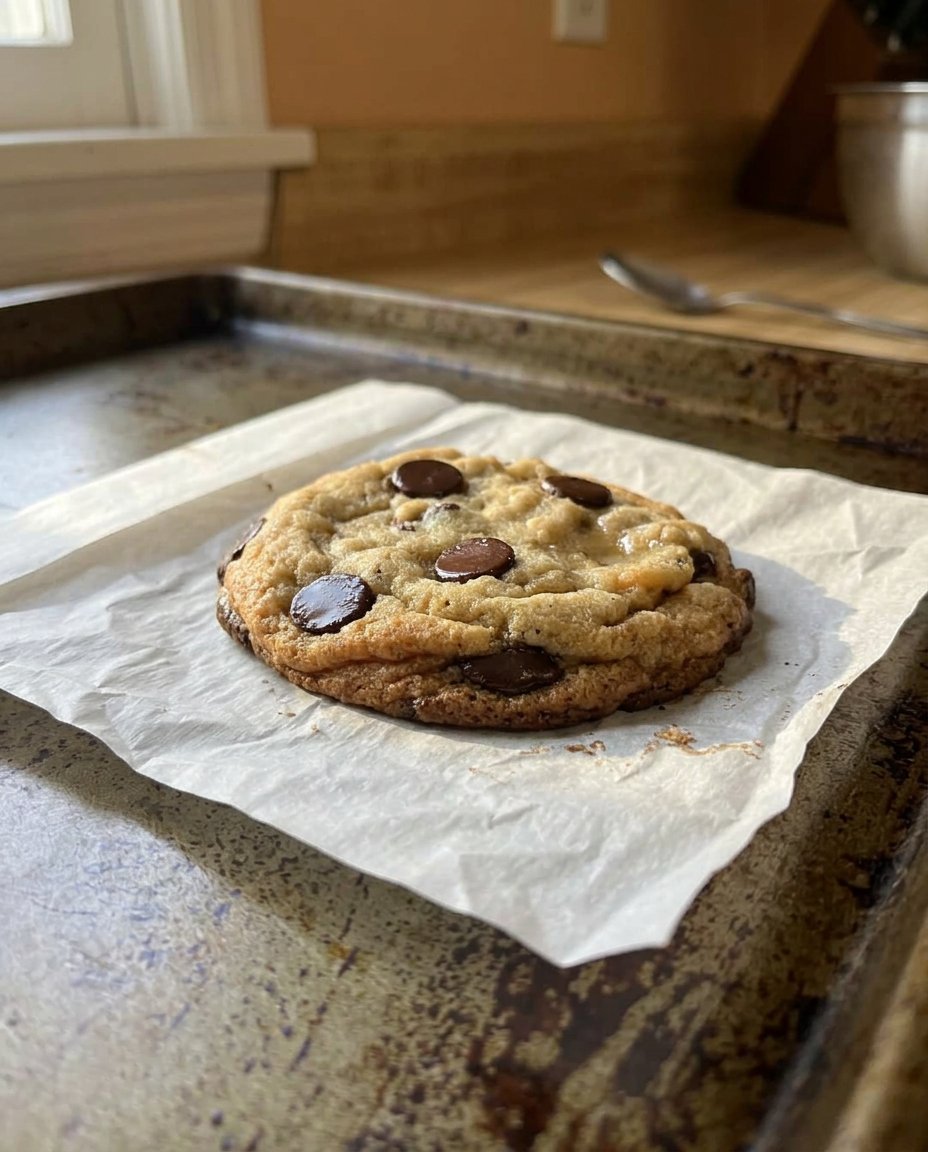
- The Sugar Duo: A half-cup each of granulated sugar and light brown sugar creates the perfect balance. The granulated sugar helps with those crisp edges, while the brown sugar adds moisture and a hint of molasses warmth.
- Pure Vanilla Extract: Never skip the vanilla. One tablespoon might seem like a lot, but it provides that deep, aromatic soul that every good cookie needs.
- Blue Food Coloring: Use about 1/4 to 1/2 teaspoon to reach that iconic shade. It transforms the dough into something truly whimsical.
- All-Purpose Flour: We use 2 cups plus 2 tablespoons. Measuring correctly is the key to a cookie that doesn’t spread too thin.
- The Mix-ins: A combination of semisweet and white chocolate chips, along with chopped Oreos and mini chocolate chip cookies, creates a symphony of textures.
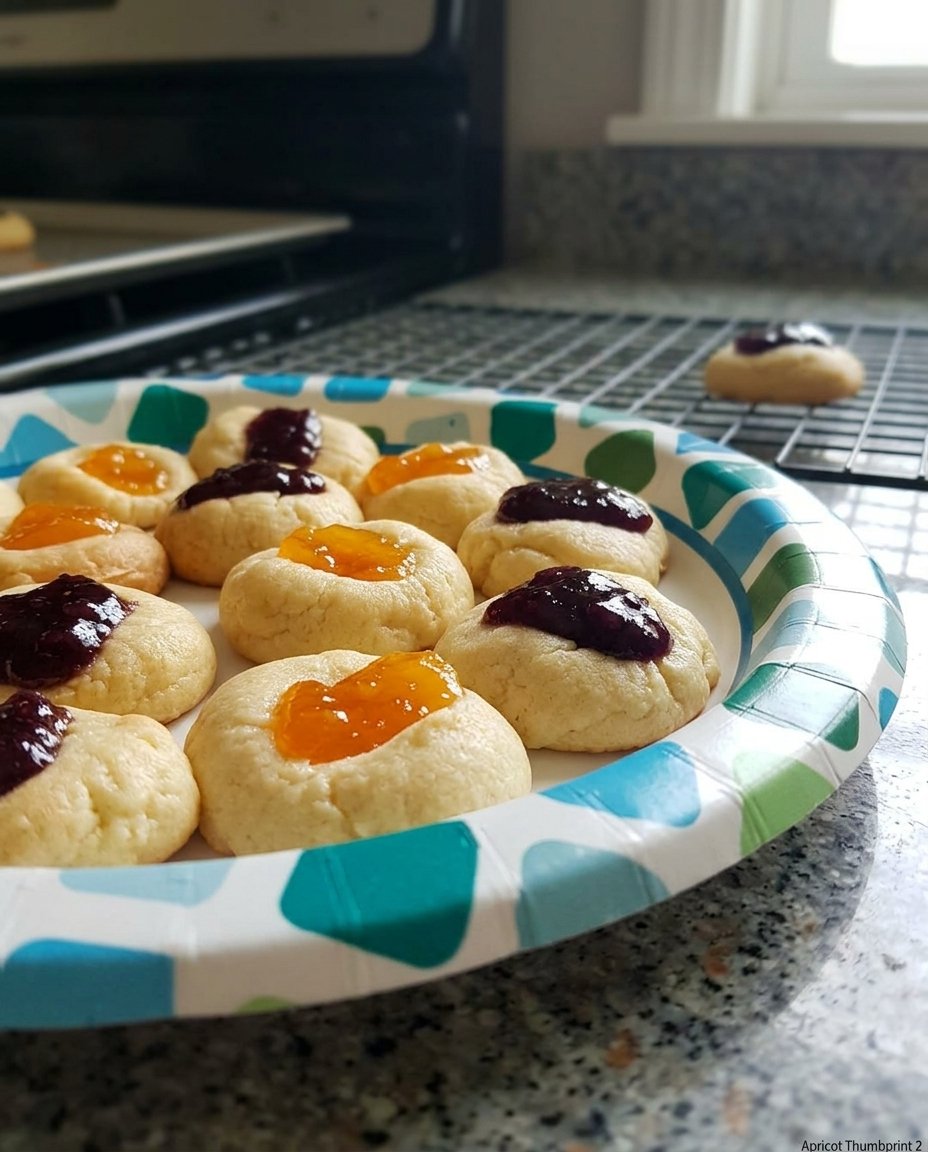
- The Surprise: Whole Oreo cookies are stuffed inside the dough, creating a thick, decadent center that is the hallmark of this recipe.
The Classic Way to Bake Joy
Step 1: Prep and Preheat
Begin by preheating your oven to 350°F (175°C). While the oven warms, line two large baking sheets with parchment paper. This simple step makes certain your cookies won’t stick and helps them bake evenly. Take 10 of your Oreo cookies and set them aside—these will be our secret centers. Chop the remaining 4 Oreos and the mini chocolate chip cookies into small, rustic pieces.
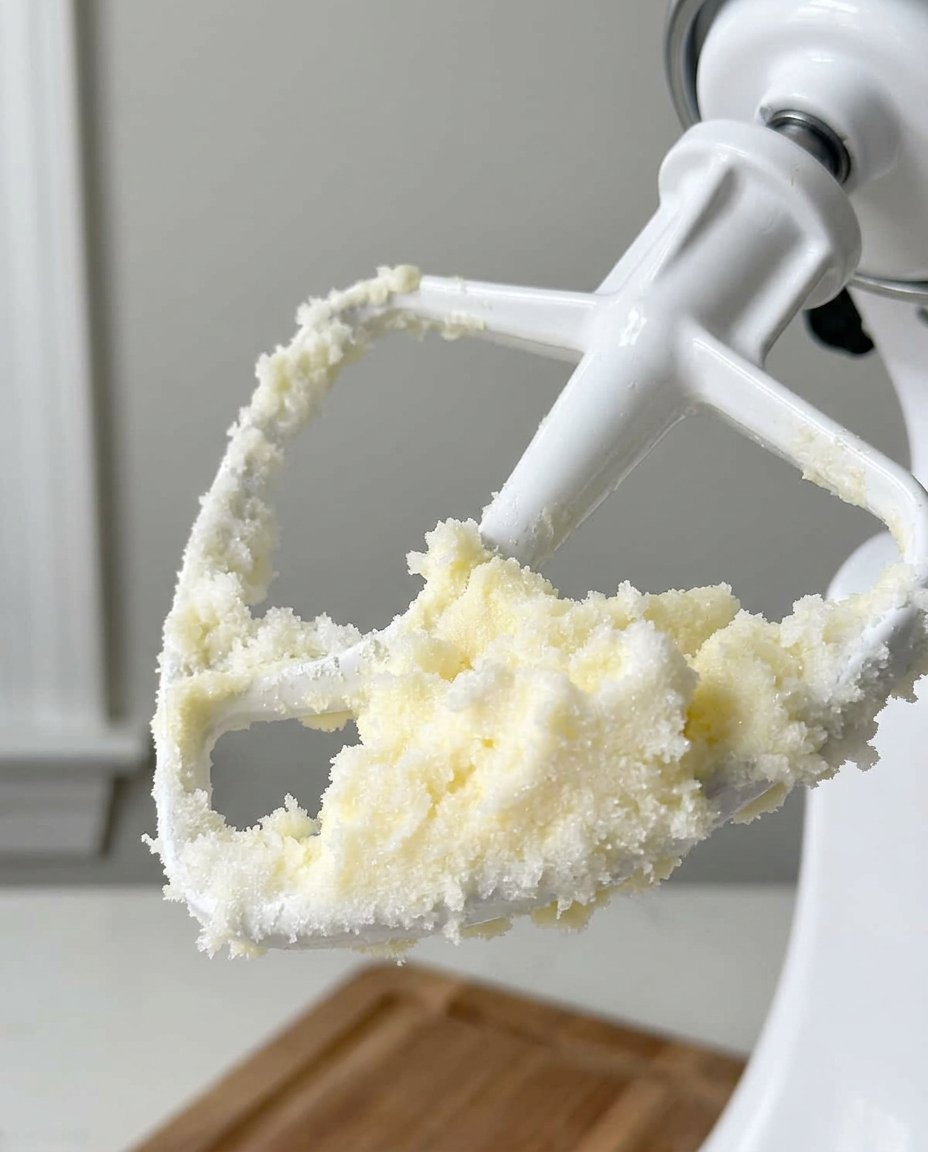
Step 2: Creaming the Butter and Sugars
In your favorite mixing bowl, beat the softened butter with both the granulated and light brown sugars. I like to use a handheld mixer for this, working it until the mixture is light, fluffy, and pale. This usually takes about 2 minutes. This step incorporates air into the dough, which is vital for that perfect heritage texture.
Step 3: Adding the Color and Flavor
Add the egg, the blue food coloring, and that generous tablespoon of vanilla extract. Mix until the color is consistent throughout. The dough will turn a beautiful, vibrant blue that always reminds me of sunny skies and childhood laughter.
Step 4: The Dry Ingredients
Sift in the flour, salt, and baking soda. Mix on a low speed until the white streaks of flour just disappear. It is important to be gentle here; over-mixing can make the cookies tough, and we want them to stay tender and soft.
Step 5: Folding in the Treasures
Using a sturdy spatula, fold in the chocolate chips, the chopped Oreos, and the chopped mini cookies. Do this by hand to keep the pieces intact. At this point, the dough looks like a celebration in a bowl.
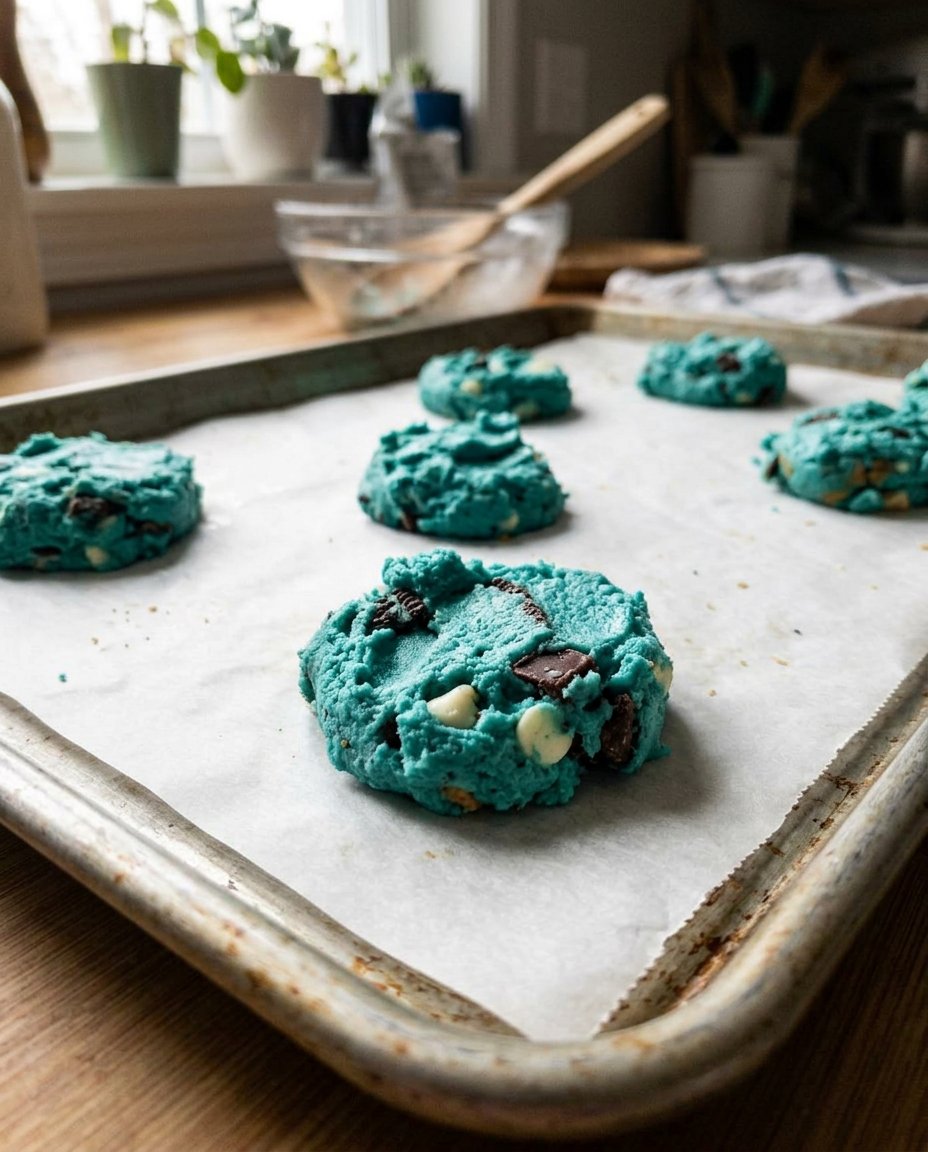
Step 6: Stuffing the Cookies
Scoop 10 heaping tablespoons of dough onto your sheets. These are big cookies! Press a whole Oreo cookie into the center of half the dough balls, then top them with another heaping tablespoon of dough. Seal the edges so the Oreo is completely hidden inside. Each assembled cookie should feel heavy and substantial.
Step 7: The Bake and Cool
Bake one tray at a time for 8 to 10 minutes. Look for the edges and tops to be set, even if they still look a little soft. Let them rest on the baking sheet for 10 minutes to firm up before moving them to a cooling rack. This patience is rewarded with a cookie that is perfectly cooked through.
Grandma’s Wisdom for the Perfect Batch
One of the most important secrets I can share is the ‘scoop and level’ method for your flour. Instead of dipping the measuring cup into the bag, which packs the flour down, use a spoon to fill the cup and then level it off with a knife. This makes certain your Blue Character Cookies have the perfect structure. If you find your cookies are spreading too much, try chilling the dough for thirty minutes before stuffing them. For those who enjoy a variety of treats, you can find more inspiration in our guide to Quick & Easy Cookies which offers many time-tested tips for the busy home baker. Also, always make certain your butter is softened at room temperature, not melted in the microwave, to maintain the proper aeration during the creaming process.
Heritage Twists and Family Favorites
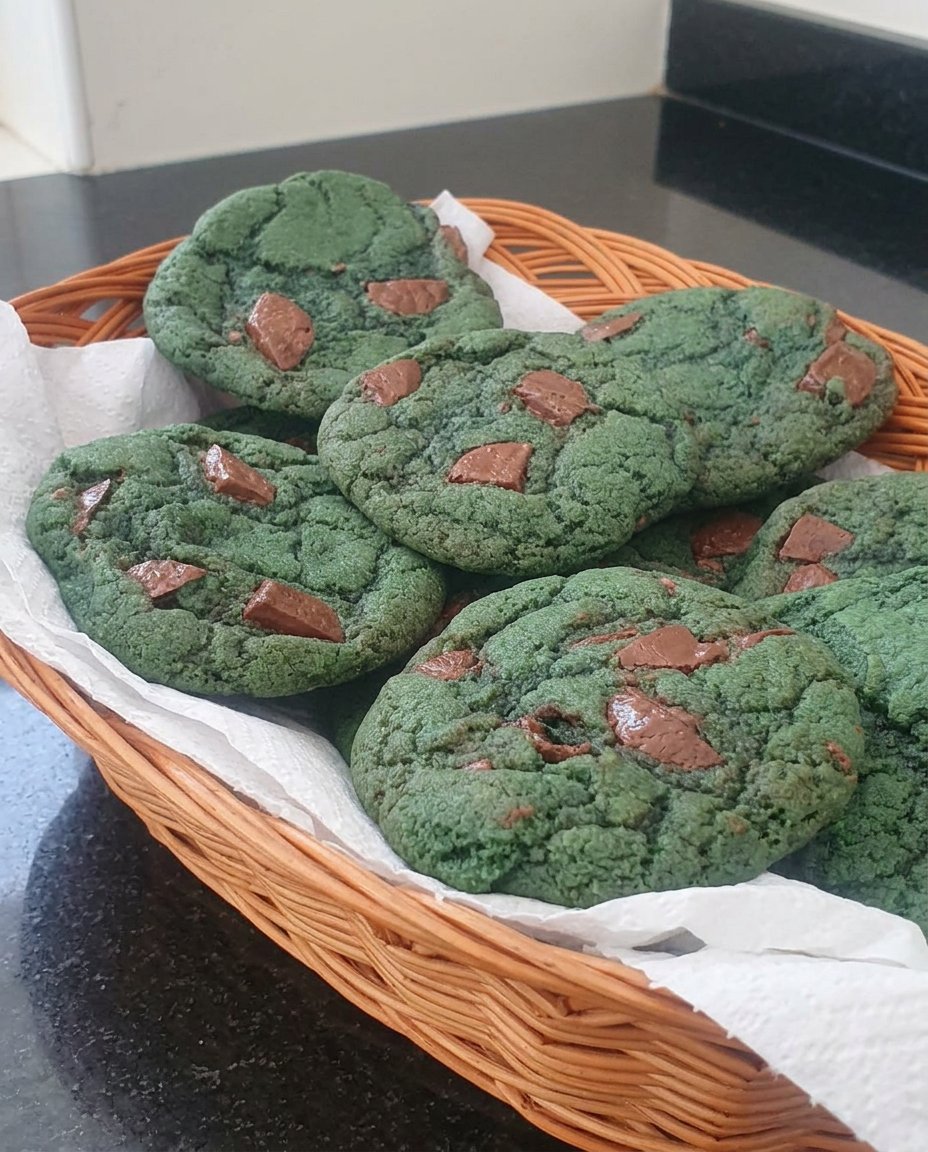
Every family has its own way of doing things, and this recipe is very forgiving. If you want to follow the popular TikTok trend for these treats, you can leave the chopped cookies out of the dough and instead place pieces of milk chocolate on top before baking. For a different flavor profile, try using golden Oreos or even peanut butter filled ones for a surprising twist. If you are baking for a specific event, you might find ideas in our section on Cookie Decorating Traditions to help personalize your batch. You can also see a similar take on this concept at Cookie Monster Cookies if you want to see how others handle the blue dough. For a dairy-free version, simply use a high-quality vegan butter and dairy-free chocolate chips; the results are just as nostalgic and delicious.
Cookie Jar Time and Sharing Traditions
Serving these Blue Character Cookies is an event in itself. I love to stack them high on a vintage cake stand or place them in a clear glass cookie jar so everyone can see the vibrant color. They are best enjoyed with a tall, cold glass of milk—the kind that leaves a mustache and a memory. If you are looking for more ways to fill your pantry, look into our Classic Cookie Recipes for more timeless ideas. These cookies are also wonderful for a themed birthday party or as a surprise in a school lunchbox. The joy of these cookies is in the sharing, so don’t be afraid to bring a batch to your next neighborly gathering or church potluck.
The Sweet Heritage of Homemade Love
Baking these cookies always takes me back to the warmth of my mother’s kitchen, where the simplest ingredients were transformed into something magical. These Blue Character Cookies are a testament to the fact that tradition can be both delicious and fun. I hope you find as much joy in making these as I do in sharing them with my family. For more seasonal inspiration, be sure to visit our Holiday Cookie Celebrations page. I would love to see your creations, so please share your baking journey with us on Pinterest, Instagram, or Facebook. Keep your cookie jar full and your heart warm.
