I remember the scent of peanut butter wafting through Grandma’s house every Sunday afternoon. While her original recipe was a labor of love, I have found a way to keep that same nostalgic taste while cutting down the prep time significantly. These Soft Peanut Butter Cookies offer the perfect balance of old-fashioned comfort and modern-day speed.

You do not need fancy equipment or hard-to-find ingredients to make these treats. With just a few basic items from your cupboard, you can have a batch of warm, chewy cookies ready for your family in about twenty-five minutes. This approach respects the heritage of the bake while fitting it into your busy weekly schedule.
A Quick Classic for Busy Kitchens
This recipe is a lifesaver when you need a homemade treat but have zero time to spare. We skip the long chilling times that traditional recipes require, focusing instead on a high-quality creamed base. The result is a cookie that is incredibly soft and packed with rich, nutty flavor that rivals any heritage version. It is the kind of recipe that makes your house smell like home in just minutes.
What makes this version stand out is the texture. Many old-fashioned recipes can turn out dry or crumbly if you are not careful, but our balance of sugars and fats keeps these tender. By using a modern mixing method, we get that perfect soft center and slightly crisp edge that everyone loves. It is a proven winner for bake sales, lunchboxes, or a quick weeknight dessert that feels special.
Another reason to love these is the simplicity of the process. There is no rolling pin required and no need to wait hours for dough to firm up in the fridge. You simply scoop, press, and bake. This efficiency allows you to spend more time enjoying the cookies with your family and less time cleaning up a messy kitchen. It is the ultimate way to bring a bit of 1950s charm into a modern, fast-paced world.
Print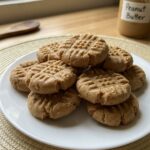
Soft Peanut Butter Cookies
- Total Time: 25 mins
- Yield: 24 cookies
- Diet: Vegetarian
Description
These quick and easy soft peanut butter cookies bring nostalgic flavor to your kitchen in under half an hour. Perfectly tender with the classic criss-cross pattern, they are a pantry-staple treat that requires no chilling time.
Ingredients
- 1 cup creamy peanut butter
- 1/2 cup butter, softened
- 1/2 cup white sugar
- 1/2 cup brown sugar
- 1 large egg
- 1 tablespoon vanilla extract
- 1 1/2 cups all-purpose flour
- 1 teaspoon baking powder
- 1/2 teaspoon salt
Instructions
- Preheat your oven to 350 F (175 C) and line two large baking pans with parchment paper.
- In a large mixing bowl, cream together the peanut butter, softened butter, white sugar, and brown sugar using a mixer until smooth and light.
- Add the egg and vanilla extract to the mixture and beat for another minute until well combined and glossy.
- In a separate bowl, whisk together the flour, baking powder, and salt.
- Slowly incorporate the dry ingredients into the wet mixture on low speed just until the flour disappears.
- Form the dough into one-inch balls using a scoop or tablespoon and place them on the baking sheets.
- Use a fork to create a criss-cross pattern on each ball, flattening them slightly to ensure even baking.
- Bake for 8 to 9 minutes until the edges are set; let cool on the pan for five minutes before transferring to a wire rack.
Notes
To keep your cookies from becoming tough, avoid overmixing once you add the flour. Using standard creamy peanut butter rather than natural stir-style varieties ensures a consistent, soft texture that won’t become greasy during the bake.
- Prep Time: 15 mins
- Cook Time: 10 mins
- Category: Dessert
- Method: Baking
- Cuisine: American
Simple Pantry Essentials
To get that authentic taste, stick to creamy peanut butter like Jif or Skippy. These brands provide the consistent oil content needed for a soft bake. Natural peanut butters that require stirring can sometimes separate during the baking process, leading to a greasy cookie. By sticking to the classics, you make sure the flavor and texture are exactly like the ones from your childhood memories.
- Creamy Peanut Butter: One full cup provides the backbone of the flavor and the fat content needed for softness.
- Butter: Use half a cup of softened butter to add that rich, savory note that oil alone cannot provide.
- Sugars: A mix of half a cup each of white and brown sugar creates the perfect balance of sweetness and moisture.
- Egg: One large egg binds the dough together and helps it rise slightly.
- Vanilla Extract: One tablespoon of high-quality vanilla extract adds a layer of warmth that complements the nuts.
- Flour: One and a half cups of all-purpose flour gives the cookies their structure.
- Baking Powder: This provides the necessary lift to keep the cookies from becoming too dense.
- Salt: A small amount of salt helps to sharpen the other flavors and keeps the sweetness in check.
How to Make It
Step 1: Prep Your Space
Start by preheating your oven to 350 F (175 C). This allows the oven to reach a stable temperature before you begin baking. Line two large baking pans with parchment paper. This is a great modern shortcut because it prevents sticking and makes cleaning the pans a two-second job.
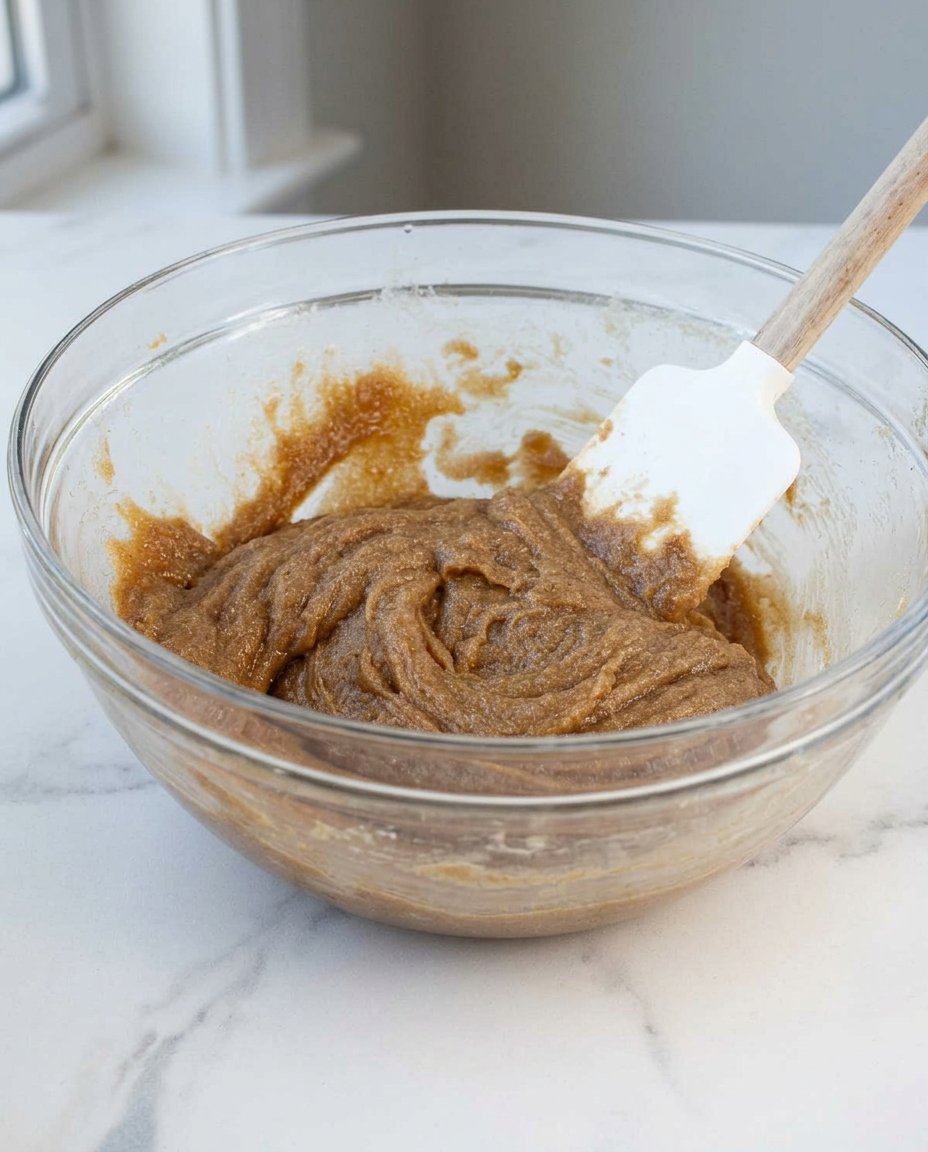
Step 2: Cream the Base
In a large mixing bowl, combine the peanut butter, softened butter, white sugar, and brown sugar. Use a stand mixer or a hand mixer on medium speed to beat these together until the mixture looks smooth and creamy. This step is vital because it incorporates air into the fats, which leads to a lighter cookie.
Step 3: Add Wet Ingredients
Add the egg and the vanilla extract to your creamed mixture. Continue to mix for another minute or until everything is well combined. You want the batter to look uniform and glossy at this stage.
Step 4: Mix Dry Ingredients
In a separate, smaller bowl, whisk together the flour, baking powder, and salt. Whisking the dry ingredients separately helps to break up any lumps in the flour and makes sure the baking powder is evenly distributed so your cookies rise consistently.
Step 5: Combine Everything
Slowly add the dry flour mixture into the large bowl with the wet ingredients. Mix on low speed or stir by hand just until the flour disappears. Be careful not to overmix here, as that can make the cookies tough instead of soft.
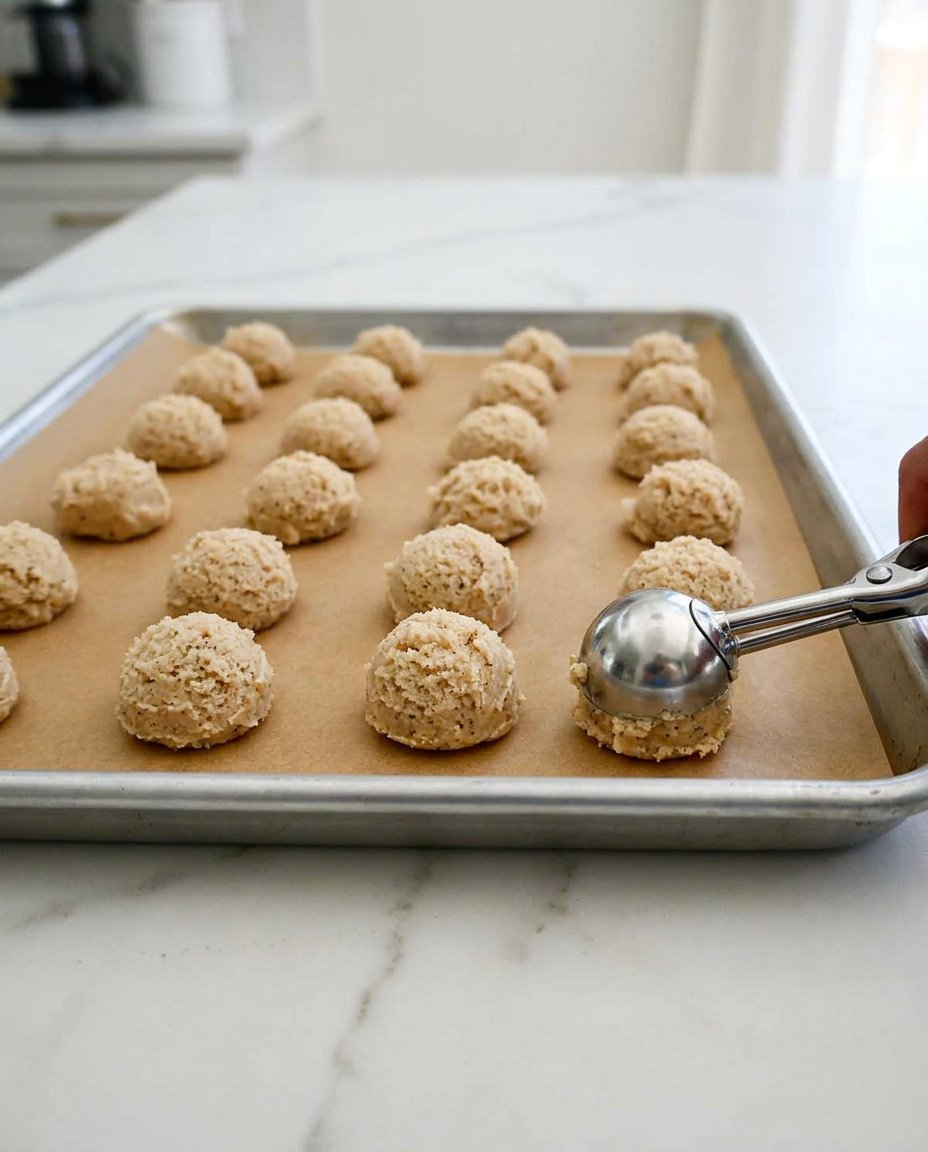
Step 6: Scoop and Roll
Use a cookie dough scoop or a tablespoon to form the dough into one-inch balls. If you want a little extra sparkle and crunch, you can roll each ball in a small bowl of granulated white sugar before placing them on the baking sheet.
Step 7: The Signature Pattern
Take a fork and gently press down on each ball of dough to flatten it slightly. Then, turn the fork ninety degrees and press again to create the classic criss-cross pattern. This is not just for looks; it helps the dense peanut butter dough bake evenly across the middle.
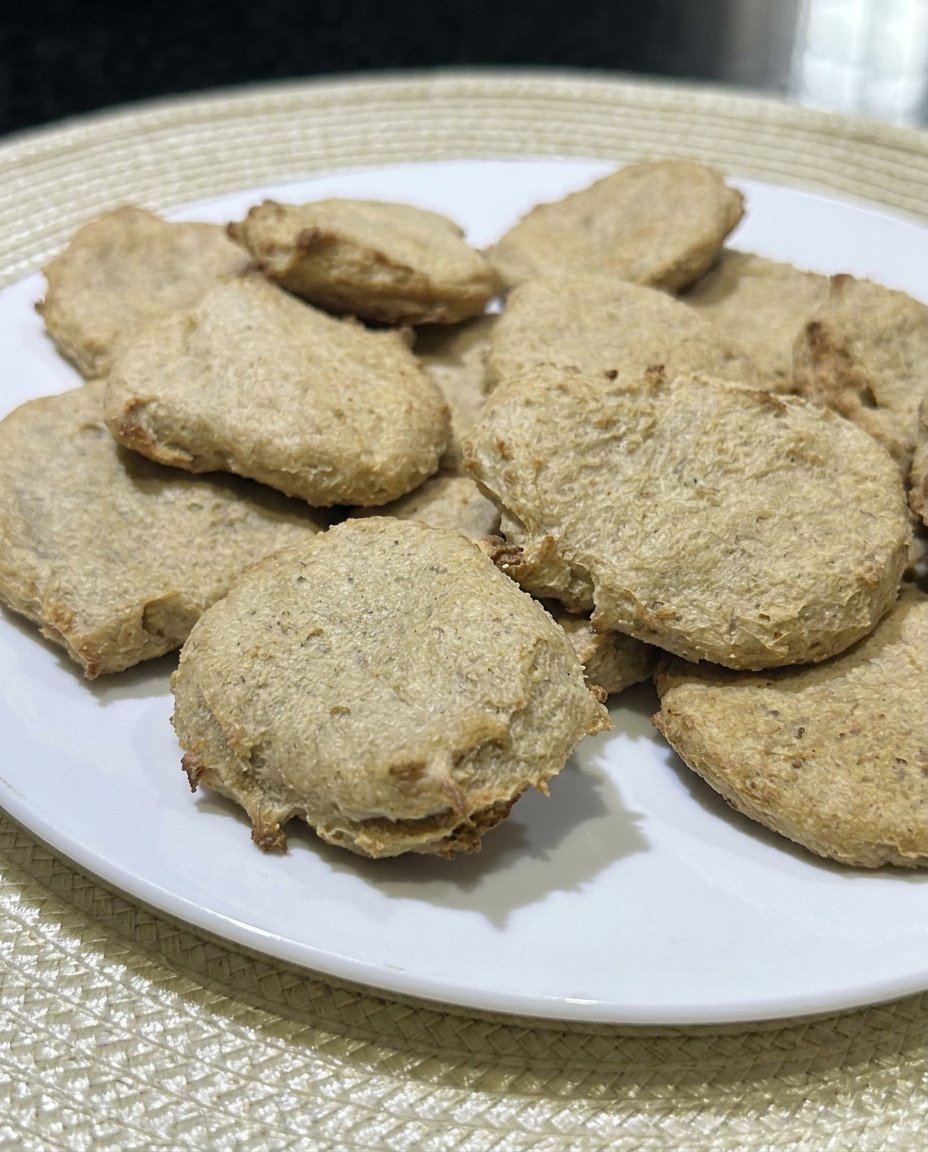
Step 8: Bake and Cool
Bake for 8 to 9 minutes. The key to keeping them soft is to pull them out when the edges are just set but the centers still look a bit soft. They will finish firming up on the hot pan. Let them cool on the baking sheet for five minutes before moving them to a wire rack.
Meagan’s Quick Wins
One of the best ways to keep these cookies tender is to avoid overworking the dough once the flour is added. If you mix too much, you develop the gluten, which leads to a bready texture rather than a melt-in-your-mouth feel. For more foundational advice on keeping your bakes perfect, look at our Classic Cookie Recipes.
Another trick is to make sure your butter is truly softened but not melted. If the butter is too warm, the cookies will spread too much in the oven and lose their shape. If it is too cold, it will not cream properly with the sugar. I usually take my butter out of the fridge about an hour before I plan to start baking. Using parchment paper is another pro move that I swear by; it allows for even heat distribution and makes sure the bottoms do not get too dark while the tops stay soft. If you are in a rush, you can slightly warm your mixing bowl with a warm towel to help the ingredients blend faster without melting the fat.
Quick Twists on a Classic
You can easily change the profile of these cookies by adding simple ingredients you likely already have. Try folding in half a cup of mini chocolate chips for a classic pairing, or add a handful of chopped honey-roasted peanuts for extra texture. If you are baking for a special occasion, check out our Holiday Cookie Celebrations for ideas on how to decorate these with colorful sugars or drizzle them with melted chocolate.
For a deeper flavor, you can replace the vanilla extract with almond extract or even a touch of maple syrup. Some people like to press a chocolate kiss into the center right after they come out of the oven to turn them into quick peanut butter blossoms. You could also use crunchy peanut butter if you prefer a bit more bite in every mouthful. These small changes keep the heritage of the cookie alive while giving you something new to serve your family every time you bake.
Modern Ways to Enjoy
These cookies are the perfect size for school lunchboxes or as a quick after-school snack. I love to serve them slightly warm with a cold glass of milk, just like my Grandma did. For a modern twist, you can crumble them over vanilla ice cream or use two cookies to make a peanut butter ice cream sandwich. If you need more ideas for quick treats that the whole family will love, browse our Quick & Easy Cookies section.
They also pack very well for transport, making them a great choice for potlucks or as a gift for a new neighbor. If you are serving them at a party, try arranging them on a vintage platter to lean into that nostalgic feel. They stay fresh for several days in an airtight container, but they rarely last that long in my house because they are so easy to grab and go.
Heritage Rediscovered
Finding a way to bring old-fashioned flavors into a modern kitchen is what baking is all about for me. These cookies prove that you do not have to spend all day in the kitchen to create something that feels like a family heirloom. For more ideas on how to make your bakes look as good as they taste, visit our page on Cookie Decorating Traditions. You can also find another great perspective on this treat at this best ever soft peanut butter cookies guide. We would love to see how your cookies turned out! Please share your photos with us on Pinterest, Instagram, or Facebook. Happy baking, and enjoy every soft, nutty bite!
