We have all experienced the disappointment of a store-bought treat that looks soft but tastes like cardboard once the package is opened. Most mass-produced snacks rely on preservatives rather than moisture, leading to a dry cookie that crumbles the moment you take a bite. I spent months tweaking this vintage family recipe to guarantee that these sandwiches stay tender and jar-fresh for days without losing their integrity.

These homemade Oatmeal Cream Pies capture the magic of the lunchbox classic but with a significant texture improvement that honors old-school baking. By focusing on moisture retention through dark molasses and specific oat selection, we create a cookie that remains pillowy and soft against a velvety cream center. You get all the comfort of a heritage recipe with the soft-baked longevity modern bakers crave.
The Secret to Lasting Softness
You are going to love these because they solve the age-old problem of the rock-hard oatmeal cookie. Most recipes result in a treat that is fine on the first hour but becomes brittle by the next morning. This version uses a precise balance of sugars and fats to maintain a supple, chewy bite that lasts.
The flavor profile is another reason this recipe stands out in any cookie jar. We use a hint of ground cloves and a generous amount of cinnamon to create a warm, aromatic base that complements the sweet cream filling. It is a nostalgic trip that actually tastes better than what you remember from the plastic wrapper, offering a satisfying chew that makes every bite feel special and fresh.
Print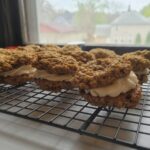
Oatmeal Cream Pies
- Total Time: 45 mins
- Yield: 12 sandwiches
- Diet: Vegetarian
Description
Recreate a nostalgic lunchbox favorite with these ultra-soft oatmeal cream pies, featuring a chewy molasses-spiced cookie and a velvety vanilla cream filling. Designed for lasting freshness, these treats use quick oats and dark brown sugar to ensure every bite remains tender and delicious for days.
Ingredients
- 1 cup unsalted butter, softened
- 3/4 cup dark brown sugar, packed
- 1/2 cup granulated sugar
- 1 large egg
- 1 teaspoon vanilla extract
- 2 tablespoons dark molasses
- 1 1/2 cups all-purpose flour
- 1 teaspoon baking soda
- 1/2 teaspoon salt
- 1 teaspoon ground cinnamon
- 1/4 teaspoon ground cloves
- 3 cups quick oats
- 1/2 cup unsalted butter, softened (for filling)
- 2 cups confectioners’ sugar
- 2 tablespoons heavy cream
- 1 teaspoon vanilla extract (for filling)
Instructions
- Preheat your oven to 375°F (191°C) and line heavy-duty baking sheets with parchment paper or silicone mats.
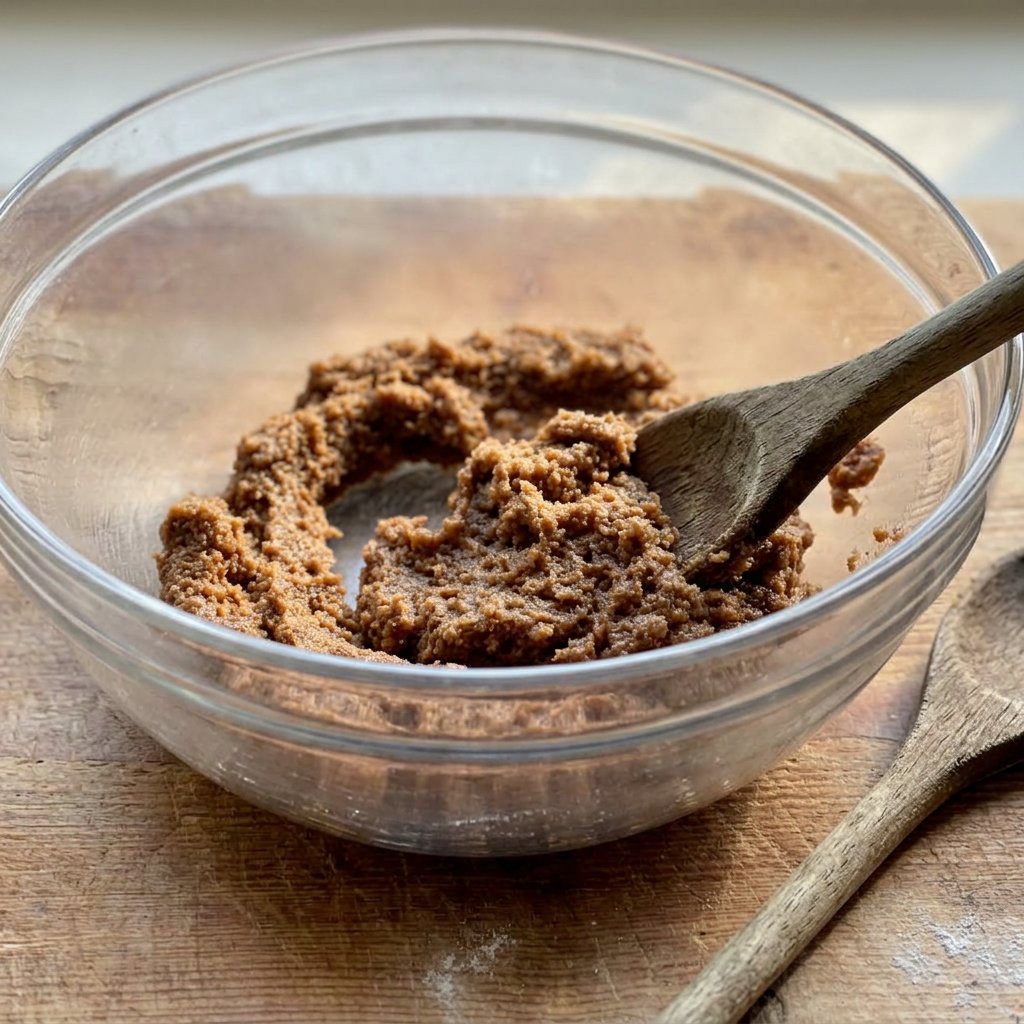
- In a stand mixer, beat the softened butter with dark brown and granulated sugars on medium-high for at least 3 minutes to create a light, aerated structure.
- Lower the speed and add the egg, vanilla, and molasses, then beat on high for 1 minute until the mixture is glossy and well-combined.
- In a separate bowl, whisk together the flour, baking soda, salt, cinnamon, cloves, and quick oats until evenly distributed.
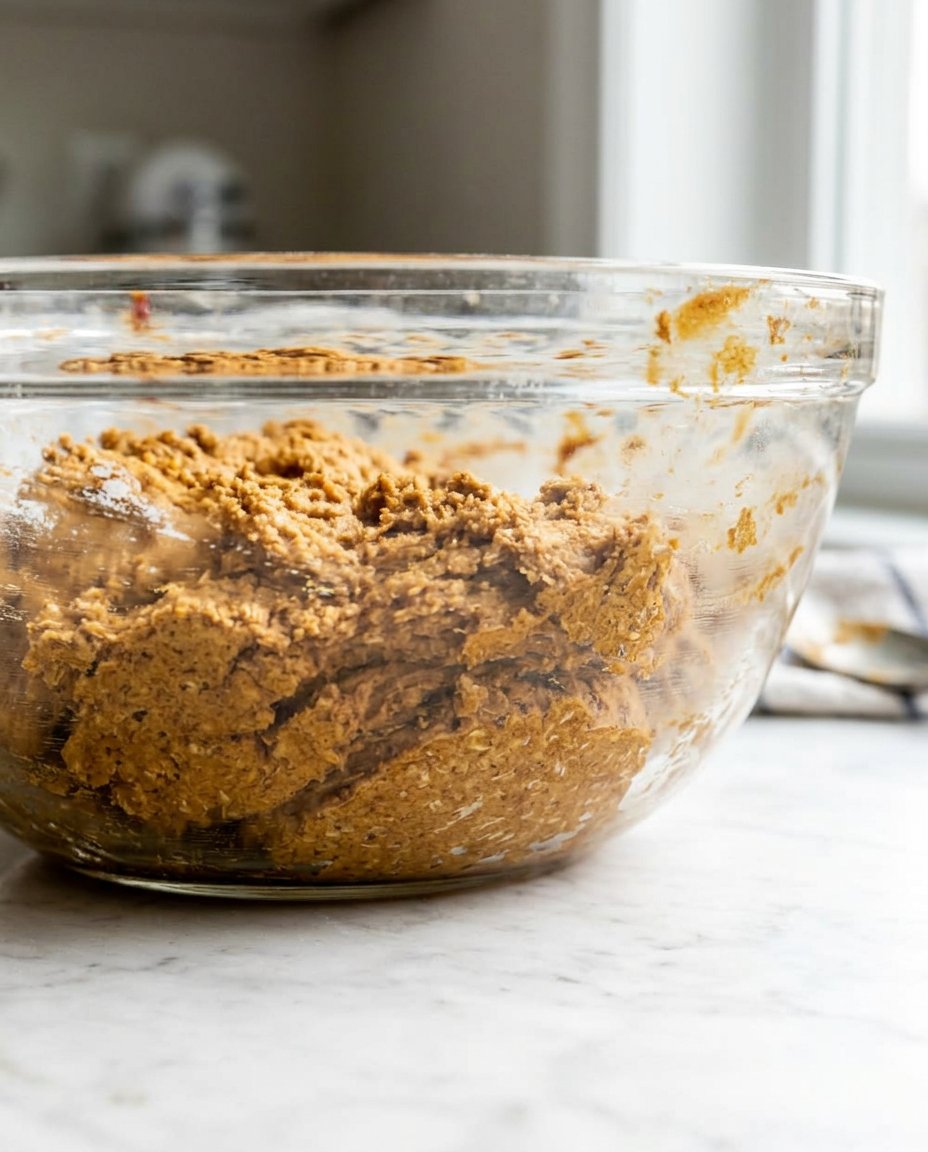
- Slowly add the dry ingredients to the wet mixture, stirring until a thick and sticky dough forms.
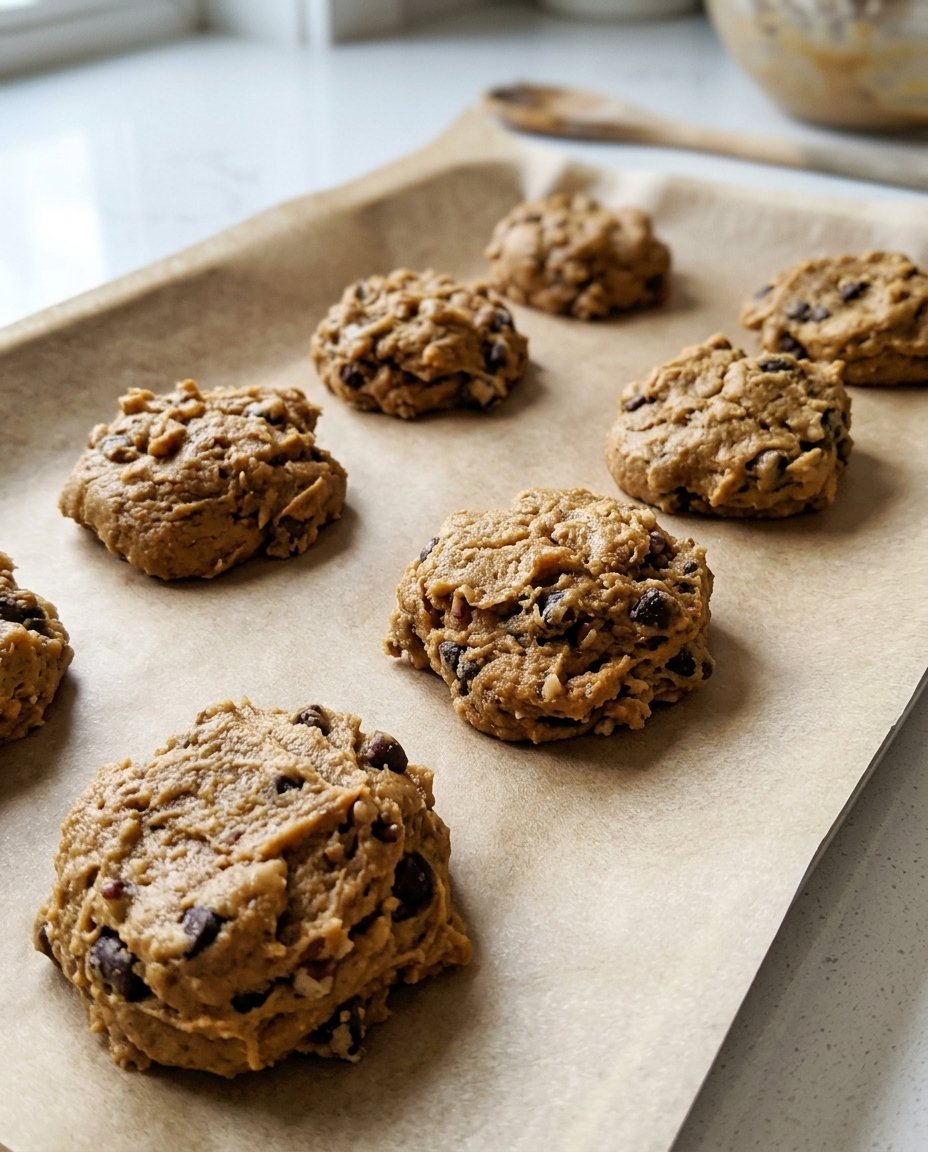
- Scoop approximately 2 heaping tablespoons (45 grams) of dough for each cookie and place them 3 inches apart on the prepared sheets.
- Bake for 10 to 13 minutes, removing them when the edges are barely golden and the centers still appear slightly underbaked.
- Allow the cookies to rest on the baking sheet for 10 minutes to set before transferring them to a wire rack to cool completely.
- For the filling, beat the butter until creamy, then gradually add confectioners’ sugar, heavy cream, and vanilla, whipping on high for 3 minutes until fluffy.
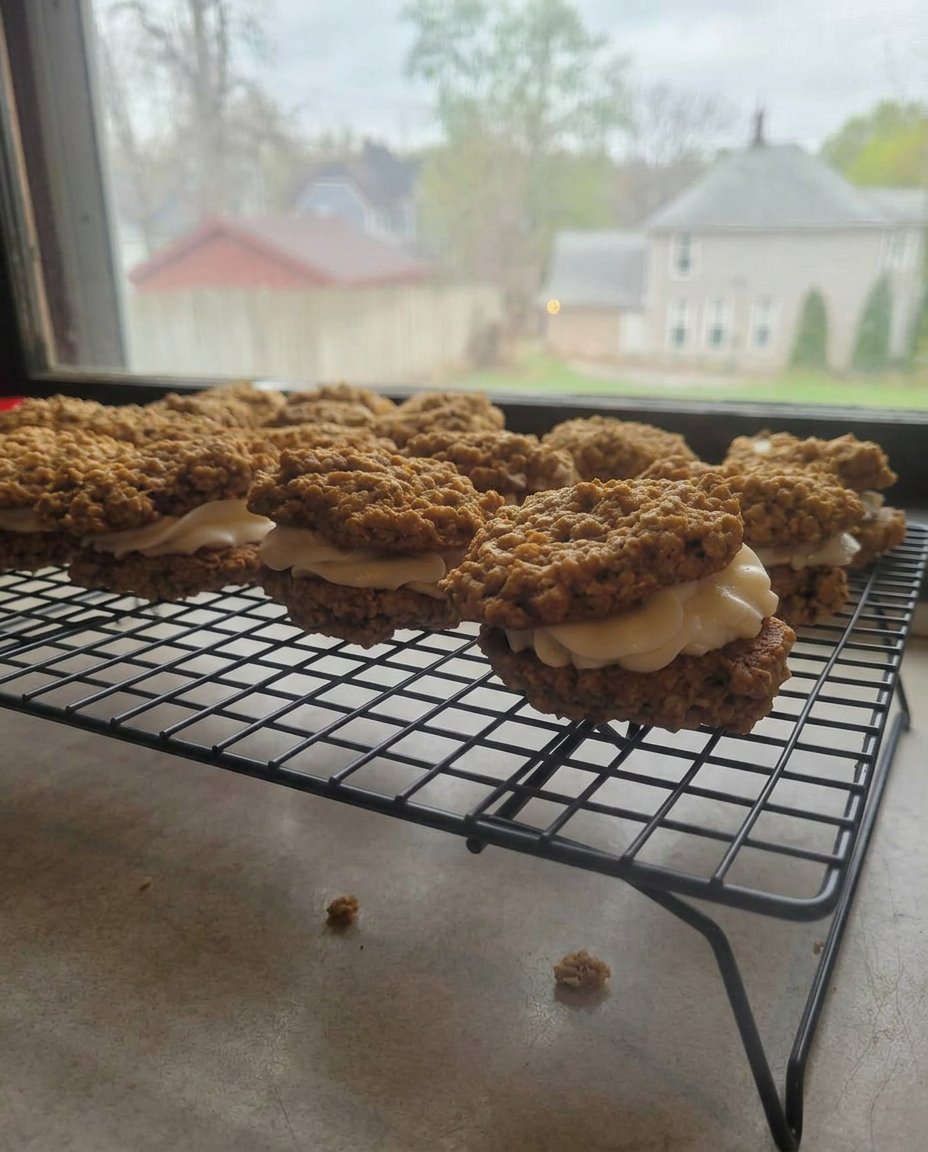
- Match cookies into pairs and spread or pipe 1.5 tablespoons of filling onto the flat side of one cookie before topping with the second.
Notes
To ensure your cream pies have a professional finish, wait until the cookies are completely cold to the touch before assembling; any residual heat will cause the fluffy filling to melt and slide. For even better flavor development, store the assembled sandwiches in an airtight container overnight to allow the moisture from the filling to slightly soften the cookies further.
- Prep Time: 20 mins
- Cook Time: 12 mins
- Category: Dessert
- Method: Baking
- Cuisine: American
Choosing Ingredients for Maximum Moisture

To achieve that perfect, soft-baked texture, every ingredient serves a specific purpose in moisture management. I recommend using high-quality components to ensure the flavor matches the superior feel of the cookie.
- Unsalted Butter: Softened to room temperature, this provides the tender crumb and rich mouthfeel. Using unsalted allows you to control the seasoning precisely.
- Dark Brown Sugar: This is the MVP for softness. The extra molasses content in dark brown sugar attracts moisture, keeping the cookies from drying out.
- Grandma’s Molasses: This adds depth, a vintage color, and a soft, slightly sticky chew that is characteristic of a true cream pie.
- Quick Oats: Unlike rolled oats, quick oats are smaller and more absorbent. They integrate into the dough to create a uniform, soft texture rather than a chunky, tough one.
- Ground Cloves and Cinnamon: These spices provide the heritage aroma that defines the classic oatmeal cookie experience.
- Confectioners’ Sugar and Heavy Cream: For the filling, these create a cloud-like texture that remains stable between the two soft cookies.
Working with the right oats is the biggest secret here. If you only have old-fashioned oats, pulse them briefly in a blender to reach the quick-oat consistency so they can soak up the moisture correctly.
How to Achieve the Perfect Texture
Step 1: Prep Your Baking Space
Preheat your oven to 375°F (191°C). This higher temperature helps set the edges quickly while keeping the middle underbaked and soft. Line your heavy-duty baking sheets with parchment paper or silicone mats to prevent any sticking and to encourage even browning on the bottom.
Step 2: Cream for Structure
In your stand mixer, beat the softened butter with both the dark brown and granulated sugars. You want to go for at least 3 minutes on medium-high. This process isn’t just about mixing; it is about aerating the fats to create a light, tender structure that won’t turn dense and hard later.
Step 3: Add the Flavor Base
Lower the speed and add the egg, vanilla, and molasses. The molasses is the key to that jar-fresh longevity we are after. Beat these on high for about a minute until the mixture looks glossy and fully combined. Scrape the sides to make sure no streaks of butter remain.
Step 4: Mix the Dry Components
In a separate bowl, whisk together your flour, baking soda, salt, cinnamon, cloves, and those quick oats. Whisking ensures the leavening agents and spices are evenly distributed so every bite has the same perfect rise and spice profile.
Step 5: Form the Dough
Slowly add the dry ingredients to the wet. The dough will be very thick and quite sticky, which is a good sign—that stickiness translates to moisture. You might need to finish the last few stirs by hand with a sturdy spatula to make sure the oats are fully coated.
Step 6: Scoop and Space
Scoop about 2 heaping tablespoons of dough for each cookie. I like to use a scale to hit exactly 45 grams for consistency. Place them 3 inches apart because these will spread into beautiful, flat circles perfectly sized for sandwiching.
Step 7: The Critical Bake Time
Bake for 10 to 13 minutes. This is the most important part of the texture process. Pull them out when the edges are just barely golden but the centers still look wet and underbaked. They will finish cooking on the hot pan, resulting in a center that stays soft for days.
Step 8: The Cooling Period
Let the cookies rest on the baking sheet for a full 10 minutes. This allows the structure to set without the cookies becoming hard. After 10 minutes, move them to a wire rack to cool completely. They must be cold before you even think about the filling.
Step 9: Whip the Filling
Beat your butter until it is incredibly creamy, then gradually add the confectioners’ sugar. Pour in the heavy cream and vanilla, then whip on high speed for 3 minutes. This incorporates air, making the filling fluffy and light instead of heavy and greasy.
Step 10: Assemble the Pies
Match up your cookies into pairs of similar sizes. Pipe or spread about 1.5 tablespoons of filling onto the flat side of one cookie and press the second cookie on top. The filling should reach the edges but stay contained.
Mehmet’s Texture Wisdom for Longevity
To prevent your cookies from becoming brittle, never overbake them. The ‘carry-over cooking’ that happens on the warm baking sheet is what perfects the texture. If the cookie looks done in the oven, it is already overbaked for a cream pie. I always recommend using a kitchen scale for the dough balls to make sure your sandwiches match up perfectly. For more help with your baking fundamentals, check out our guide on Classic Cookie Recipes to see how moisture ratios work across different styles. Also, make sure your heavy cream is at room temperature before adding it to the butter; cold cream can cause the frosting to break and lose its velvety finish.
Heritage Tweaks and Flavor Options
While the classic cinnamon and clove profile is a treasure, you can adjust the spices to your liking. Some families prefer a ginger-forward cookie, which you can achieve by adding a half teaspoon of ground ginger to the dry mix. If you want a more festive look for the holidays, you can roll the edges of the cream filling in crushed festive sprinkles or mini chocolate chips. For those who enjoy planning ahead for gatherings, our Holiday Cookie Celebrations offer many more ways to adapt vintage doughs. You can also swap the vanilla extract in the filling for maple extract to give it a deep, autumnal flavor that pairs beautifully with the oats.
How to Serve and Store Your Treats
These are best served at room temperature where the cream filling is at its softest. If you have stored them in the refrigerator to keep them fresh longer, let them sit on the counter for about 20 minutes before serving. They make an excellent addition to a packed lunch because they are sturdy enough to travel but stay soft until noon. For more ideas on treats that pack well, take a look at our Quick & Easy Cookies section. For a real treat, serve these alongside a cold glass of milk or a warm cup of coffee to balance the sweetness of the filling.
The Final Word on Freshness
Mastering the oatmeal cream pie is all about respecting the moisture. By using quick oats and dark molasses, you have created a cookie that honors the past while staying soft long enough for the whole family to enjoy. This recipe proves that you do not have to settle for dry, store-bought snacks when a superior homemade version is so easy to achieve at home. For more wholesome baking inspiration that keeps your cookie jar full, explore our Wholesome Cookie Options. I would love to see your successful bakes, so please share your photos with us on Instagram, Facebook, or Pinterest. Happy baking, and enjoy that perfect chew!
