My kitchen still holds the scent of the spiced rum and sweet raisins from the batch of Rum Raisin Cookies 2 I baked this morning. I found the recipe on a tattered index card tucked inside my grandmother’s favorite cookbook, written in her elegant, looping script from decades ago. It is a treasure that brings back the warmth of her sun-drenched kitchen every time the oven timer dings, reminding me of simpler times. There is something truly special about how a simple smell can transport you back to being six years old, waiting patiently by the cooling rack for a warm treat.

These cookies are a true testament to the beauty of slow, thoughtful baking that honors our family heritage. By letting the fruit soak in real spirits, we bring a level of moisture and flavor that a simple extract just cannot match in a modern kitchen. They are chewy, hearty, and exactly what a cookie should be—a bit of comfort that stays fresh in the jar for days. I hope this recipe becomes as much of a staple in your home as it has been in mine for all these years.
Why You Will Love These Rum Raisin Cookies 2
There is something incredibly comforting about a cookie that doesn’t try too hard to be trendy or flashy. These cookies rely on the honest flavors of toasted oats, warm cinnamon, and sun-dried fruit to do the heavy lifting. Because the raisins are soaked thoroughly, they become little bursts of sweetness that contrast perfectly with the salty-sweet dough and the texture of the oats.
You will love how the entire house smells while these bake—it is the very definition of home and nostalgia. This particular recipe for Rum Raisin Cookies 2 has become a staple in my house for rainy afternoons when the family gathers around the table. They offer a sophisticated depth of flavor that appeals to adults while maintaining the chewy, sweet charm that children adore. It is a timeless classic that bridges the gap between generations, making it a perfect addition to any baking tradition.
Print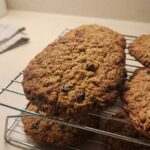
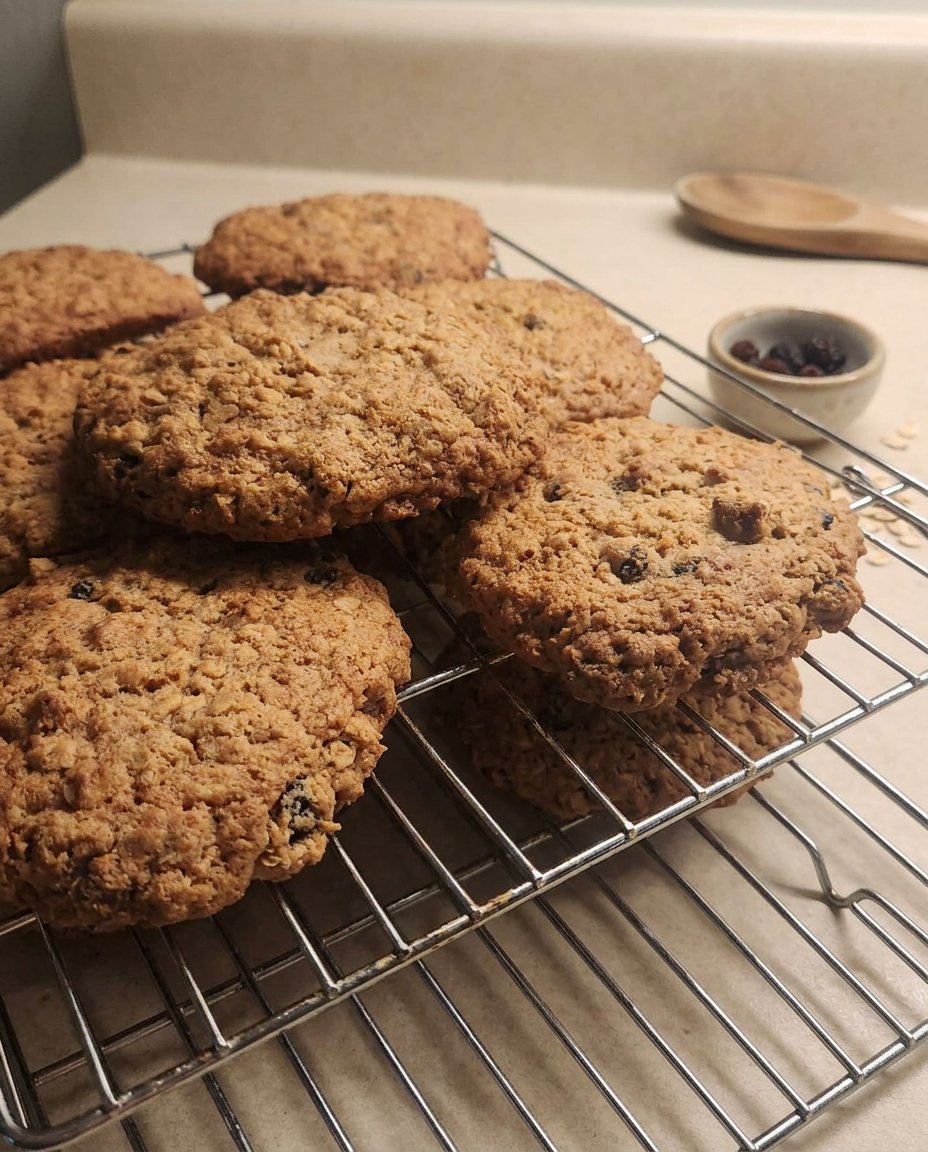
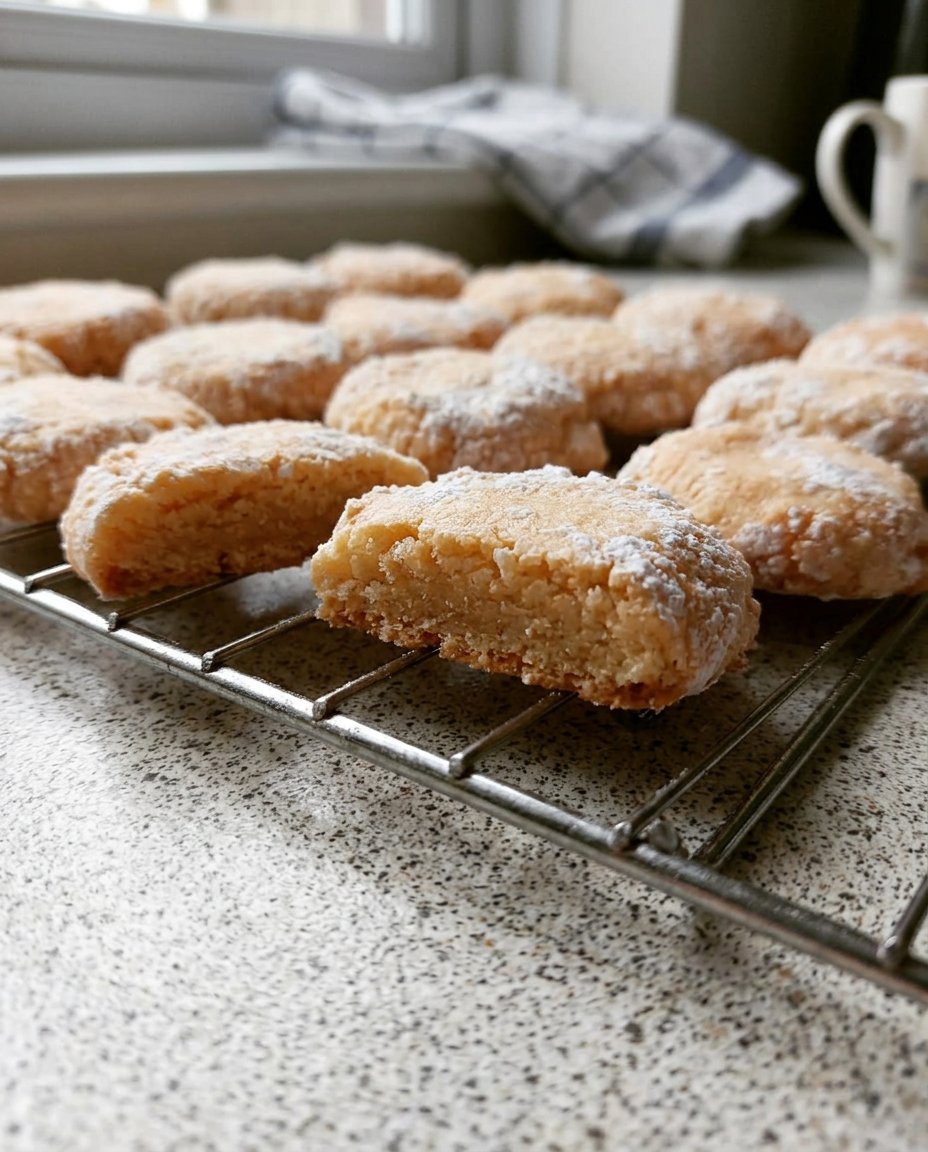
Rum Raisin Cookies
- Total Time: 1 hour 27 mins
- Yield: 36 cookies
- Diet: Vegetarian
Description
Indulge in the nostalgic flavor of these chewy rum raisin cookies, featuring plump spirits-soaked fruit and hearty rolled oats. Perfectly spiced with cinnamon, these treats offer a sophisticated depth of flavor that makes them a timeless addition to any cookie jar.
Ingredients
- 1 cup raisins
- 1/4 cup dark or spiced rum
- 1 cup salted butter, softened
- 1 cup brown sugar, packed
- 1/2 cup granulated white sugar
- 2 large eggs, room temperature
- 1 teaspoon pure vanilla extract
- 2 cups all-purpose flour
- 1 teaspoon baking soda
- 1 teaspoon ground cinnamon
- 3 cups old-fashioned rolled oats
Instructions
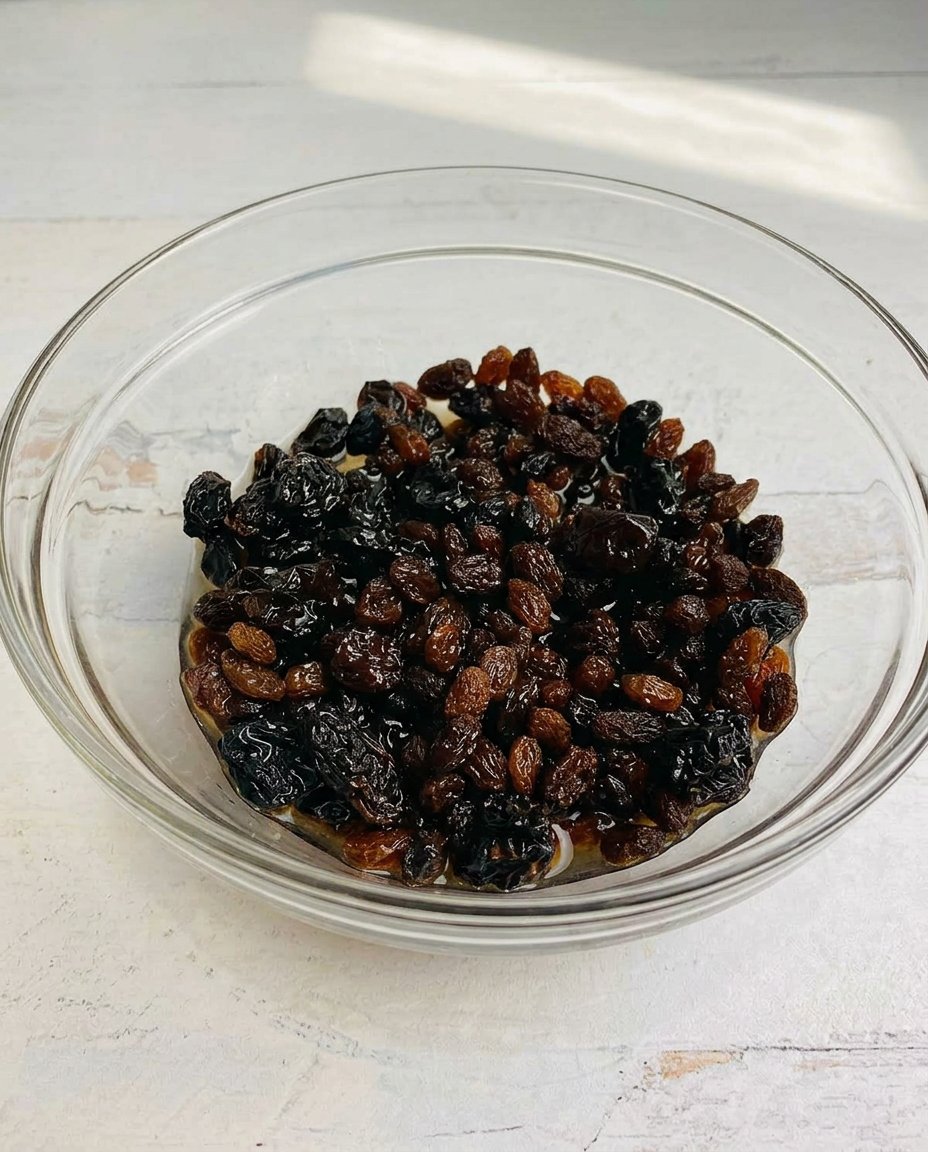
- Place the raisins in a small bowl and cover with rum; let soak for at least one to two hours, then drain.
- Preheat your oven to 350°F (175°C) and line your baking sheets with parchment paper or silicone mats.
- In a large mixing bowl, cream the softened butter with the brown and white sugars for approximately two minutes until light and fluffy.
- Add the eggs one at a time, beating well after each addition, then stir in the vanilla extract until the mixture is glossy.
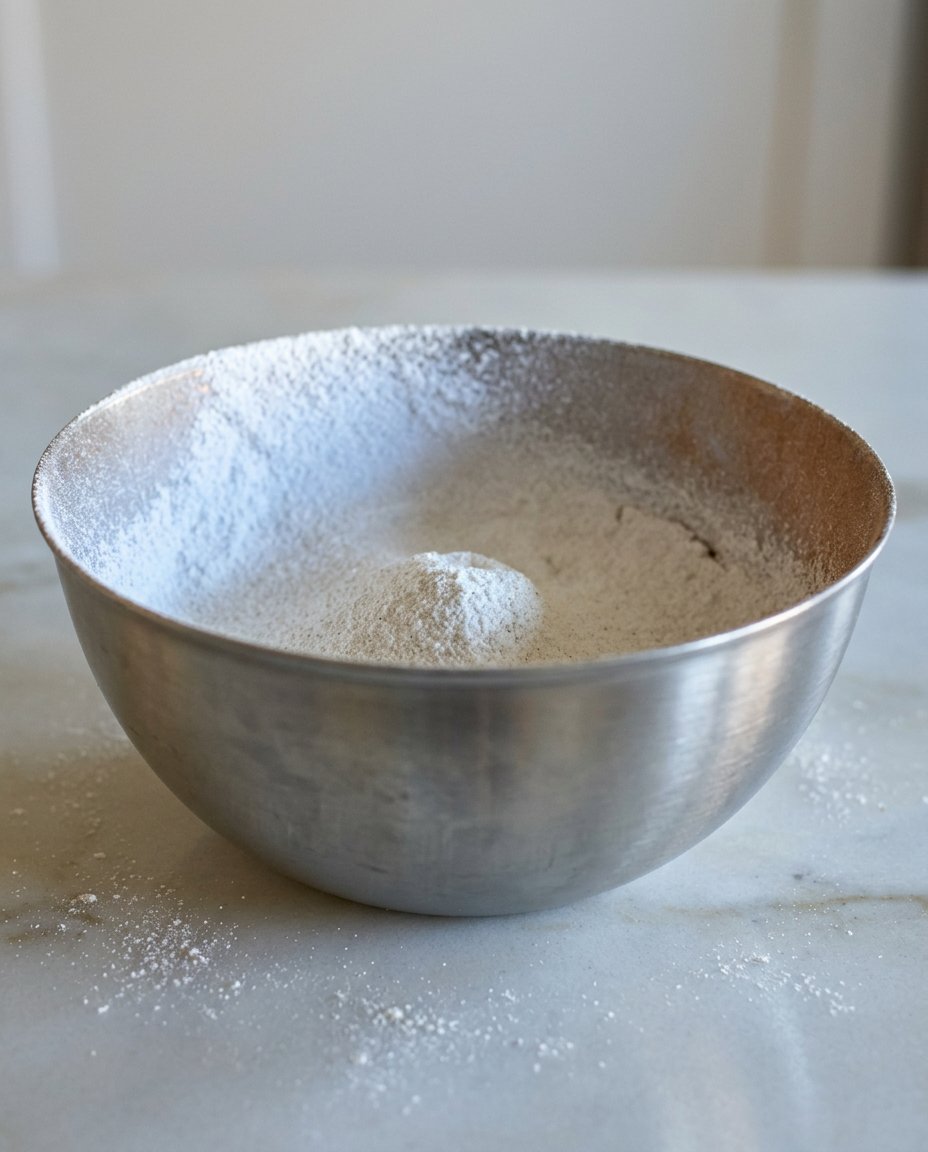
- In a separate medium bowl, whisk together the flour, baking soda, and ground cinnamon.
- Gradually mix the dry ingredients into the creamed butter mixture on low speed until just combined.
- Gently fold in the rolled oats and the drained raisins by hand.
- Drop rounded tablespoons of dough onto the prepared sheets, spacing them two inches apart, and bake for 10 to 12 minutes until the edges are golden brown.
- Allow the cookies to cool on the baking sheet for 5 minutes before transferring to a wire rack to cool completely.
Notes
For the softest results, avoid overbaking; the centers should still look slightly underdone when you pull them from the oven. If you prefer a non-alcoholic version, you can soak the raisins in warm apple juice or orange juice instead of rum to maintain that signature moisture.
- Prep Time: 1 hour 15 mins
- Cook Time: 12 mins
- Category: Dessert
- Method: Baking
- Cuisine: American
Simple Pantry Staples and Heritage Spirits
To make these cookies just like I do, you will want to gather your ingredients with care and focus on quality. We use simple, honest items that you likely already have in your cupboard, proving that you do not need fancy ingredients to create something memorable.
- Real Butter: I prefer using softened salted butter because it balances the sweetness of the brown sugar beautifully, though unsalted works well if you prefer to control the salt yourself.
- Brown and White Sugars: This combination is the key to that perfect chewy edge with a soft, yielding center that we all remember from our childhood.
- Rolled Oats: Make sure you use the old-fashioned rolled oats for this recipe. Quick oats will simply disappear into the dough, and steel-cut oats are far too hard for a delicate cookie.
- Real Rum: This is the secret ingredient that makes all the difference. Use a good dark or spiced rum to soak your raisins; the depth it provides is absolutely irreplaceable.
- Pure Vanilla Extract: A splash of real vanilla brings all the flavors together in harmony and adds that familiar, comforting aroma to every bite.
- Cinnamon and Soda: A touch of warm cinnamon provides the spice, while the baking soda ensures the cookies have just the right amount of lift and golden color.
The Heritage Method
Step 1: The Soaking Ritual
Begin by placing your raisins in a small glass bowl and pouring the rum over them until they are completely submerged. Let them sit for at least an hour, though two is even better if you have the time to spare. This allows the fruit to plump up and absorb that rich, complex flavor that defines the cookie. Once they are ready, drain the liquid before adding them to your dough.
Step 2: Preparing the Oven
Preheat your oven to 350 degrees Fahrenheit (175 degrees Celsius) so it is perfectly ready when your dough is mixed. While the oven warms, line your baking sheets with parchment paper or a silicone mat. This prevents the cookies from sticking and makes the clean-up process much easier for the home baker.
Step 3: Creaming the Heart of the Cookie
In your large mixing bowl, beat the softened butter together with both the brown and white sugars. You want to keep going for about two minutes until the mixture looks creamy and pale. This step is vital because it creates the structure that holds our heavy oats and raisins in place.
Step 4: Adding Eggs and Vanilla
Add your eggs one at a time, beating well after each addition to make sure everything is fully incorporated. Pour in the vanilla extract and continue to beat until the mixture looks glossy and smells wonderful. This liquid base is the foundation of the cookie’s rich flavor profile.
Step 5: Preparing the Dry Ingredients
In a separate medium bowl, whisk together your flour, baking soda, and cinnamon. Using a whisk helps break up any clumps in the flour and ensures the cinnamon is evenly distributed. This step prevents any bitter pockets of soda or spice in your finished cookies.
Step 6: Bringing the Dough Together
Turn your mixer to its lowest speed and slowly add the flour mixture to the butter and sugar base. Once the white streaks of flour have almost vanished, fold in the rolled oats and those plumped raisins by hand or on the lowest setting. You want to be gentle here to keep the raisins intact.
Step 7: Baking to Golden Perfection
Drop rounded tablespoons of the dough onto your prepared sheets, spacing them about two inches apart to give them room to spread. Bake for 10 to 12 minutes. You are looking for a beautiful golden brown color around the edges while the centers still look slightly soft to the touch.
Step 8: The Final Patience
Let the cookies rest on the hot baking sheet for a few minutes after you remove them from the oven. This helps them set so they do not break when you move them. Transfer them to a wire rack to cool completely, though eating one while it is still warm is a baker’s right.
Grandma’s Wisdom for a Perfect Cookie Jar
If you want your cookies to stay soft for days on end, place a small slice of white bread in the cookie jar with them. The cookies will naturally pull the moisture from the bread and stay perfectly chewy. Also, when you drain the rum from the raisins, do not simply discard it; it can be used to flavor a simple glaze or even stirred into a cup of afternoon tea. For those who enjoy a slightly different texture, you can see how this technique compares to other methods at Framed Cooks. For more ideas on filling your kitchen with sweet scents, look through our Quick & Easy Cookies collection. Always use room temperature eggs to ensure they combine properly with the creamed butter for the best possible rise.
Heritage Twists and Family Favorites
While the classic version is my absolute favorite, many families have their own traditions that they have added over the years. Some like to add half a cup of chopped walnuts or pecans for an extra bit of crunch and a deeper flavor. You could also try browning your butter in a saucepan before mixing to give the cookies a nutty, toasted depth that is quite lovely. If you prefer a more modern touch, a tiny pinch of flaky sea salt on top before baking creates a wonderful balance with the sweet raisins. For those looking for more wholesome treats that still taste like home, I recommend looking at our Wholesome Cookie Options.
The Tradition of the Cookie Jar
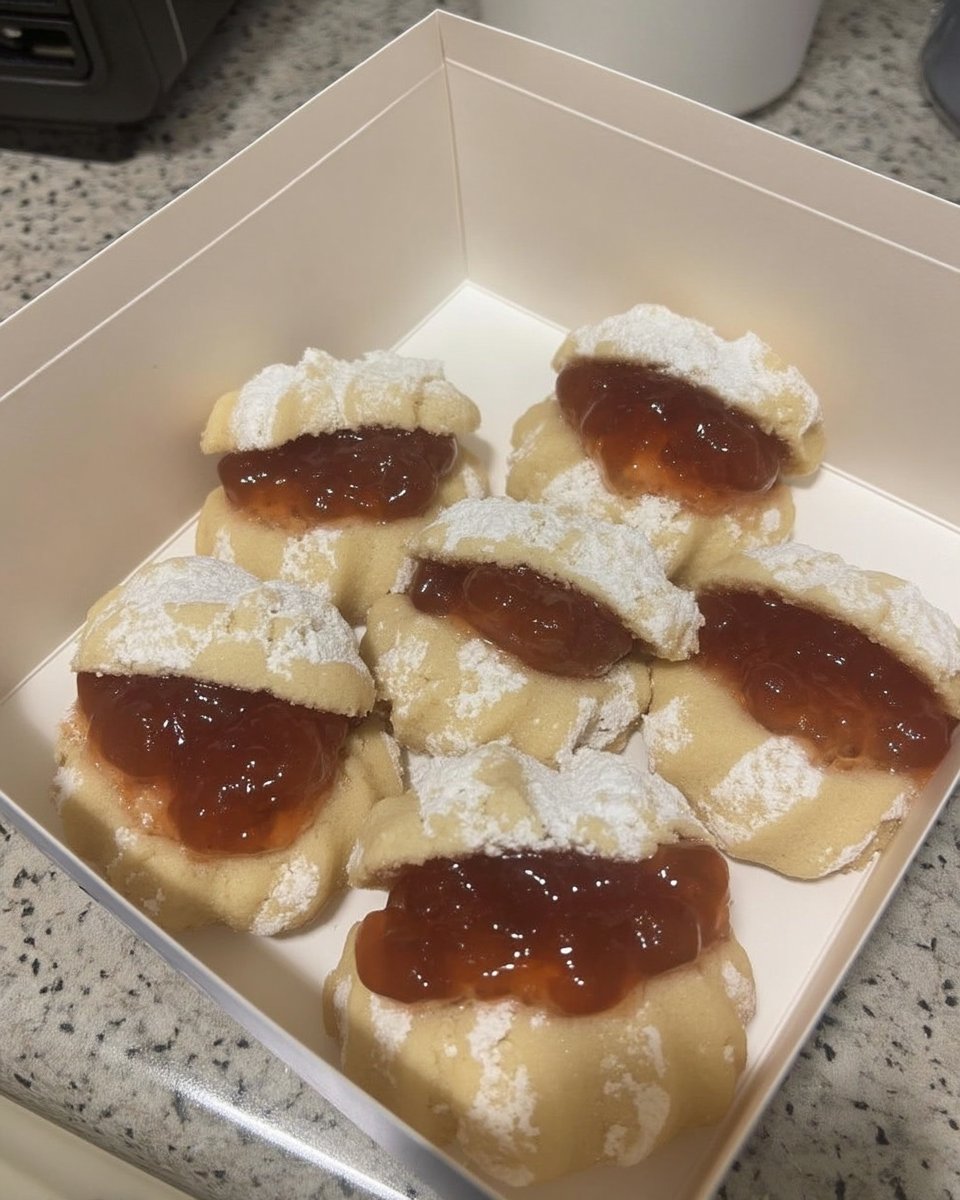
These cookies belong in a heavy ceramic or glass jar sitting right on the kitchen counter, ready for anyone who wanders through the room looking for a snack. They are best served with a cold glass of milk or a warm cup of coffee during a quiet morning break while you watch the world go by. I love to share these with my grandkids when they come to visit; it is a way to pass down the flavors of our family history and create new memories. You can find more ideas for beautiful ways to present your treats in our Classic Cookie Recipes section.
The Sweet Heritage of Home Baking
Every time I pull a tray of these cookies out of the oven, I feel a deep connection to the generations of bakers who came before me and kept these traditions alive. Baking is more than just following a list of instructions; it is a way to preserve memories and share a piece of your heart with those around you. I hope these cookies find a permanent place in your family’s heart and stay a favorite in your cookie jar for years to come. For more ways to celebrate the seasons with your oven, visit our Holiday Cookie Celebrations. I would love to see your baking results, so please share your photos with me on Facebook or Instagram.
