Most thin cookies I grew up with were disappointing because they turned into hard crackers by the second day. I spent months tweaking the moisture levels to guarantee these thin chocolate chip cookies remain bendy and soft long after they leave the oven. It is all about how we handle the fats and sugars to lock in that wonderful chew and prevent the dreaded cookie jar crunch.

By using melted butter instead of creamed, we create a dense, toffee-like structure that spreads beautifully without losing its soul. This recipe honors the vintage look of a classic drop cookie while solving the problem of stale, crumbly textures. You will find that these stay perfectly jar-fresh for three full days, maintaining a perfect pull-apart center that feels like it just came from the oven.
The Secret to Lasting Softness
These cookies are a revelation for anyone who loves a thin profile but hates the brittle texture of a store-bought ginger snap. Because we focus on moisture retention, the edges get that wonderful caramelization while the middle stays tender. You get the best of both worlds: a cookie that is light enough to eat several in one sitting, yet satisfyingly chewy.
They are also incredibly reliable. Unlike some recipes that are finicky about oven temperature, this method is forgiving. The high sugar-to-flour ratio creates a stable dough that spreads predictably every time. It is a treasure of a recipe that brings back that Sunday afternoon smell to your kitchen without the worry of having rock-hard leftovers by Monday morning.
Print
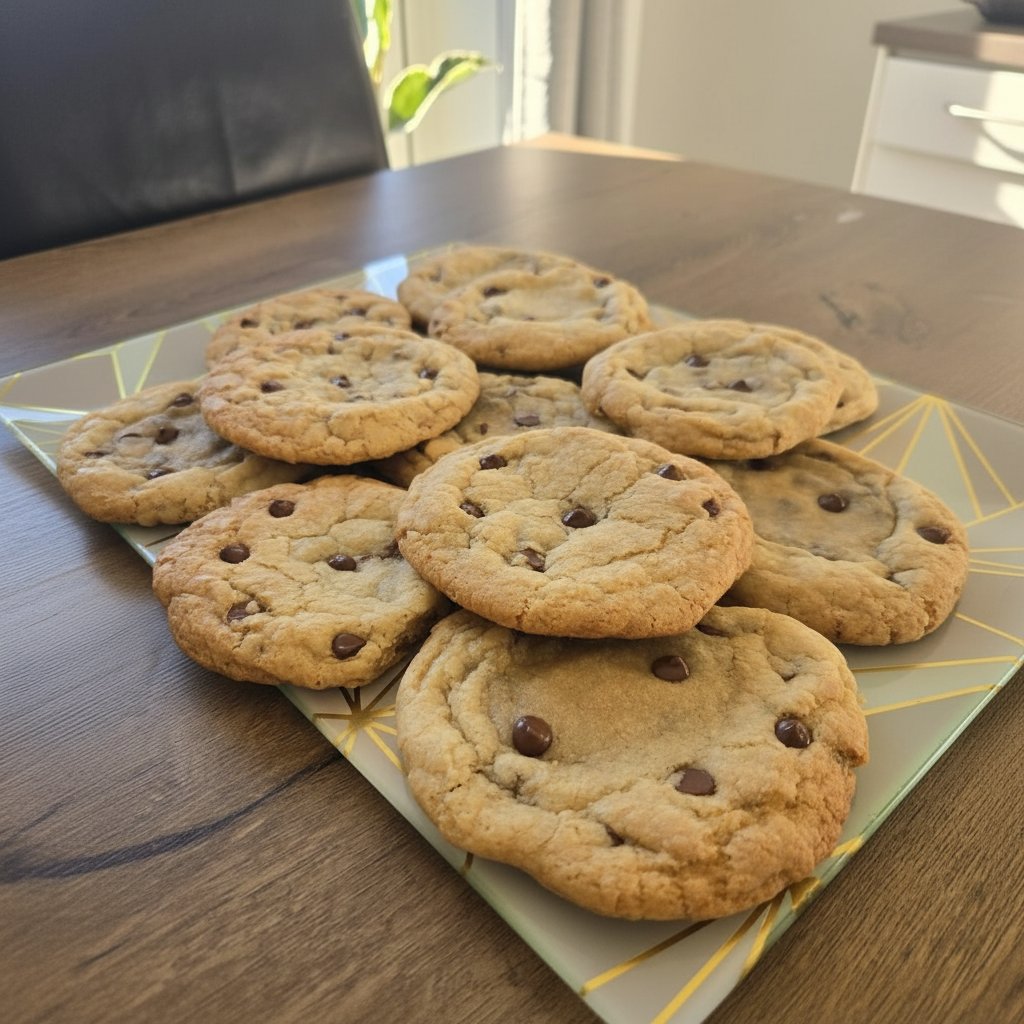
Thin Chocolate Chip Cookies
- Total Time: 1 hour
- Yield: 24 cookies
- Diet: Vegetarian
Description
These thin and chewy chocolate chip cookies use melted butter and a specific sugar ratio to achieve a perfectly bendy texture that stays soft for days. With caramelized edges and a rich toffee-like flavor, they are the ultimate treat for those who prefer a slender, flexible cookie over a cakey one.
Ingredients
- 1 stick (113g) unsalted butter, melted
- 3/4 cup brown sugar, packed
- 1/2 cup granulated sugar
- 1 large egg
- 1 teaspoon vanilla extract
- 1 1/4 cups all-purpose flour
- 1/2 teaspoon baking soda
- 1/2 teaspoon salt
- 8 ounces chocolate chunks (mixture of milk and semi-sweet)
Instructions
- Melt the butter and stir it together with the brown and granulated sugars for about two minutes until the sugars begin to dissolve into a smooth base.
- Whisk in the egg and vanilla extract vigorously for one minute to properly combine the fats and liquids.
- Stir in the flour, baking soda, and salt until just combined, then let the dough rest for 5 to 10 minutes to allow the flour to hydrate.
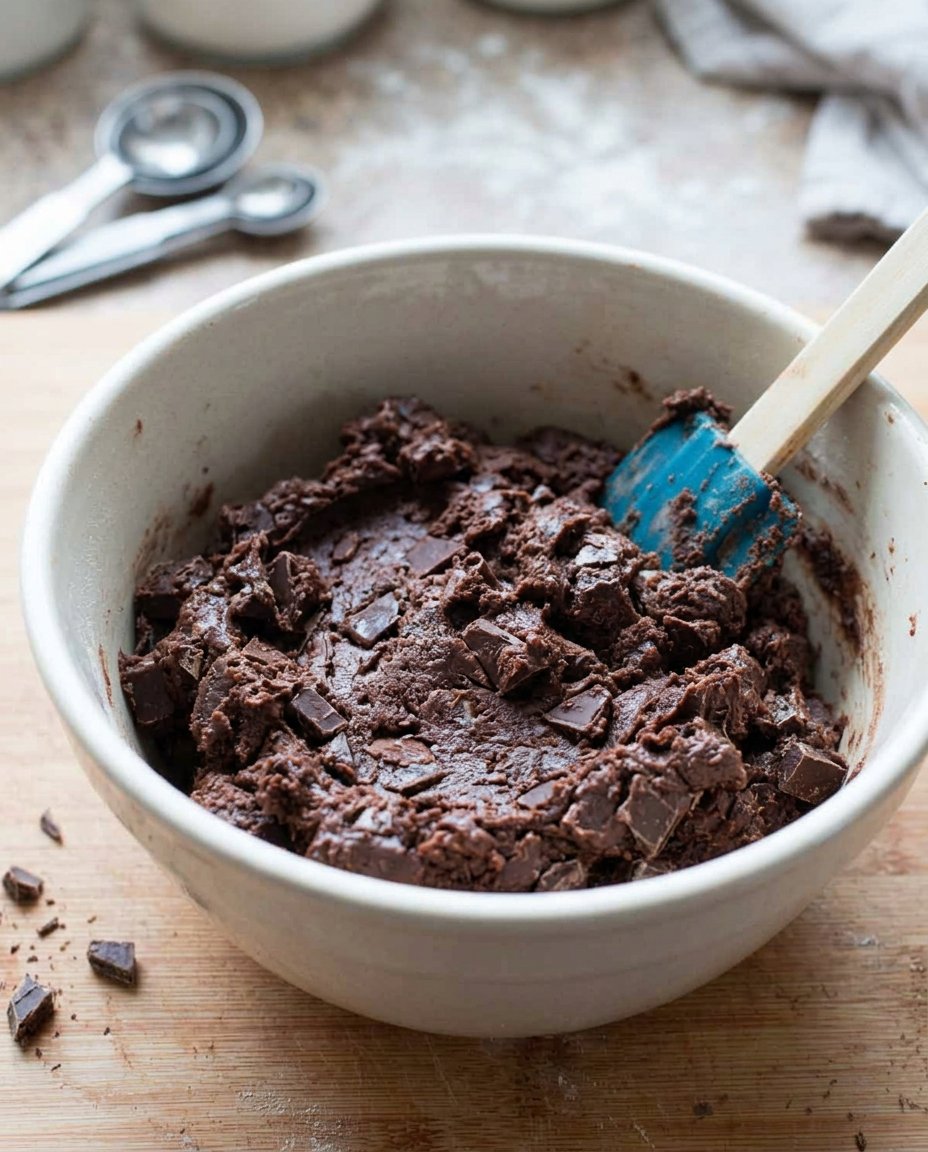
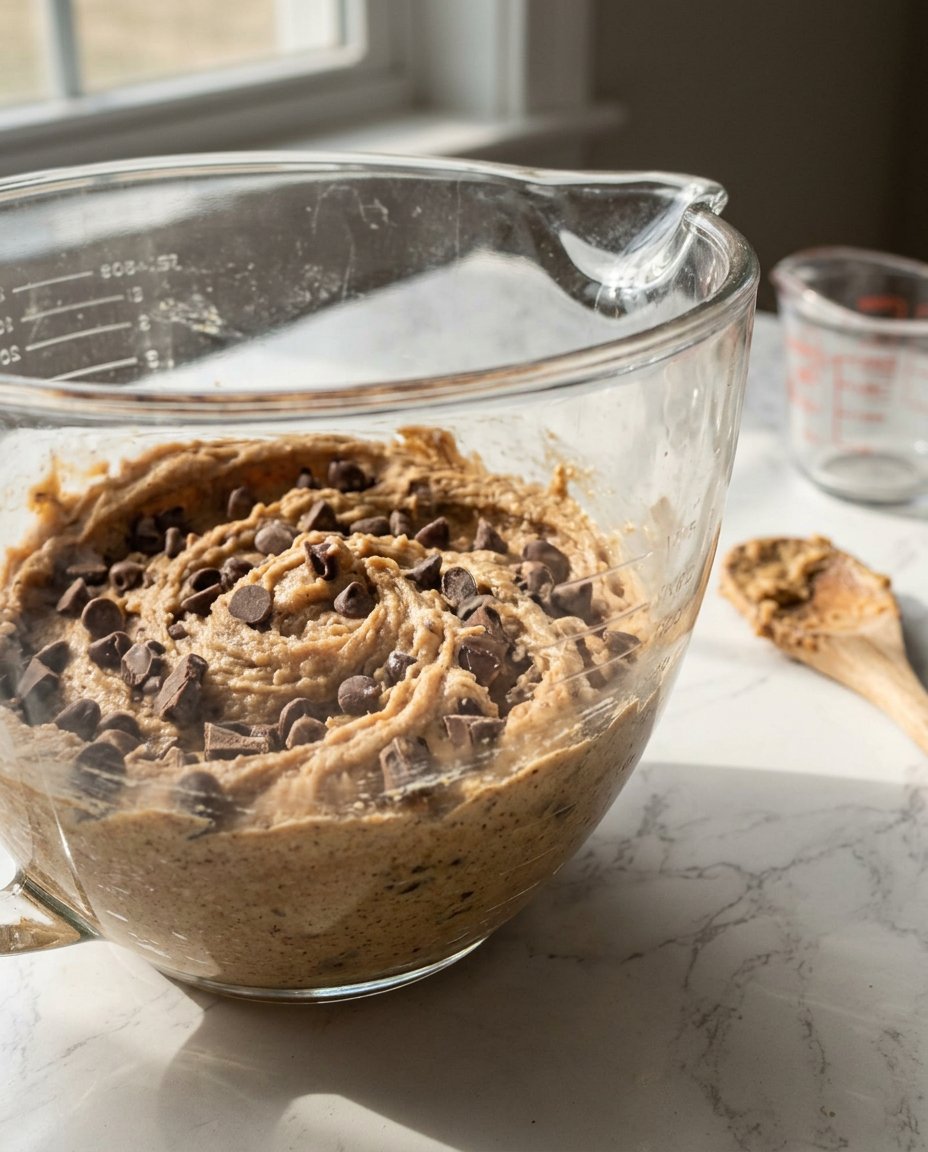
- Fold in the chocolate chunks, cover the dough, and chill in the refrigerator for at least 30 minutes to develop flavor and control spread.
- Preheat your oven to 350°F (177°C) and line a light-colored baking sheet with parchment paper.
- Scoop dough balls onto the tray, spacing them 4 inches apart to allow for significant spreading.
- Bake for 11 to 15 minutes until the edges are just golden and the centers are still soft; let rest on the pan for 5 minutes before moving to a wire rack.
Notes
For the perfect texture, avoid overbaking as these cookies continue to firm up on the hot pan after being removed from the oven. Storing a slice of bread in your cookie jar will help maintain the moisture and keep them soft for an entire week.
- Prep Time: 45 mins
- Cook Time: 15 mins
- Category: Dessert
- Method: Baking
- Cuisine: American
Essential Ingredients for Thin Chocolate Chip Cookies
To get that perfect spread and chew, the ratio of ingredients is everything. We aren’t just mixing things together; we are building a foundation for moisture and a texture that stays fresh for days.
- Melted Butter (1 stick/113g): This is the secret to the thinness. Melting the butter instead of creaming it with air keeps the dough dense and chewier.
- Brown Sugar (3/4 cup): The molasses in brown sugar is your best friend for moisture. It helps the cookies stay soft and flexible.
- Granulated Sugar (1/2 cup): This provides the crisp edges and helps the cookie spread across the pan.
- Large Egg: Provides the necessary structure to hold the heavy chocolate chunks in a very thin dough.
- Vanilla Extract (1 tsp): A generous amount provides that nostalgic, deep flavor that defines a heritage cookie.
- All-Purpose Flour (1 1/4 cups): We use just enough to hold the structure together without making it cakey or puffy.
- Baking Soda (1/2 tsp): This helps with the browning and encourages the signature spread.
- Salt (1/2 tsp): Never skip this; it balances the sweetness and makes the chocolate flavor pop.
- Chocolate Chunks (8 ounces): Using a mix of milk and semi-sweet chunks creates a complex flavor profile. Chunks stay melty better than chips in a thin cookie.
How to Master the Thin Cookie
Step 1: Prepare the Butter and Sugars
Begin by melting your butter in a microwave-safe bowl. I suggest using 50% power to prevent any splattering. Once liquid, pour it into your mixing bowl and add both the brown and granulated sugars. Stir this mixture well for about two minutes. You want the sugars to begin dissolving into the butter, which creates a smooth, toffee-like base that guarantees a chewy result.
Step 2: Incorporate the Liquids
Add your egg and the vanilla extract to the butter mixture. Stir vigorously for another minute. This step is important for combining the fats and liquids properly, making sure your cookies have a consistent texture throughout rather than being oily on the bottom.
Step 3: Mix the Dry Ingredients
Add the flour, baking soda, and salt to the bowl. Stir until just combined. It is vital to let this dough sit for 5 to 10 minutes before you add the chocolate. This brief rest allows the flour to fully hydrate and the temperature to drop so your chocolate chunks don’t melt into a muddy mess.
Step 4: Fold and Chill
Gently fold in your milk chocolate and semi-sweet chunks. At this point, cover the dough and chill it in the refrigerator for at least 30 minutes. If you have the patience, chilling for 24 hours develops a deeper flavor that tastes like gourmet toffee and gives you even better control over the spread.
Step 5: Scoop and Space
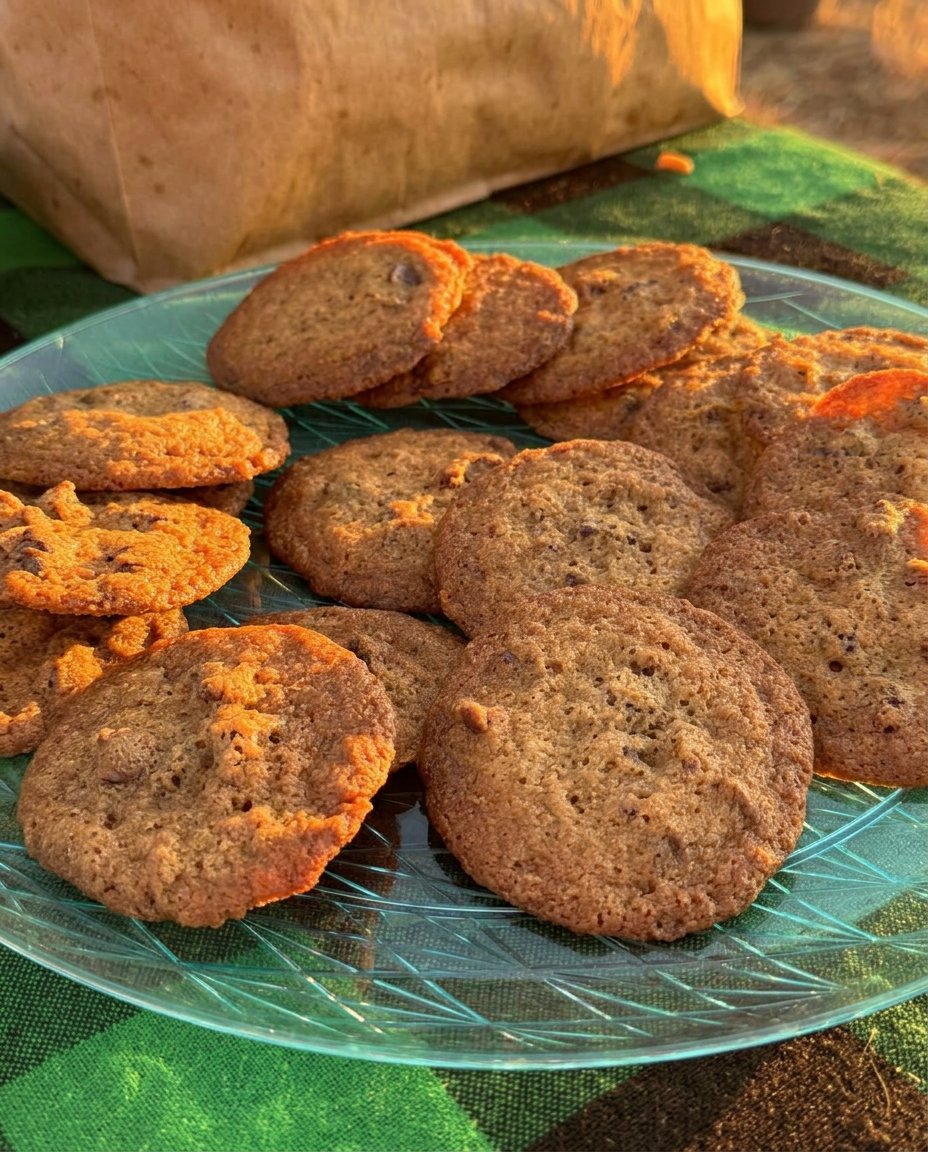
Preheat your oven to 350 degrees Fahrenheit (177 Celsius). Line a light-colored baking sheet with parchment paper. Use a cookie scoop to place balls of dough on the tray, leaving at least 4 inches of space between them. These thin chocolate chip cookies will spread significantly, and they need room to expand into their final shape.
Step 6: The Bake
Slide the tray into the oven and bake for 11 to 15 minutes. You are looking for the edges to just start turning a light golden color. The centers will still look quite soft, but they will firm up as they cool on the hot pan. Remove them from the oven and let them rest on the sheet for 5 minutes before moving them to a wire rack.
Mehmet’s Freshness Secrets
The biggest mistake bakers make is overbaking these delicate treats. Because they are so thin, they continue to cook on the hot pan for several minutes after you pull them out. I always look for the edges to be just barely golden while the centers still look a bit underdone. This is the secret to a cookie that stays soft for a full week.
For more advice on mastering the basics of home baking, check out our guide to Classic Cookie Recipes. Storing them is equally important for texture. Never put them in the jar while they are still even slightly warm, or the trapped steam will make them soggy. Once completely cool, they seal up beautifully and maintain their flexibility. If you find your kitchen is particularly dry, a small slice of bread kept in the container acts as a wonderful moisture regulator.
Texture and Flavor Tweaks
If you prefer a slightly crispier edge with the same thin profile, you can swap the dark brown sugar for light brown sugar. This reduces the moisture slightly but gives you a wonderful snap. I also love adding a pinch of sea salt on top right after baking to balance the sweetness of the milk chocolate. This little change makes the cookies taste much more sophisticated without changing the heritage recipe.
If you are looking for something faster that satisfies a similar craving, our Quick & Easy Cookies section has plenty of options that don’t require chilling the dough. You can also experiment with different chocolate types. While I love chunks, using mini chips makes sure you get chocolate in every single bite. Just make sure to keep your flour measurements exact to preserve that signature spread.
Serving Your Jar-Fresh Treats
These cookies are at their absolute peak about an hour after baking, once the chocolate has set but the center remains tender. I love serving them with a cold glass of milk, which complements the toffee notes of the dough. Because they are thin, they also make incredible bases for ice cream sandwiches—the chewiness prevents them from snapping when you take a large bite of the frozen treat.
For those looking for lighter pairings or different flavor profiles, visit our Wholesome Cookie Options for ideas on balanced treats. If you are planning to share these at a gathering, stack them in a vintage glass jar. They look beautiful and the sight of those chocolate chunks peeking through the thin dough is always a crowd-pleaser. They also travel well because they are flexible and don’t crumble easily during transport.
The Final Word on Texture
Finding a recipe that balances a thin profile with a soft, lasting texture is a true baker’s treasure. These cookies prove that you don’t need a thick, puffy dough to have a satisfying and moist treat. I hope this recipe becomes a staple in your kitchen just as it has in mine, bringing back that Sunday smell without the Monday staleness. This recipe was inspired by the excellent techniques shared by Modern Honey.
Be sure to check out our Holiday Cookie Celebrations for more ways to share your baking love. Happy baking, and don’t forget to share your results with me on Instagram, Pinterest, and Facebook!

