I remember watching my grandmother spend hours in the kitchen, carefully pressing dough into wooden molds. Her shortbread was legendary, but her process was a full-day commitment that most of us just do not have time for anymore. I have spent years figuring out how to keep that rich, buttery tradition alive while making it work for my busy Tuesday afternoons. This recipe is all about bringing that heritage into your home without the stress.

This shortbread recipe is the answer for anyone who craves that classic melt-in-your-mouth texture without the long wait. We are skipping the chilling and the rolling pins, using a simple pan method that provides perfect results every time. It is Grandma’s flavor, just updated for our fast-paced lives with a method that is quick and reliable. You will love how fast these come together.
Heritage Flavor at Modern Speed
You are going to love how this recipe respects the past while valuing your time. Traditional shortbread often requires hours of chilling to prevent spreading, but by baking these in cake pans, we skip that step entirely. The pans hold the shape perfectly, giving you thick, sturdy wedges that feel like they came from a high-end Scottish bakery. It is a smart way to get consistent results every single time you bake. This method is a real winner for busy families who still want high-quality treats.
It only uses six basic ingredients you probably already have in your cupboard. There is no need for fancy equipment or hard-to-find extracts. Just pure butter, sugar, and flour coming together in a way that feels like a warm hug from the past. It is a reliable, wonderful treat that fits into a 15-minute prep window, making it perfect for last-minute guests or a quick weekend project with the kids. You get all the comfort of a vintage recipe with the speed of a modern one.
Print
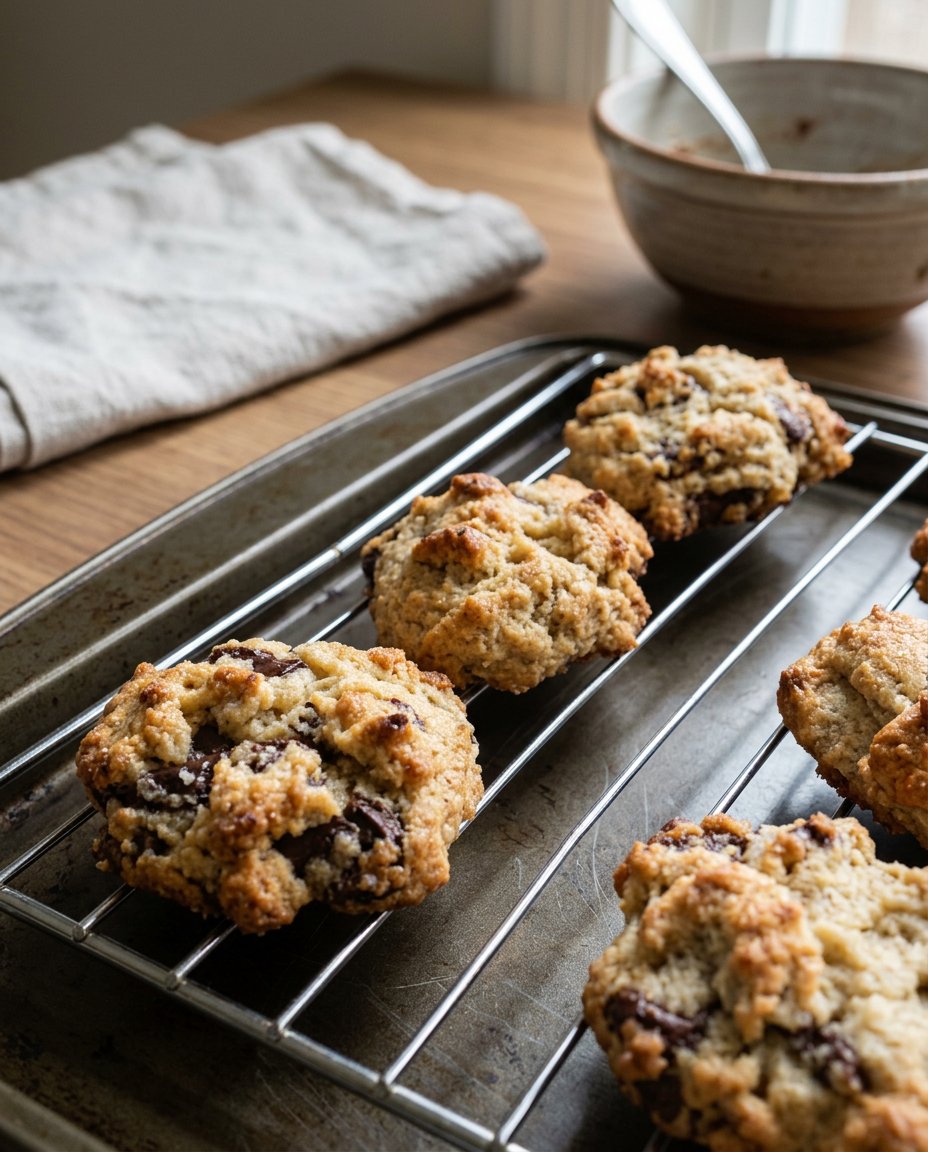
Shortbread Cookies 3
- Total Time: 45 mins
- Yield: 16 wedges
- Diet: Vegetarian
Description
This efficient shortbread recipe delivers a rich, buttery flavor and a delicate crumb without the need for chilling or rolling. By baking the dough in cake pans, you achieve perfect, professional-looking wedges that are ideal for sharing with guests or enjoying with a cup of tea.
Ingredients
- 1 cup unsalted butter, softened
- 1/2 cup granulated sugar
- 1 teaspoon pure vanilla extract
- 1/2 teaspoon salt
- 2 cups all-purpose flour
- 1/4 cup cornstarch
- Coarse sugar for sprinkling (optional)
Instructions
- Preheat your oven to 325°F (163°C) and line two 8-inch round cake pans with parchment paper, allowing for some overhang on the sides.
- Using a hand or stand mixer, beat the softened butter and granulated sugar together for approximately 3 minutes until the texture is smooth and creamy.
- Incorporate the vanilla extract and salt, then gradually add the flour and cornstarch on low speed until the dough begins to clump together.
- Press the dough firmly and evenly into the bottoms of the prepared pans, then use a fork to dock the entire surface and sprinkle with coarse sugar if desired.
- Bake for 28 to 30 minutes, or until the edges are just barely golden and the centers are set but pale.
- Allow the shortbread to cool in the pans for 10 to 15 minutes before lifting them out by the parchment and slicing into wedges with a sharp knife while still warm.
Notes
To achieve the signature melt-in-your-mouth texture, ensure your butter is properly softened but not oily. Slicing the shortbread while it is still warm is the best way to prevent the cookies from crumbling and ensures clean, sharp edges for every wedge.
- Prep Time: 15 mins
- Cook Time: 30 mins
- Category: Dessert
- Method: Baking
- Cuisine: Scottish
Simple Pantry Staples
The beauty of this dough lies in its simplicity. Every ingredient serves a specific purpose to create that signature crumbly, tender texture we all crave in a high-quality cookie. Using these basic items allows the natural flavor of the butter to shine through, which is the hallmark of any great shortbread.
- Unsalted Butter: Make sure it is softened to room temperature so it creams easily. This provides the rich flavor and structure that defines a classic shortbread.
- Granulated Sugar: Just enough to add sweetness without making the cookies too hard or brittle.
- Pure Vanilla Extract: Adds a layer of warmth and depth to the buttery base, giving it a more complex flavor profile.
- Salt: A small amount to balance the sugar and make the butter flavor pop. It is essential for a well-rounded taste.
- All-Purpose Flour: The backbone of our cookie, providing the right amount of density and crumb.
- Cornstarch: This is my secret for a tender crumb. It keeps the cookies soft instead of tough by reducing the gluten development.
When these simple items come together, they create a dough that is easy to handle and even easier to eat. We are using a mixer here to save time, but the flavor remains as authentic as the old hand-mixed versions. Using a scale for your flour is always a good idea to keep things consistent, but the spoon-and-level method works great too.
The Quick Method
Step 1: Prep and Pan Setup
Heat your oven to 325°F (163°C). Line two 8-inch round cake pans with parchment paper. I like to leave a little overhang on the sides so I can lift the shortbread out easily once it is done. This trick saves so much time and keeps your cookies from breaking. Using parchment also means you do not have to grease the pans, which is one less step to worry about.
Step 2: Cream the Butter and Sugar
Using a hand mixer or a stand mixer fitted with the paddle attachment, beat the softened butter and sugar together until the mixture looks smooth and creamy. I usually let my mixer run for about 3 minutes. This step is vital for getting the right texture, so do not rush it. Scrape the bowl to make sure everything is incorporated properly.
Step 3: Add Flavor and Dry Ingredients
Mix in the vanilla and salt for about a minute. Next, add your flour and cornstarch. Start the mixer on low speed so you do not get a flour cloud in your kitchen. Once it starts to combine, turn it up to medium and keep mixing until the dough starts to clump together. It might look crumbly at first, but keep going—it will get there eventually.
Step 4: Press and Dock
Divide the dough evenly between your two prepared pans. Press it down firmly with your fingers or the back of a spoon until it is nice and compact. Sprinkle some coarse sugar on top if you want a little extra crunch. Use a fork to poke holes all over the surface to let air escape during the baking process.
Step 5: Bake to Perfection
Slide the pans into the oven and bake for 28-30 minutes. You are looking for the edges to be just barely golden brown. The tops should still look pale and set. Overbaking shortbread makes it dry and hard, so keep a close eye on it during those last few minutes. Your kitchen will start to smell wonderful right before they are done.
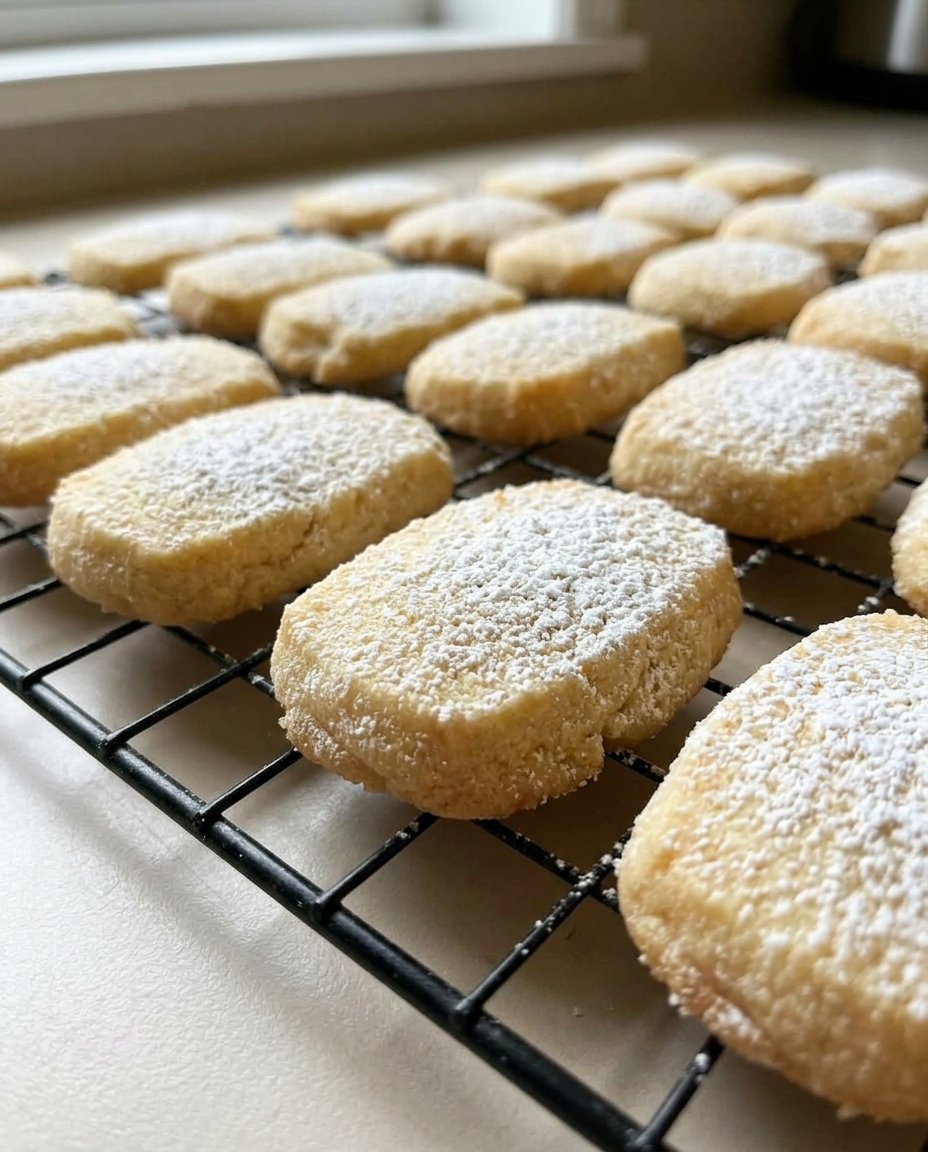
Step 6: Cool and Slice
Let the pans sit on a wire rack for about 10 to 15 minutes. Use the parchment paper to lift the shortbread out while it is still warm. Use a sharp knife to cut each circle into wedges. Cutting them while they are warm is the secret to getting clean, sharp lines without the cookies crumbling apart. Once sliced, let them cool completely.
Meagan’s Time Savers
One of my favorite tricks for perfect shortbread is using the right parchment technique. I cut small slits in the sides of the paper so it lays flat in the round pan without bunching up. For more ideas on handling dough efficiently, check out our guide to Quick & Easy Cookies. This small step makes the removal process so much faster and keeps the edges of your wedges looking professional. Also, if you want a deeper flavor, you can check out this helpful guide on shortbread techniques for extra inspiration.
Remember to always measure your flour by spooning it into the cup and leveling it off. Tamping the flour down can lead to dry, tough cookies that lack that signature melt. If your kitchen is particularly warm, you might find the dough a bit soft; if that happens, just pop the pans in the fridge for 5 minutes before baking to help set the butter. Using an electric mixer is a great way to save your arm strength, just be sure to stop once the dough clumps to avoid overworking it.
Quick Twists on a Classic
While the traditional butter flavor is hard to beat, you can easily adapt this dough for different seasons and special occasions. During the holidays, I love adding a teaspoon of almond extract or some finely chopped pecans for a festive touch. For more seasonal inspiration, look at our Holiday Cookie Celebrations. These small changes can make the recipe feel brand new every time you make it.
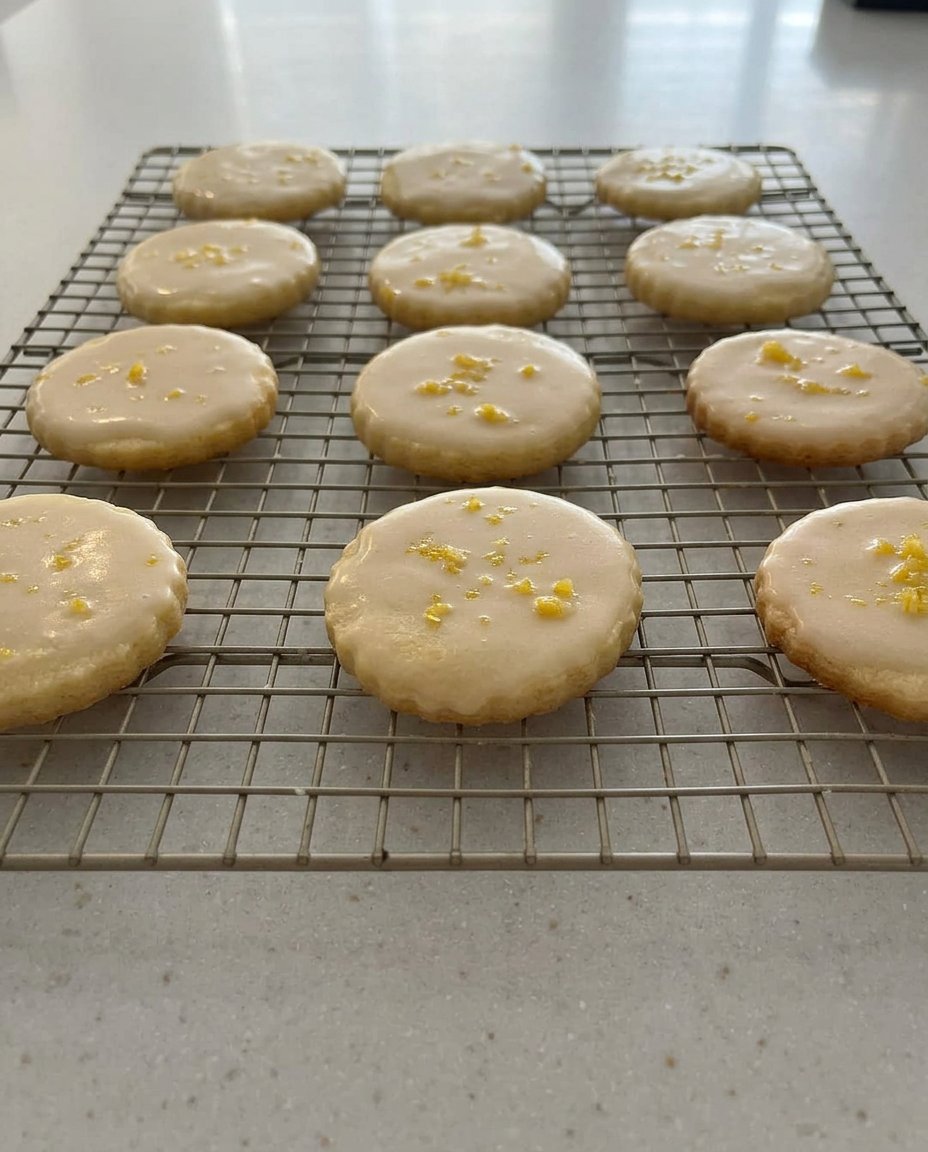
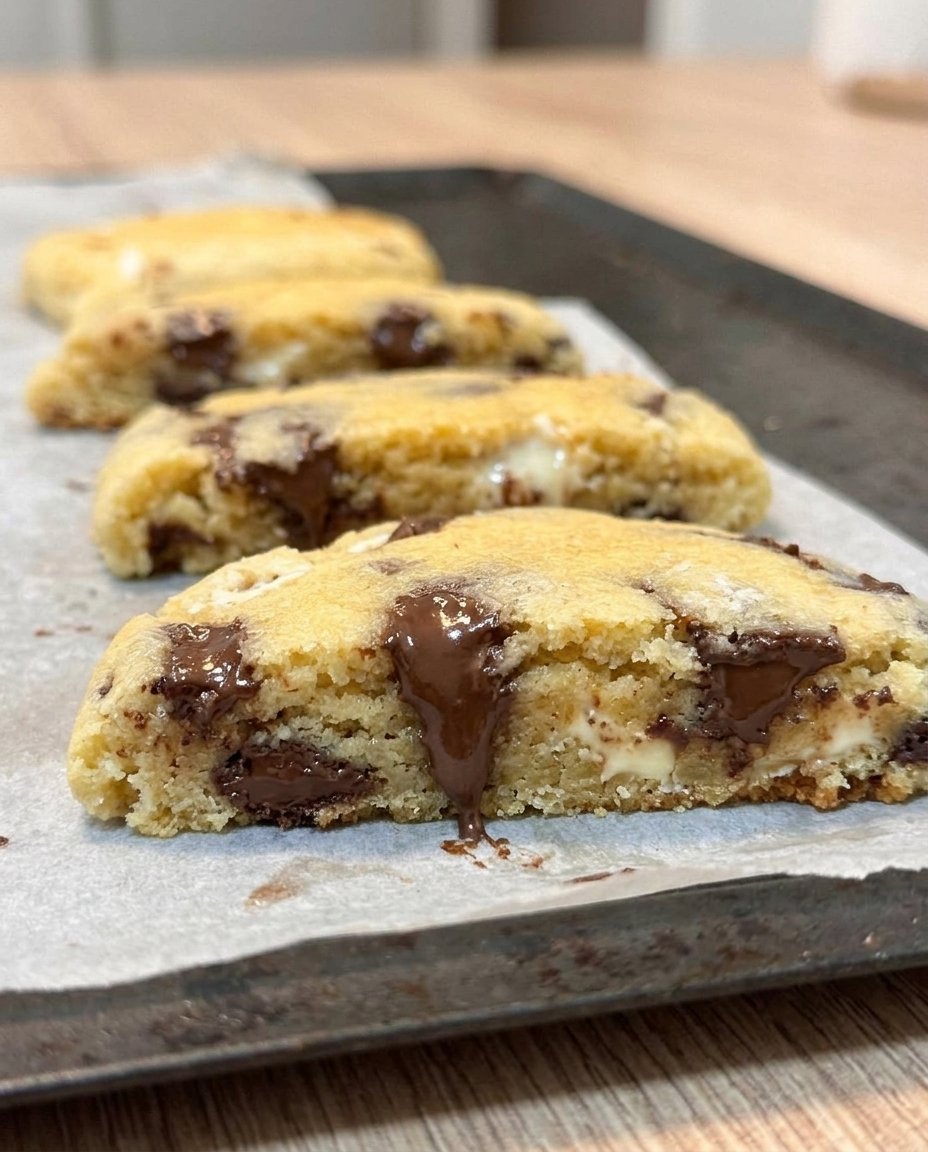
You can also press some dried cranberries or mini chocolate chips into the dough before baking for a bit of extra sweetness. If you are feeling fancy, dip the cooled wedges halfway into melted dark chocolate and sprinkle them with sea salt. It takes just a few extra minutes but makes the cookies look like they came from a high-end boutique. Another great option is to swap the vanilla for lemon extract and add some fresh zest for a bright, summery version of this classic treat.
Modern Sharing
These wedges are perfect for a mid-afternoon pick-me-up or a quick addition to a school lunchbox. I love serving them with a hot cup of tea or coffee, which softens the buttery crumb just perfectly and makes for a very relaxing break. For those looking for lighter options to pair with these treats, browse our Wholesome Cookie Options. They also make a great base for a dessert platter when served with fresh berries and a dollop of whipped cream.
If you are bringing these to a potluck or a neighborhood gathering, they stack beautifully and do not break easily during transport. You can arrange them in a circle on a platter to recreate that classic sunburst look that always gets compliments. They are a simple, joyful way to share a bit of heritage with your friends and neighbors without spending all day in the kitchen. They also make wonderful gifts when wrapped in a bit of cellophane with a pretty ribbon.
The Sweet Balance
Finding the time to bake should not mean you have to give up on the flavors you grew up loving. This recipe proves that you can have a traditional, buttery shortbread on the table in under an hour. It is all about working smarter in the kitchen so you can spend more time enjoying the treats with your family and less time cleaning up. For more help with your baking journey and other heritage favorites, visit our Classic Cookie Recipes section. I would love to see how your shortbread turns out! Please share your photos and tag us on Pinterest, Instagram, and Facebook. Happy baking, and enjoy every buttery bite!

