I remember the disappointment of biting into a holiday gingerbread man only to find it as hard as a ceramic tile. Those dry, snapping treats that sit in the cookie jar for weeks because no one wants to break a tooth are exactly why I focus so heavily on texture. My goal was to create a version that maintains its soft, chewy bite from the first day all the way to the seventh.

This Gingerbread Cookies recipe combines the deep, nostalgic spice profile of my grandmother’s kitchen with a few texture tweaks to keep the crumb tender. By focusing on moisture retention and a patient chill time, we produce a cookie that is as joyful to eat as it is to decorate. It is the kind of holiday tradition that stays fresh and delicious long after the oven has cooled.
The Secret to Soft Holiday Magic
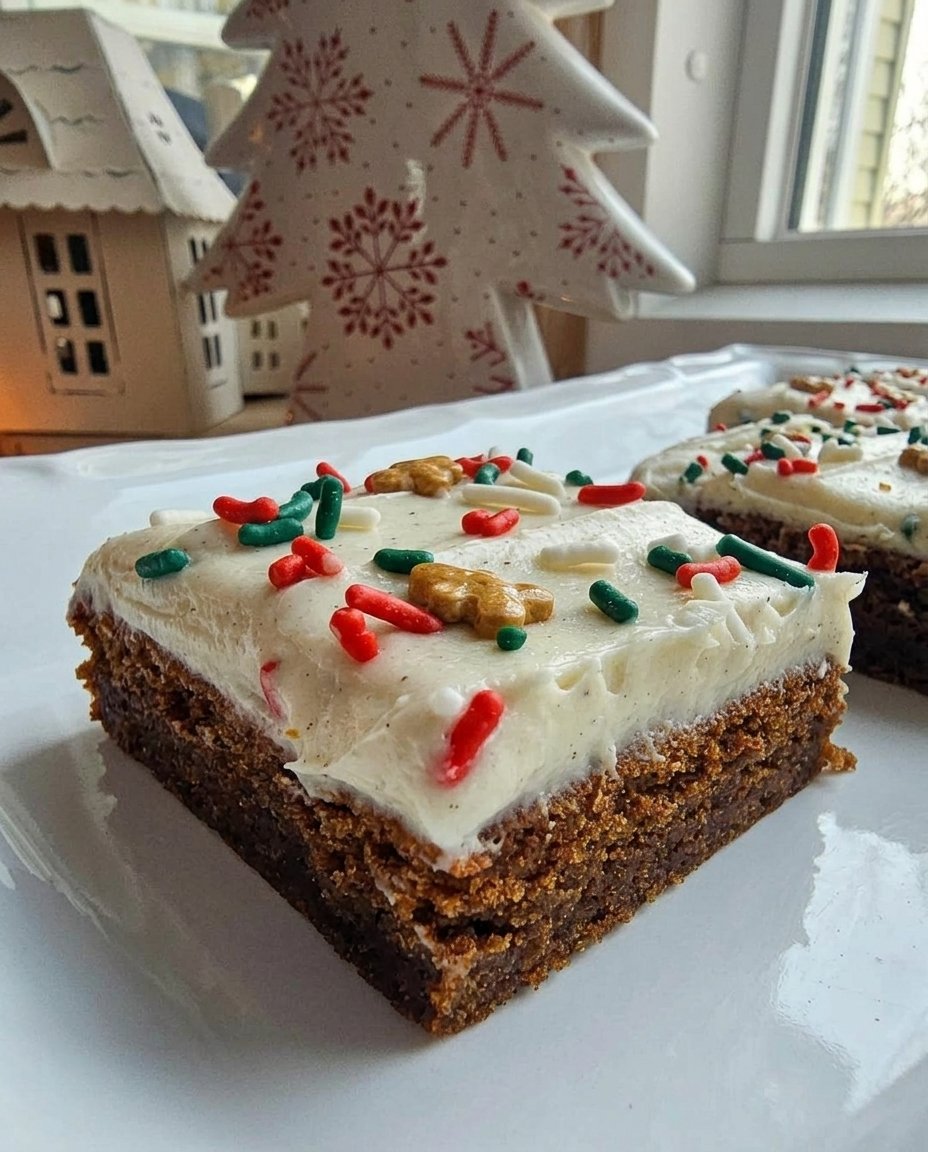
There is a special kind of comfort that comes from a cookie that smells like a vintage kitchen but eats like a modern masterpiece. Most people expect Gingerbread Cookies to be crunchy or even brittle, but this recipe is all about that perfect chew. I have spent years adjusting the ratios of molasses and brown sugar to make sure these stay tender for a full week.
What makes these stand out is the boldness of the spices. Most recipes call for a teaspoon of this or that, but I use a full tablespoon of both ginger and cinnamon. This heavy-handed approach to spice creates a deep, warm flavor that cuts through the sweetness of any icing you might add. It is a robust flavor profile that pairs perfectly with the soft, moist center and slightly crisp edges.
Another reason you will treasure these is their reliability. The dough is sturdy enough for detailed cookie cutters but soft enough to be a favorite for kids and adults alike. There is no more worrying about cookies going stale by day three; these are designed for longevity in the cookie jar, preserving that just-baked texture that makes holiday memories so sweet.
Print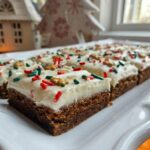
Gingerbread Cookies
- Total Time: 3 hours 30 mins
- Yield: 24 cookies
- Diet: Vegetarian
Description
Experience the ultimate holiday treat with these exceptionally soft and chewy gingerbread cookies. This recipe uses a generous blend of warm spices and molasses to ensure a deep, festive flavor that stays fresh for days.
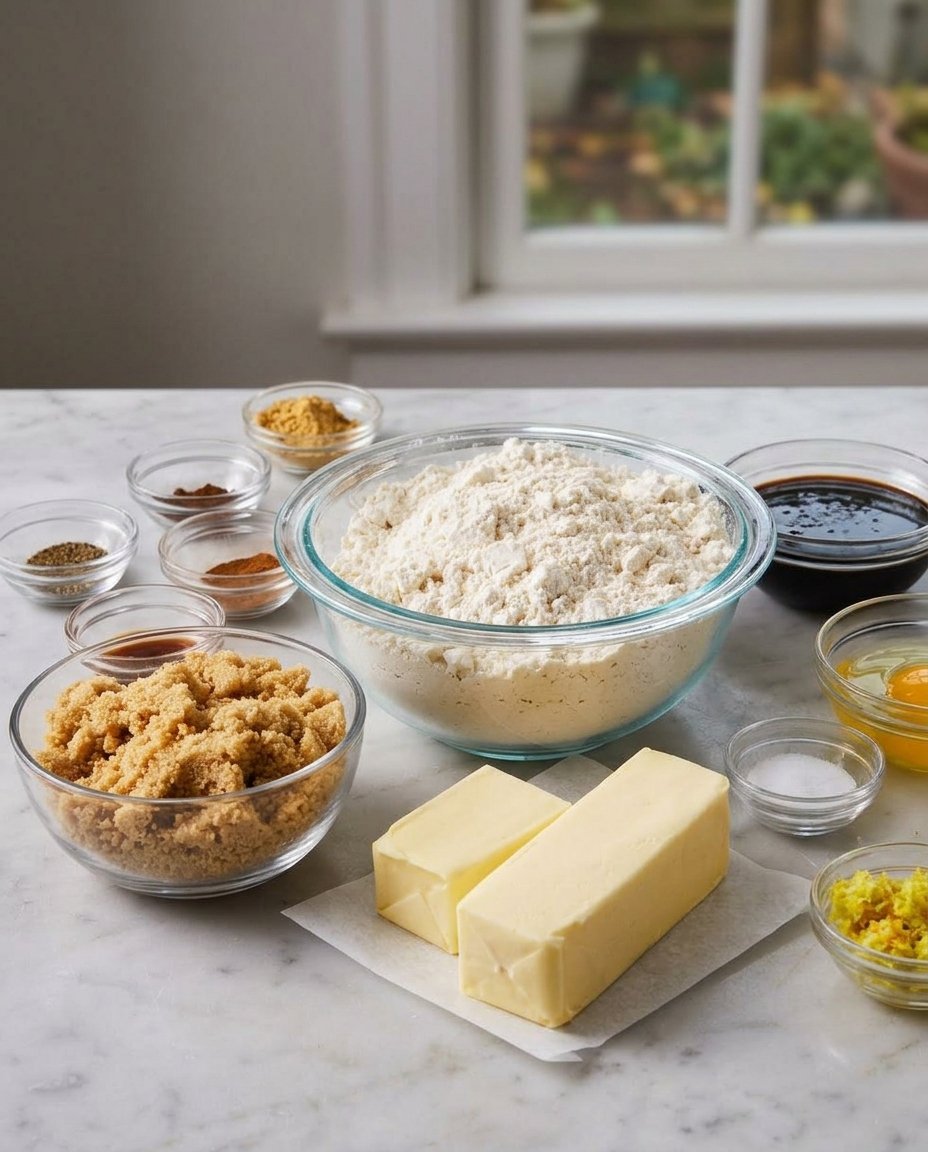
Ingredients
- 440g all-purpose flour
- 142g unsalted butter, softened
- 150g brown sugar, packed
- 200g unsulphured molasses
- 1 large egg, room temperature
- 1 tablespoon ground ginger
- 1 tablespoon ground cinnamon
- 1/2 teaspoon ground allspice
- 1/2 teaspoon ground cloves
- 1 teaspoon baking soda
- 1/2 teaspoon salt
- 1 teaspoon pure vanilla extract
Instructions
- In a large bowl, whisk together the flour, baking soda, salt, ginger, cinnamon, allspice, and cloves until thoroughly combined.
- Using a mixer, beat the softened butter for one minute, then add the brown sugar and molasses, beating on medium-high speed until smooth.
- Add the egg and vanilla extract, then beat on high speed for two minutes to ensure the mixture is fully emulsified.
- Gradually mix the dry ingredients into the wet ingredients on low speed, divide the dough in half, wrap in plastic, and chill for at least 3 hours.
- Preheat the oven to 350°F (177°C) and roll the chilled dough on a floured surface to 1/4-inch thickness before cutting into your desired shapes.
- Bake for 9-10 minutes until the edges are set, then let the cookies rest on the baking sheet for 5 minutes before transferring them to a wire rack to cool completely.
Notes
To keep these cookies extra soft, store them in an airtight container with a slice of bread; the cookies will absorb the moisture from the bread. If the dough is too sticky to roll even after chilling, lightly dust your rolling pin and surface with a mix of flour and a pinch of cinnamon for extra flavor. For a more decorative look, wait until the cookies are completely cool before applying any icing or decorations.
- Prep Time: 20 mins
- Cook Time: 10 mins
- Category: Dessert
- Method: Baking
- Cuisine: American
What Makes These Cookies Stay Soft
To achieve that jar-fresh texture, we have to look at the role of moisture and fat in the dough. Each ingredient here serves a purpose in maintaining a soft, chewy bite.
- All-Purpose Flour (440g): I always recommend the spoon and level method to avoid packing too much flour into your measuring cup. Too much flour is the number one cause of a dry, crumbly gingerbread cookie.
- Unsalted Butter (142g): Softened to room temperature, this provides the fat needed for a tender crumb. We beat it for a full minute to create a creamy base.
- Brown Sugar (150g): Unlike white sugar, brown sugar contains molasses, which is a humectant. This means it actually pulls moisture from the air to keep your cookies soft.
- Molasses (200g): This is the soul of the cookie. Use unsulphured molasses (like Grandma’s brand) for a rich, dark flavor. Avoid blackstrap molasses, as it is too bitter and can ruin the delicate balance of spices.
- Large Egg: A room-temperature egg helps with the structure and adds to the richness of the dough.
- The Spice Trio: A full tablespoon of ginger and cinnamon, plus allspice and cloves, creates that iconic holiday warmth.
- Vanilla Extract: Even in a spice-heavy cookie, a teaspoon of pure vanilla rounds out the flavors and adds a layer of aromatic sweetness.
How to Make It
Step 1: Whisk the Dry Ingredients
In a large mixing bowl, whisk together your flour, baking soda, salt, and that generous amount of ginger, cinnamon, allspice, and cloves. Taking the time to whisk these thoroughly helps the spices distribute evenly so every bite of your Gingerbread Cookies is consistently flavorful.
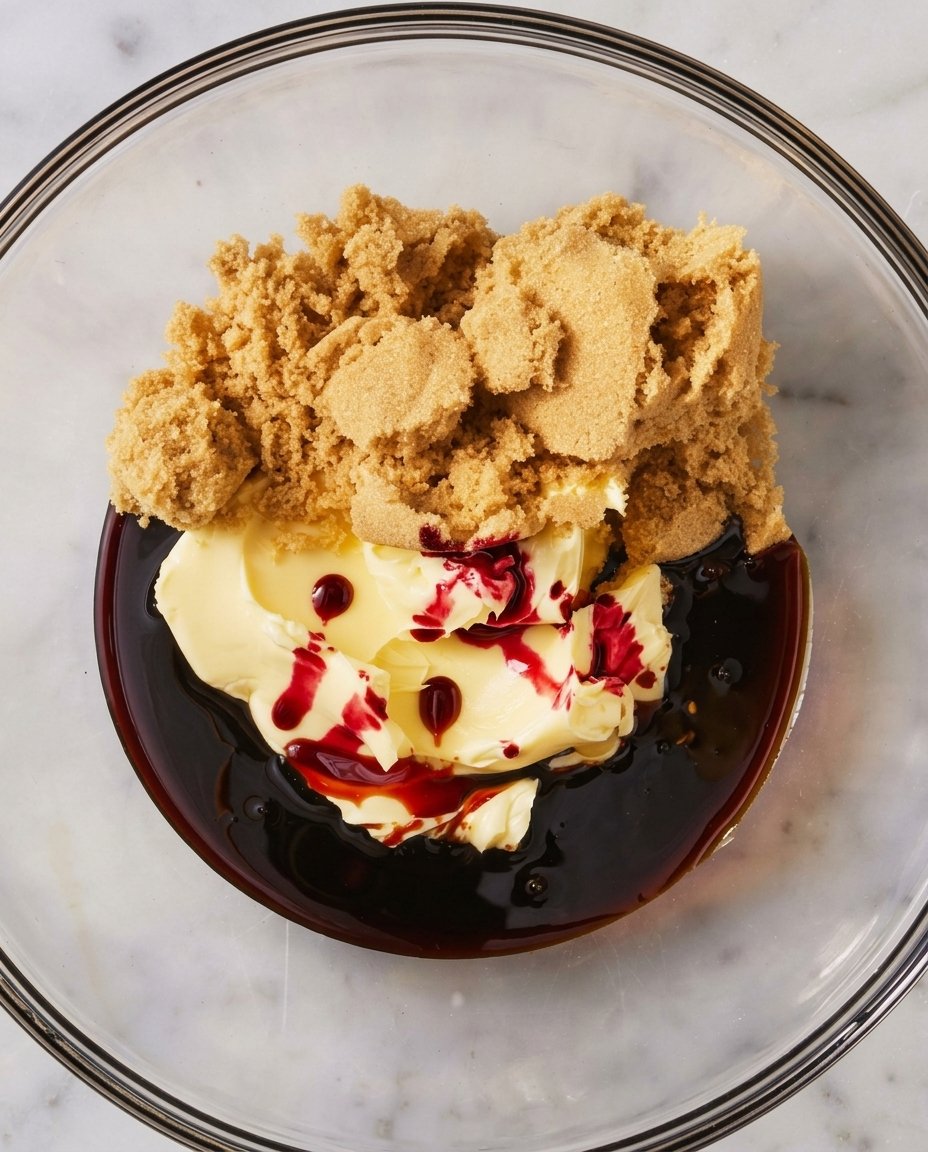
Step 2: Cream the Butter and Sugars
Using a stand mixer or a handheld electric mixer, beat the softened butter on medium speed for about one minute until it looks creamy. Add in your packed brown sugar and molasses. Beat these together on medium-high speed until the mixture is completely combined and smooth. Do not worry if it looks dark and sticky; that is exactly what we want for a moist cookie.
Step 3: Add the Egg and Vanilla
Turn the mixer to high speed and beat in the egg and vanilla extract for two full minutes. This might seem like a long time, but it helps emulsify the fat and sugar. If the mixture looks a little separated or curdled at this point, do not panic—it will come back together once you add the flour.
Step 4: Mix and Chill the Dough
Turn the mixer to low speed and gradually add the dry flour mixture to the wet ingredients. Mix just until combined. The dough will be thick and slightly tacky. Divide the dough in half, wrap each portion in plastic wrap, and pat them down into discs. Chill these in the refrigerator for at least 3 hours. Chilling is mandatory; it prevents spreading and makes the dough much easier to handle.
Step 5: Roll and Cut
Preheat your oven to 350°F (177°C) and line your pans with parchment paper. On a well-floured surface, roll out one disc of dough until it is 1/4-inch thick. If the edges crack, just use your fingers to press them back together. Use your favorite cookie cutters to create shapes and place them an inch apart on the sheets.
Step 6: Bake and Cool
Bake for 9-10 minutes. The key to a soft cookie is pulling them out when the edges are set but the centers still look a little soft. Let them rest on the baking sheet for 5 minutes before moving them to a wire rack. This carry-over cooking helps set the structure without drying them out.
Mehmet’s Tips for Jar-Fresh Softness
The most important tip I can give you is to avoid overbaking. A gingerbread cookie that looks “done” in the oven will often be hard once it cools. For more festive baking advice, you can check out our guide on Holiday Cookie Celebrations.
Always use room temperature ingredients, especially the egg and butter. This helps the dough emulsify properly, which leads to a more uniform and tender texture. If you find the dough is getting too warm while you are rolling it out, pop it back in the fridge for ten minutes. Keeping the dough cool helps the shapes stay sharp and the texture stay chewy. Also, consider using a silicone baking mat to help prevent the bottoms from browning too quickly.
Flavor Tweaks and Texture Options
If you prefer a cookie with a bit more of a “snap,” you can roll the dough slightly thinner (about 1/8-inch) and bake them for an extra two minutes. For those who love citrus, adding the zest of one orange to the butter and sugar mixture provides a wonderful brightness that complements the ginger beautifully.
If you are planning a big decorating party, you might want to look at our Cookie Decorating Traditions for inspiration on different icing styles. You can use a simple milk and powdered sugar glaze for a soft finish, or a traditional royal icing if you want to create intricate, hard-setting designs. For a bit of extra sparkle, try dipping the edges of the unbaked cutouts into coarse sanding sugar before they go into the oven.
How to Enjoy Your Soft Gingerbread
These cookies are the perfect companion for a warm mug of cocoa or a spiced latte. Because they stay so soft, they are excellent for holiday gift boxes or cookie swaps where they might not be eaten immediately. They are a staple among our Classic Cookie Recipes because they hold up so well over time.
If you are serving these at a party, I love to arrange them on a wooden board with some fresh rosemary sprigs and cinnamon sticks for a rustic, festive look. If they have been sitting in the jar for a few days and you want that fresh-from-the-oven feel, you can zap them in the microwave for just five seconds to soften the molasses and butter slightly. It makes them taste like they were baked just moments ago.
The Ultimate Soft Gingerbread
Perfecting the texture of a holiday classic is one of the most rewarding things a baker can do. No one should have to settle for dry, hard cookies when a few simple changes can yield such a tender, spicy, and satisfying result. For something faster next time you have a craving, try our Quick & Easy Cookies.
I really hope these become a new tradition in your home, just as they have in mine. I learned so much about the balance of spices from the techniques at Sally’s Baking Addiction, and I think this version honors that heritage of great baking. Please share your beautiful holiday creations with me on Pinterest, Instagram, or Facebook. Happy baking!

