My grandmother always kept a ceramic jar filled with peanut butter cookies, but they often turned into dry, crumbly pucks by the second afternoon. I spent years perfecting this recipe to solve that moisture problem, creating a version that stays tender for a full week. These Crumble Cookies 2 represent my commitment to heritage flavors with a modern focus on long-lasting softness.

This particular recipe uses a specific ratio of sugars and a molten peanut butter core to guarantee a moist bite every time. We are taking the vintage flavor of a traditional peanut butter drop and transforming it into a bakery-style treat that maintains its jar-fresh quality. By using a generous half-cup of dough per cookie, we lock in the steam and fats needed for that perfect chew.
A Masterpiece of Moisture and Peanut Butter
You will love these cookies because they finally solve the issue of the stale cookie jar. Most peanut butter recipes rely too heavily on flour, which leads to a sandy, dry finish after just a few hours. This recipe uses a stuffed center and a double-peanut butter approach to keep the hydration levels high within the crumb. It is a satisfying, heavy cookie that feels like a treasure from a boutique bakery but tastes like home.
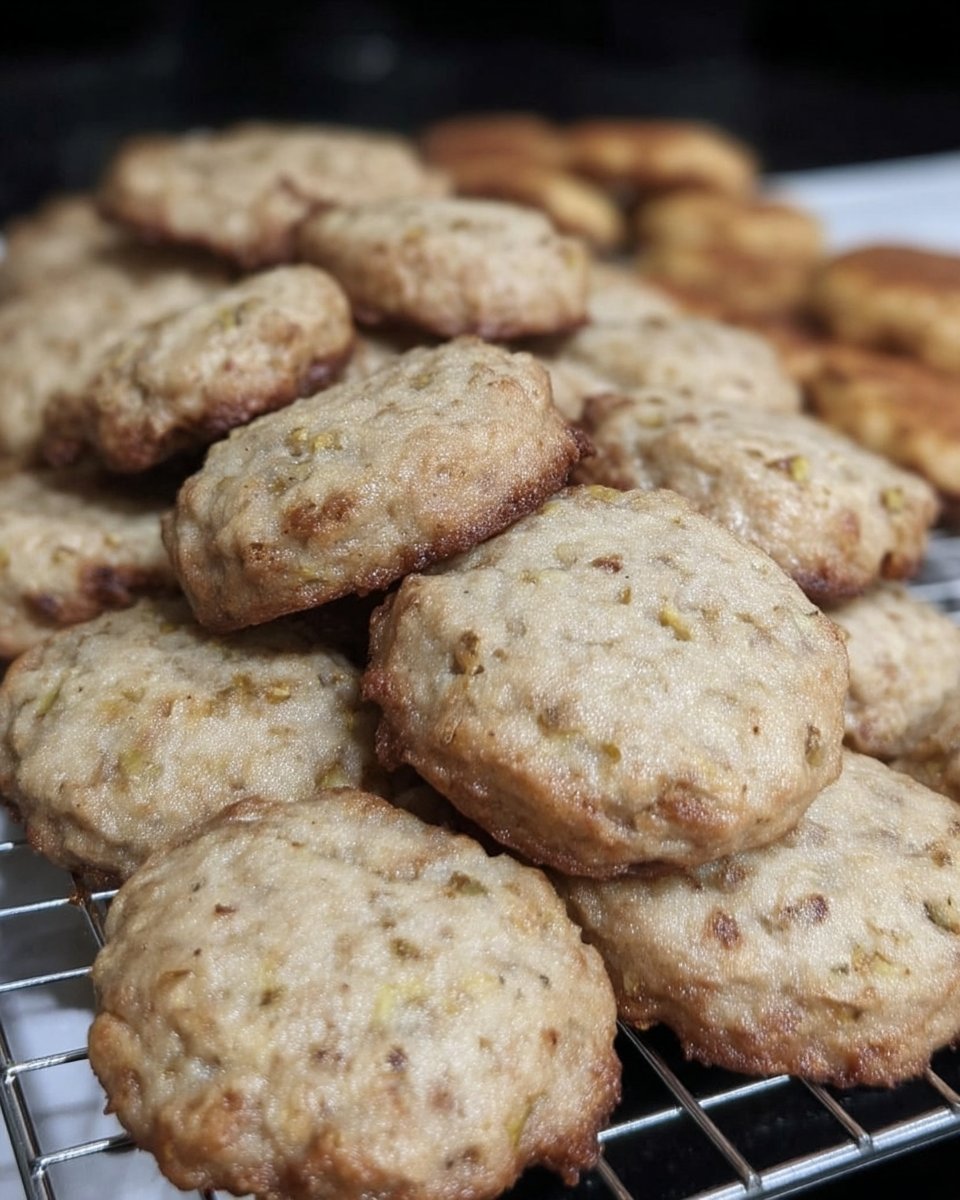
The texture is the true star here. We achieve a crisp, sugar-dusted exterior that provides a delightful crunch, followed immediately by a soft, yielding dough and a creamy, melty center. It is a sensory experience that celebrates the deep, roasted notes of peanut butter without the traditional dryness. These stay soft and chewy for a full week if stored correctly, making them the ultimate choice for busy households that want a reliable snack ready at any moment.
Print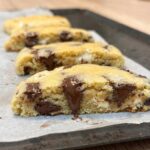
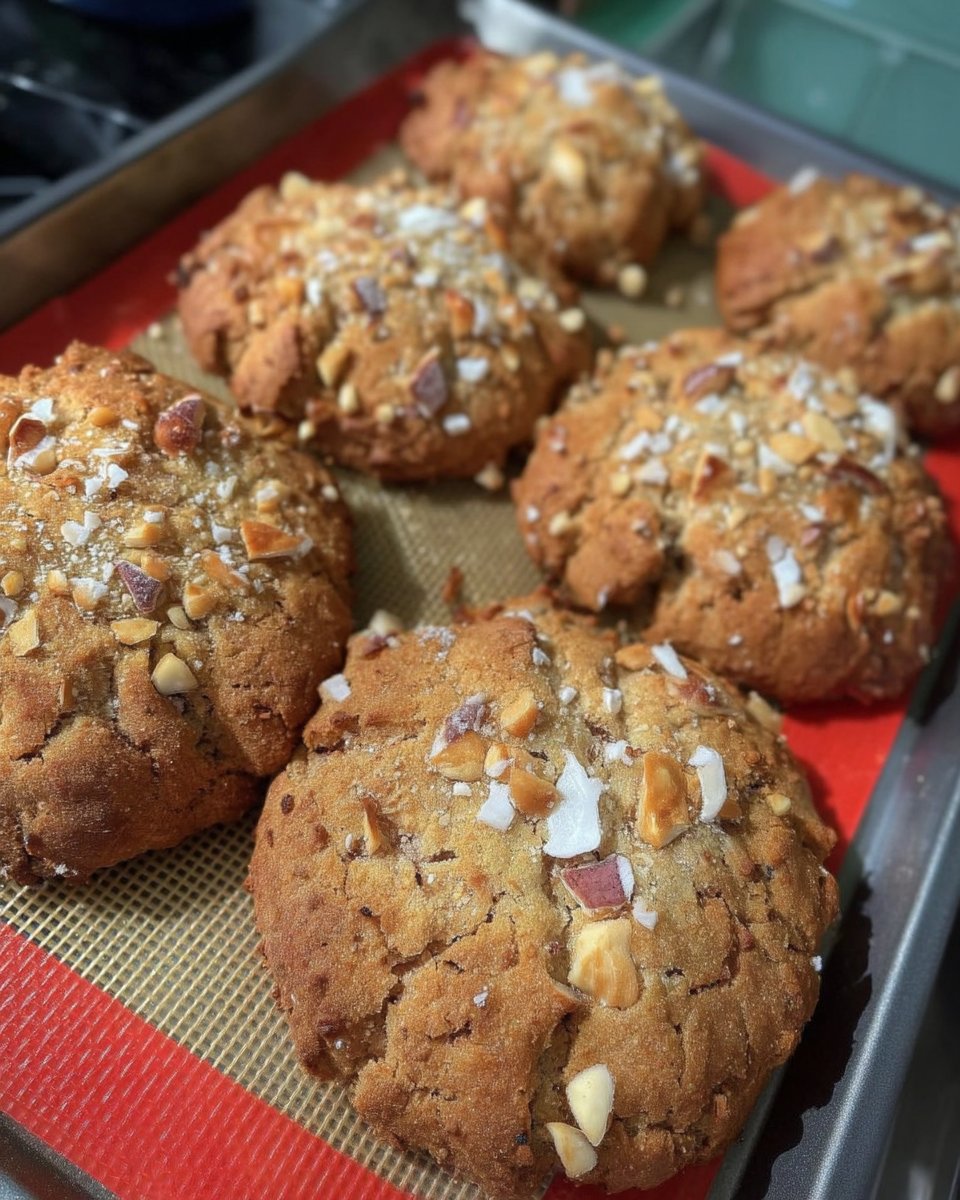
Ultimate Peanut Butter Crumble Cookies
- Total Time: 40 mins
- Yield: 10 large cookies
- Diet: Vegetarian
Description
Indulge in these massive, bakery-style peanut butter cookies featuring a hidden creamy center and a crunchy sugar-coated exterior. Engineered to stay soft and tender for a full week, these treats solve the classic problem of dry, crumbly textures.
Ingredients
- 1 cup salted butter, softened
- 1 1/2 cups granulated sugar, divided
- 3/4 cup brown sugar
- 1 1/2 cups creamy peanut butter, divided
- 3 1/4 cups all-purpose flour
- 2 large eggs
- 1 teaspoon vanilla extract
- 1 teaspoon baking powder
- 1/2 teaspoon salt
Instructions
- Preheat oven to 350°F (180°C) and line a baking sheet with parchment paper.
- Cream together softened salted butter, 1 cup of granulated sugar, and the brown sugar until light and fluffy (3-5 minutes).
- Beat in eggs one at a time, then mix in vanilla and 1 cup of creamy peanut butter until smooth.
- Gradually fold in all-purpose flour, salt, and baking powder on low speed just until combined.
- Measure 1/2 cup portions of dough, roll into balls, and create a deep pocket in each with your thumb.
- Fill each pocket with 1/2 tablespoon of the remaining peanut butter, seal the dough over it, and shape into a thick disc.
- Coat the tops and sides of each dough disc in the remaining 1/2 cup of granulated sugar.
- Bake for 17 to 20 minutes until edges are set but centers are still soft.
- Cool on the pan for 15 minutes, then drizzle with warmed peanut butter before serving.
Notes
For the best results, ensure your peanut butter is a standard commercial creamy brand rather than natural oil-separating varieties, as the stabilizers help maintain the stuffed center’s consistency. If you want to gift these, they travel exceptionally well due to their high moisture content.
- Prep Time: 20 mins
- Cook Time: 20 mins
- Category: Dessert
- Method: Baking
- Cuisine: American
The Soft Secret Ingredients
To achieve this specific texture, every ingredient plays a vital role in moisture retention and crumb structure. We do not just mix things together; we build a foundation for softness.
- Salted Butter (1 cup): Using salted butter provides a necessary contrast to the heavy sugars, and the fat content is the primary driver of the tender crumb.
- Granulated Sugar (1 1/2 cups): Divided between the dough and the coating, this provides the classic sweetness and that essential exterior crunch.
- Brown Sugar (3/4 cup): This is our moisture anchor. The molasses in the brown sugar keeps the cookies from drying out in the oven.
- Creamy Peanut Butter (1 1/2 cups): We use a high-quality creamy variety divided into the dough, the filling, and the drizzle. This ensures peanut flavor is present in three different textures.
- All-Purpose Flour (3 1/4 cups): This provides the structure needed to hold that molten center without making the cookie tough.
- Eggs (2): These act as our binder, providing enough lift and protein to keep the large cookie from falling apart.
- Vanilla Extract, Baking Powder, and Salt: These rounds out the flavor and gives us just enough rise to keep the texture light rather than dense.
How to Make the Perfect Soft Cookie
Step 1: Creaming for Air and Softness
Preheat your oven to 350°F (180°C). In the bowl of your stand mixer, ideally using a flex edge beater, cream together the softened salted butter, 1 cup of the granulated sugar, and all of the brown sugar. You want to beat this until it is light and fluffy, which takes about 3 to 5 minutes. This step is crucial because it creates tiny air pockets that keep the heavy dough from becoming a brick.
Step 2: Incorporating the Moisture
Scrape down the sides of your bowl to make sure everything is incorporated. Add in the eggs one at a time, followed by the vanilla and 1 cup of the creamy peanut butter. Mix on medium speed until the batter is smooth and well combined. You will see the dough become glossy as the fats from the peanut butter emulsify with the butter and sugars.
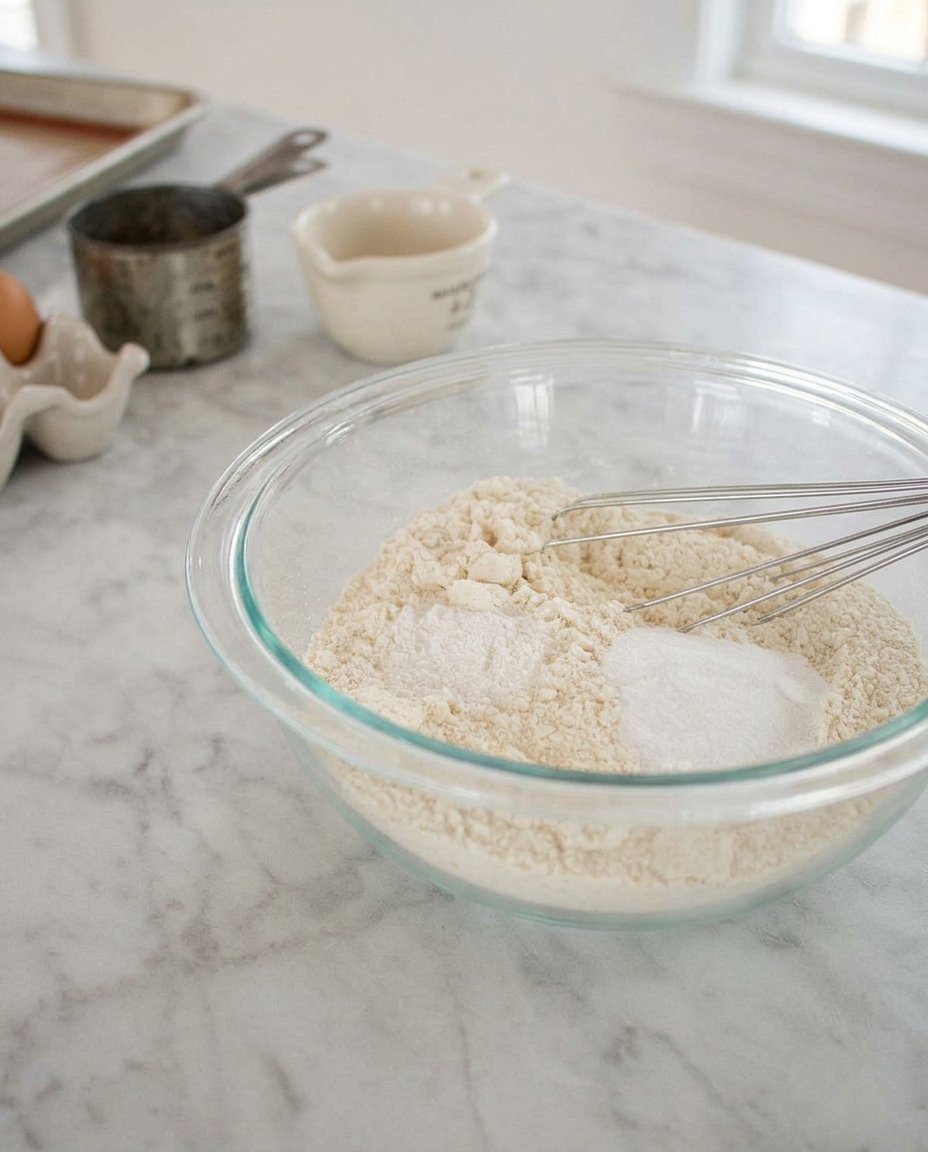
Step 3: Folding in the Structure
Add the all-purpose flour, salt, and baking powder to the bowl. Turn your mixer to the lowest setting and mix just until the white streaks of flour disappear. Over-mixing at this stage develops gluten, which is the enemy of a soft cookie. We want a tender crumb, not a bread-like texture.
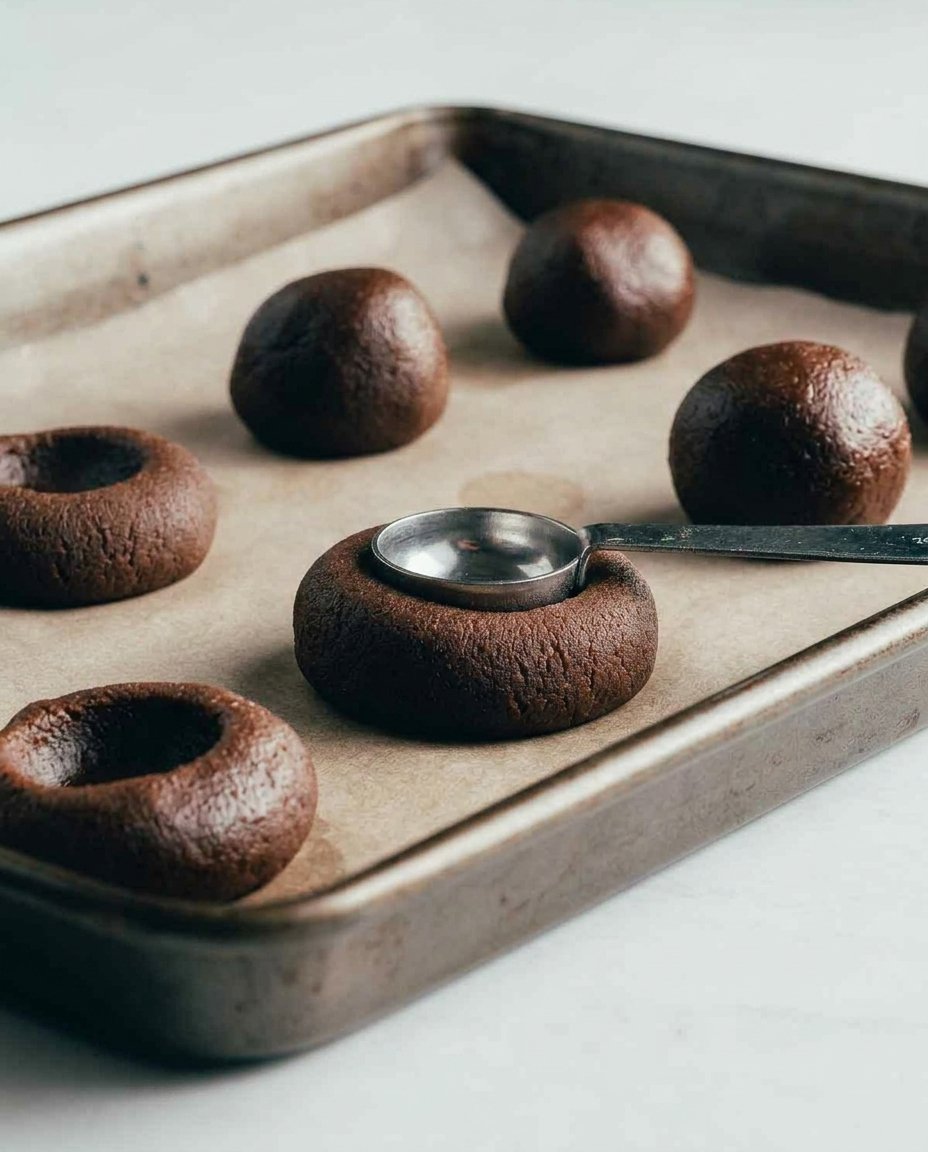
Step 4: The Stuffing Process
Measure out your dough using a 1/2 cup measuring cup. This makes exactly 10 large cookies. Roll each portion into a smooth ball, then use your thumb to press a deep pocket into the center. Spoon approximately 1/2 tablespoon of the remaining creamy peanut butter into that pocket. Carefully pinch the dough back over the top to seal the peanut butter inside.
Step 5: The Sugar Crust and Shape
Shape the stuffed dough into a thick disc that looks like a hockey puck. Do not flatten it too thin, as the thickness helps maintain the soft center. Place the remaining 1/2 cup of granulated sugar in a small bowl. Press the top and sides of each puck into the sugar until they are well coated.
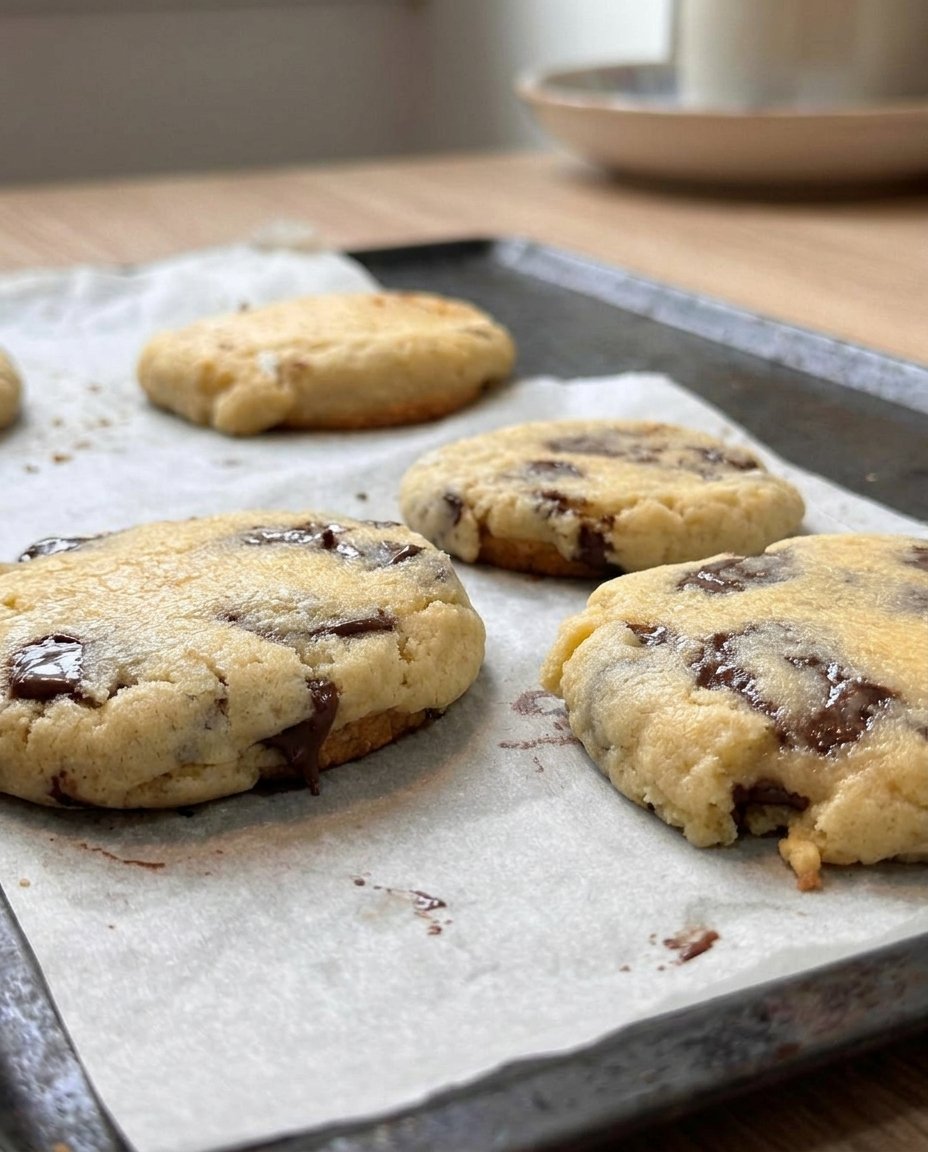
Step 6: Baking and Cooling
Place the cookies on a parchment-lined baking sheet, leaving plenty of room between them. Bake at 350°F (180°C) for 17 to 20 minutes. The edges should be set, but the centers should still look slightly soft. Allow them to cool on the pan for a full 15 minutes. This carryover cooking time is the secret to a cookie that stays soft for days.
Step 7: The Final Texture Touch
Place about 1/4 cup of creamy peanut butter into a zip-top bag. Warm it slightly by massaging the bag in your hands until the peanut butter is fluid. Snip a tiny corner off the bag and drizzle the peanut butter in circular loops over the cooled cookies. Serve them warm for the best experience.
Mehmet’s Texture Wisdom
The biggest mistake bakers make is over-baking peanut butter cookies. Because of the high fat content, these cookies will look underdone when you pull them out of the oven. Trust the 15-minute cooling period on the hot pan; this allows the center to set while remaining incredibly moist. If you are looking for more ways to speed up your baking without losing quality, check out our Quick & Easy Cookies for more time-saving texture tips. Also, make sure your peanut butter is at room temperature before you start; cold peanut butter can cause the dough to break or become too stiff, which ruins the chew.
Texture and Flavor Tweaks
While the creamy filling is the standard, you can swap the internal stuffing for a piece of high-quality dark chocolate for a peanut butter cup effect. If you prefer a bit more bite, you can use crunchy peanut butter in the dough itself while keeping the filling creamy. For those who enjoy a variety of traditional bakes, you might find inspiration in our Classic Cookie Recipes. You can also sprinkle a tiny pinch of flaky sea salt over the peanut butter drizzle to highlight the roasted flavors and balance the sweetness of the sugar crust.
How to Keep Them Jar-Fresh
These cookies are best served slightly warm, which keeps the peanut butter center in a molten state. If you are serving them the next day, a 10-second zap in the microwave will bring back that fresh-from-the-oven feel. To maintain the texture for a week, store them in an airtight glass jar with a small piece of white bread; the cookies will pull moisture from the bread and stay soft. For beautiful ways to present your treats at gatherings, see our guide on Cookie Decorating Traditions. They pair wonderfully with a cold glass of milk or a strong cup of dark roast coffee.
The Texture Truth
Perfecting the peanut butter cookie is about more than just flavor; it is about respecting the ingredients enough to let them stay moist. These cookies prove that you can have a giant, bakery-style treat that stays tender and delicious long after the oven has cooled. If you are planning to share these at your next gathering, they are a fantastic addition to our Holiday Cookie Celebrations collection. We would love to see your results, so please share your bakes with us on Pinterest, Instagram, and Facebook. Happy baking, and remember: the secret is always in the softness!
