I found a faded card tucked inside a vintage book, detailing these original Soft Batch Cookies 2 from an ancestral kitchen. It reminds me of the patience my grandmother had, though I have adapted the method to fit our faster modern lives. We still get that incredible soft texture without spending the entire day in the kitchen.

These cookies rely on simple pantry staples and a few heritage techniques that make all the difference. While the original might have taken a lifetime of practice, this version brings those stories to your table in much less time. You will love how the browned butter adds a nutty depth that tastes like it took hours to develop.
A Modern Spin on a Quick Classic
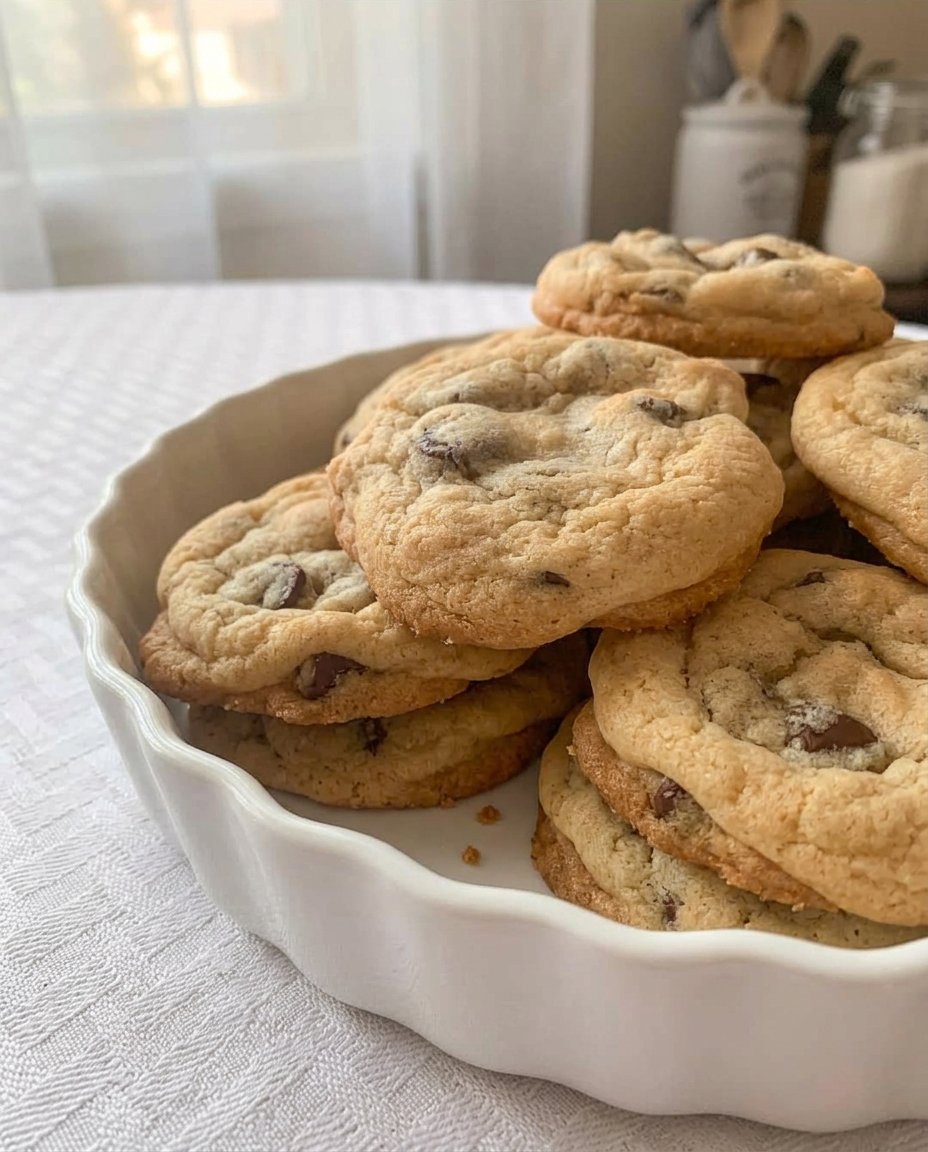
You will love these Soft Batch Cookies 2 because they offer a reliable way to get that bakery-style softness at home. This recipe is a wonderful bridge between the slow-paced baking of the past and the practical needs of a busy family today. By using a drop cookie method, we avoid the fuss of rolling out dough, making this a simple project for a weeknight treat.
The secret to the lasting softness lies in the combination of brown sugar and a touch of sour cream. These ingredients keep the moisture locked in, so the cookies stay tender for days. It is the kind of recipe that makes your kitchen smell like home and provides a sense of comfort that only a warm chocolate chip cookie can deliver. Plus, the addition of browned butter provides a sophisticated flavor profile that usually requires much more effort.
Whether you are baking for a school event or just want a nostalgic snack after a long day, these cookies are a tested favorite. They represent the sweet balance of honoring tradition while valuing your time. Every bite is a reminder that we can still enjoy the best parts of heritage baking in our fast-paced world. This is heritage in half the time, proven to satisfy every generation of cookie lovers in your house.
Print
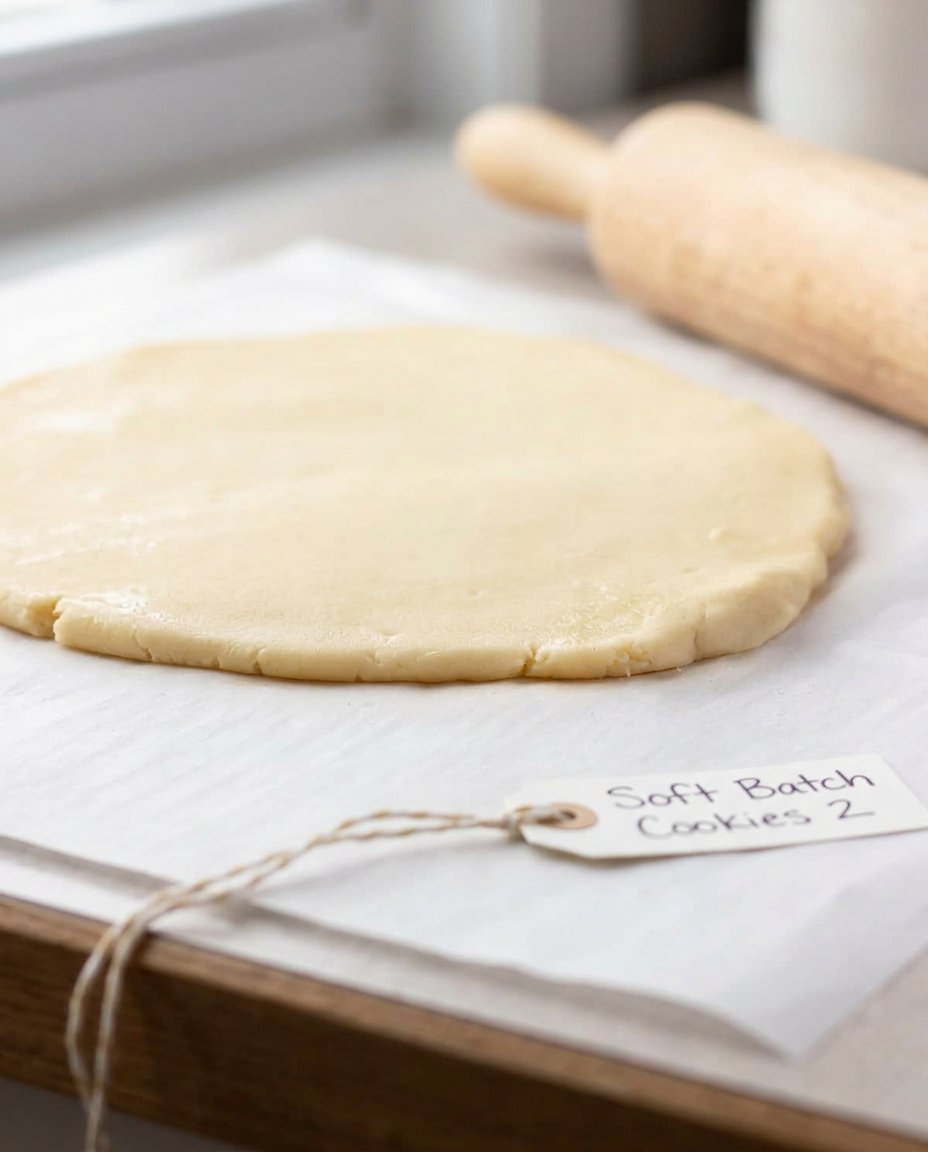
Soft Batch Cookies
- Total Time: 3 hours
- Yield: 24 cookies
- Diet: Vegetarian
Description
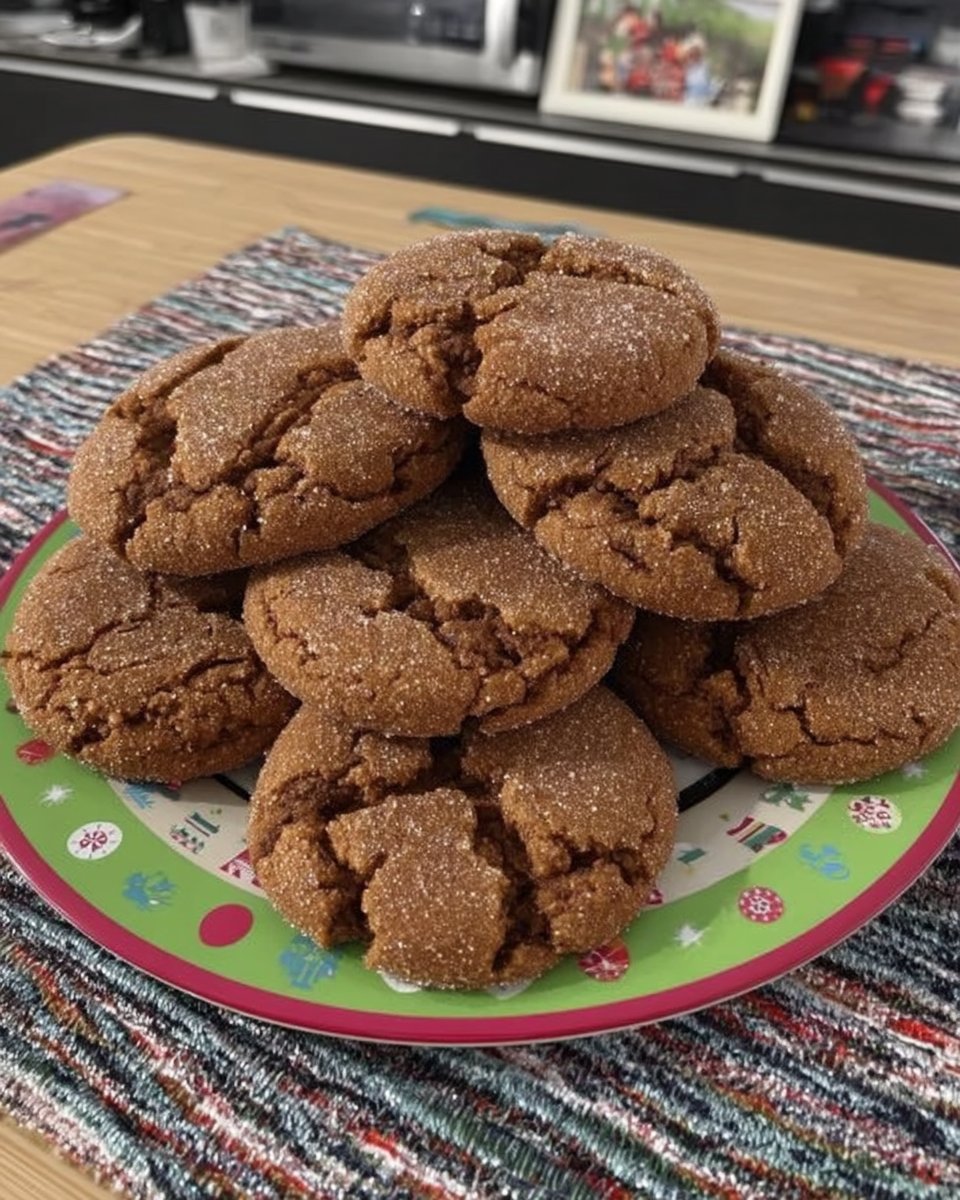
These decadent cookies use browned butter and a secret touch of sour cream to achieve a professional bakery-style texture that remains soft for days. This heritage-inspired recipe balances traditional deep flavors with modern techniques for the ultimate chocolate chip treat.
Ingredients
- 1 cup unsalted butter
- 2 1/4 cups all-purpose flour
- 1 teaspoon baking soda
- 1/2 teaspoon salt
- 1 cup light brown sugar, packed
- 1/2 cup granulated sugar
- 1 tablespoon vanilla extract
- 2 large eggs, room temperature
- 2 tablespoons sour cream
- 1 1/2 cups semi-sweet chocolate chips
- Flaky sea salt (optional)
Instructions
- In a saucepan over medium heat, melt the butter and cook, swirling occasionally, until it reaches a rich amber color and nutty aroma; pour into a large mixing bowl.
- In a medium bowl, whisk together the all-purpose flour, salt, and baking soda.
- In the bowl with the browned butter, whisk in the light brown sugar and granulated sugar for one minute, then add the vanilla extract.
- Whisk in the room temperature eggs one at a time, followed by the sour cream until fully incorporated.
- Using a rubber spatula, gently fold the dry flour mixture into the wet ingredients until just combined, then fold in the chocolate chips.
- Cover the bowl and refrigerate the dough for 30 minutes.
- Scoop the dough into 3-tablespoon balls onto a parchment-lined baking sheet, then cover and refrigerate for an additional 2 hours.
- Preheat the oven to 350°F and bake the cookies for 11 minutes; let cool on the pan for 20 minutes before transferring to a wire rack.
Notes
For the best results, ensure your eggs and sour cream are truly at room temperature to prevent the browned butter from seizing during mixing. If you prefer a cleaner aesthetic, press a few extra chocolate chips onto the tops of the dough balls immediately after removing them from the oven.
- Prep Time: 20 mins
- Cook Time: 11 mins
- Category: Dessert
- Method: Baking
- Cuisine: American
Simple Pantry Essentials for Soft Cookies
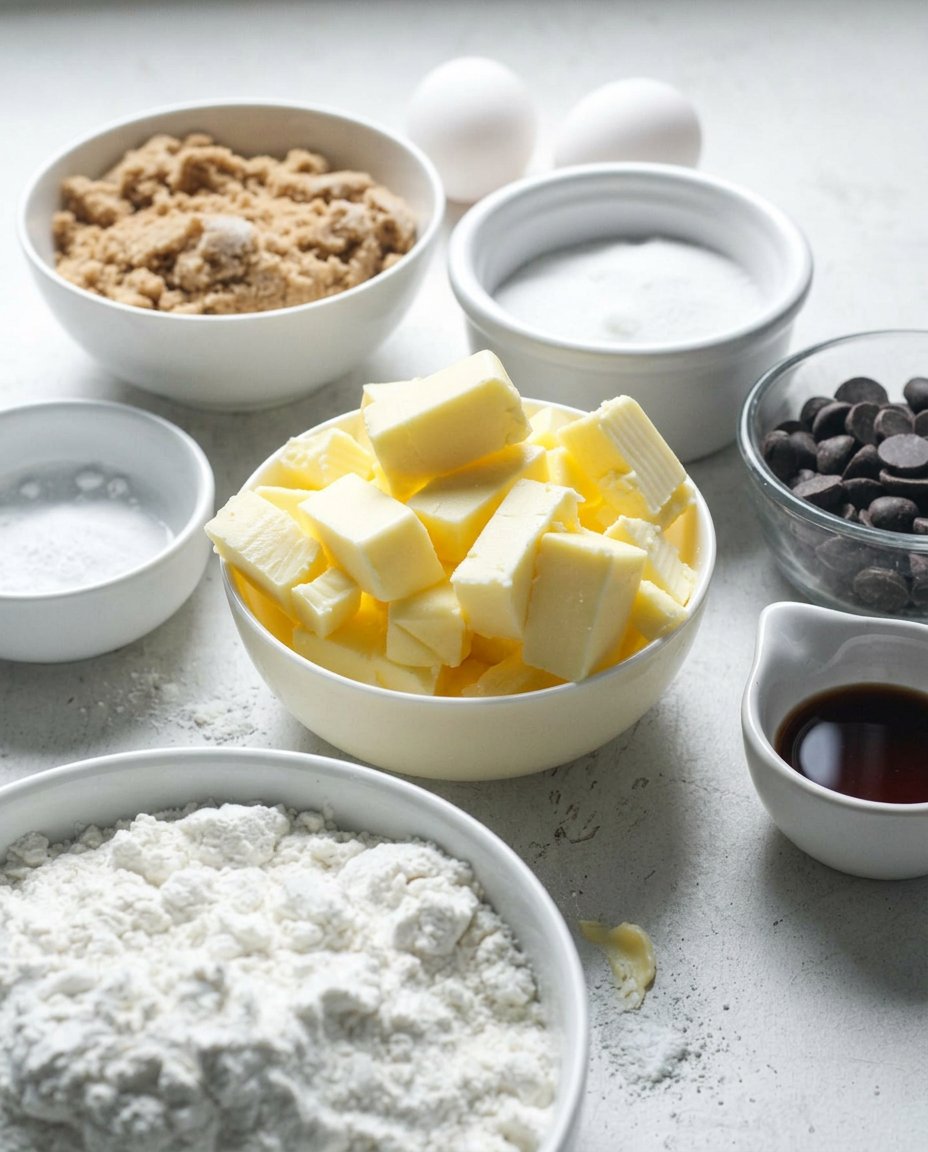
Creating these Soft Batch Cookies 2 starts with ingredients you likely already have in your kitchen. We focus on quality staples that work hard to produce a superior texture. The choice of unsalted butter allows us to control the salt level perfectly, while browning it provides a rich foundation that white butter simply cannot match.
- Unsalted Butter: We brown this to create a nutty, toasted flavor that defines the cookie.
- All-Purpose Flour: This provides the necessary structure without making the cookies tough.
- Baking Soda & Salt: These simple leaveners and seasonings are vital for the perfect rise and flavor balance.
- Light Brown & Granulated Sugars: The high ratio of brown sugar is what creates that iconic soft batch chewiness.
- Vanilla Extract: A generous amount brings out the sweetness of the chocolate.
- Eggs: Using room temperature eggs helps them incorporate into the fats more smoothly.
- Sour Cream: This is our modern shortcut for incredible moisture and a slight, pleasant tang.
- Semi-Sweet Chocolate Chips: The classic choice for a nostalgic chocolate experience.
- Flaky Sea Salt: An optional but wonderful topping to balance the sweetness.
How to Make It with Simple Steps
Step 1: Brown the Butter
In a saucepan over medium heat, melt the butter. Continue to cook, swirling the pan occasionally, until it becomes foamy and makes popping noises. Once it reaches a rich amber color with brown bits at the bottom and a nutty aroma, remove it from the heat and pour it into a large mixing bowl.
Step 2: Prepare the Dry Mix
In a medium bowl, combine the all-purpose flour, salt, and baking soda. Whisk these together well to ensure the leavening agent is distributed evenly throughout the flour. Set this bowl aside for a moment.
Step 3: Cream the Butter and Sugars
In your large bowl with the browned butter, add both the light brown sugar and granulated sugar. Whisk them together for about one minute until the mixture is well combined and starts to look smooth. Add in the vanilla extract and whisk again.
Step 4: Add the Wet Ingredients
Whisk in the room temperature eggs one at a time, making sure each is fully incorporated before adding the next. Then, stir in the sour cream. This heritage-inspired addition is the key to the soft batch texture we want.
Step 5: Fold in the Dry Ingredients and Chips
Using a sturdy rubber spatula, gently fold the flour mixture into the wet ingredients. Stop as soon as the flour begins to disappear to avoid overmixing. Fold in the semi-sweet chocolate chips until they are evenly spread through the dough.
Step 6: The Initial Chill
Cover the bowl and place it in the refrigerator for 30 minutes. This short rest allows the flour to hydrate and makes the dough easier to handle for the next phase.
Step 7: Scoop and Secondary Chill
Line a baking sheet with parchment paper. Use a large cookie scoop to divide the dough into 3-tablespoon sized balls. Place them on the sheet, cover loosely with plastic wrap, and refrigerate for 2 hours. This step is the one traditional method we keep to ensure the cookies do not spread too thin.
Step 8: Bake to Perfection
Preheat your oven to 350 degrees (F). Transfer the chilled dough balls to prepared baking sheets with 2 inches of space between them. Bake one tray at a time for 11 minutes. If they spread, use a spatula to gently press the edges back. Add extra chips and sea salt if you like, then cool on the pan for 20 minutes before moving to a rack.
Meagan’s Time Savers and Quick Wins
To keep things efficient, always use parchment paper instead of greasing your pans. It makes cleanup a breeze and prevents the cookies from sticking or browning too much on the bottom. If you are in a rush, you can brown the butter ahead of time and keep it in the fridge, just be sure to let it soften slightly before whisking with the sugars. For those who want more ideas on streamlining their baking, check out our Quick & Easy Cookies section for more heritage-inspired shortcuts.
Another helpful tip is to use room temperature eggs and sour cream. Cold ingredients can cause the browned butter to seize up, which ruins the smooth texture of your dough. If you forgot to take them out of the fridge, place the eggs in a bowl of warm water for five minutes. For more detailed techniques on achieving this specific texture, you might find the guide at Baker by Nature useful for seeing how different fats affect the final bake.
Quick Twists for Every Occasion
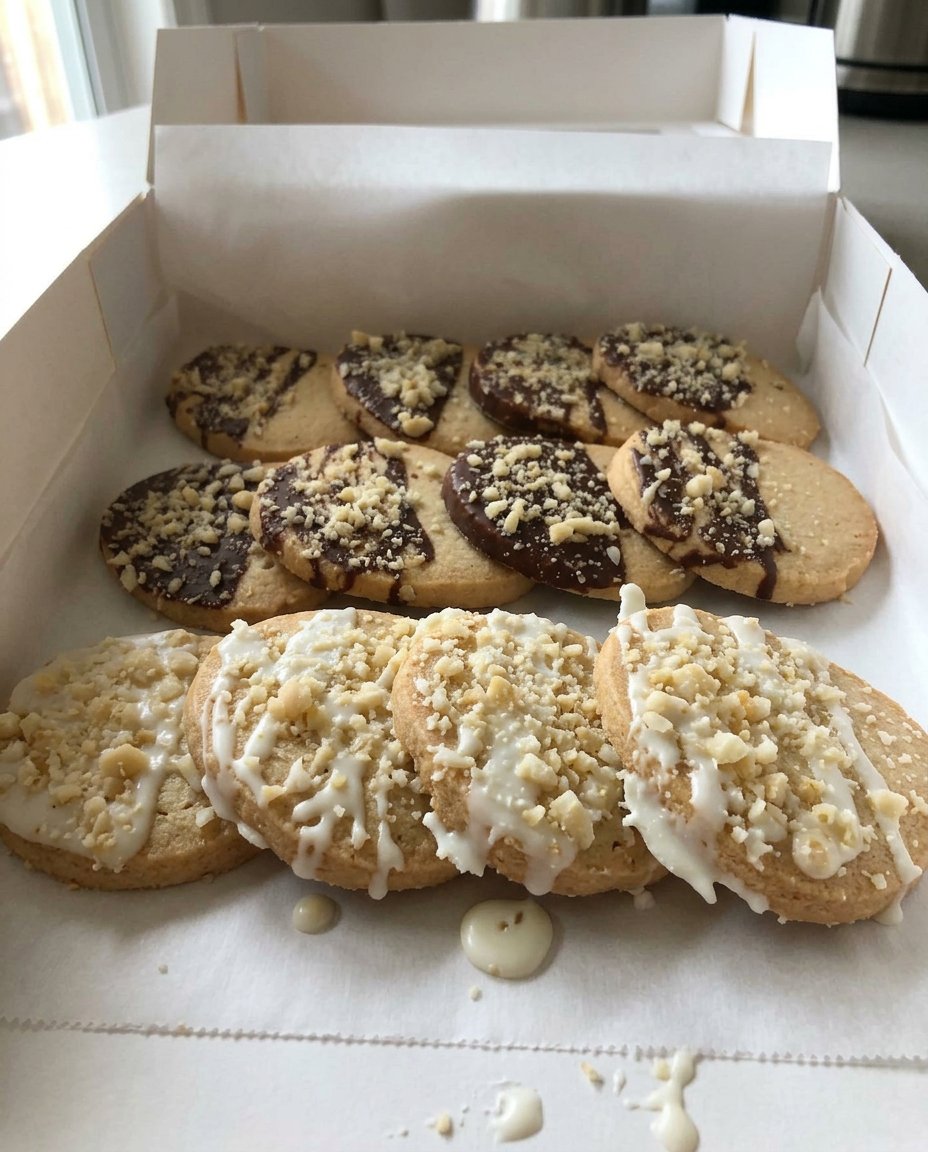
You can easily adapt these Soft Batch Cookies 2 to suit your family’s preferences. If you want a bit of crunch, try adding half a cup of toasted pecans or walnuts along with the chocolate chips. For a different flavor profile, swap the vanilla extract for almond or rum extract to give it a unique heritage feel. For more classic inspiration, see our Classic Cookie Recipes for ideas on how to mix and match different add-ins.
During the holidays, you can use red and green chocolate candies instead of chips to make them festive in a flash. If you prefer a darker flavor, use dark chocolate chunks and an extra sprinkle of sea salt on top. These simple changes allow you to keep the reliable base recipe while providing variety for every potluck or school snack.
Modern Sharing and Quick Enjoyment
These cookies are perfect for modern life, whether you are packing them in a lunchbox or serving them at a weekend gathering. They pair wonderfully with a cold glass of milk or a hot cup of coffee for a mid-afternoon break. For a more balanced snack approach, you can look through our Wholesome Cookie Options to see how these fit into a variety of lifestyle choices.
If you want to turn these into a quick dessert for guests, serve them warm with a scoop of vanilla bean ice cream on top. The contrast between the warm, soft cookie and the cold ice cream is a classic treat that never goes out of style. They are also sturdy enough to be wrapped in parchment paper and tied with twine for a thoughtful, handmade gift that honors ancestral baking traditions in a beautiful, modern way.
Heritage Rediscovered for the Modern Baker
Finding that sweet balance between tradition and speed is what baking is all about. These Soft Batch Cookies 2 prove that you do not need to spend all day in the kitchen to produce a treat that tastes like it came from Grandma’s recipe box. By embracing a few simple shortcuts and focusing on quality pantry staples, you can bring a bit of nostalgia to your family any day of the week. For more festive ideas, visit our Holiday Cookie Celebrations page. We would love to see your bakes, so please share your results with us on Instagram or Pinterest. Happy baking!


