I still remember the flour-dusted recipe card my grandmother kept in her wooden box, though hers took all day to prepare in an old wood-fired stove. I have updated the method to create these Crinkle Cookies 2 so they fit into our busy modern lives without losing an ounce of that deep, fudgy chocolate soul. It is all about preserving that heritage flavor while finding smart ways to make the process faster for today’s home baker.

These cookies are a beautiful addition to any holiday platter or a simple Tuesday night treat for the family. They deliver a striking snow-capped look with a rich, brownie-like center that makes them look far more difficult to make than they actually are. With just a few pantry staples and a little bit of patience while the dough sets, you can have a batch of bakery-quality treats that taste like a warm memory.
A Quick Classic: Why We Love Crinkle Cookies 2
You are going to love how these cookies bring a sense of nostalgia to your kitchen with very little active work. They offer a deep chocolate profile that remains soft and fudgy for days, making them a sturdy choice for gifting or stocking the cookie jar. This recipe is a perfect example of a modern heritage bake—it keeps the flavors we grew up with but uses a much more efficient approach.
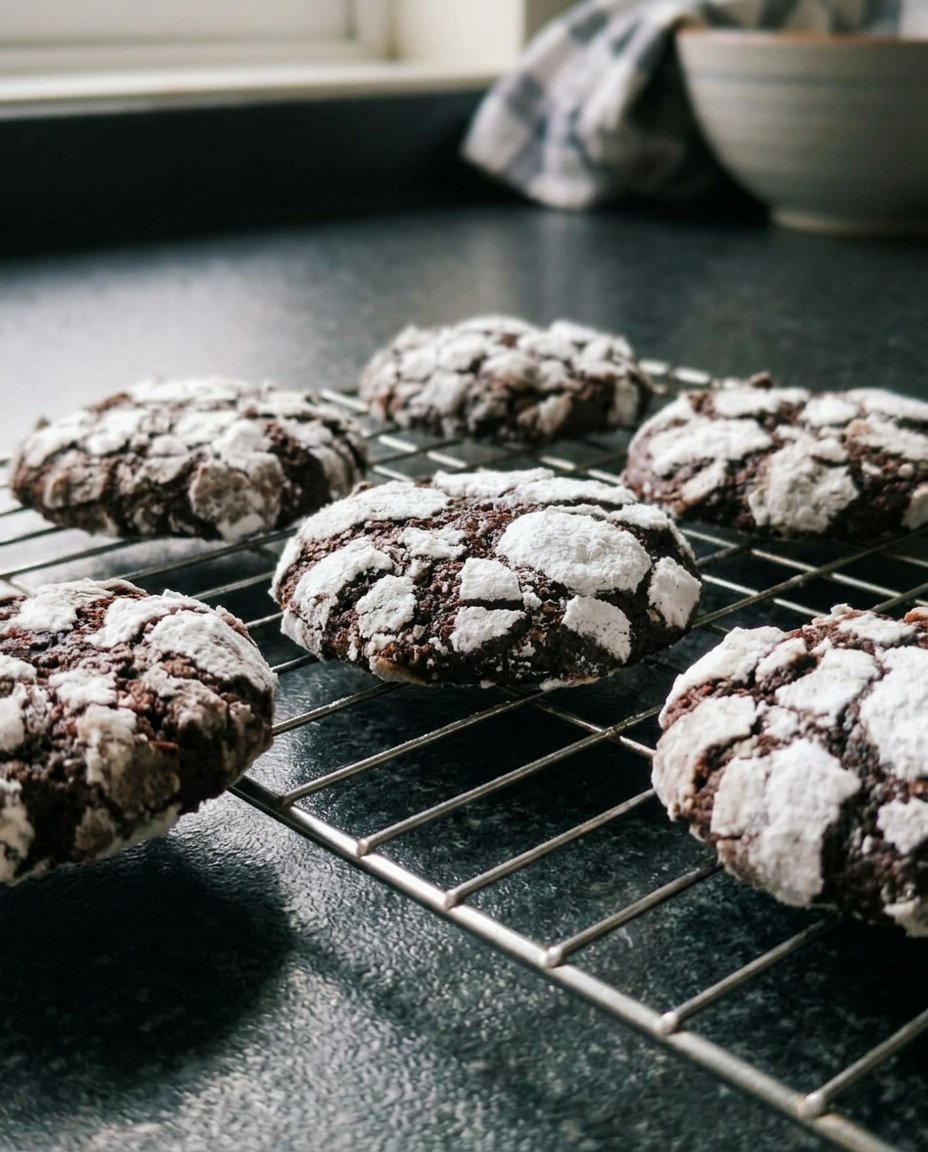
The magic happens in the oven, where the dark chocolate dough expands and cracks through the white powdered sugar coating. This creates a beautiful contrast that has made these a favorite for generations. Even if you are a beginner, the simple drop-and-roll method is very forgiving and yields consistent results every time you bake them.
Another reason to love these is their versatility. While they are a staple during the winter months, they are simple enough to whip up whenever a chocolate craving hits. By using vegetable oil instead of softened butter, we skip the waiting time for ingredients to reach temperature, making this a practical choice for spontaneous baking sessions.
Print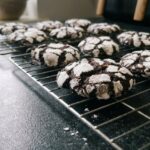
Crinkle Cookies
- Total Time: 4 hours 27 mins
- Yield: 24 cookies
- Diet: Vegetarian
Description
These decadent chocolate crinkle cookies feature a rich, fudgy interior and a striking powdered sugar finish. This modernized heritage recipe is simple to prepare and yields a bakery-quality treat perfect for holiday platters or everyday snacking.
Ingredients
- 100g Unsweetened Cocoa Powder
- 350g Granulated Sugar
- 120mL Vegetable Oil
- 4 Large Eggs
- 2 tsp Vanilla Extract
- 240g All-Purpose Flour
- 2 tsp Baking Powder
- 1/2 tsp Salt
- 120g Powdered Sugar
Instructions
- Combine granulated sugar, cocoa powder, and vegetable oil in a large bowl and beat on medium speed until shiny and well-combined.
- Add eggs one at a time, beating well after each addition, then stir in the vanilla extract.
- In a separate bowl, whisk together flour, baking powder, and salt, then gradually mix into the chocolate base until just combined.
- Cover the dough tightly and refrigerate for at least 4 hours or overnight.
- Preheat oven to 350°F (175°C) and roll chilled dough into one-inch balls before coating them thoroughly in powdered sugar.
- Place balls two inches apart on parchment-lined baking sheets and bake for 10 to 12 minutes, then cool on a wire rack.
Notes
To prevent the sugar from melting into the dough, keep the dough chilled between batches and handle it as little as possible. For a more intense flavor, try adding a pinch of espresso powder to the oil and cocoa mixture before mixing.
- Prep Time: 4 hours 15 mins
- Cook Time: 12 mins
- Category: Dessert
- Method: Baking
- Cuisine: American
Simple Pantry Ingredients

Most of these ingredients are likely already in your cupboard, which is the beauty of a classic heritage recipe. We use vegetable oil instead of butter to keep the texture perfectly chewy and the preparation time minimal.
- Unsweetened Cocoa Powder (100g): This provides the intense chocolate base. High-quality cocoa makes a big difference in the final flavor.
- Granulated Sugar (350g): This is essential for both the structure of the cookie and that classic sweet profile we love.
- Vegetable Oil (120mL): My favorite modern shortcut. It keeps the cookies moist and fudgy for much longer than butter would.
- Large Eggs: Make sure these are at room temperature so they incorporate easily into the cocoa mixture without clumping.
- Vanilla Extract: A touch of warmth that helps bring out the richness of the chocolate.
- All-Purpose Flour (240g): The reliable backbone of our dough that provides just enough structure to hold that crinkle.
- Baking Powder & Salt: These provide the necessary lift and flavor balance to keep the cookies from being overly sweet.
- Powdered Sugar (120g): The snowy coating that creates the signature cracked look during the baking process.
How to Make These Chocolate Treats
Step 1: Mix the Chocolate Base
In a large mixing bowl, use your electric hand mixer or a stand mixer to combine the granulated sugar, cocoa powder, and vegetable oil. Beat on medium speed until the mixture looks dark, shiny, and well-combined. This should take about two minutes of active mixing.
Step 2: Incorporate Eggs and Vanilla
Add the eggs to the cocoa mixture one at a time. It is important to beat the mixture well after each egg to make sure everything is smooth. Once all the eggs are in, mix in the vanilla extract until the batter is fragrant and glossy.
Step 3: Combine the Dry Ingredients
In a separate medium bowl, stir together the flour, baking powder, and salt. Slowly add this dry mixture to your wet chocolate base. Mix on low speed just until the white streaks of flour disappear. Be careful not to overmix, as that can make the cookies tough instead of fudgy.
Step 4: The Essential Chill
Cover the bowl tightly with plastic wrap and place it in the refrigerator for at least 4 hours. You can even leave it overnight if that fits your schedule better. This step is non-negotiable because the dough is very sticky when first mixed; chilling makes it easy to handle and roll into balls.
Step 5: Roll and Coat
Preheat your oven to 350°F (175°C) and line your baking sheets with parchment paper. Scoop the chilled dough into one-inch balls using a small cookie scoop. Roll each ball generously in the powdered sugar until it is completely white. Place them about two inches apart on your prepared sheets.
Step 6: Bake and Cool
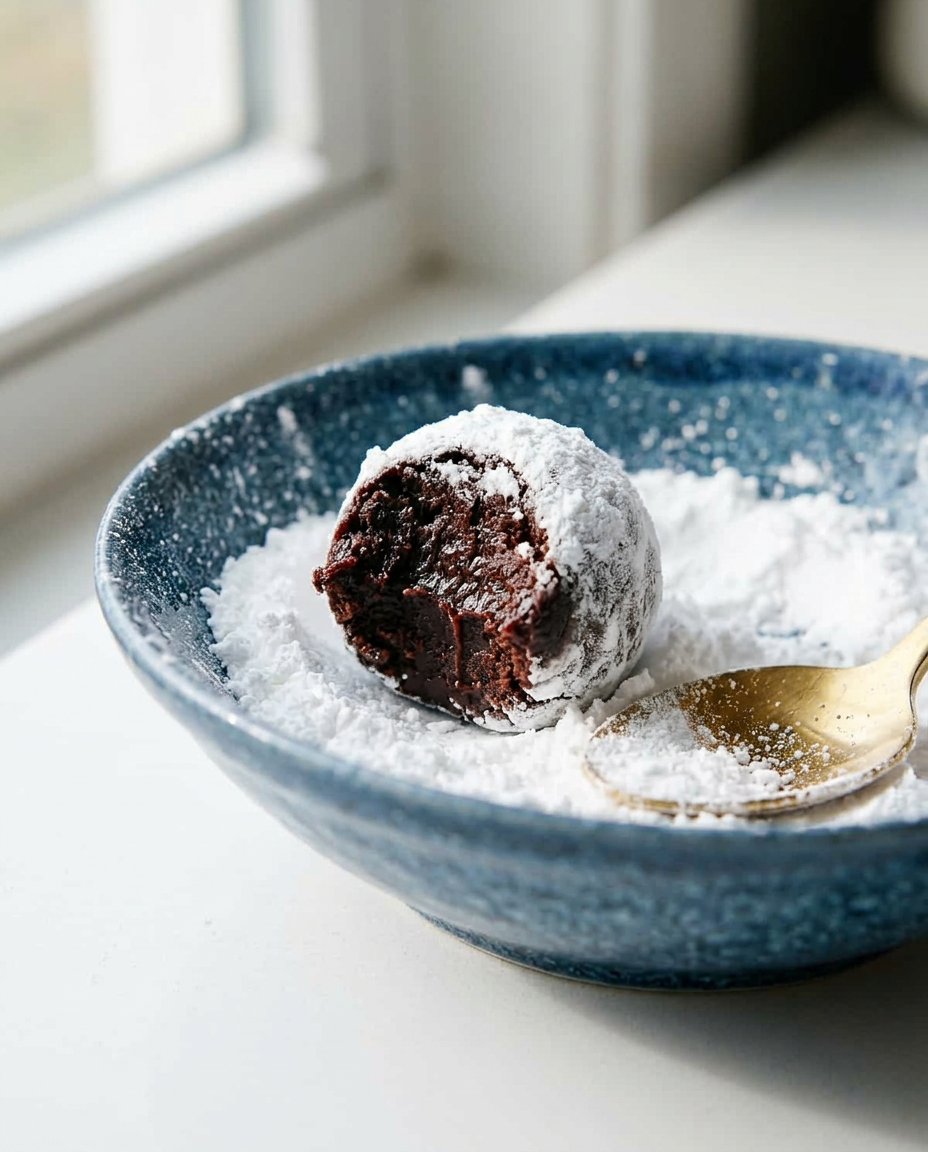
Bake for 10 to 12 minutes. You want the edges to be firm, but the centers should still look a little bit soft and puffed. Let them sit on the baking sheet for five minutes to set before moving them to a wire rack to cool completely. They will naturally deflate a little as they cool, creating that perfect fudgy texture.
Meagan’s Time Savers and Quick Wins
To get the most dramatic contrast in your crinkles, make sure your dough stays cold right up until the moment it goes into the oven. If the dough warms up too much while you are rolling it, the powdered sugar will melt into the dough instead of staying bright white. I recommend only taking out a small portion of dough from the fridge at a time. For more help with these types of bakes, take a look at our Classic Cookie Recipes.
Another trick for the best visual result is to double-coat the dough balls. Roll them once in powdered sugar, let them sit for a minute, and then roll them again right before placing them on the baking sheet. This creates a thick layer of sugar that stands up to the heat of the oven. If you want to see how other experts handle this technique, you can also check out this chocolate crinkle cookies guide. Using parchment paper is another must; it prevents sticking and makes cleanup a breeze, which is exactly what a busy baker needs.
Quick Flavor Twists
You can easily change the profile of these cookies by swapping out the extracts. For a festive winter version, replace the vanilla with peppermint extract. If you prefer a bright contrast to the chocolate, orange extract works beautifully. For those who love a deeper, more sophisticated chocolate taste, try adding a teaspoon of instant espresso powder to the oil and sugar mixture. This doesn’t make the cookies taste like coffee, but it does make the chocolate flavor much more intense.
If you want to add a bit of texture, you can finely chop some walnuts or pecans and fold them into the dough before chilling. Just keep the pieces small so they don’t interfere with the crinkle effect. For more seasonal inspiration and creative ideas, visit our Holiday Cookie Celebrations page. You can even add a few mini chocolate chips if you want an extra dose of decadence in every bite.
Modern Enjoyment and Sharing
These cookies look stunning when served on a simple white platter that lets the black-and-white contrast shine. They are the perfect size for after-school snacks or as a sweet treat tucked into a lunchbox. For a modern twist, serve them alongside a bowl of fresh raspberries; the tart fruit cuts through the rich chocolate perfectly. You can find more ideas for quick treats in our Quick & Easy Cookies section.
If you are hosting a gathering, these cookies pair wonderfully with a hot cocoa bar or a simple pot of coffee. Because they are so rich, a little goes a long way. They also make wonderful party favors when tucked into small cellophane bags tied with a piece of twine. They have that homemade, heritage feel that guests always appreciate, even if you only spent a few minutes of active time in the kitchen.
Heritage Rediscovered
Baking should be a joyful way to connect with the past, not a source of stress in your busy week. These cookies provide that perfect bridge between the slow-paced recipes of our grandmothers and the efficient methods we need today. I hope this recipe becomes a new staple in your home, bringing a bit of chocolatey comfort to your family. For more ways to celebrate heritage through baking, be sure to browse our Cookie Decorating Traditions.
We would love to see your baking results! Share your photos with us on Pinterest, Instagram, and Facebook. Happy baking!
