I still have the handwritten recipe card for Grandma’s chocolate cookies, though the ink is fading around the edges and there are butter stains on the paper. Her process was a labor of love that took all afternoon, involving hand-whisking and hours of chilling, but I have found a way to keep that rich, dark flavor while making it work for my Tuesday night. These Chocolate Snaps are my bridge between a treasured past and a very busy present, offering that deep cocoa satisfaction without the long wait.

The secret to these cookies lies in the perfect balance of a crisp, sugary exterior and a deep, chocolatey center that stays remarkably tender. We are skipping the heavy labor of the original heirloom method but keeping the soul of the recipe intact so your family can enjoy a classic treat even on your busiest days. It is the kind of recipe that makes your kitchen smell like a professional bakery in under half an hour.
A Quick Classic for Busy Bakers
You are going to love these cookies because they provide Grandma’s flavor with modern speed. In the world of baking, a “snap” is defined by its texture—that wonderful sound it makes when you break it in half—and this recipe delivers that perfectly. Unlike many modern cookies that are soft and pillowy, these have a structural integrity that makes them ideal for dipping in milk or packing in a lunchbox without them falling apart.
Another reason this recipe is a keeper is the sheer simplicity of the method. We have adapted the traditional steps to work with a standard electric mixer, which cuts the prep time significantly. You get that complex, dark chocolate profile from melted chips rather than just cocoa powder, which adds a level of richness that is often missing from quick recipes. It is a reliable, practical way to fill your cookie jar with quality treats that taste like you spent the whole day in the kitchen. Plus, the sugar coating creates a beautiful crackle finish that looks stunning on a holiday platter but is easy enough for a random Wednesday afternoon treat.
Print
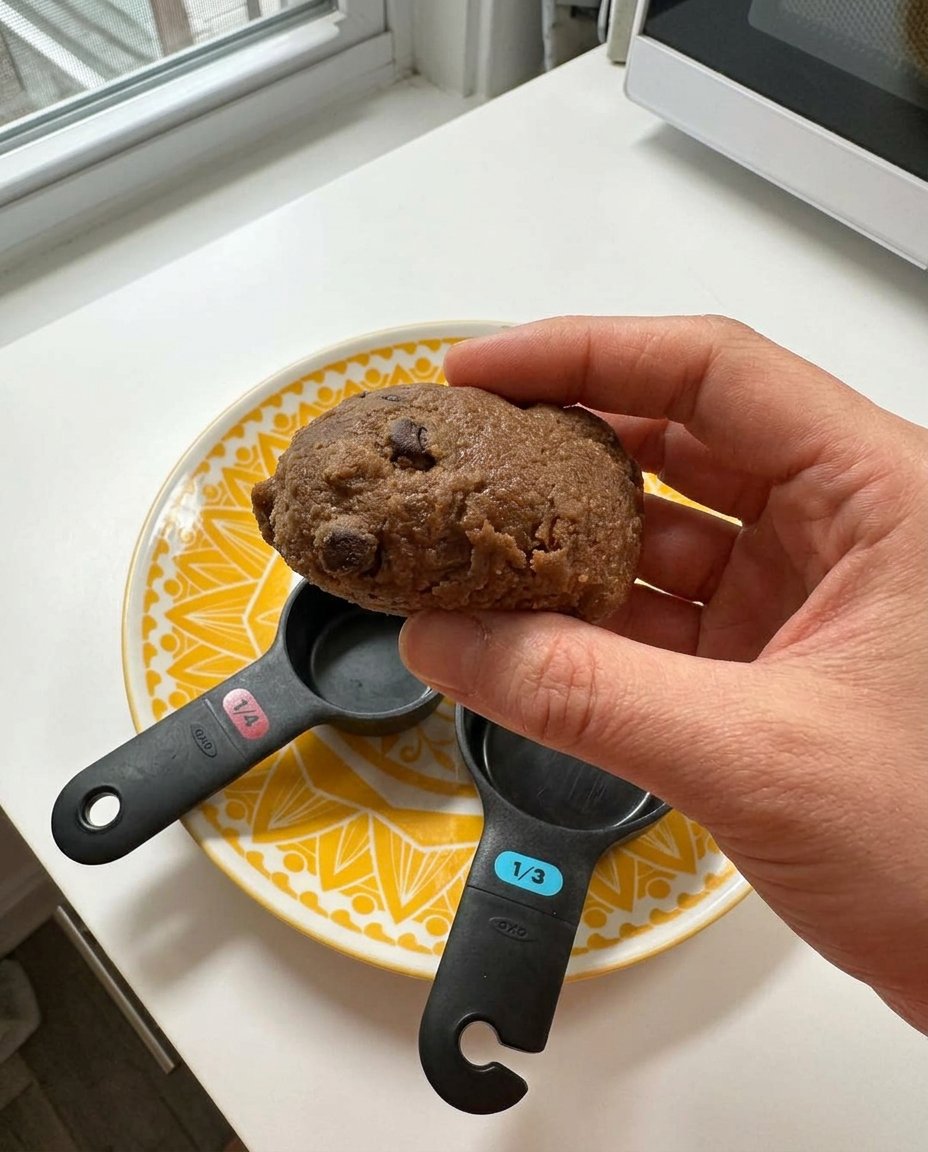
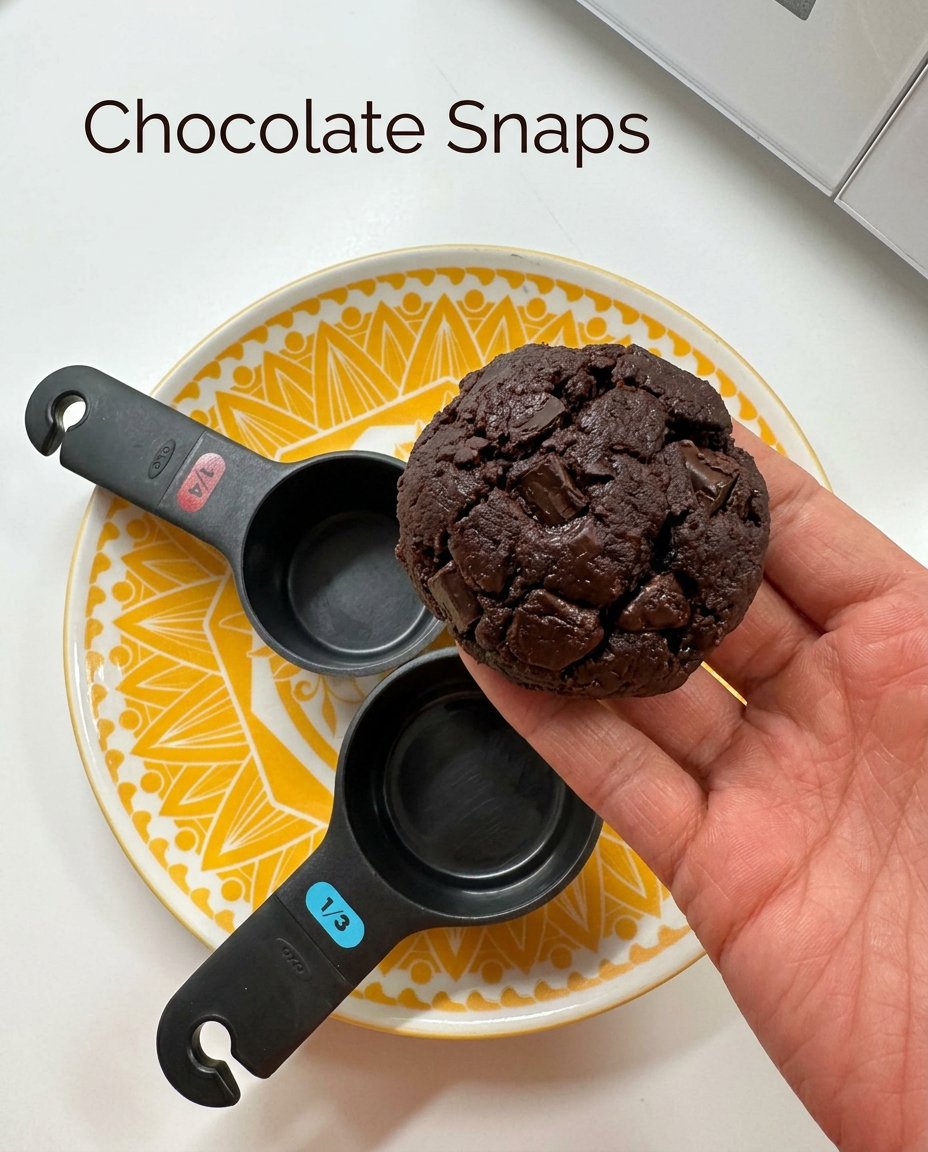
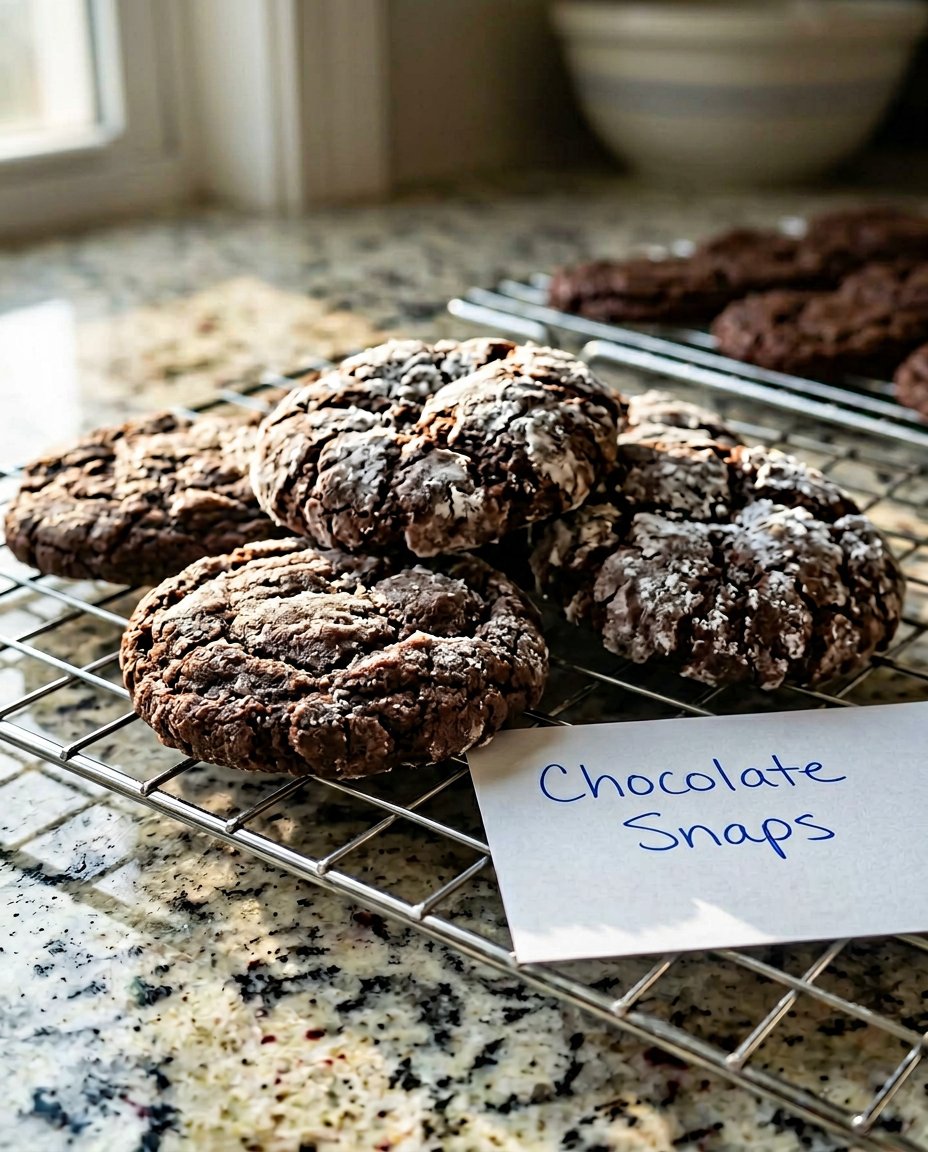
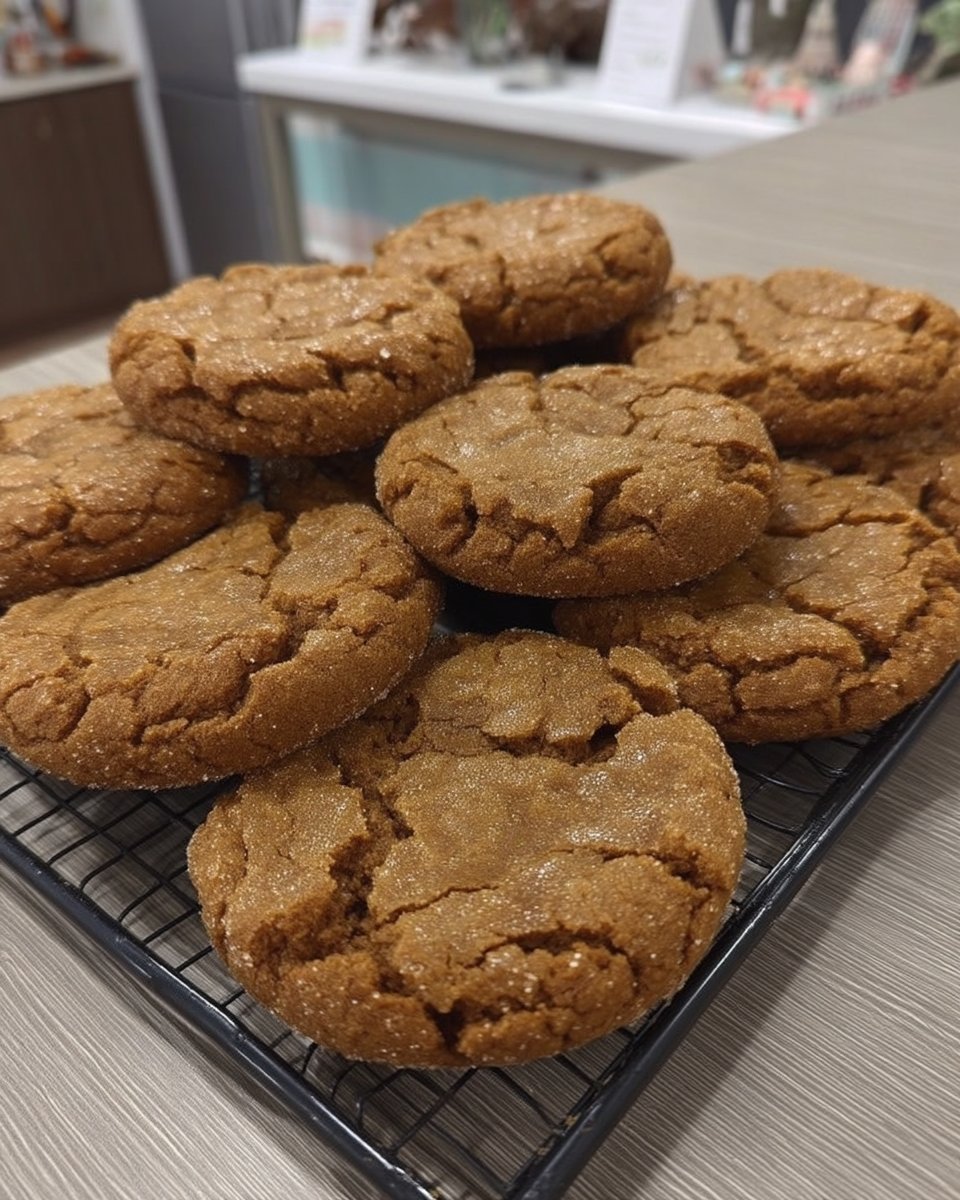
Chocolate Snaps
- Total Time: 57 mins
- Yield: 36 cookies
- Diet: Vegetarian
Description
Capture the essence of vintage baking with these rich and crunchy Chocolate Snaps that pair perfectly with a cold glass of milk. This streamlined heritage recipe uses melted chocolate chips and a quick chilling step to achieve a professional bakery finish in your own kitchen.
Ingredients
- 2 cups semisweet chocolate chips, melted
- 1 1/2 cups all-purpose flour
- 1/2 teaspoon baking soda
- 1/4 teaspoon salt
- 1/2 cup butter, softened
- 3/4 cup white sugar
- 2 tablespoons light corn syrup
- 1 teaspoon vanilla extract
- 1 large egg
- 1/4 cup extra white sugar for rolling
Instructions
- Preheat oven to 350 degrees F (175 degrees C) and set aside slightly cooled melted chocolate chips.
- In a medium bowl, whisk together the flour, baking soda, and salt.
- Using an electric mixer, cream the softened butter and white sugar until light and fluffy.
- Beat in the vanilla extract, corn syrup, and egg until well combined.
- Reduce mixer speed to low and gradually incorporate the melted chocolate.
- Mix in the flour mixture until the white streaks disappear, being careful not to overmix.
- Chill the dough in the refrigerator for 30 minutes.
- Shape dough into 1-inch balls and roll each in the extra white sugar until coated.
- Place balls 1 inch apart on baking sheets and bake for 10 to 15 minutes until edges are lightly browned.
- Allow cookies to rest on the sheet for one minute before transferring to a wire rack to cool completely.
Notes
For the best snap, ensure your butter is truly at room temperature before creaming to allow for proper aeration. If your kitchen is particularly warm, you may need to chill the dough for an extra 15 minutes to prevent it from sticking to your hands during the rolling process.
- Prep Time: 45 mins
- Cook Time: 12 mins
- Category: Dessert
- Method: Baking
- Cuisine: American
Simple Pantry Essentials for Deep Flavor
To make these Chocolate Snaps, we are relying on basic items you likely already have in your kitchen. This is the beauty of heritage baking; it does not require fancy or hard-to-find items to create something wonderful. Each ingredient plays a specific role in achieving that signature snap and deep chocolate profile.
- Semisweet Chocolate Chips: We use two full cups of melted chips. This provides the base of the cookie and a much more intense flavor than cocoa powder alone. Use a brand you love, as this is the primary flavor.
- All-Purpose Flour: This provides the structure. Make sure to spoon it into your measuring cup rather than scooping to avoid packing it too tightly.
- Baking Soda and Salt: These are our lifting and balancing agents. The soda helps create the right texture, while the salt makes the chocolate flavor pop.
- Butter: Softened butter is key here. It should be room temperature so it creams perfectly with the sugar, creating those tiny air pockets that lead to a light but crisp cookie.
- White Sugar: We use sugar both in the dough and for rolling. It provides the sweetness and the crunch.
- Corn Syrup: This is a classic vintage ingredient that helps with the chewiness and the beautiful shine on the finished cookie.
- Vanilla Extract and Egg: These provide the aromatic depth and the binding needed to hold the dough together.
By keeping our ingredients simple, we focus on the quality of the bake. This approach honors the tradition of using what you have to make something extraordinary.
Quick Method for Perfect Snaps
Step 1: Prep and Melt
Start by preheating your oven to 350 degrees F (175 degrees C). In a microwave-safe bowl or over a double boiler, melt your chocolate chips slowly. If using a microwave, heat in 30-second increments and stir between each one to prevent scorching. Set the melted chocolate aside to cool slightly while you handle the other ingredients.
Step 2: Mix the Dry Base
In a medium bowl, whisk together the all-purpose flour, baking soda, and salt. This step is important to make sure the leavening agent is evenly distributed, which prevents any weird lumps in your finished cookies. Set this bowl aside for a moment.
Step 3: Cream the Butter and Sugar
Using your electric mixer at medium-low speed, beat the softened butter and white sugar together. You want this mixture to look light and fluffy, which usually takes about two to three minutes. This is a modern shortcut that saves your arm the workout Grandma used to get with her wooden spoon.
Step 4: Add the Wet Ingredients
Turn the mixer back on and add the vanilla extract, corn syrup, and the egg. Beat these until the mixture is well combined and looks smooth. Once that is done, reduce your mixer speed to low and slowly pour in the cooled, melted chocolate. Mix until the color is uniform and the chocolate is fully integrated.
Step 5: Incorporate the Flour
With the mixer still on low, gradually add the flour mixture. Mix only until the white streaks of flour disappear. Do not overmix here, as that can make the cookies tough. The dough will be quite soft at this point.
Step 6: The Quick Chill
Place the dough in the refrigerator for about 30 minutes. This is a necessary step to make the dough firm enough to handle and roll. It is a shorter wait than many vintage recipes, but it makes a huge difference in the final shape of your snaps.
Step 7: Roll and Bake
Shape the chilled dough into 1-inch balls. Roll each ball in a small bowl of extra white sugar until coated. Place them on your baking sheets about 1 inch apart. Bake for 10 to 15 minutes, or until the edges are lightly browned. Let them rest on the sheet for one minute before moving them to a wire rack to cool completely.
Meagan’s Tips for Success
To get the best results every time, I recommend using parchment paper on your baking sheets. Even though the original recipe suggests ungreased sheets, parchment makes cleanup faster and prevents any sticking, which is a modern win for busy bakers. Also, make sure your melted chocolate has cooled enough before adding it to the butter mixture; if it is too hot, it will melt the butter and ruin the texture of the dough. For more ideas on how to master the basics, check out our guide on Quick & Easy Cookies. Another helpful trick is to use a small cookie scoop to keep all your snaps the same size, which helps them bake evenly. You can also find more guidance on this original inspiration for the recipe. Finally, if you want a extra crisp snap, let the cookies cool entirely on the wire rack; the airflow helps them firm up perfectly.
Quick Twists on a Classic
If you want to change things up while keeping the heritage heart of this recipe, there are several simple options. You can swap the vanilla extract for mint extract to create a refreshing chocolate-mint snap, which is especially popular during the winter months. For those who love a bit of texture, try adding half a cup of finely chopped walnuts or pecans to the dough during the final mixing stage. If you are preparing for the holidays, you might want to look at our Holiday Cookie Celebrations for more festive inspiration. You can also roll the dough balls in colored sanding sugar instead of plain white sugar to match any occasion or season. Another favorite in my house is adding a pinch of cinnamon to the flour mixture for a subtle Mexican chocolate vibe that feels sophisticated but remains easy to do.
Modern Sharing and Quick Enjoyment
These cookies are perfect for so many modern occasions. I love packing them into school lunchboxes because they are sturdy enough to survive the trip and provide a sweet reminder of home. They are also the ultimate companion for a cold glass of milk or a hot cup of coffee after dinner. If you are hosting a gathering, these look beautiful served on a vintage platter alongside other Classic Cookie Recipes. For a more indulgent treat, you can use two snaps to sandwich a scoop of vanilla bean ice cream, creating a quick homemade ice cream sandwich that feels special. They also make wonderful gifts; just stack them in a glass jar with a ribbon for a simple, heartfelt present that honors the tradition of sharing home-baked goods with friends and neighbors.
Heritage Rediscovered in Your Kitchen
Baking these Chocolate Snaps is a beautiful way to bring the warmth of the past into the pace of the present. We do not have to choose between our busy schedules and the heritage flavors we love; with a few smart shortcuts and a respect for the original ingredients, we can have both. I hope these cookies bring as much joy to your family as they have to mine over the years. For more ways to celebrate the history of baking, explore our Cookie Decorating Traditions. Please share your results with us and keep the tradition alive! You can follow us for more quick classics on Pinterest, Instagram, and Facebook. Happy baking, and remember that even a quick cookie can be a classic one.


