We have all experienced the tragedy of the beautiful cookie that turns into a rock by day two. As a baker who prizes texture above all else, I have spent years tweaking ratios to ensure that “fresh from the oven” feel lasts long after the baking sheet has cooled. This recipe isn’t just about great flavor; it’s about solving the dryness problem once and for all.

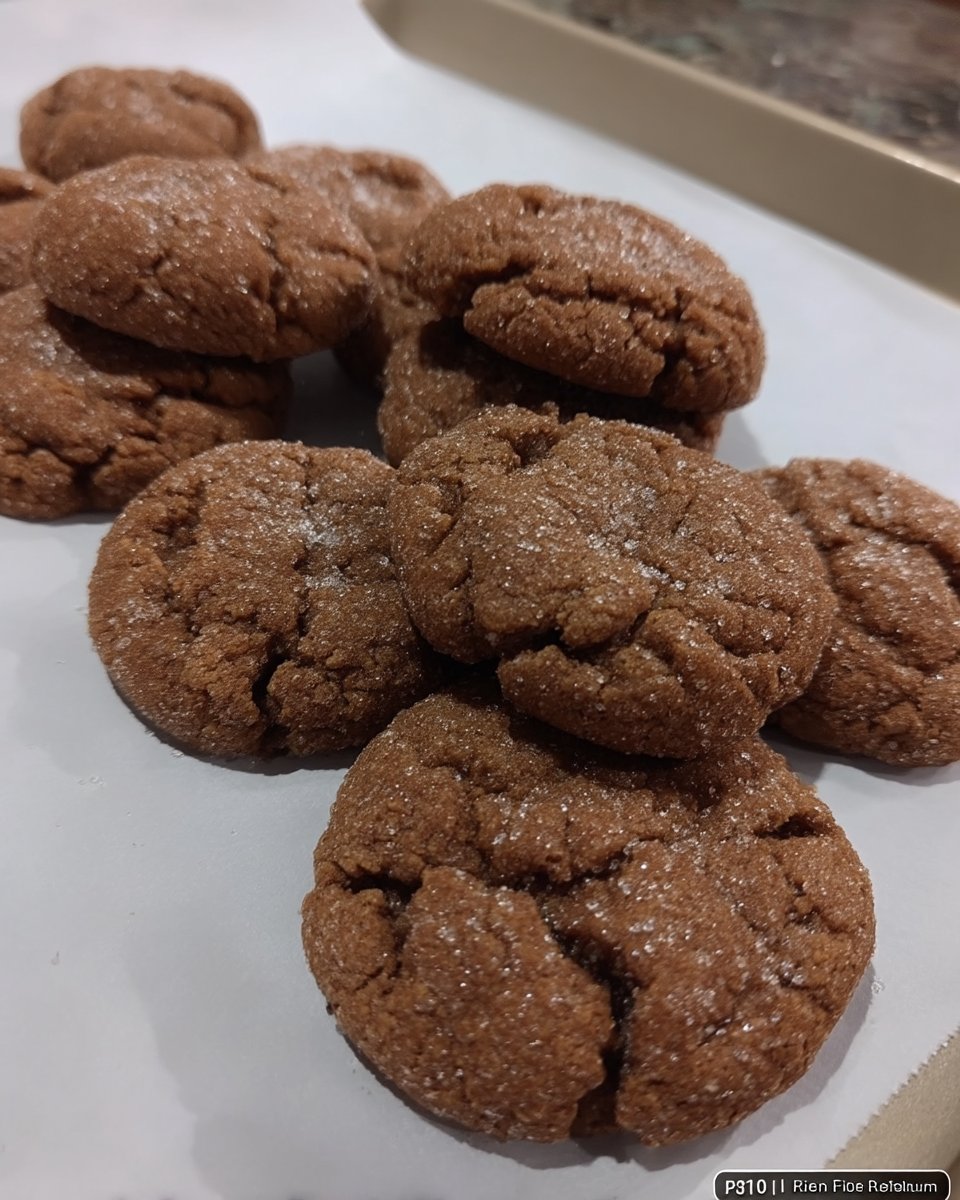
These bakery style chocolate chip cookies are thick, golden-edged, and remarkably tender in the center. By balancing the brown sugar for moisture and insisting on a crucial chilling period, we preserve that vintage, chewy texture that belongs in a jar on your counter, not hidden away in a freezer to save it from going stale.
Why These Are Texture Perfection
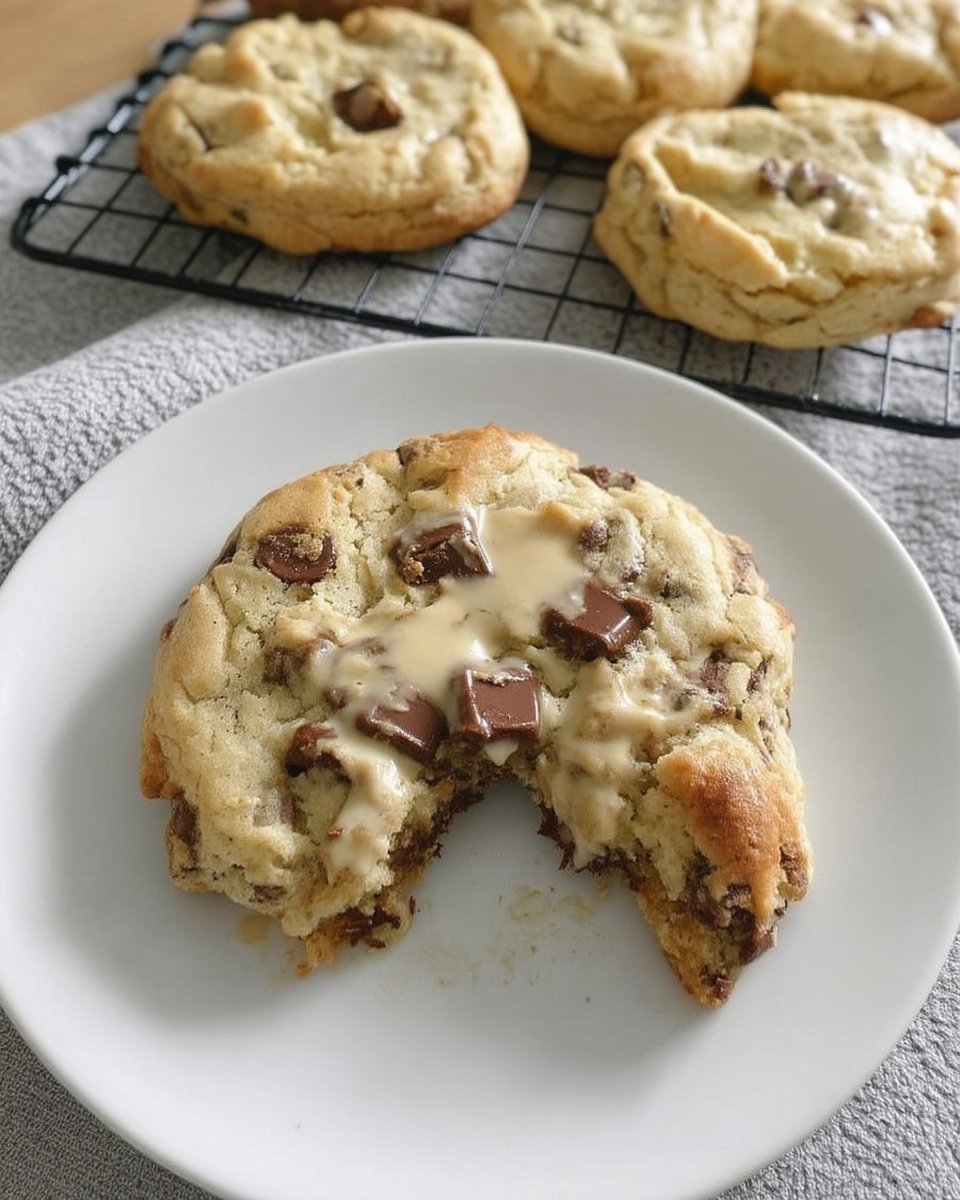
If you love a cookie that offers a slight resistance when you bite in, followed by a soft, melt-in-your-mouth interior, this is the recipe for you. The high ratio of brown sugar acts as a humectant, locking in moisture so these treats stay soft for days, not just hours.
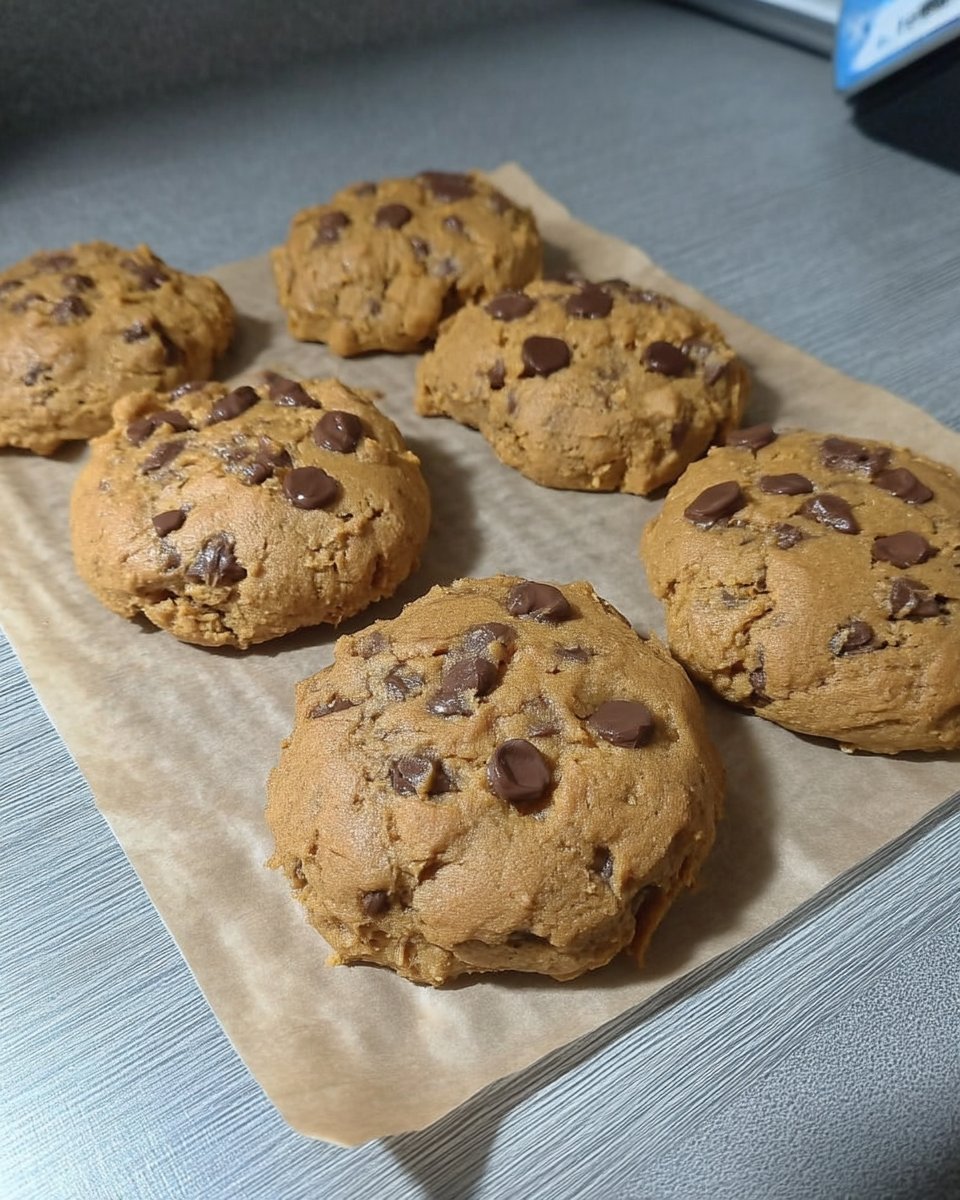
Furthermore, the size is substantial. We aren’t making dainty tea biscuits here; these are hearty, palm-sized indulgences that satisfy your craving with just one cookie. The specific flour-to-butter ratio ensures they don’t spread too thin, maintaining that thick, bakery-style lift that distinguishes a homemade masterpiece from a flat, greasy disappointment.
Print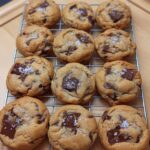
Bakery Style Chocolate Chip Cookies
- Total Time: 2 hours 32 mins
- Yield: 18 cookies
- Diet: Vegetarian
Description
These thick and chewy cookies use dark brown sugar and a critical chilling period to ensure a soft, bakery-quality texture that lasts for days. Packed with semi-sweet chocolate chips, they offer the perfect balance of golden edges and tender centers.
Ingredients
- 1 cup unsalted butter, room temperature
- 1/2 cup granulated sugar
- 1 cup dark brown sugar, packed
- 3 cups all-purpose flour, spooned and leveled
- 2 large eggs, room temperature
- 1 tablespoon vanilla extract
- 1 teaspoon baking soda
- 1/2 teaspoon baking powder
- 1/2 teaspoon salt
- 2 cups semi-sweet chocolate chips
Instructions
- In a medium bowl, whisk together the flour, baking soda, baking powder, and salt.
- In a stand mixer fitted with a paddle attachment, cream the room temperature butter with the granulated and dark brown sugars until smooth and creamy.
- Beat in the vanilla extract and eggs until the mixture is pale and well-combined, scraping down the bowl as needed.
- With the mixer on low, gradually add the dry ingredients until just combined, then fold in the chocolate chips by hand.
- Scoop the dough into 3-tablespoon balls, place them on a baking sheet, cover, and refrigerate for at least 2 hours.
- Preheat your oven to 375°F (190°C) and bake the chilled dough balls for 9–12 minutes until the edges are golden.
- Let the cookies rest on the baking sheet for 5 minutes before transferring them to a wire rack to cool completely.
Notes
To maintain that perfect bakery softness for up to a week, store your cookies in an airtight container with a single slice of white bread to regulate moisture. Always pull the cookies from the oven when the centers still look slightly pale and underdone, as the residual heat from the baking sheet will finish the cooking process without drying out the crumb.
- Prep Time: 20 mins
- Cook Time: 12 mins
- Category: Dessert
- Method: Baking
- Cuisine: American
The Ingredients for Softness

Achieving the perfect chew requires paying attention to a few key players in your mixing bowl. Here is what you need to ensure lasting freshness:
- Unsalted Butter: Using room temperature butter is non-negotiable for proper creaming. It creates the aeration base that keeps the crumb tender.
- Dark Brown Sugar: I prefer dark over light for the deeper molasses content. This is the secret weapon for moisture retention and that classic caramel flavor.
- All-Purpose Flour: Spooned and leveled strictly. Too much flour leads to a cakey texture, while too little causes spreading.
- Eggs: Room temperature eggs emulsify better with the butter, creating a smoother dough structure.
- Vanilla Extract: A full tablespoon brings that nostalgic, warm bakery aroma.
- Semi-Sweet Chocolate Chips: I recommend a quality brand. You want chips that hold their shape but melt beautifully against the soft dough.
How to Achieve Bakery Quality at Home
Step 1: Combine Dry Ingredients
Start by mixing your flour, baking soda, baking powder, and salt in a medium bowl. Remember to measure your flour by spooning it into the cup and leveling it off—scooping directly packs it down and dries out the dough.
Step 2: Cream the Butter and Sugars
In your stand mixer with the paddle attachment, cream the room temperature butter, granulated sugar, and packed dark brown sugar. Beat this until it is smooth and creamy. This aeration step is vital for texture.
Step 3: Add Wet Ingredients
Mix in the vanilla extract and eggs. Continue mixing until the dough looks smooth and pale, scraping down the sides of the bowl to ensure everything is incorporated evenly.
Step 4: Mix the Dough
Turn your mixer to low speed and slowly add the dry ingredients. Mix just until the dough comes together—do not overmix, or you will develop too much gluten and end up with tough cookies. Stir in the chocolate chips by hand.
Step 5: Chill the Dough
Measure out large 3-tablespoon scoops of dough and place them on a baking sheet. Cover and refrigerate for at least 2 hours. This chilling step solidifies the fat, preventing the cookies from spreading too fast in the oven.
Step 6: Bake to Perfection
Preheat your oven to 375°F (190°C). Place 6 chilled dough balls on a lined baking sheet, spacing them well. Bake for 9–12 minutes. The edges should be golden, but the centers will still look slightly pale and underdone—they will finish setting on the hot pan.
Step 7: The Cookie Scoot (Optional)
If your cookies look a bit irregular, immediately place a large round cutter or glass over the hot cookie and gently swirl it to tuck in the edges. Let them cool on the sheet for 5 minutes before moving to a wire rack.
Mehmet’s Tips for Stays-Fresh Cookies
To ensure your cookies maintain that jar-fresh quality, avoid overbaking at all costs. Pull them when the center still looks slightly wet; the residual heat completes the process without drying out the crumb. If you are looking to master more techniques like this, explore our Classic Cookie Recipes for more timeless standards.
Another trick for longevity is storage. Place a slice of white bread in the container with your cookies. The sugar in the cookies will draw moisture from the bread rather than the air, keeping your batch soft for nearly a week. Also, if your kitchen is very warm, keep the dough in the fridge between batches to ensure consistent spreading.
Flavor Twists & Texture Tweaks
While this recipe is a classic, you can modify it without ruining the texture. For a nuttier profile, add half a cup of toasted walnuts or pecans; the oils in the nuts help keep the crumb moist. If you are looking for healthier swaps that still taste indulgent, check out our Wholesome Cookie Options.
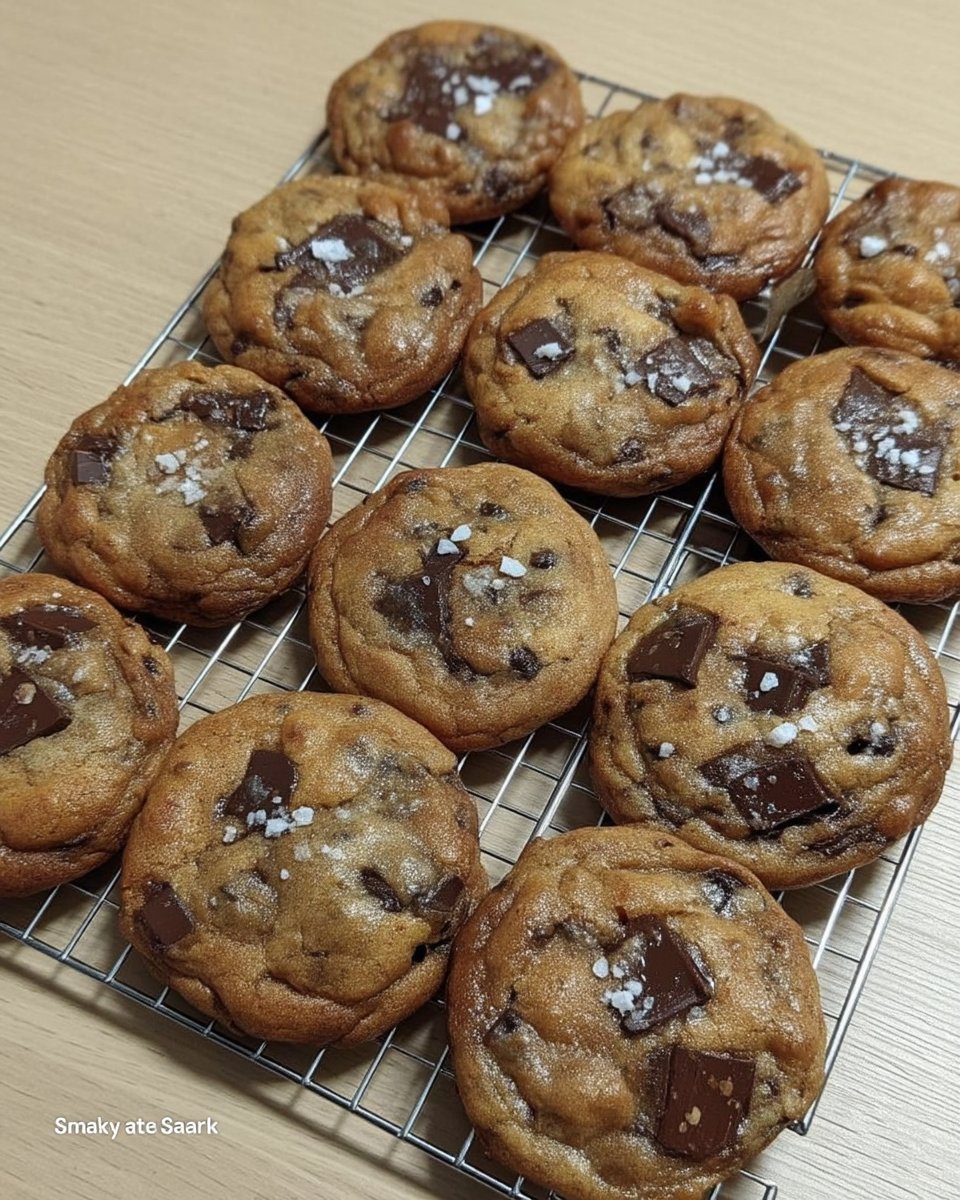
- The Salty Finish: Sprinkle flaky sea salt on top immediately after baking to cut the sweetness.
- Chocolate Mix: Use a combination of milk chocolate chunks and semi-sweet chips for varied melt pools.
- Extra Chewy: Swap the baking soda for an equal amount of baking powder if you prefer a cakeier, softer lift, though the original recipe balances both well.
Serving & Storing for Longevity
These cookies are best served slightly warm. If you are eating them a day later, a quick 10-second zap in the microwave restores that “fresh out of the oven” gooey texture. They are the perfect centerpiece for Holiday Cookie Celebrations or just a Tuesday afternoon treat.
Store them in an airtight container at room temperature. They will stay soft for 3–4 days. For longer storage, freeze the baked cookies or the raw dough balls for up to 3 months.
The Texture Truth
There is nothing quite like the satisfaction of a homemade cookie that stays soft. By respecting the chilling time and using quality ingredients, you can replicate that bakery experience in your own kitchen. If you need something faster for next time, try our Quick & Easy Cookies, but I promise the wait for these is worth it.
We love seeing how your bakes turn out, and we often compare notes with other great bakers—like this inspiration from Stuck On Sweet—to keep improving our methods. Share your results with us on Pinterest, Instagram, or Facebook!
