I still remember the soft ticking of the clock in Grandma’s kitchen as she stood over the stove, carefully watching a small pan of melting butter. She always said that the most precious things in life couldn’t be rushed, especially not a cookie meant for the family jar. These cookies, inspired by the heritage of slow baking, bring that same patient magic into your own home.

This recipe for Broma Bakery Chocolate Chip Cookies is a beautiful example of how simple pantry staples can become something extraordinary with just a bit of care. By browning the butter and allowing the dough to rest, we create a depth of flavor that feels both nostalgic and timeless. It is the kind of recipe you will want to write down on a physical card to pass along to the next generation.
A Timeless Jar Favorite
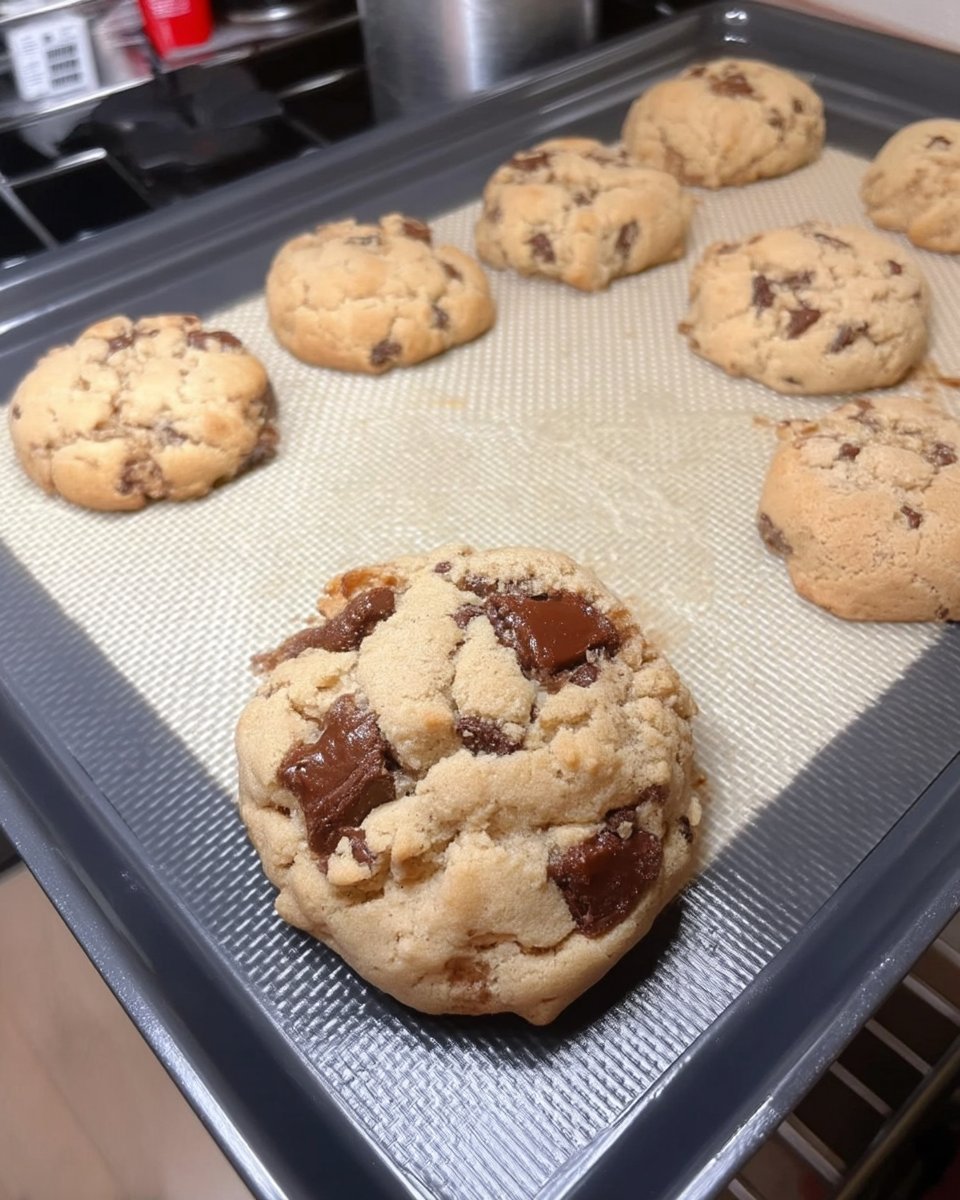
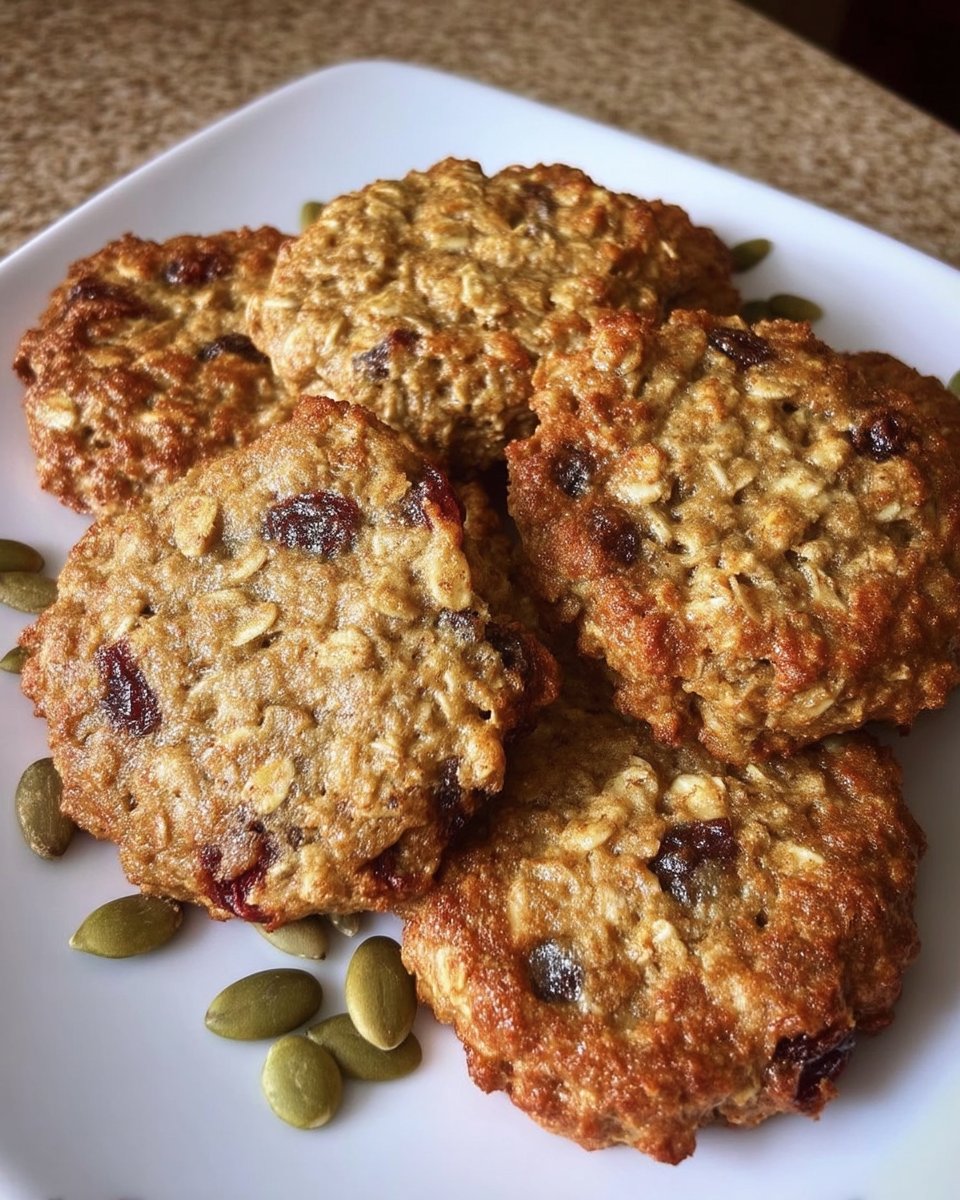
There is a specific kind of comfort found in a cookie that perfectly balances a crispy, golden edge with a center that stays soft and gooey. These treats offer a complex, toffee-like richness that comes from the golden bits of toasted butter hidden within the dough. Unlike modern, store-bought versions, these have a soul and a story to tell through their rustic appearance and deep, chocolatey heart.
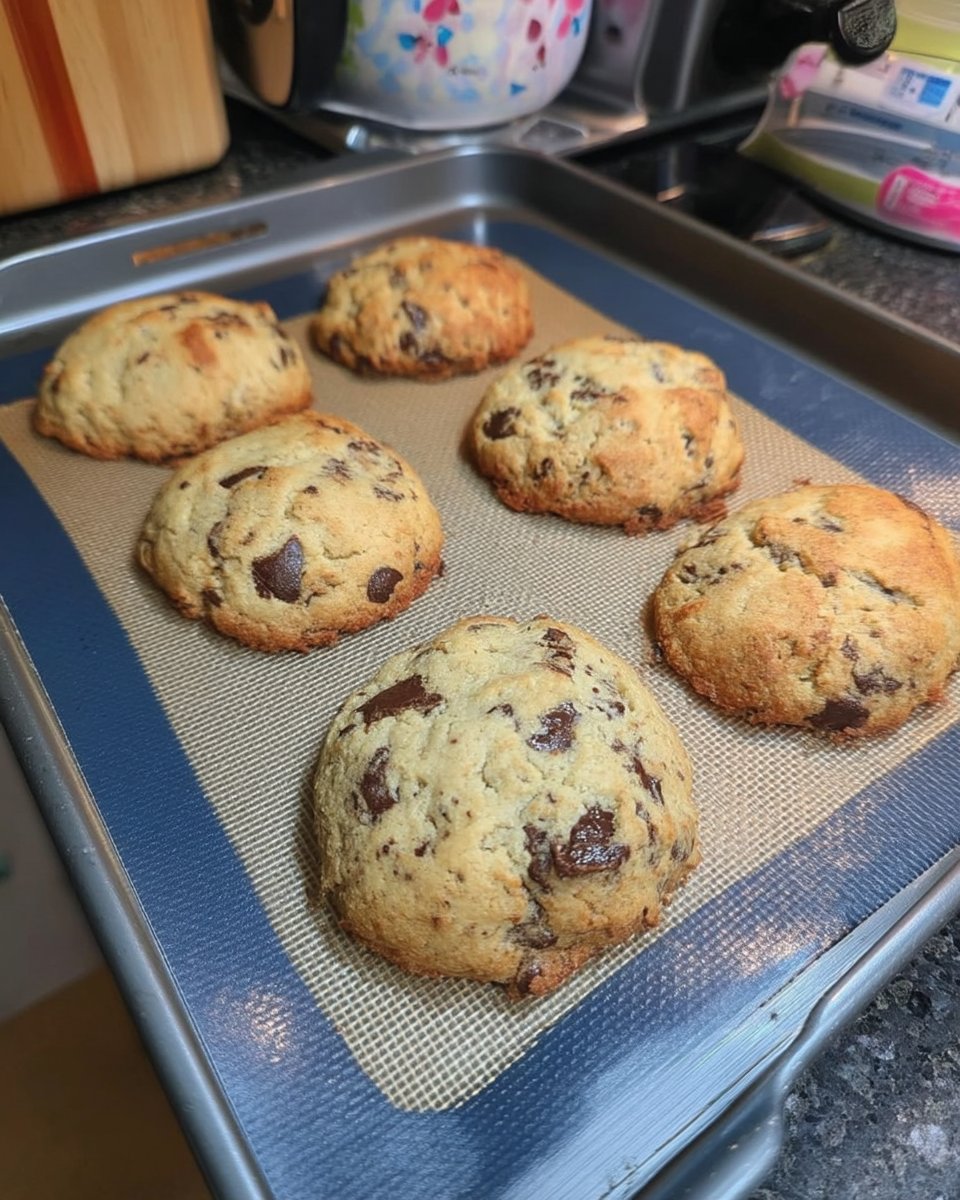
You will love how these cookies fill your kitchen with a warm, nutty aroma that lingers long after the tray comes out of the oven. They are sturdy enough to be tucked into a lunchbox yet tender enough to melt away the moment you take a bite. It is a reliable, proven recipe that rewards your patience with the best cookies and milk experience of your life.
Print
Broma Bakery Chocolate Chip Cookies
- Total Time: 1 hour 33 mins
- Yield: 18 cookies
- Diet: Vegetarian
Description
These decadent chocolate chip cookies feature browned butter and an extra egg yolk for a rich, toffee-like flavor and an exceptionally chewy texture. Perfectly balanced with crispy edges and molten chocolate pools, they are a timeless addition to any cookie jar.
Ingredients
- 1 cup unsalted butter
- 1 cup light brown sugar
- 1/2 cup granulated sugar
- 1 large egg
- 1 large egg yolk
- 1 tablespoon pure vanilla extract
- 2 1/4 cups all-purpose flour
- 1 teaspoon baking soda
- 1 teaspoon kosher salt
- 1 1/2 cups chocolate chips or chunks
- Flaky sea salt, for finishing
Instructions
- In a small saucepan over medium-low heat, melt and brown the butter until it develops a nutty aroma and golden-brown bits; let cool for 5 minutes.
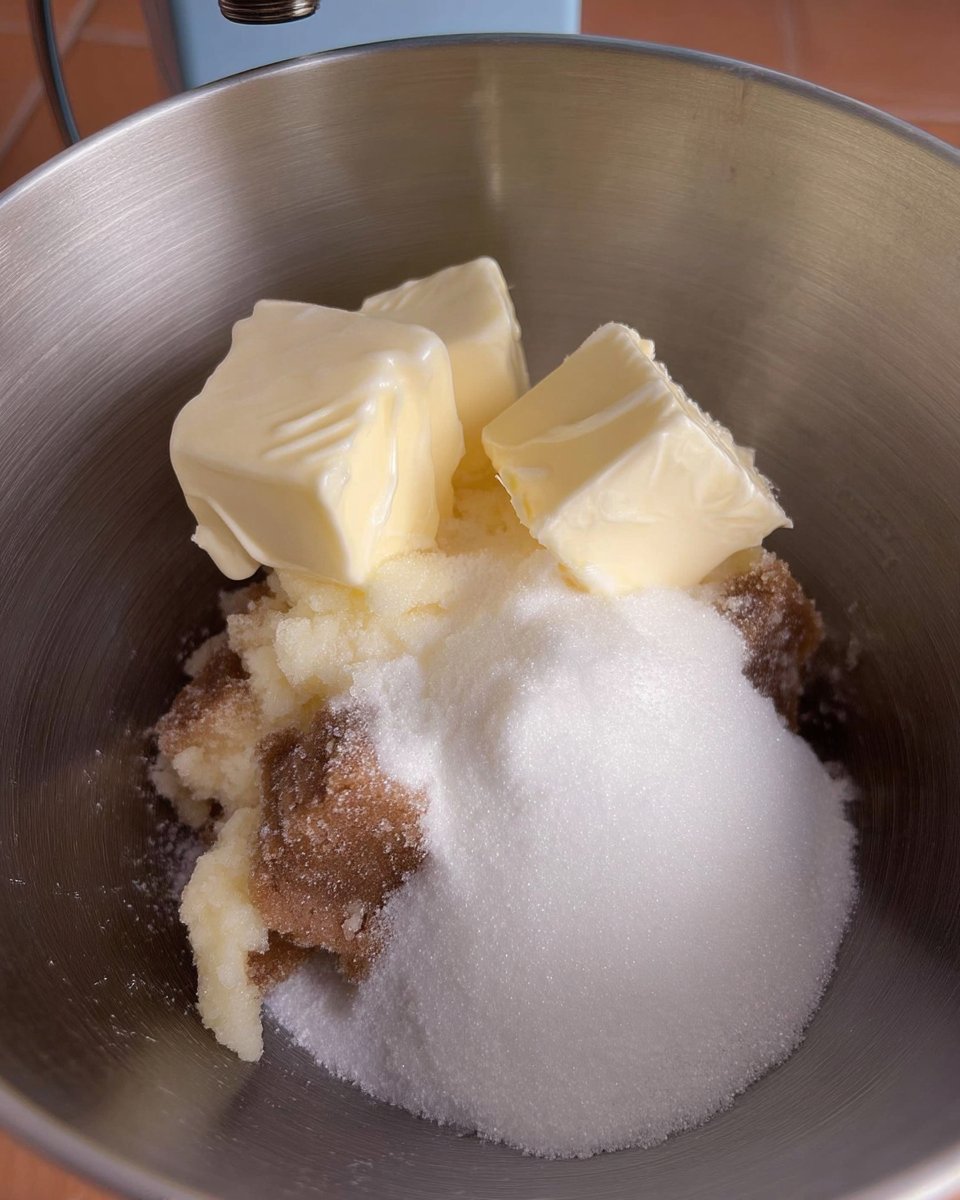
- In a large bowl, stir the browned butter with the brown and granulated sugars until the mixture resembles wet sand.
- Whisk in the whole egg, egg yolk, and vanilla extract until the batter is smooth and slightly lightened.
- Gently fold in the flour, baking soda, and kosher salt just until no white streaks remain.
- Stir in the chocolate chunks, then cover and refrigerate the dough for at least 1 hour.
- Preheat oven to 350°F and line baking sheets with parchment paper.
- Scoop dough onto sheets 2 inches apart and bake for 12 to 13 minutes until edges are golden.
- Sprinkle with flaky salt and cool on the pan for a few minutes before transferring to a wire rack.
Notes
To ensure the best texture, avoid over-mixing the dough once the flour is added. If the dough feels too firm after chilling, let it sit at room temperature for about 20 minutes before scooping to allow it to soften slightly. Always use room temperature eggs to help the dough emulsify properly with the warm butter.
- Prep Time: 20 mins
- Cook Time: 13 mins
- Category: Dessert
- Method: Baking
- Cuisine: American
Simple Ingredients from the Pantry
Every great family recipe starts with the basics you likely already have in your cupboards. Using high-quality ingredients like real creamery butter and pure vanilla extract is the secret to capturing that authentic heritage taste we all crave.
- Unsalted Butter: We gently brown this to transform it into a liquid gold with a hazelnut-like scent.
- Light Brown Sugar: This provides the moisture and deep molasses notes that make the centers so chewy.
- Granulated Sugar: Just enough to create those sought-after crispy edges and a beautiful golden hue.
- Egg and Extra Yolk: The additional yolk is Grandma’s secret for a richer, more decadent texture that never feels dry.
- Pure Vanilla Extract: A generous tablespoon brings all the flavors together in harmony.
- All-Purpose Flour: The reliable foundation that gives our cookies their classic structure.
- Chocolate Chunks or Chips: Whether you prefer semi-sweet or bittersweet, these create those lovely molten pools of joy.
The Heritage Method
Step 1: Toasting the Butter
Place the butter in a small saucepan over medium-low heat. Low heat is the secret to an even, golden browning. Use a spatula to stir and scrape the bottom every few seconds to keep the milk solids moving. At first, it will foam, but soon you will see small brown bits and smell a wonderful nutty aroma. Once it is golden, remove it from the heat and let it cool for five minutes until it is warm but not scalding.
Step 2: Mixing the Sweet Base
In a large mixing bowl, combine your warm browned butter with the light brown and granulated sugars. Use your spatula to mix them together until the sugar is well incorporated and the mixture looks like wet sand. This step starts the journey toward that perfect texture.
Step 3: Incorporating the Eggs and Vanilla
Add the whole egg, the extra egg yolk, and your vanilla extract to the butter and sugar. Mix well until the batter is smooth and slightly lighter in color. You want to make sure the eggs are fully integrated to provide the best structure for your cookies.
Step 4: Folding in the Dry Ingredients
Gently add the flour, baking soda, and kosher salt. Use a folding motion to combine everything until you no longer see any white streaks of flour. It is important to be gentle here; overworking the dough can lead to a tough cookie, and we want ours to stay tender and soft.
Step 5: The Chocolate and the Rest
Fold in your chocolate chips or roughly chopped chocolate chunks until they are evenly distributed. Cover your bowl tightly and place it in the refrigerator to chill for at least one hour. This rest period allows the flour to hydrate and the flavors to deepen, which is a hallmark of traditional baking.
Step 6: Portioning and Baking
Preheat your oven to 350°F and line your baking sheets with parchment paper. Remove the dough from the fridge and let it soften for about twenty minutes so it is easy to scoop. Use a cookie scoop to place equal amounts of dough two inches apart on the sheets. Bake for 12 to 13 minutes until the edges are golden but the centers still look a little soft. Sprinkle with a touch of flaky salt and let them cool on the pan for a few minutes before moving them to a wire rack.
Grandma’s Wisdom for the Cookie Jar
One of the best secrets I can share is to always pull your cookies out of the oven when they look just a tiny bit underdone in the center. They will continue to firm up on the warm baking sheet, resulting in that perfect gooey middle. If you find that your butter evaporated more than expected during the browning process, simply add a teaspoon or two of milk to the liquid to keep the dough moist. For more help with your kitchen techniques, you can look through our Classic Cookie Recipes for time-tested advice on heat and texture. Also, remember to keep your brown sugar in an airtight container with a piece of bread to keep it soft and ready for baking at a moment’s notice.
Heritage Twists for the Family
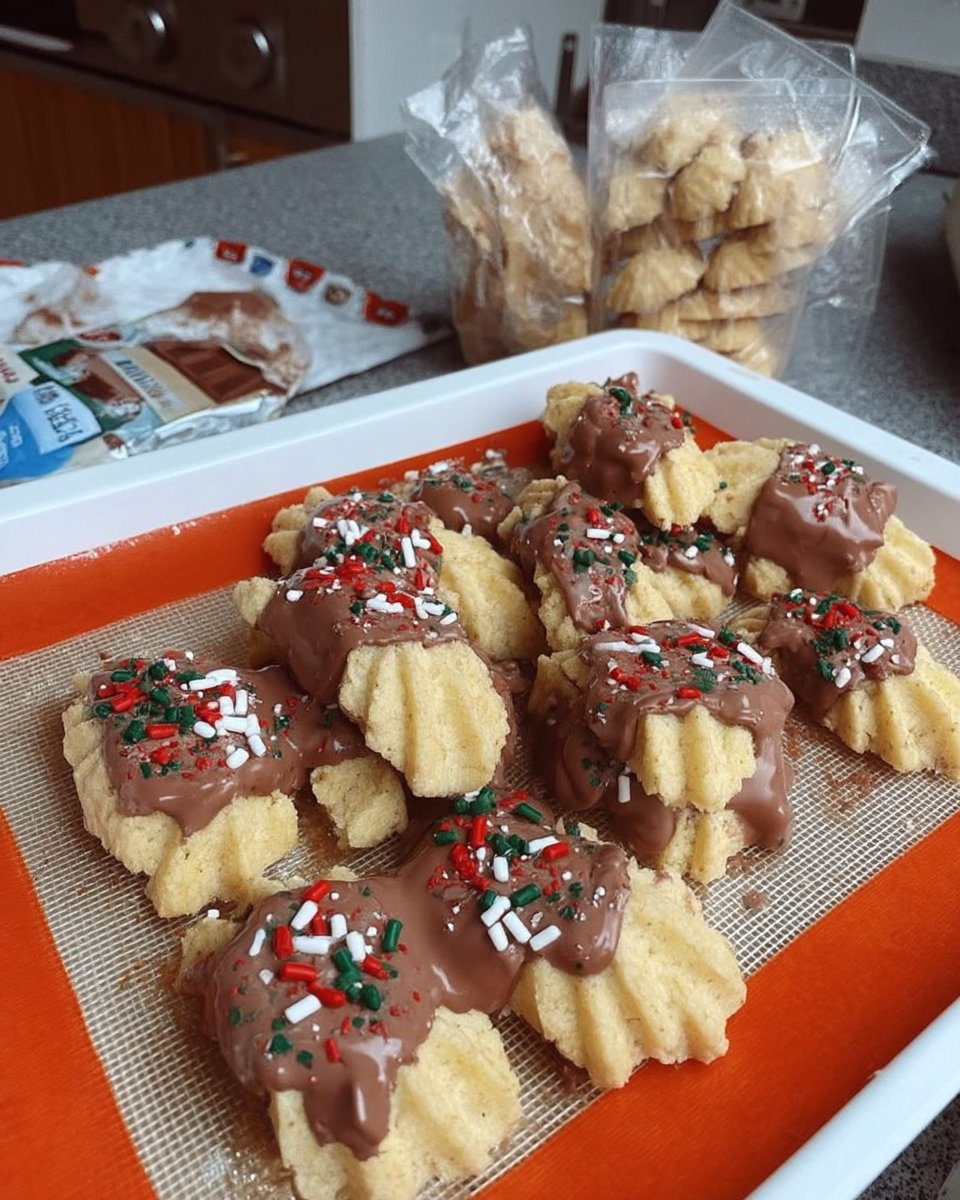
While this recipe is a treasure exactly as written, you can easily adapt it to suit your family’s particular tastes. For a bit of texture, try stirring in half a cup of toasted walnuts or pecans, which complements the nutty flavor of the browned butter beautifully. If you are baking for a special occasion, our Holiday Cookie Celebrations collection offers many ideas for adding festive spices or different types of chocolate. You might even try using a mix of milk chocolate and dark chocolate to create a more varied flavor profile that everyone from the grandkids to the grandparents will love.
Sharing the Tradition
There is no better way to serve these than stacked high on a vintage plate alongside a cold glass of milk. If you are having friends over for coffee, these cookies offer a sophisticated yet comforting treat that pairs perfectly with a dark roast. For those who want to create a complete dessert spread, visiting our Quick & Easy Cookies page will give you plenty of ideas for complementary treats. I often like to wrap a few in parchment paper and tie them with a simple ribbon to give as a small, heartfelt gift to neighbors or teachers.
The Sweet Heritage of Baking
Baking a batch of Broma Bakery Chocolate Chip Cookies is a wonderful way to bring a touch of nostalgia into your modern kitchen. It reminds us that the best flavors come from simple ingredients, a little bit of patience, and a lot of heart. We hope these become a staple in your home, filling your cookie jar and creating new memories for years to come. If you enjoyed this recipe, please join our family of bakers and share your creations with us on Pinterest, Instagram, or Facebook. You can also find more wholesome inspiration in our Wholesome Cookie Options section for treats that everyone can enjoy.

