Every time I pull out my stained index card for these Brown Butter Toffee Cookies, I can almost hear the soft click of my grandmother’s kitchen timer. She taught me that some things in life simply cannot be rushed, and this dough is one of those precious things. It is a recipe that feels like a warm hug from the past, holding onto the secrets of slow-browned butter and hand-chopped toffee.

These aren’t your average quick-fix treats; they are a labor of love that rewards the patient baker with a depth of flavor that lingers long after the cookie jar is empty. By browning the butter and letting the dough rest, we create a cookie that is rich, nutty, and perfectly chewy. It is a timeless classic that has earned its permanent spot in my family’s baking rotation.
A Timeless Treasure for Your Cookie Jar
There is something deeply comforting about a cookie that tells a story through its texture and aroma. These cookies are a masterclass in balance, pairing the deep, caramelized notes of browned butter with the sharp, sweet crunch of toffee bits. Unlike standard chocolate chip cookies, these have an old-world sophistication that comes from the dark brown sugar and the hint of espresso, making them a favorite for both the young and the young at heart.
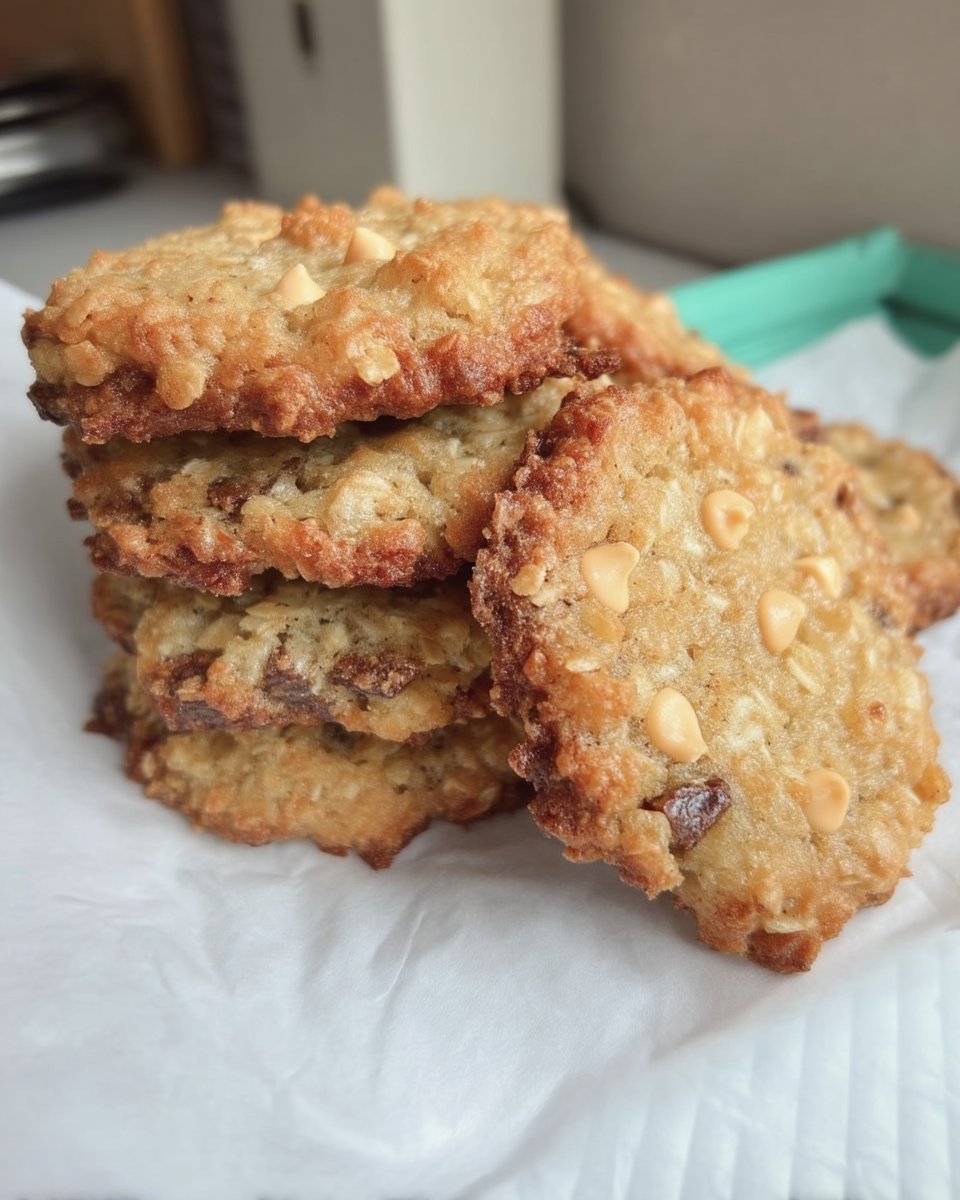
When you bake these, your entire home will be filled with the scent of toasted nuts and vanilla—a fragrance I like to call the ‘Sunday smell.’ The edges come out crisp and golden, while the centers remain soft and fudgy, creating a sensory experience that reminds us why homemade treats are always superior to anything bought at a store. It is a jar favorite that keeps beautifully, staying fresh and delicious for days, provided your family doesn’t finish them all in one afternoon.
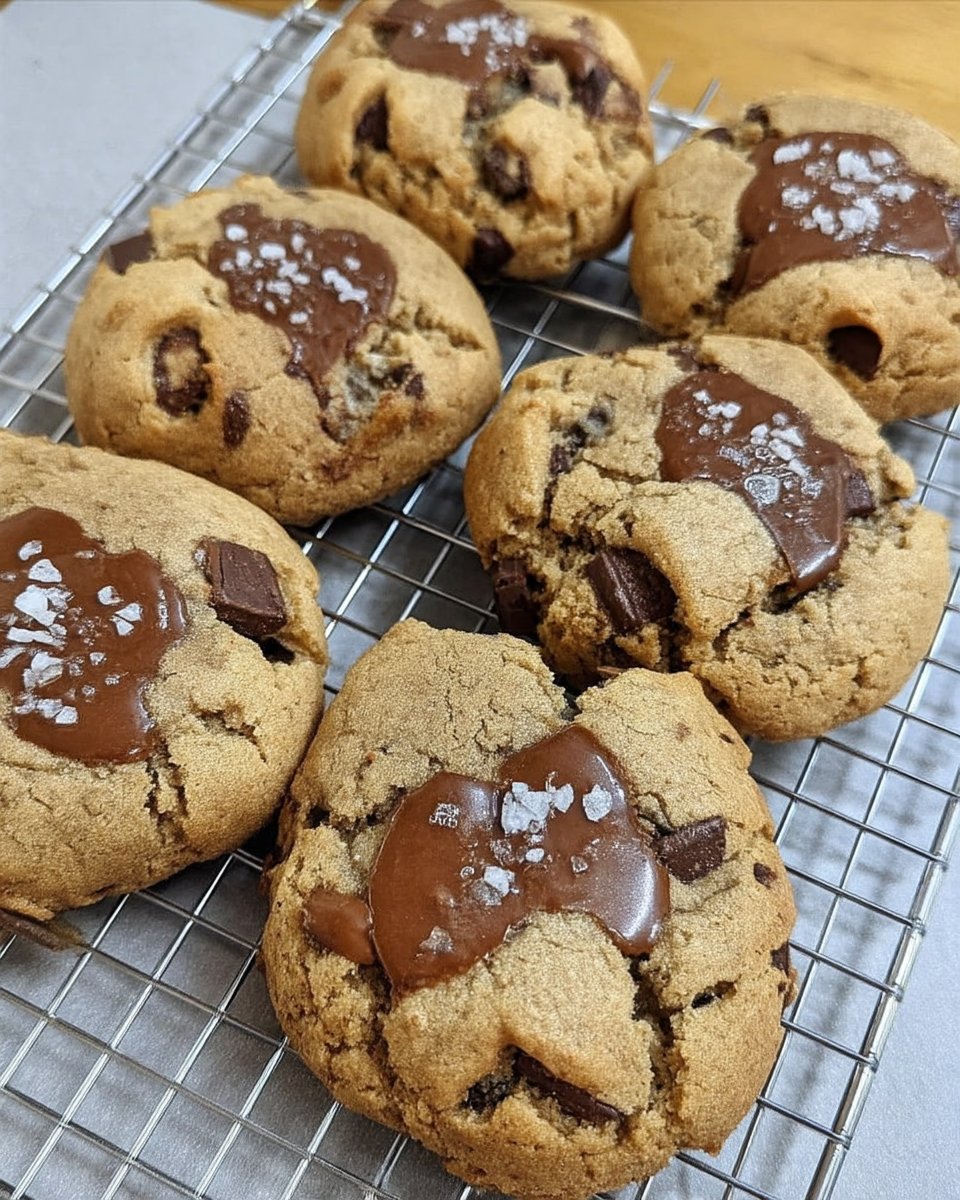
We love this recipe because it honors the traditions of heritage baking while offering a flavor profile that feels contemporary and rich. The addition of flaky sea salt at the end is the perfect finishing touch, cutting through the sweetness and highlighting the complex notes of the browned butter. It is a recipe that you will find yourself making again and again, passing it down to the next generation just as it was shared with me.
Print
Brown Butter Toffee Cookies
- Total Time: 25 hours
- Yield: 24 cookies
- Diet: Vegetarian
Description
These sophisticated cookies feature the deep, nutty essence of browned butter paired with crunchy toffee and rich pools of dark chocolate. The extended chilling time develops a complex, caramelized flavor profile that makes them an unforgettable treat for any occasion.
Ingredients
- 1 cup (2 sticks) unsalted butter
- 1 cup packed dark brown sugar
- 1/2 cup granulated sugar
- 2 cups all-purpose flour
- 1/2 cup bread flour
- 1 teaspoon baking soda
- 1/2 teaspoon baking powder
- 1 teaspoon sea salt
- 1 teaspoon espresso powder (optional)
- 2 large eggs
- 1 large egg yolk
- 2 teaspoons vanilla extract
- 8 ounces semisweet chocolate, chopped
- 3/4 cup toffee bits
- Flaky sea salt, for garnish
Instructions
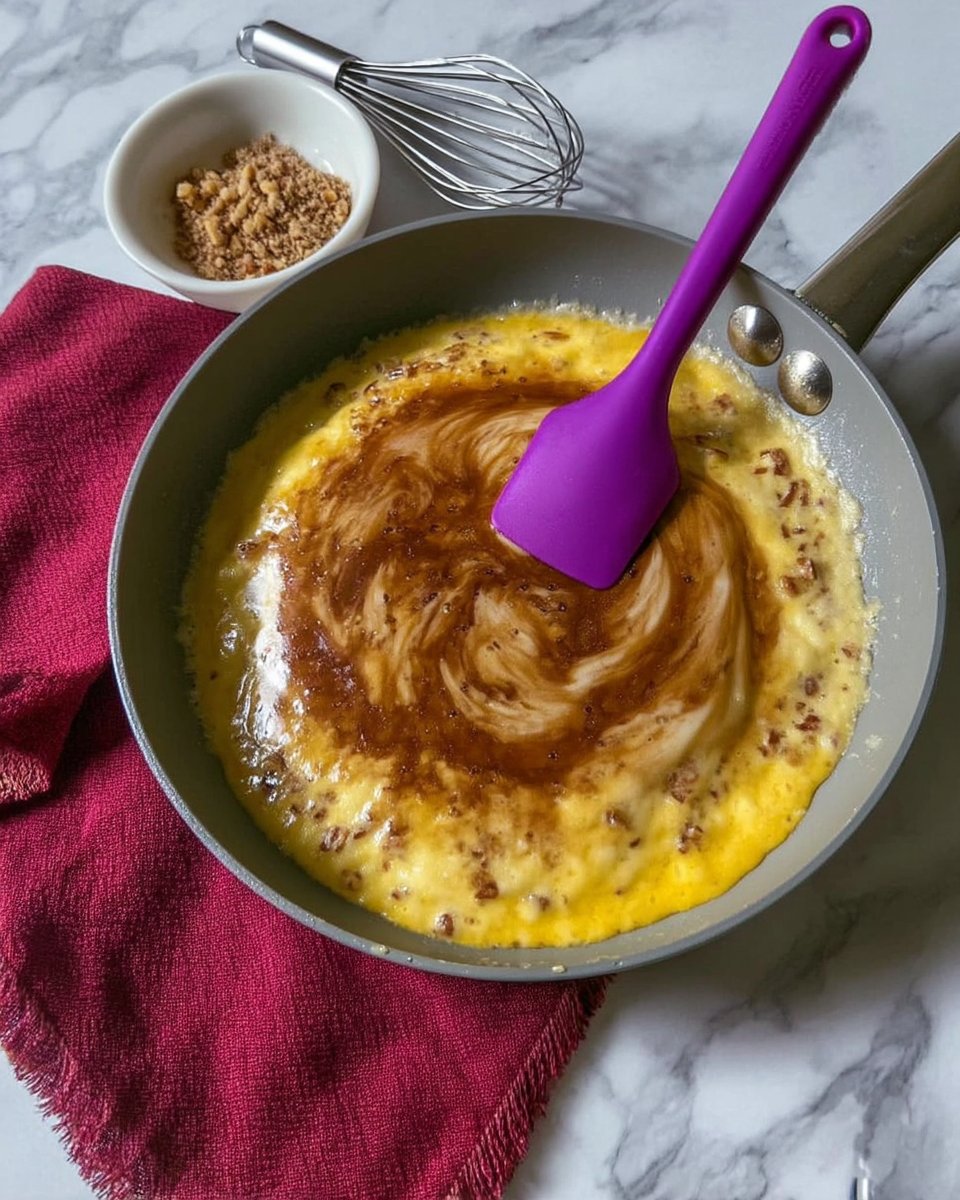
- In a medium stainless steel sauté pan over medium heat, melt and brown the butter until it develops a nutty aroma and amber-colored bits; remove from heat immediately.
- Stir the granulated sugar and dark brown sugar into the hot butter, then set aside to cool completely to room temperature.
- In a separate bowl, whisk together the all-purpose flour, bread flour, baking soda, baking powder, sea salt, and espresso powder.
- Whisk the eggs, egg yolk, and vanilla into the cooled butter mixture, then gradually stir in the dry ingredients followed by the chopped chocolate and toffee bits.
- Refrigerate the dough in an airtight container for at least 24 hours, or up to 72 hours, to allow flavors to develop.
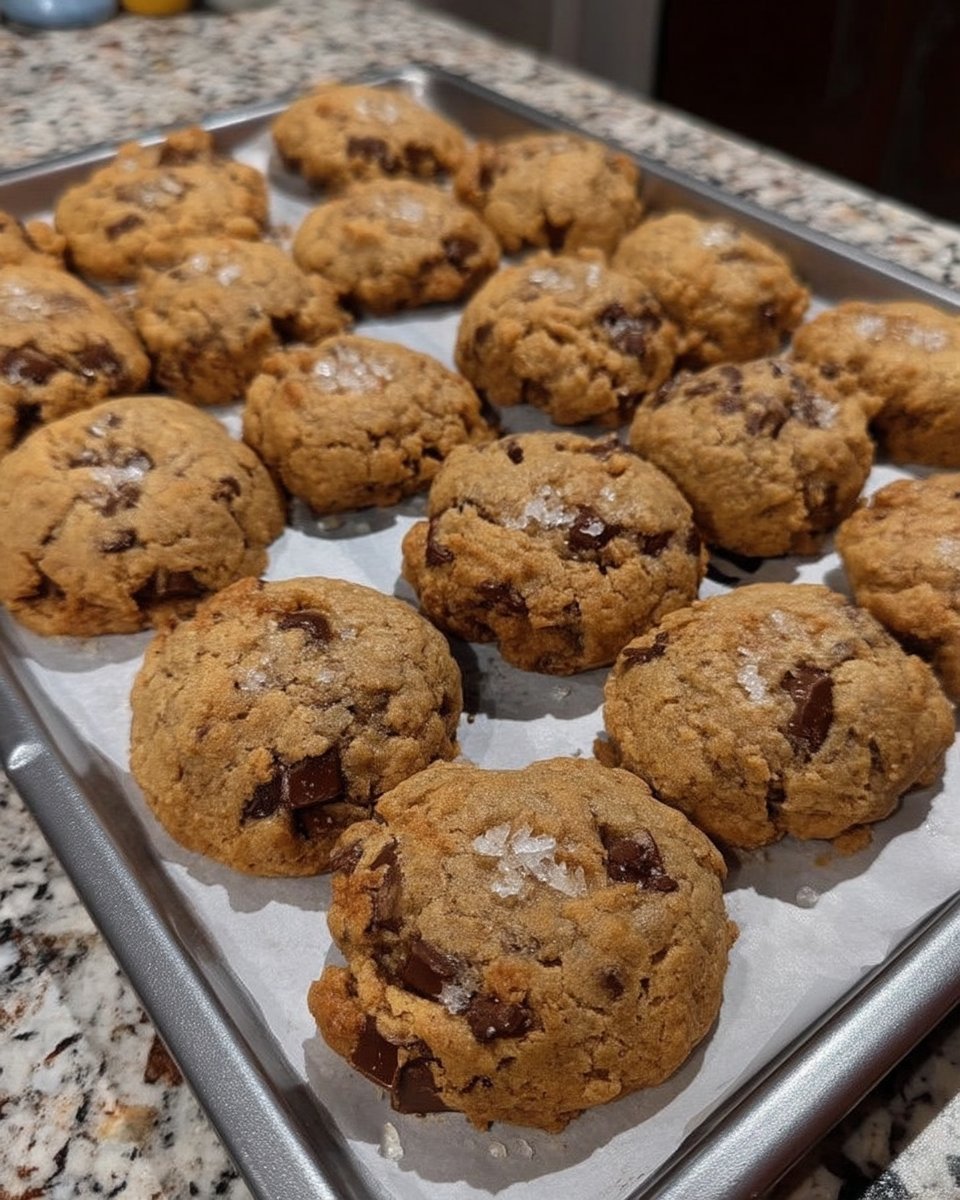
- Preheat oven to 350ºF, scoop 3-tablespoon balls of dough onto parchment-lined sheets, and bake for 12 to 14 minutes.
- Sprinkle with flaky sea salt while warm and let rest on the pan for two minutes before transferring to a wire rack.
Notes
To achieve the perfect professional look, use a round cookie cutter to gently reshape the cookies immediately after they come out of the oven. Always use a light-colored pan for browning the butter so you can accurately monitor the color of the toasted solids to prevent burning.
- Prep Time: 20 mins
- Cook Time: 14 mins
- Category: Dessert
- Method: Baking
- Cuisine: American
Pantry Staples and Heritage Flavors
To make these cookies, we start with the simplest of ingredients—the kind you likely already have tucked away in your baking cupboard. However, the way we treat these ingredients is what makes the magic happen. Quality matters here, especially when it involves your butter and vanilla, as they provide the foundation for everything else.
- Unsalted Butter: We use two full sticks, which we will transform through the browning process into liquid gold. This provides the nutty base that defines the entire cookie.
- Dark Brown Sugar: This is essential for that deep, molasses-like chewiness. It holds more moisture than light brown sugar, giving us that perfect texture.
- All-Purpose and Bread Flour: A combination of the two ensures the cookies have enough structure to hold the heavy toffee and chocolate chunks without being too tough.
- Toffee Bits: Whether you use the classic Heath brand or make your own, these provide the signature crunch and buttery sweetness.
- Semisweet Chocolate: Chopping your own chocolate from a bar allows for pools of melty goodness that you just can’t get from standard chips.
- Espresso Powder: A tiny bit goes a long way in making the chocolate taste more like chocolate, though it remains a secret ingredient that most won’t quite be able to name.
The Classic Way to Bake with Love
Step 1: Browning the Butter with Care
In a medium stainless steel sauté pan set over medium heat, melt the two sticks of butter. Swirl the pan occasionally as the butter begins to foam. You will hear audible cracking and popping noises; this is the water evaporating. Once the crackling becomes quieter, keep a close eye on the pan. Continue to swirl until the butter develops a nutty aroma and little brown bits form at the bottom. Once those bits are a beautiful amber color, remove the pan from the heat immediately. Pour the butter and all those flavorful bits into a large mixing bowl.
Step 2: Sweetening the Foundation
While the butter is still hot, stir in the granulated sugar and the dark brown sugar. Mixing them while the butter is warm helps the sugars begin to dissolve and meld with the fat. Set this mixture aside and let it cool completely to room temperature. This is a vital step—if the butter is too hot when you add the eggs later, it could cook them, which is not what we want for our dough.
Step 3: Preparing the Dry Ingredients
In a separate medium bowl, whisk together the all-purpose flour, bread flour, baking soda, baking powder, sea salt, and the optional espresso powder. Using both types of flour gives these cookies a unique bite—the bread flour adds a bit of ‘chew’ that reminds me of the thick cookies from the old neighborhood bakery. Ensure there are no lumps in your leavening agents so the cookies rise evenly.
Step 4: Bringing the Dough Together
Once your butter and sugar mixture has cooled, whisk in the two large eggs, the extra egg yolk, and the vanilla extract. The extra yolk is a little secret for added richness. Gradually stir in the flour mixture using a sturdy rubber spatula. Be gentle; we want to combine them until just mixed. Finally, fold in the chopped semisweet chocolate and the toffee bits. The dough will be thick and smell absolutely divine.
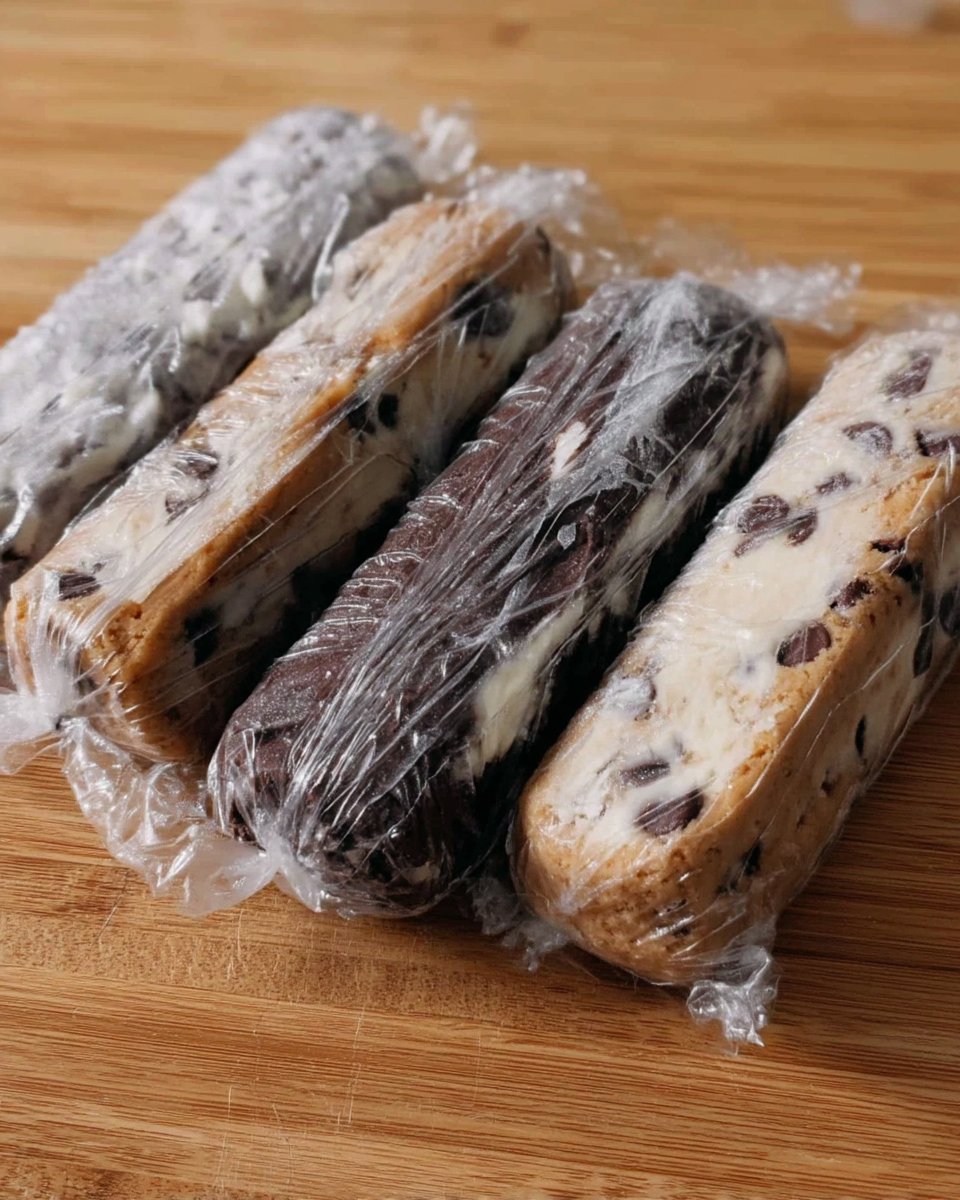
Step 5: The Essential Chill
Wrap your cookie dough tightly in plastic wrap or place it in an airtight container. Refrigerate the dough for at least 24 hours. I know it is hard to wait, but this rest period allows the flour to fully hydrate and the flavors to concentrate. You can leave it for up to 72 hours if you need to, but 24 is the sweet spot for that perfect heritage flavor.
Step 6: Scooping and Baking
When you are ready to bake, let the dough sit at room temperature for about an hour until it is soft enough to scoop. Preheat your oven to 350ºF and line your baking sheets with parchment paper. Use a large cookie scoop to drop 3-tablespoon sized balls onto the sheets, leaving plenty of room for them to spread. Bake for 12 to 14 minutes until the edges are golden brown and the centers still look a little soft.
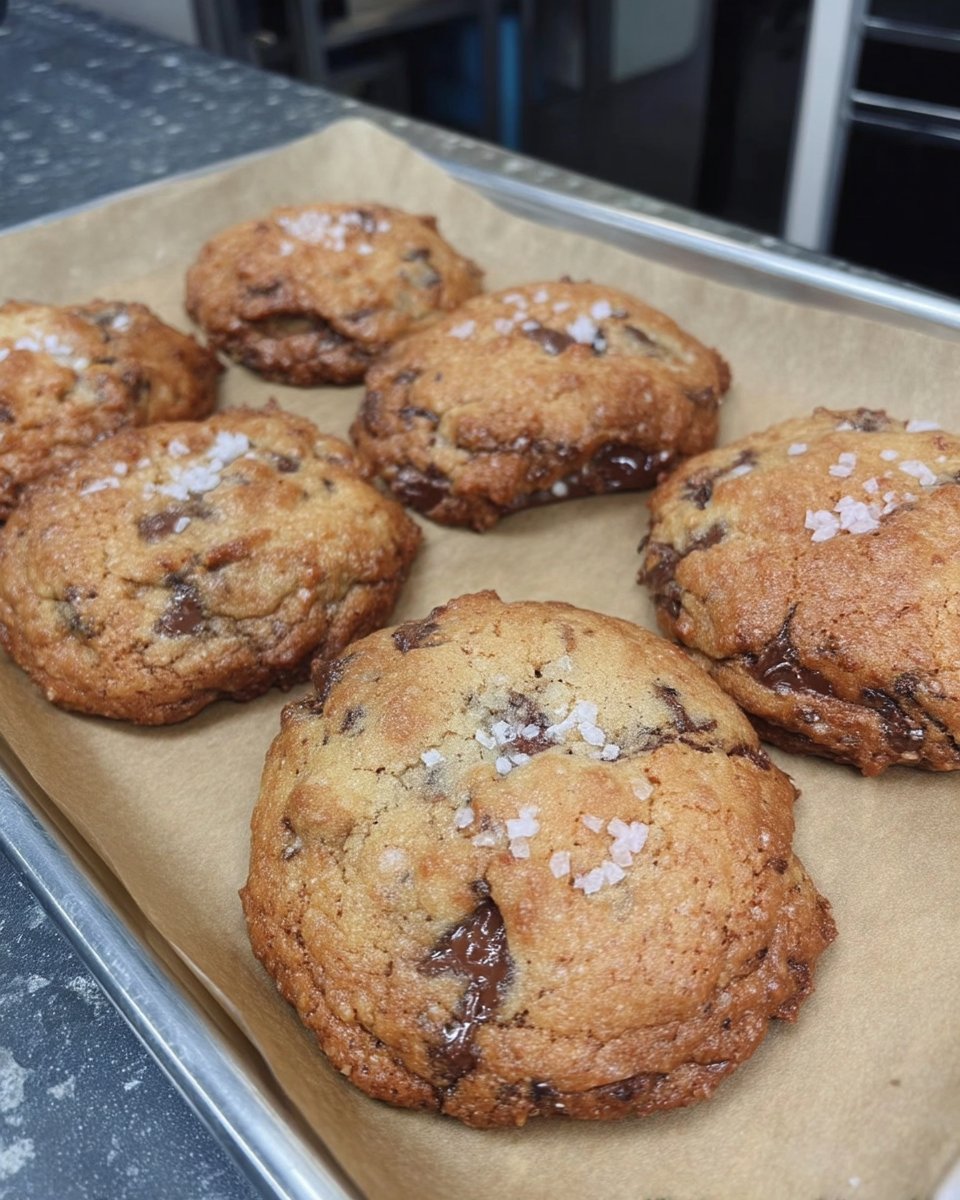
Step 7: The Final Touch and Cooling
As soon as the cookies come out of the oven, use a round cutter to gently ‘scoot’ them into perfect circles if they have spread unevenly. This thickens the edges and makes them look professional. Sprinkle a pinch of flaky sea salt over the tops while they are still warm. Let them rest on the pan for two minutes before moving them to a wire rack. This allows the structure to set so they don’t break when you pick them up.
Grandma’s Secrets for the Perfect Batch
One of the most important lessons I learned in my years of baking is that the pan matters. When browning butter, always use a light-colored stainless steel pan. If you use a dark-coated pan, you won’t be able to see the color of the butter solids changing, and you risk burning them. Those amber bits are where the ‘toffee’ flavor in the butter lives, so don’t leave them behind in the pan! If you are looking for more Classic Cookie Recipes, you will find that many of our favorites start with this same careful attention to the butter.
To get that professional look, try the ‘pan banging’ technique midway through baking. Gently lift the baking sheet and drop it against the oven rack. This ripples the edges and creates those beautiful crinkles we all love. For more detailed science on how different fats affect your bake, you can see how the experts at Handle the Heat approach this specific recipe. Always remember to measure your flour by weight if possible; a heavy hand with the flour scoop is the number one reason cookies turn out dry instead of chewy.
Family Traditions and Heritage Twists
While this recipe is a masterpiece on its own, our family often likes to add a little something extra depending on the season. During the colder months, I sometimes add a half-cup of toasted, chopped walnuts or pecans. The bitterness of the walnut skin provides a lovely contrast to the sweet toffee. If you are preparing for a party, you might look through our Holiday Cookie Celebrations for ideas on how to gift-wrap these treats for neighbors.
Another wonderful variation is to use white chocolate chunks instead of semisweet. The creaminess of the white chocolate mimics the flavor of a high-end toffee bar. If you prefer a more intense molasses flavor, you can swap the dark brown sugar for muscovado sugar. This creates a very dark, deeply flavored cookie that tastes almost like gingerless gingerbread. No matter which path you take, the foundation of browned butter will keep the cookie tasting like a true heirloom treasure.
Sharing the Tradition with Loved Ones
There is no better way to serve these cookies than straight from the jar with a cold glass of milk. In our house, we always keep a jar on the counter for unexpected guests. These cookies are sturdy enough to be packed into tins, making them ideal for mailing to grandkids or taking to a church social. If you are in a rush and need something faster for a last-minute gathering, our Quick & Easy Cookies section has plenty of other options that don’t require the long chill time.
For a truly decadent dessert, try sandwiching a scoop of vanilla bean ice cream between two of these cookies. The saltiness of the toffee and the richness of the browned butter make for an incredible ice cream sandwich. I also find that they pair beautifully with a strong cup of afternoon coffee. The heat from the coffee slightly softens the chocolate chunks, making every bite feel like it just came out of the oven. No matter how you serve them, remember that the best ingredient is the love you put into the baking.
The Sweet Heritage of Baking
Baking these Brown Butter Toffee Cookies is about more than just satisfying a sweet tooth; it is about slowing down and enjoying the process. From the moment the butter starts to sizzle in the pan to the final sprinkle of sea salt, you are participating in a tradition of care and quality. I hope these cookies find a permanent home in your kitchen, just as they have in mine. For those looking for lighter options that still feel traditional, be sure to browse our Wholesome Cookie Options.
I would love to see your beautiful bakes and hear about the memories you create in your own kitchen. Please share your photos with us on Pinterest or join our community on Instagram to see what else is coming out of our oven. Happy baking, from my kitchen to yours!
