One of the most common complaints I hear from home bakers is that their homemade treats turn into dry, crumbly hockey pucks after just twenty-four hours in the cookie jar. I remember the disappointment of reaching for a butter cookie only to have it shatter into flavorless dust, a far cry from the tender bites of my childhood. This recipe fixes that frustration by focusing on moisture-retaining techniques that keep every single cookie tender and satisfying for nearly a week.

These butter cookies represent the ultimate expression of simplicity and texture, relying on high-quality fats and a gentle hand to achieve greatness. By using specific ratios of egg yolks instead of whole eggs, we achieve a rich, melt-in-your-mouth quality that honors vintage traditions while staying soft much longer. It is a heritage recipe improved by modern texture science, ensuring your kitchen always smells like a classic bakery.
Why This Recipe is a Texture Masterpiece
You will love these cookies because they finally solve the problem of the stale, brittle butter cookie. Most recipes rely on too much flour or whole eggs, which can lead to a tough, bready crumb that dries out the moment it hits the air. Our version uses a high-fat approach that creates a protective barrier around the flour proteins, resulting in a cookie that is both sturdy enough for a jar and soft enough to melt on your tongue.
The flavor profile is deep and nostalgic, leaning heavily on the quality of your butter and vanilla. Because we omit the brown sugar typically found in chewy cookies, we allow the creamy, lactic notes of the butter to shine through without distraction. This makes them the perfect companion for a cup of tea or a cold glass of milk, providing a comforting, consistent experience every time you open the lid. They are remarkably reliable and stay jar-fresh for days, making them a treasure for busy families who want a homemade treat that actually lasts.
Print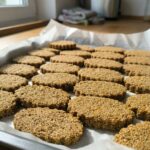
Butter Cookies
- Total Time: 1 hour 27 mins
- Yield: 16 cookies
- Diet: Vegetarian
Description
These tender, heritage-style butter cookies use a yolk-only recipe to ensure a rich, melt-in-your-mouth texture that stays soft for days. With a hint of vanilla and a crunchy sanding sugar rim, they are the perfect bakery-quality treat for your cookie jar.
Ingredients
- 1 cup (226g) unsalted butter, softened
- 3/4 cup granulated sugar
- 2 large egg yolks
- 1 tablespoon vanilla extract
- 240g all-purpose flour
- 1/2 teaspoon salt
- Sanding sugar or coarse sugar for coating
Instructions
- In a stand mixer with a paddle attachment, cream softened butter, granulated sugar, and salt for 2-3 minutes until light and fluffy.
- Add egg yolks and vanilla extract, mixing until combined and scraping down the bowl as needed.
- Gradually mix in the flour on low speed until just incorporated and no white streaks remain.
- Form the dough into a 12-inch log, wrap in parchment paper, and chill in the refrigerator for at least one hour.
- Preheat oven to 350°F (175°C) and roll the chilled log in sanding sugar to coat the outside.
- Slice the log into 3/4-inch rounds, place on a parchment-lined baking sheet, and bake for 10-12 minutes until edges are pale golden.
Notes
For the most accurate results, always measure your flour by weight using a digital scale to prevent the cookies from becoming dry. If you find the dough too soft to handle after mixing, chill it for 15 minutes before attempting to roll it into a log shape.
- Prep Time: 1 hour 15 mins
- Cook Time: 12 mins
- Category: Dessert
- Method: Baking
- Cuisine: American
The Secrets Behind the Softness
To achieve the perfect chew and longevity, every ingredient in this recipe serves a specific purpose for moisture retention and structural integrity. Using the right tools and temperatures is just as vital as the ingredients themselves.
- Unsalted Butter: This is the foundation of our flavor. Using unsalted butter allows you to control the seasoning precisely. It must be softened to room temperature—pliable but not greasy—to allow for proper creaming with the sugar.
- Granulated Sugar: While it provides sweetness, its primary role here is to tenderize the dough by interfering with gluten development. It helps create those slightly crisp edges while keeping the center soft.
- Egg Yolks: Using only yolks is my favorite texture tweak. Yolks contain lecithin and fats that act as natural emulsifiers, creating a tighter, moister crumb than whole eggs. This is what prevents the cookies from becoming dry and bready.
- Vanilla Extract: Since there are so few ingredients, the quality of your vanilla matters immensely. It carries the weight of the heritage in this recipe, providing a floral, warm aroma that permeates the entire cookie.
- All-Purpose Flour: Measuring this by weight (240g) is the most important step for success. Too much flour is the primary cause of hard, dry cookies. If you do not have a scale, use the spoon-and-level method to keep the dough light.
- Sanding Sugar: This is optional but highly recommended for a vintage look and a satisfying crunch on the outer rim, providing a beautiful contrast to the tender interior.
How to Achieve the Perfect Butter Cookie
Step 1: Creaming for Structure
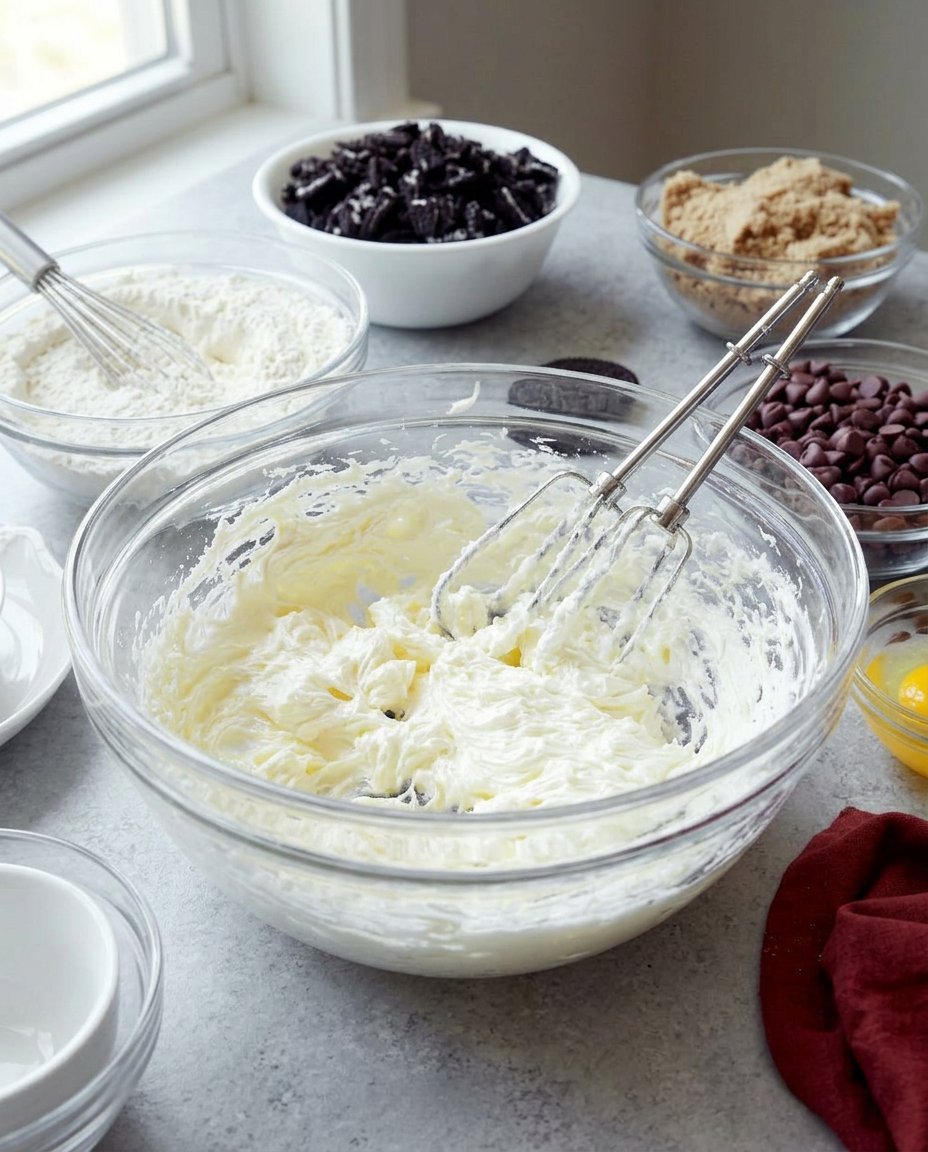
In a stand mixer fitted with a paddle attachment, combine your softened butter, granulated sugar, and salt. Beat these together on medium speed for about 2 to 3 minutes. You are looking for a light and fluffy consistency, but do not overdo it. Over-creaming can incorporate too much air, which might cause the cookies to puff and then collapse, affecting the long-term texture.
Step 2: Emulsifying the Yolks
Add the egg yolks and the high-quality vanilla extract to the creamed mixture. Continue mixing until the ingredients are fully combined and the color is uniform. Be sure to stop the mixer and scrape down the sides and the bottom of the bowl with a silicone spatula. This ensures that no streaks of unmixed butter remain, which would create oily spots in your finished bake.
Step 3: Incorporating the Flour
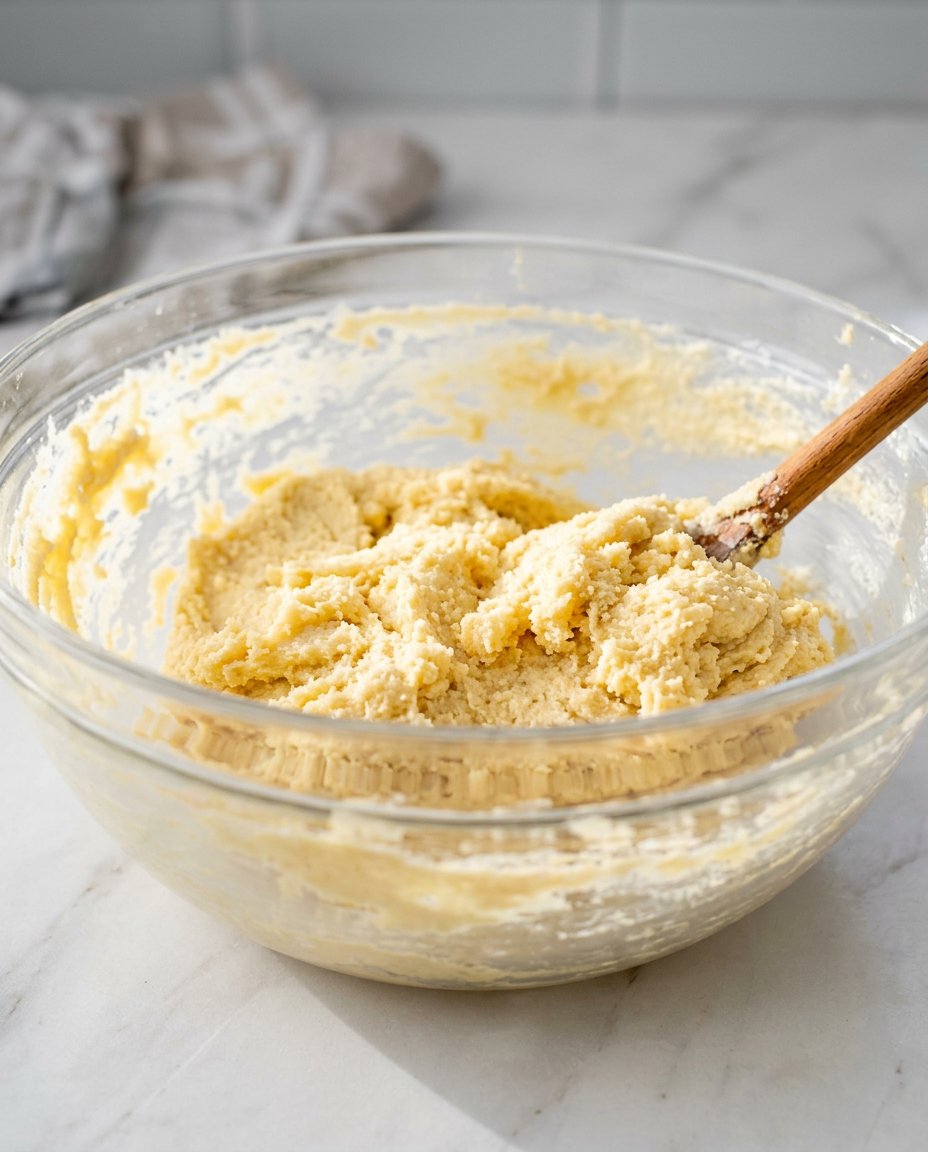
Turn your mixer to the lowest setting and gradually add the all-purpose flour. Mix just until you no longer see white streaks of flour. Over-mixing at this stage develops gluten, which is the enemy of a soft butter cookie. The dough will appear very soft and slightly sticky, which is exactly what we want for a moist result.
Step 4: Shaping and Chilling
Turn the dough out onto a lightly floured surface. Knead it gently just a few times until it forms a cohesive ball. Roll it into a log about 12 inches long. Wrap the log tightly in parchment paper or plastic wrap. To keep the log perfectly round and prevent a flat side from forming, I recommend placing the wrapped log inside an empty cardboard paper towel roll before sliding it into the refrigerator for at least one hour.
Step 5: The Sugar Coating
Once the dough is firm and chilled, preheat your oven to 350°F (175°C). Spread your sanding sugar or coarse sugar onto a small tray. Unwrap the chilled log and roll it firmly through the sugar, pressing down slightly so the crystals adhere to the surface. This creates a professional, bakery-style finish that stays crunchy even as the cookie remains soft.
Step 6: Slicing and Baking
Use a very sharp knife to slice the log into rounds about ¾-inch thick. Place them on a baking sheet lined with parchment paper, leaving about an inch of space between them. Bake for 10 to 12 minutes. The key here is to pull them out when the edges are just barely turning a pale golden brown. The centers should still look slightly underdone; they will firm up as they cool, locking in that essential moisture.
Mehmet’s Secrets for Lasting Freshness
To ensure your cookies stay soft and wonderful, you must pay attention to the cooling process. Never move your cookies to a wire rack immediately. Let them cool completely on the baking sheet itself. This slow cooling process allows the internal structure to set without losing too much moisture to the air. If you prefer a slightly crisper, more traditional “tin” texture, you can leave the baking sheet in the oven with the door cracked slightly after turning the heat off. For more texture-focused ideas, check out our Classic Cookie Recipes.
Another trick for keeping these cookies fresh is the storage environment. Once they are entirely cool, place them in an airtight glass jar. If you live in a particularly dry climate, adding a small piece of plain white bread to the jar can act as a humidity regulator, keeping your cookies soft for up to a week. You can also see how professionals handle these delicate doughs at Preppy Kitchen.
Texture and Flavor Tweaks
You can easily adapt this heritage recipe to fit different occasions without sacrificing the soft bite. If you want a more festive feel, replace the vanilla extract with almond extract or even a bit of lemon zest for a bright, citrusy finish. For those who enjoy a bit of holiday flair, you can press a small well into the center of each slice before baking and fill it with a half-teaspoon of high-quality raspberry jam. This variation is a hit during Holiday Cookie Celebrations.
If you prefer a cookie that is more suitable for decorating, you can turn this into a cut-out dough. Instead of rolling it into a log, flatten the dough into a disk, wrap it, and chill. Roll it out to 1/4 inch thickness on a floured surface, use your favorite cookie cutters, and bake as directed. It holds its shape beautifully while remaining much more tender than standard sugar cookies. For more simple variations, browse our Quick & Easy Cookies section.
How to Serve Your Jar-Fresh Treats
These cookies are best enjoyed at room temperature, but if you want to recapture that just-out-of-the-oven experience on day four, try warming a cookie in the microwave for exactly five seconds. This softens the butter fats just enough to make the cookie extra tender. They are also fantastic when paired with more Wholesome Cookie Options on a dessert platter to provide a balance of rich and light flavors.
For a beautiful presentation, stack them in a vintage glass jar on your counter. The sanding sugar edges catch the light and make them look as good as they taste. They make wonderful gifts when packed in simple parchment bags tied with twine. If you are serving them at a gathering, they pair beautifully with a warm Earl Grey tea or a dark roast coffee, which helps cut through the richness of the high butter content.
The Final Word on Soft Butter Baking
Mastering the butter cookie is about respecting the ingredients and understanding how fat preserves freshness. By following these texture-focused steps, you can say goodbye to the days of dry, crumbly cookies and enjoy a treat that stays wonderful for the whole week. For more ideas on maintaining that perfect jar-fresh quality, explore our Cookie Decorating Traditions. We would love to see your beautiful bakes, so please share your results with us on Pinterest, Instagram, and Facebook. Happy baking, and may your cookie jar never be empty!
