My grandmother used to keep her recipe box on the highest shelf, a sacred collection of flavors that defined my childhood. While I treasure those slow afternoons spent in her kitchen, my own life is a whirlwind of schedules and tasks that don’t always allow for four-hour baking projects. I created this version of her classic treat to bridge that gap, giving you all the nostalgic warmth of a heritage kitchen in a fraction of the time.

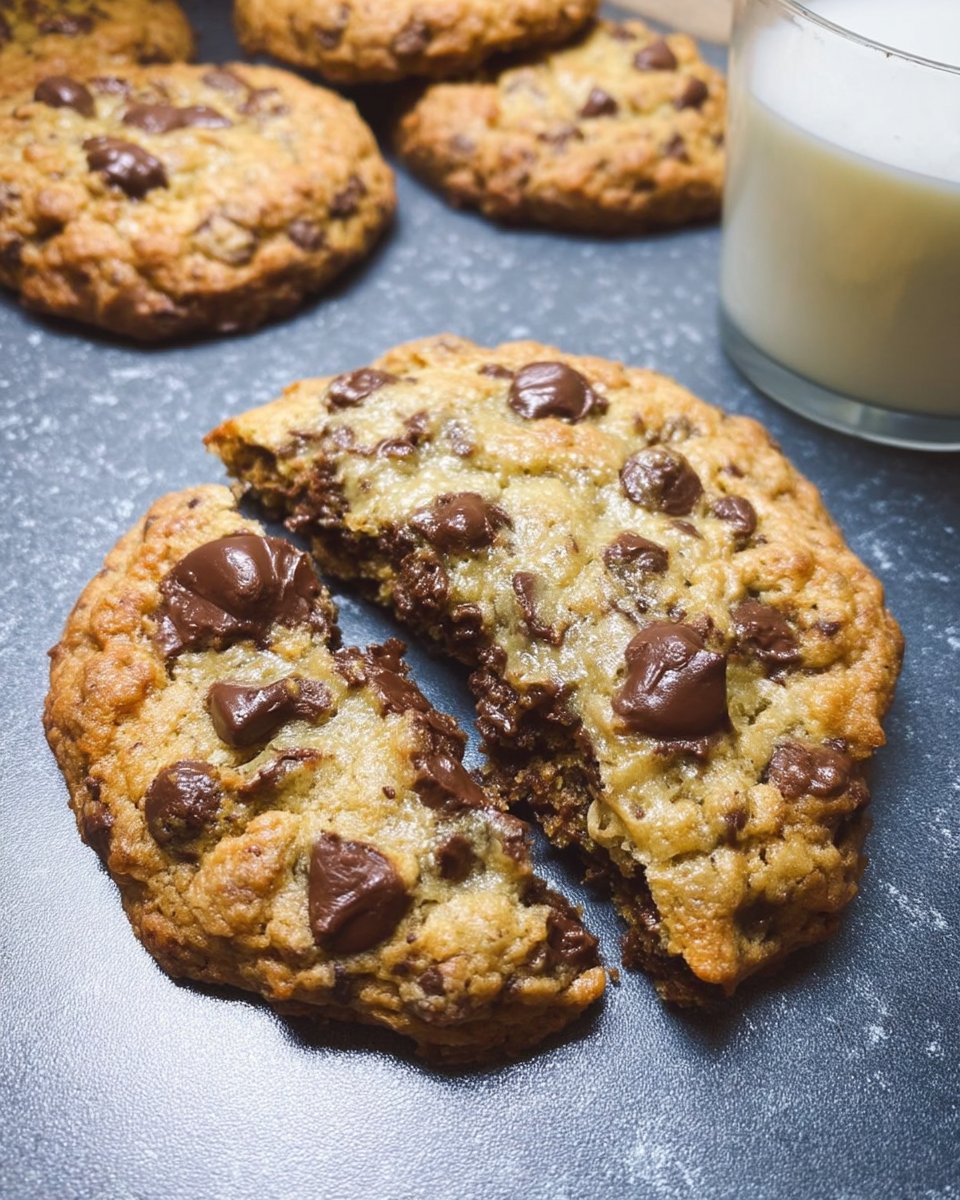
This recipe is the ultimate solution for the busy modern baker who refuses to settle for store-bought quality. By using a slightly higher oven temperature and skipping the unnecessary chilling phase, we achieve a cookie that is crisp on the edges and incredibly soft in the middle. It is a quick method that respects the soul of the original, proving that you can indeed have Grandma’s best flavors on a Tuesday night after work.
A Modern Classic for Your Busy Kitchen
You are going to fall in love with these cookies because they provide instant gratification without sacrificing the depth of flavor you expect from a vintage recipe. Most traditional methods require you to wait hours for the dough to hydrate in the fridge, but we have adjusted the ratios to make sure these are ready to hit the oven immediately. This is the perfect recipe for when that 8:00 PM craving hits or when you need a last-minute contribution for a school event.
The texture of these cookies is what truly sets them apart. They have a beautiful golden hue and a soft, pillowy center that stays moist for days. We use a high ratio of brown sugar to granulated sugar, which creates a deep, molasses-like undertone that mimics the flavor of dough that has aged for twenty-four hours. It is all about smart shortcuts that preserve the heart of the tradition. You get a reliable, high-quality result every single time you bake them.
Another reason to love this recipe is its simplicity. You do not need any fancy equipment or hard-to-find ingredients. Everything you need is likely already sitting in your pantry. We are taking the stress out of baking by focusing on a straightforward, drop-and-bake method. No rolling pins, no complicated cutters, and no messy flour-covered counters. Just pure, simple joy in every bite.
Print
Chocolate Chip Cookies 2
- Total Time: 25 mins
- Yield: 24 cookies
- Diet: Vegetarian
Description
Skip the chilling time and dive straight into a batch of these ultra-fast chocolate chip cookies. This recipe utilizes a higher oven temperature to create perfectly crisp edges while maintaining a soft, pillowy center that tastes just like a classic heritage treat.
Ingredients
- Salted Butter, softened to room temperature
- Granulated Sugar
- Light Brown Sugar, packed
- Pure Vanilla Extract
- 2 Large Eggs, room temperature
- All-Purpose Flour, unbleached recommended
- Baking Soda
- Baking Powder
- Sea Salt
- 2 cups Chocolate Chips
Instructions
- Preheat your oven to 375 degrees Fahrenheit (190 degrees Celsius) and line three large baking sheets with parchment paper or silicone mats.
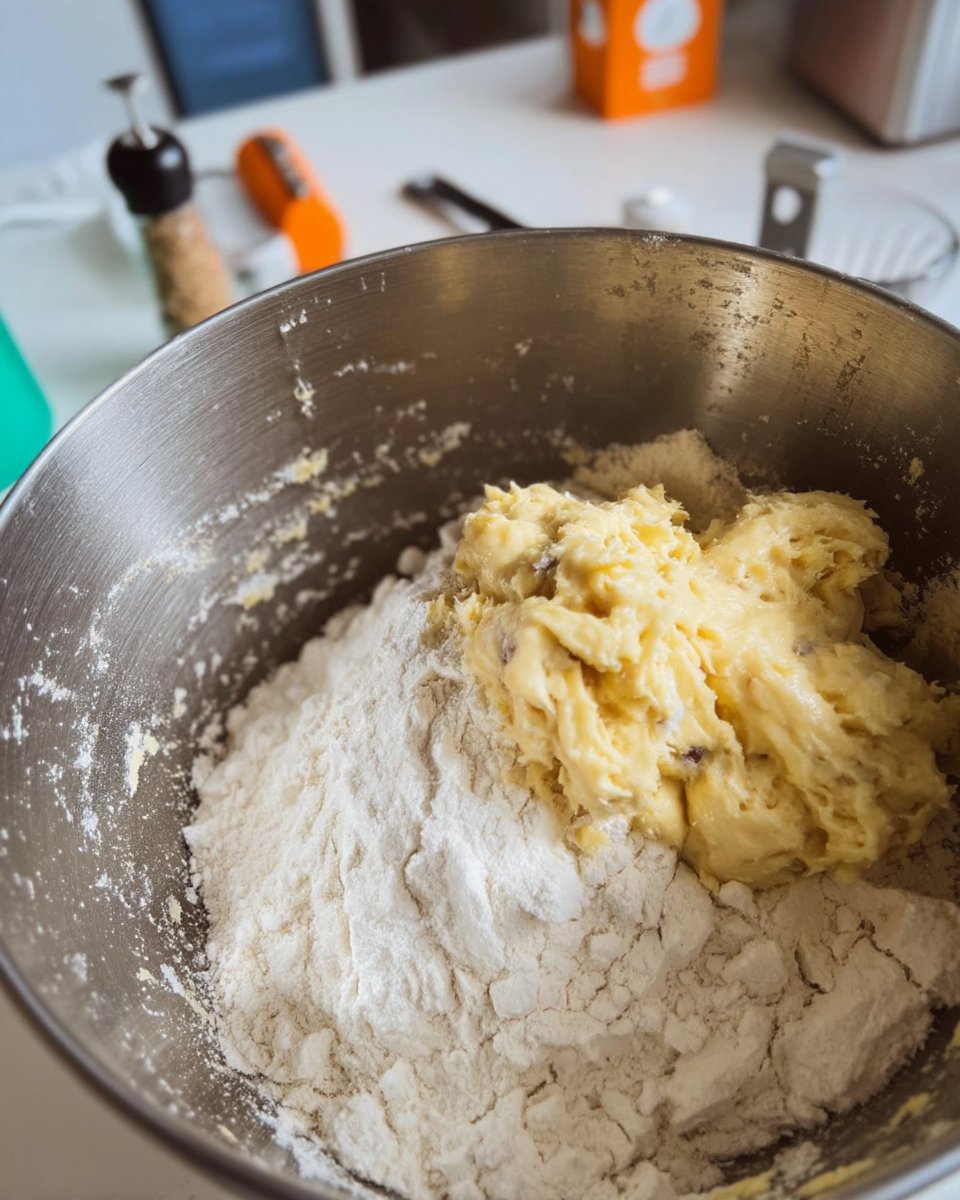
- In a medium-sized bowl, whisk together the flour, baking soda, baking powder, and sea salt to ensure even distribution.
- Use a stand mixer or hand mixer to cream the softened salted butter with the granulated and light brown sugars for 2 to 3 minutes until pale and fluffy.
- Beat in the two large eggs and the pure vanilla extract for about one minute until the batter is smooth.
- Turn the mixer to its lowest setting and gradually add the dry flour mixture, mixing only until the white streaks disappear.
- Gently fold in the two cups of chocolate chips using a sturdy spatula so they are evenly distributed.
- Portion the dough into balls of about 2 to 3 tablespoons each and place them on the prepared baking sheets, spaced two inches apart.
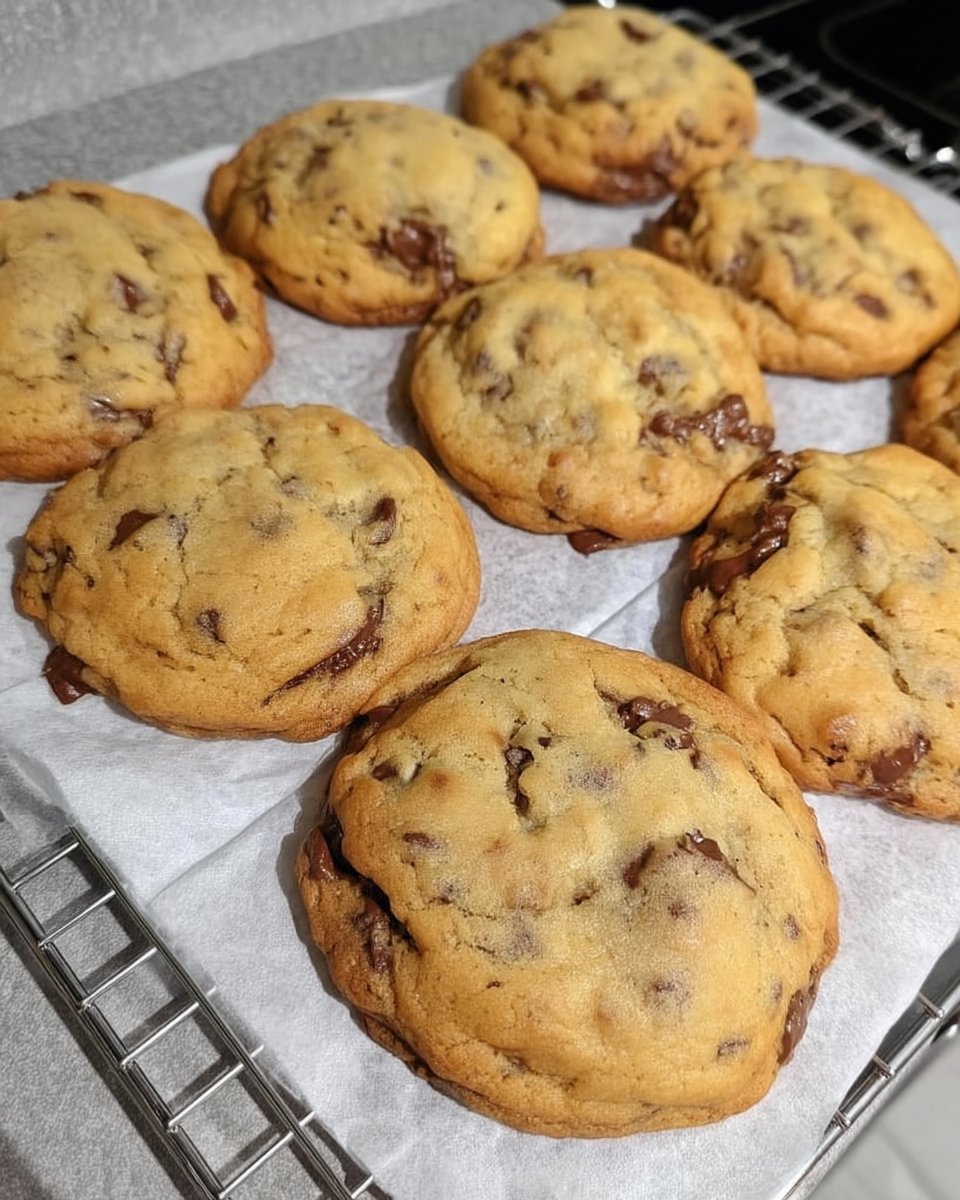
- Bake for 8 to 10 minutes until the edges are golden brown, then allow them to rest on the hot pan for five minutes before moving to a cooling rack.
Notes
To ensure your cookies maintain that perfect soft texture, store them in an airtight container with a small piece of apple or a slice of white bread; the moisture from these items will keep the cookies from drying out over several days. If you prefer a more uniform appearance, you can use a round cookie cutter to gently ‘scoot’ the cookies into perfect circles immediately after they come out of the oven while they are still soft.
- Prep Time: 15 mins
- Cook Time: 10 mins
- Category: Dessert
- Method: Baking
- Cuisine: American
Simple Pantry Staples for Heritage Flavor
To get that perfect vintage taste, we rely on high-quality basics. This recipe is designed to work with what you have on hand, making it the ultimate reliable treat for any occasion. Here is what you will need to gather before you start mixing.
- Salted Butter: I prefer using salted butter because it adds a layer of complexity to the sweetness. Make sure it is softened to room temperature so it creams easily with the sugars. If you only have unsalted, just add an extra quarter teaspoon of salt to the dry mix.
- Granulated and Light Brown Sugar: The combination of these two is vital. The white sugar gives the cookies those slightly crisp edges, while the packed brown sugar provides the chewiness and moisture we all crave.
- Pure Vanilla Extract: Never skip the vanilla. It acts as the bridge between the butter and the chocolate, rounding out the flavor profile. If you want a really old-fashioned taste, a high-quality extract makes all the difference.
- Large Eggs: These provide the structure and lift. Make sure they are at room temperature so they incorporate smoothly into the creamed butter without curdling the mixture.
- All-Purpose Flour: This is the backbone of our cookie. I recommend unbleached flour for the best texture, but any standard all-purpose variety will work beautifully.
- Baking Soda and Powder: We use both to achieve a specific lift. The soda helps with browning and spread, while the powder gives the cookies a bit of height and a soft crumb.
- Sea Salt: A fine sea salt distributes more evenly than coarse table salt. It cuts through the sugar and makes the chocolate flavors pop.
- Chocolate Chips: Two full cups of your favorite variety. Whether you prefer semi-sweet, milk chocolate, or even dark chocolate chunks, this is where you can really make the recipe your own.
How to Make These Quick Classics
Step 1: Prepare Your Kitchen
Start by preheating your oven to 375 degrees Fahrenheit (190 degrees Celsius). This higher temperature is part of our secret for getting those perfect edges without a long chill time. Line three large baking sheets with parchment paper or silicone mats. This prevents sticking and makes cleanup a breeze, which is essential for our modern, busy schedules.
Step 2: Mix the Dry Base
In a medium-sized mixing bowl, whisk together the all-purpose flour, baking soda, baking powder, and sea salt. Taking a moment to whisk these together separately helps prevent any clumps of leavening agents in your finished cookies. Set this bowl aside for a moment.
Step 3: Cream the Butter and Sugars
Using your stand mixer or a hand mixer, cream together the softened salted butter, granulated sugar, and packed light brown sugar. You want to beat them until the mixture is pale and fluffy, which usually takes about two to three minutes. This process incorporates air into the dough, which is key for a light texture.
Step 4: Incorporate Wet Ingredients
Add the two large eggs and the pure vanilla extract to the butter mixture. Beat these in for about a full minute. You want the batter to look smooth and slightly lightened in color. This ensures the eggs are fully emulsified, providing the best structure for your cookies.
Step 5: Combine the Dough
Turn your mixer to the lowest setting and gradually add the dry flour mixture to the wet ingredients. Mix only until the white streaks of flour disappear. Over-mixing at this stage can lead to tough cookies, so be gentle and stop as soon as it is combined.
Step 6: The Chocolate Finish
Fold in the two cups of chocolate chips using a sturdy spatula. Make sure they are evenly distributed throughout the dough so that every single cookie gets a generous amount of chocolate. This is the part where the kitchen starts to smell amazing.
Step 7: Scoop and Shape
Using a cookie scoop, portion out the dough into balls of about two to three tablespoons each. Place them on your prepared baking sheets, leaving about two inches of space between each one to allow for natural spreading. You do not need to flatten them; the oven heat will do that for you.
Step 8: Bake to Perfection
Slide the sheets into the preheated oven and bake for 8 to 10 minutes. The secret is to take them out when the edges are just starting to turn a light golden brown, even if the centers still look a bit soft and doughy. Let them rest on the hot pan for five minutes to finish setting before moving them to a cooling rack.
Meagan’s Secrets for Success

One of the best ways to keep your baking efficient is to use a standardized cookie scoop. This not only keeps your hands clean but also makes sure every cookie is the same size, which means they will all bake evenly. If you want to dive deeper into the basics of great baking, check out our Classic Cookie Recipes for more guidance on mastering the fundamentals. Another great tip is to always use room temperature eggs; if you forgot to take them out of the fridge, just place them in a bowl of warm water for five minutes while you prep your other ingredients. This small step helps the dough come together much more smoothly. Finally, never overbake these! They should look slightly underdone when they come out. The residual heat from the baking sheet will finish the job, leaving you with that perfect, gooey center that everyone loves.
Quick Twists for Any Craving
While the classic version is hard to beat, you can easily change these up to suit the season or your mood. For a salty-sweet version, try sprinkling a tiny pinch of flaky sea salt over the tops immediately after they come out of the oven. If you are baking for a special occasion, you might find inspiration in our guide to Holiday Cookie Celebrations. You can also swap the semi-sweet chips for white chocolate and macadamia nuts, or add a half-cup of toasted pecans for a bit of crunch. If you want a deeper chocolate flavor, try using a mix of dark chocolate chunks and milk chocolate chips. The variety in sizes and types of chocolate creates a more complex taste and a beautiful, professional appearance.
Modern Ways to Share the Joy
These cookies are best enjoyed warm, about ten minutes after they leave the oven. For a quick after-school snack, serve them with a cold glass of milk or a warm cup of herbal tea. If you are looking for more ways to fit treats into a fast-paced life, our collection of Quick & Easy Cookies has plenty of ideas. For a more decadent dessert, use two cookies to make an ice cream sandwich with a scoop of vanilla bean ice cream in the middle. They also pack perfectly into lunchboxes for a little midday nostalgia. If you are bringing them to a potluck, store them in a single layer with parchment paper between them to keep the chocolate from smudging.
Heritage Flavor in Half the Time
Baking doesn’t have to be an all-day event to feel special. This recipe proves that we can honor our family traditions and enjoy those classic, buttery flavors even when our schedules are packed. It is about making the most of the time we have and sharing something homemade with the people we love. For those who want to keep things a bit lighter, feel free to look at our Wholesome Cookie Options. I hope this recipe becomes a new staple in your kitchen, just like it has in mine. If you want to see how others are making this recipe, you can also visit The Most Amazing Chocolate Chip Cookies for more inspiration. Happy baking!
Connect with us for more quick heritage recipes:
