Many home bakers have experienced the disappointment of reaching into a cookie jar only to find chocolate cookies that have turned into dry, crumbly discs after just one night. It’s a common heartbreak when using older recipes that prioritize cocoa flavor but neglect the moisture balance needed to keep the crumb tender. I remember my first attempt at my grandmother’s recipe; the flavor was deep, but the texture was like biting into a chalkboard. That discovery sent me on a mission to preserve that heritage flavor while introducing modern texture tweaks to keep them soft for a full week.

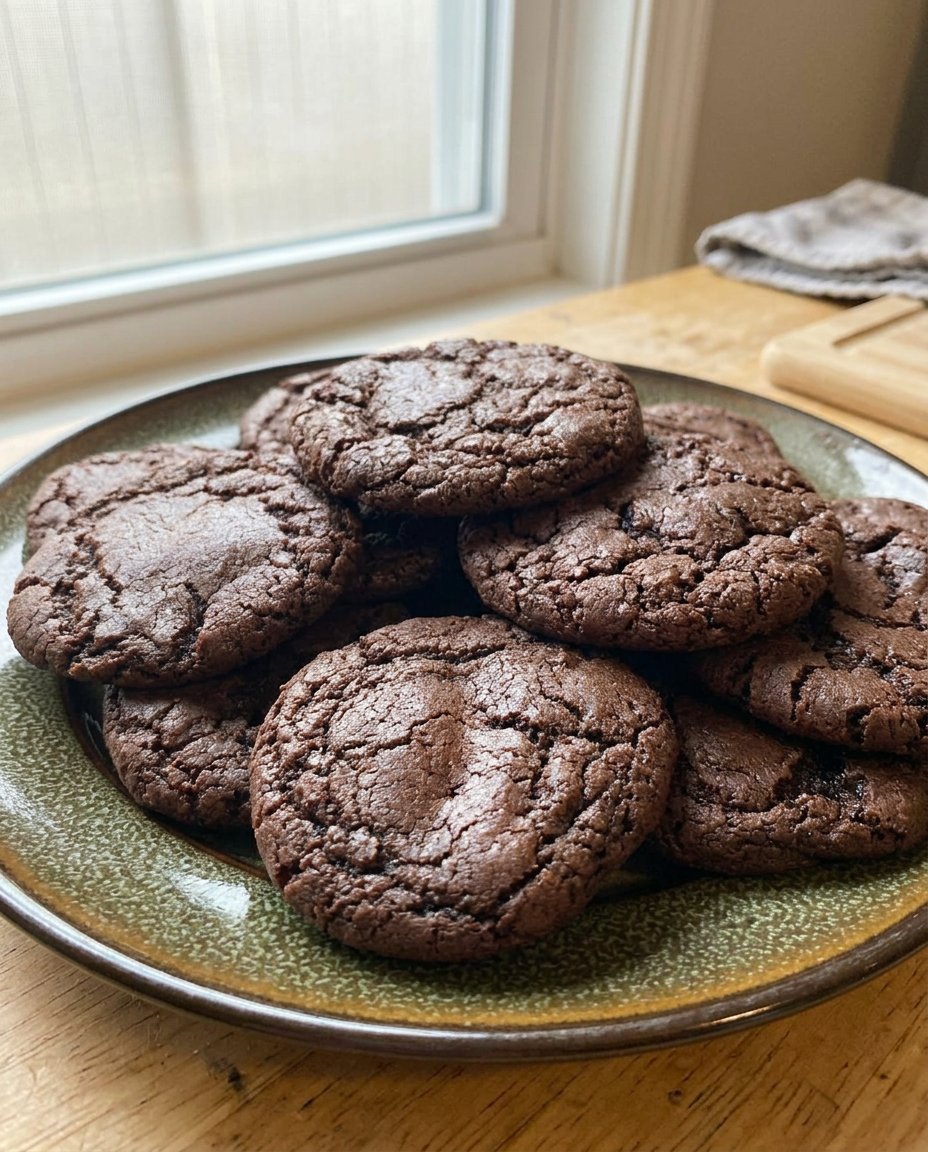
These chocolate cookies are the result of years of perfecting the balance between rich cocoa and moisture-retaining ingredients. They are intensely chocolaty, dense, and have a chewy center that stays fresh in your cookie jar for days. By understanding how fat and sugar interact with the cocoa solids, we create a cookie that feels special every time you take a bite. It’s the kind of reliable recipe that honors tradition while satisfying our modern craving for a cookie that doesn’t go stale.
A Perfect Treat for Any Occasion
There is a special comfort in a cookie that promises a soft, chewy bite from the edges all the way to the center. You will love this recipe because it solves the age-old problem of chocolate cookies becoming rock-hard by day two. The texture remains consistent, providing a satisfying chew that feels like it came straight out of a professional bakery.
These cookies are remarkably dense and intensely chocolaty, making them a favorite for those who want a real chocolate punch without it being overly sweet. Because they use simple pantry staples, you can whip them up whenever a craving hits. They are sturdy enough for a lunchbox but tender enough for a holiday dessert platter. This is a reliable, proven recipe that brings the warmth of heritage baking to your modern kitchen.
Most importantly, these stay jar-fresh. Whether you are baking for a potluck or just keeping a stash for yourself, you won’t have to worry about the texture failing you. The combination of creamed butter and the right amount of sugar creates a protective moisture barrier that keeps the interior moist and the flavor vibrant.
Print
Chocolate Cookies
- Total Time: 24 mins
- Yield: 24 cookies
- Diet: Vegetarian
Description
Indulge in these rich, velvety chocolate cookies designed to stay soft and chewy for days. Perfect for satisfying a deep cocoa craving, this reliable recipe uses simple pantry staples to create a bakery-quality treat right at home.
Ingredients
- 170 grams Unsalted or Salted Butter, room temperature
- 300 grams Granulated Sugar
- 2 Large Eggs
- 2 teaspoons Vanilla Extract
- 260 grams All-Purpose Flour
- 60 grams Unsweetened Cocoa Powder
- 1 teaspoon Baking Soda
- 1/2 teaspoon Salt
Instructions
- Preheat your oven to 350°F (175°C) and line a large baking sheet with parchment paper or a silicone mat.
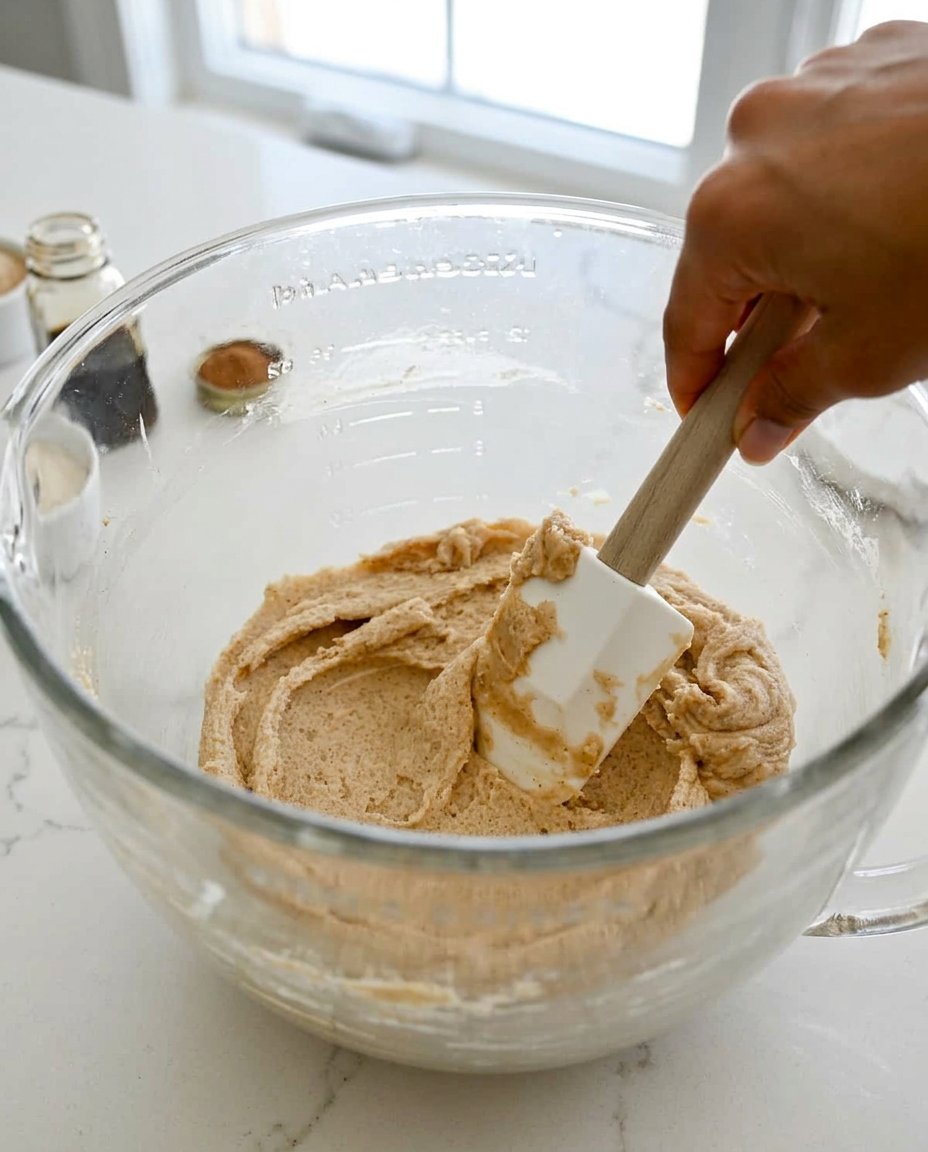
- In a stand mixer fitted with a paddle attachment, cream the room-temperature butter and granulated sugar on medium-high speed for at least 4 minutes until pale and fluffy.
- Add the eggs one at a time, ensuring each is fully incorporated, then stir in the vanilla extract and scrape down the sides of the bowl.
- In a separate bowl, sift or whisk together the all-purpose flour, cocoa powder, baking soda, and salt.
- With the mixer on low speed, slowly add the dry ingredients to the wet mixture and mix only until just combined.
- Using a medium cookie scoop, portion approximately 1.5 tablespoons of dough onto the prepared sheet, spacing them 2 inches apart.
- Bake for 9 minutes until the edges are crisp but the tops still appear soft, then let them rest on the pan for 10 minutes before transferring to a wire rack.
Notes
To ensure your cookies stay moist, avoid over-baking even if they look slightly underdone in the center when you pull them out of the oven. For the most accurate results, use a kitchen scale to measure your flour and cocoa powder, as too much flour is the primary cause of dry, crumbly cookies.
- Prep Time: 15 mins
- Cook Time: 9 mins
- Category: Dessert
- Method: Baking
- Cuisine: American
The Soft Secret Ingredients
To achieve the perfect chew, we focus on ingredients that promote moisture retention and a tender crumb. Every component in this list serves a specific purpose in the texture science of these chocolate cookies.
- Unsalted or Salted Butter (170 grams): At room temperature, butter is the foundation of our texture. Creaming it thoroughly with the sugar creates tiny air pockets that lead to a soft bite. Use high-quality butter for the best fat content.
- Granulated Sugar (300 grams): While it provides sweetness, sugar is also a liquifier. It melts during baking and helps create those slightly crisp edges while keeping the middle chewy.
- Large Eggs (2): Eggs provide the structure and protein needed to hold the cocoa together. They also add vital moisture to the dough.
- Vanilla Extract (2 teaspoons): This is essential for rounding out the deep notes of the cocoa powder. It adds a layer of warmth to every bite.
- All-Purpose Flour (260 grams): We use a precise amount to ensure the cookies don’t become cakey. Measuring by weight is the most reliable way to prevent dry cookies.
- Unsweetened Cocoa Powder (60 grams): This provides the intense chocolate flavor. Natural cocoa is acidic, which reacts with the baking soda to give the cookies a slight lift and a soft texture.
- Baking Soda (1 teaspoon): This is our leavening agent. It reacts with the natural cocoa powder to help the cookies spread correctly and stay tender.
- Salt (1/2 teaspoon): Salt is the secret weapon that makes the chocolate taste more like chocolate. It balances the sweetness and keeps the flavor profile complex.
How to Make It
Step 1: Prep Your Ingredients
Preheat your oven to 350°F (175°C). Line a large sheet pan with parchment paper or a silicone baking mat. This prevents sticking and also helps the cookies bake evenly without the bottoms getting too dark. Make sure your butter is truly at room temperature; it should give slightly when pressed but not be oily or melted.
Step 2: The Creaming Process
In the bowl of a stand mixer fitted with the paddle attachment, combine the room-temperature butter and the granulated sugar. Beat them together on medium-high speed for at least 4 minutes. You are looking for a light, creamy, and pale yellow mixture. This step is vital for the final texture, as it builds the air structure that keeps the cookies from being too dense or heavy.
Step 3: Incorporate Liquids
Add the eggs one at a time, making sure each one is fully mixed into the butter before adding the next. This emulsion is what keeps the dough cohesive. Pour in the vanilla extract and mix for another 30 seconds. Scrape down the sides of the bowl with a rubber spatula to make sure no butter streaks remain.
Step 4: Sift and Mix Dry Ingredients
In a separate medium bowl, whisk or sift together the all-purpose flour, unsweetened cocoa powder, baking soda, and salt. Sifting is especially important for cocoa powder, as it tends to clump. With the mixer on low speed, slowly add the dry ingredients to the wet mixture. Mix only until just combined. Overmixing at this stage will develop too much gluten, leading to a tough cookie rather than a soft one.
Step 5: Scoop the Dough
Using a medium #40 cookie scoop (about 1.5 tablespoons), portion the dough onto the prepared baking sheet. Leave about 2 inches of space between each dough ball, as these cookies will spread slightly. If you don’t have a scoop, use a rounded tablespoon and roll the dough gently into balls with your hands.
Step 6: Bake for Perfection
Slide the pan into the oven and bake for approximately 9 minutes. The key cue for doneness is that the edges should be crisp to the touch, but the tops should still appear slightly soft and not quite wet. They might look a little underbaked, but they will firm up on the hot pan. Overbaking is the fastest way to lose that soft, chewy texture we worked so hard to create.
Step 7: The Finishing Touches
Immediately after removing the pan from the oven, you can sprinkle the tops with coarse sugar or a tiny pinch of sea salt if you like. If any cookies came out misshapen, use the edge of a round cutter or a spatula to gently push the edges back into a perfect circle while they are still hot. Let them rest on the baking sheet for 5 to 10 minutes before moving them to a wire rack to cool completely.
Soft Cookie Wisdom
To keep your chocolate cookies soft for the long haul, never let them stay in the oven past the 9 or 10-minute mark. Residual heat will continue to cook the centers once you pull them out. If you want to master more classic textures, you can find a wealth of information in our Classic Cookie Recipes collection. Another great resource for understanding how to maintain that elusive soft chewy chocolate cookies texture is through proper ingredient temperature. Always use a kitchen scale for your flour; even a few extra grams can turn a chewy cookie into a dry one. If your cookies do happen to get a bit firm after a few days, placing a single slice of white bread in the airtight container will help restore their moisture overnight.
Texture Tweaks and Flavor Options
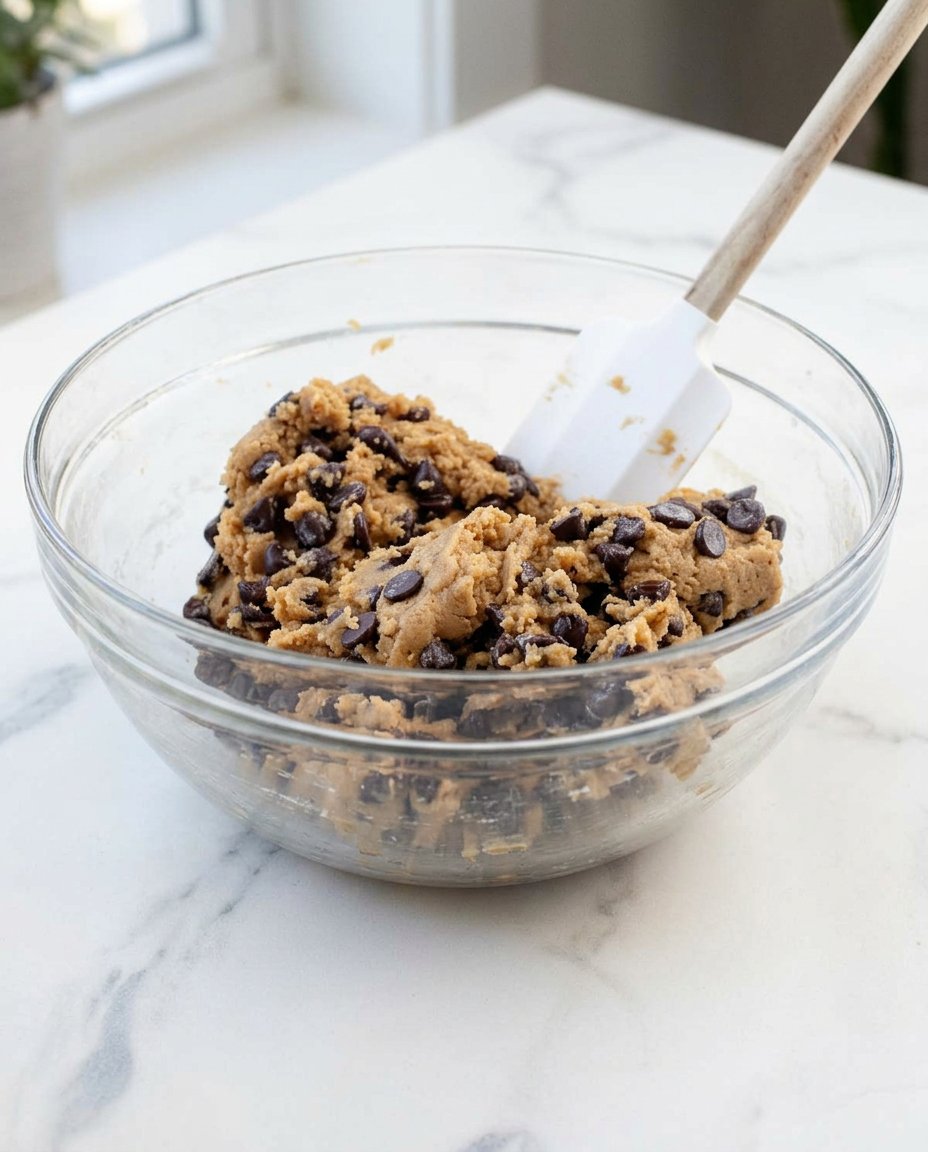
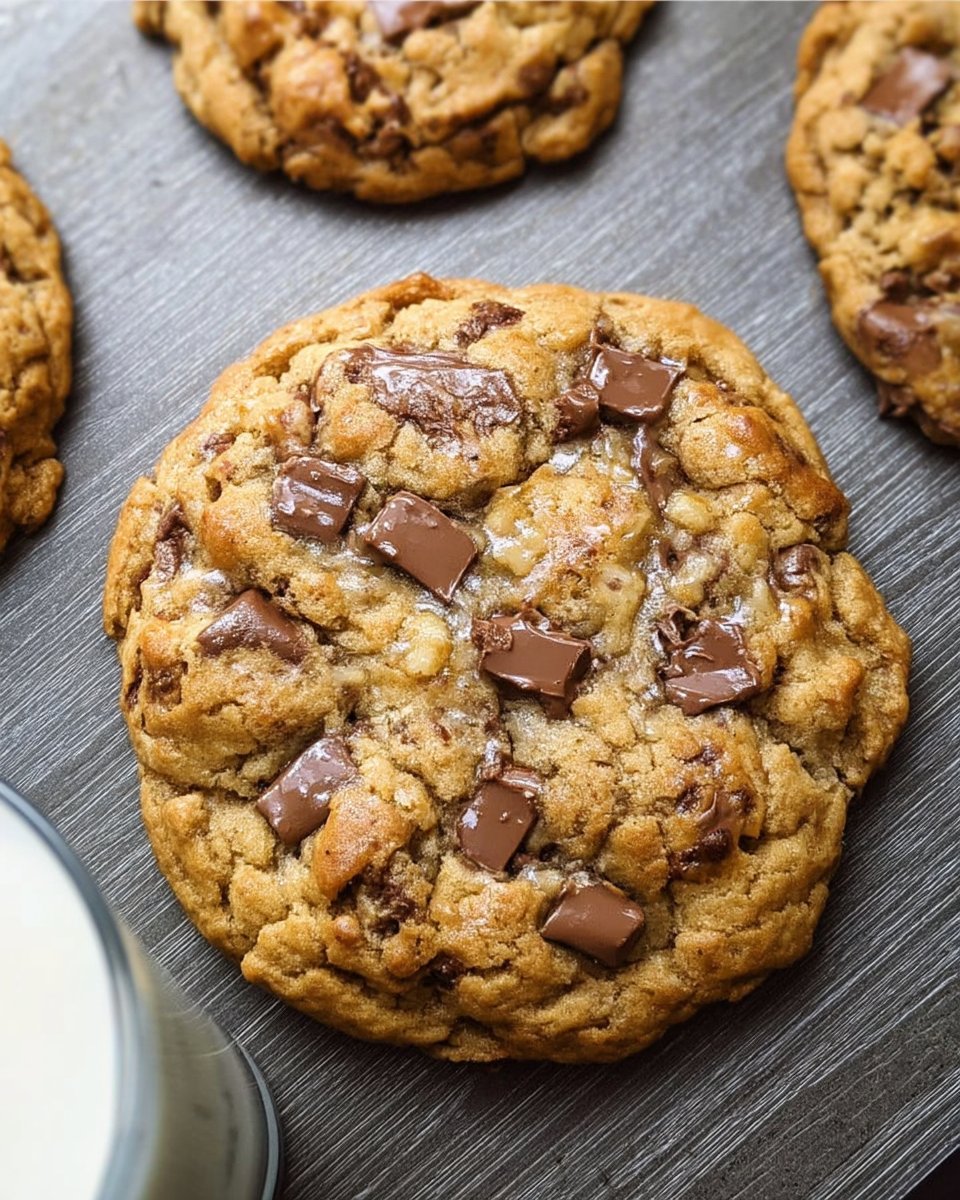
If you prefer a deeper, darker profile, you can swap the natural cocoa powder for Dutch-process cocoa. However, because Dutch-process is not acidic, you must change the 1 teaspoon of baking soda to 1 teaspoon of baking powder to ensure the cookies still rise and stay soft. For those who want a bit of a crunch, try adding half a cup of chopped walnuts or pecans. If you are looking for something faster for a busy weekday, check out our Quick & Easy Cookies section for more inspiration. You can also turn these into “double chocolate” cookies by folding in a cup of semi-sweet chocolate chips, which adds a lovely gooey texture to the center of each bite.
Jar Fresh Enjoyment
These chocolate cookies are best enjoyed with a tall glass of cold milk or a warm cup of coffee. The bitterness of the coffee perfectly complements the deep cocoa notes of the cookie. If you are planning to serve these at a gathering, you might want to look into our Cookie Decorating Traditions for ways to dress them up with a drizzle of white chocolate or a dusting of powdered sugar. For an extra special treat, warm a cookie in the microwave for 10 seconds right before serving to bring back that just-out-of-the-oven melt-in-your-mouth feel.
The Texture Truth
Baking the perfect chocolate cookies is all about respecting the balance of moisture and cocoa. By following these steps and focusing on the creaming process, you can say goodbye to dry, brittle cookies forever. These treats are a wonderful addition to any baker’s repertoire, especially when you need something reliable for your Holiday Cookie Celebrations. We would love to see your results, so please share your baking journey with us on Pinterest, Instagram, or Facebook. Happy baking!


