There are certain recipes that instantly transport me back to my grandmother’s kitchen on a humid July afternoon, when it was simply too hot to turn on the oven. I can still hear the clink of the spoon against the heavy saucepan and smell that intoxicating blend of cocoa and peanut butter bubbling on the stove. These cookies were always the answer when we needed a sweet treat without the heat, written in her loopy script on a stained index card that I cherish to this day.

These classic chocolate no bake cookies are the definition of a pantry staple miracle. Using humble ingredients you likely have on hand right now—sugar, butter, milk, cocoa, and oats—you can create a rich, fudge-like confection in less than fifteen minutes. They are chewy, comforting, and possess a timeless flavor that has graced family tables and church potlucks for generations.
A Timeless Stovetop Classic
There is a reason this recipe has stood the test of time and remains a beloved favorite in so many recipe boxes. First and foremost, they are incredibly easy to make; you don’t need a mixer, you don’t need an oven, and you barely need any patience before you can eat them.
Beyond their simplicity, the texture is what truly makes them special. They strike the perfect balance between a candy and a cookie—fudgy and dense like a praline, but hearty and chewy thanks to the oats. Whether you are looking for a quick after-school snack or a nostalgic treat to fill the cookie jar, these no-bakes deliver pure comfort.
Print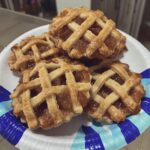
Chocolate No Bake Cookies
- Total Time: 45 mins
- Yield: 24 cookies
- Diet: Vegetarian
Description
Whip up a batch of these classic chocolate peanut butter no-bake cookies using simple pantry staples for a rich, fudge-like treat. Perfect for warm days when you want to avoid the oven, these chewy cookies combine the nostalgic flavors of cocoa and oats in less than fifteen minutes of active time.
Ingredients
- 1/2 cup unsalted butter
- 2 cups granulated sugar
- 1/2 cup milk (whole or 2%)
- 1/4 cup unsweetened cocoa powder
- 1/2 cup creamy peanut butter
- 1 teaspoon vanilla extract
- 3 cups quick-cooking oats
Instructions
- Prepare your workspace by lining two large baking sheets with parchment or wax paper and pre-measuring the peanut butter, vanilla, and oats.
- In a large, heavy-bottomed saucepan, combine the butter, sugar, milk, and cocoa powder over medium heat, stirring occasionally until the butter is melted.
- Bring the mixture to a full rolling boil; once bubbles are bursting across the entire surface, set a timer and boil for exactly 60 seconds without stirring.
- Remove the saucepan from the heat immediately and stir in the peanut butter and vanilla extract until the mixture is smooth and glossy.
- Add the oats to the pan and stir vigorously until every oat is thoroughly coated in the chocolate mixture.
- Working quickly, use a cookie scoop or spoons to drop mounds of the mixture onto the prepared paper and let them sit at room temperature for 20 to 30 minutes until fully set and firm.
Notes
For the best results, ensure you are using quick-cooking oats rather than old-fashioned oats to achieve the signature tender texture. If your cookies aren’t setting properly, it is likely the boiling time was slightly too short; conversely, if they are dry and crumbly, the mixture may have boiled a few seconds too long. Store these treats in an airtight container at room temperature to maintain their fudgy consistency.
- Prep Time: 10 mins
- Cook Time: 5 mins
- Category: Dessert
- Method: No-Bake
- Cuisine: American
Simple Pantry Staples
One of the joys of heritage baking is that the best recipes often require the simplest ingredients. Here is what you will need to gather from your cupboards:
- Butter: I prefer using real unsalted butter to control the salt content, but if you grew up using salted butter in these, it works just fine too. Margarine can affect the setting, so stick to butter for the best texture.
- Sugar: Standard white granulated sugar creates the syrup base that holds everything together.
- Cocoa Powder: Unsweetened cocoa powder provides that deep chocolate flavor. Make sure it’s fresh for the best taste.
- Milk: Whole milk creates the richest cookie, though 2% can work in a pinch.
- Peanut Butter: Creamy peanut butter is traditional and acts as a stabilizer. It adds that classic nutty richness that pairs so perfectly with chocolate.
- Vanilla Extract: A splash of pure vanilla extract rounds out the flavors.
- Oats: Quick-cooking oats are the gold standard here. They provide a tender, chewy texture. Old-fashioned oats can result in a chewier, coarser cookie that may not hold together as well.
How to Make It
Step 1: Prepare Your Surface
Before you start cooking, preparation is key because this recipe moves fast once it’s ready. Line two large baking sheets or a clean counter space with parchment paper or wax paper. Measure out your peanut butter, vanilla, and oats into bowls so they are ready to dump in immediately.
Step 2: Boil the Syrup
In a large heavy-bottomed saucepan over medium heat, combine the butter, sugar, milk, and cocoa powder. Stir occasionally as the butter melts and the mixture comes together. Bring the mixture to a boil.
Step 3: The One-Minute Rule
Once the mixture reaches a full rolling boil—meaning bubbles are bursting vigorously all over the surface, not just the edges—set a timer for exactly one minute. Boil for 60 seconds without stirring. This step is crucial; too short and they won’t set, too long and they will be dry.
Step 4: Add Flavor and Oats
Remove the pan from the heat immediately. Quickly stir in the peanut butter and vanilla extract until the mixture is smooth and glossy. Pour in the oats and stir vigorously until every oat is well-coated in the chocolate mixture.
Step 5: Scoop and Set
Working quickly before the mixture cools, use a medium cookie scoop or two spoons to drop mounds of the mixture onto your prepared wax paper. Let them sit undisturbed at room temperature until they are completely cool and firm, usually about 20 to 30 minutes.
Teresa’s Tips for Success
Making no-bakes is more about chemistry than baking, and over the years I have learned a few secrets to getting them just right.
- Watch the Timer: The boiling time is the most critical part of this recipe. If you don’t boil the sugar syrup long enough, the cookies will remain gooey and won’t hold their shape. If you boil it too long, they will become dry and crumbly. Use a timer for accuracy.
- Weather Matters: believe it or not, humidity affects candy making, and that is essentially what we are doing here. On very rainy or humid days, these cookies might take longer to set or remain slightly softer.
- Use a Cookie Scoop: For uniform cookies that look beautiful in the jar, use a spring-loaded cookie scoop rather than just spoons. It makes the job faster and cleaner.
- Prep Ahead: I cannot stress this enough—have your oats and peanut butter measured before you turn on the stove. For other recipes that require quick timing, check out our collection of Quick & Easy Cookies for more inspiration.
Heritage Twists
While the classic chocolate and peanut butter version is the one most of us remember, there are lovely ways to tweak this recipe while keeping it traditional.
- Crunchy Texture: Swap the creamy peanut butter for crunchy peanut butter if you enjoy little bits of peanuts in every bite.
- Coconut Addition: Stir in 1/2 cup of sweetened shredded coconut along with the oats for a texture reminiscent of a haystack.
- Nut Free: If you have allergies, you can use almond butter or sunflower seed butter, though the flavor profile will shift slightly.
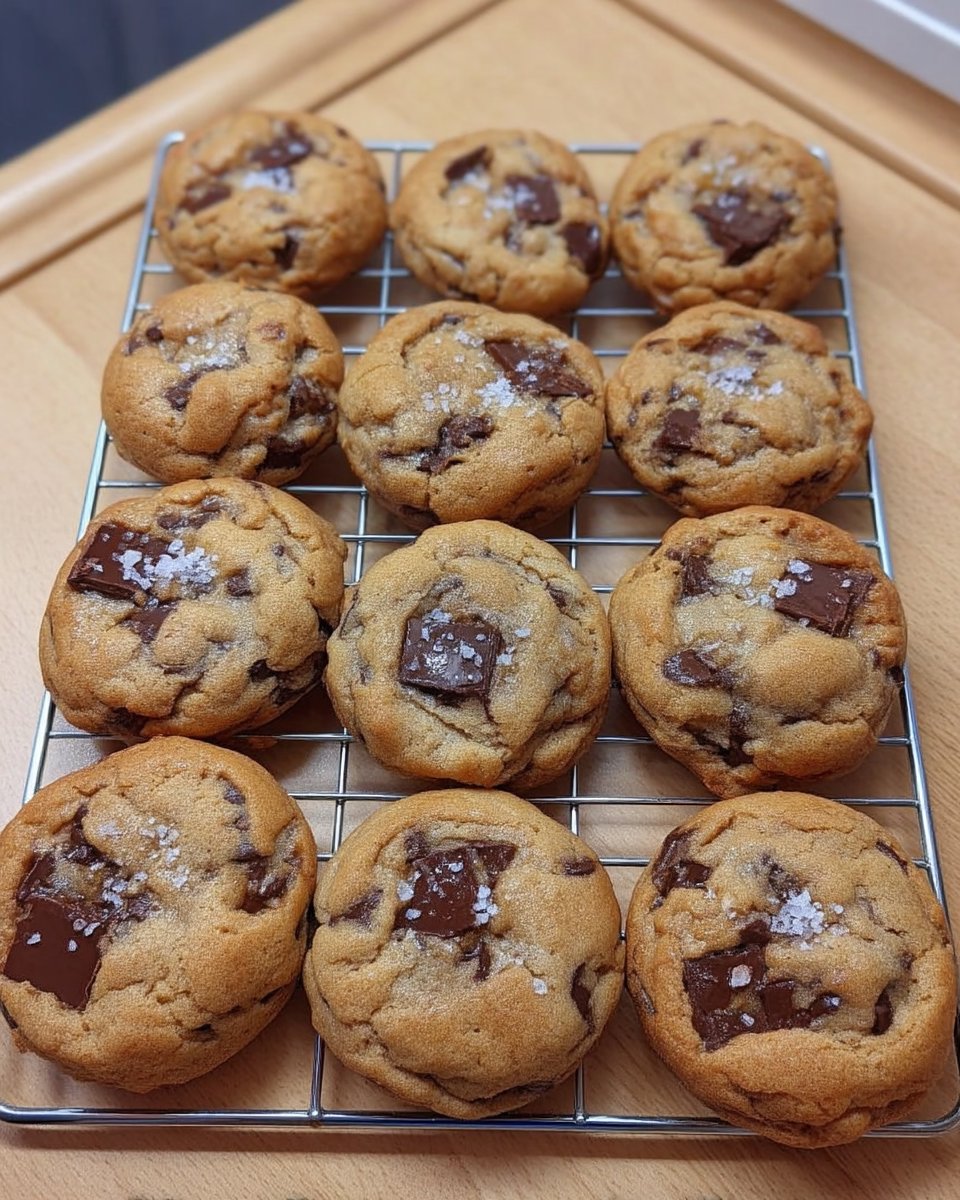
- Sea Salt: A tiny sprinkle of flaky sea salt on top of the wet cookies adds a modern, gourmet touch that enhances the chocolate. If you prefer more Wholesome Cookie Options, try using natural peanut butter, but be aware the oil separation might require a slightly longer setting time.
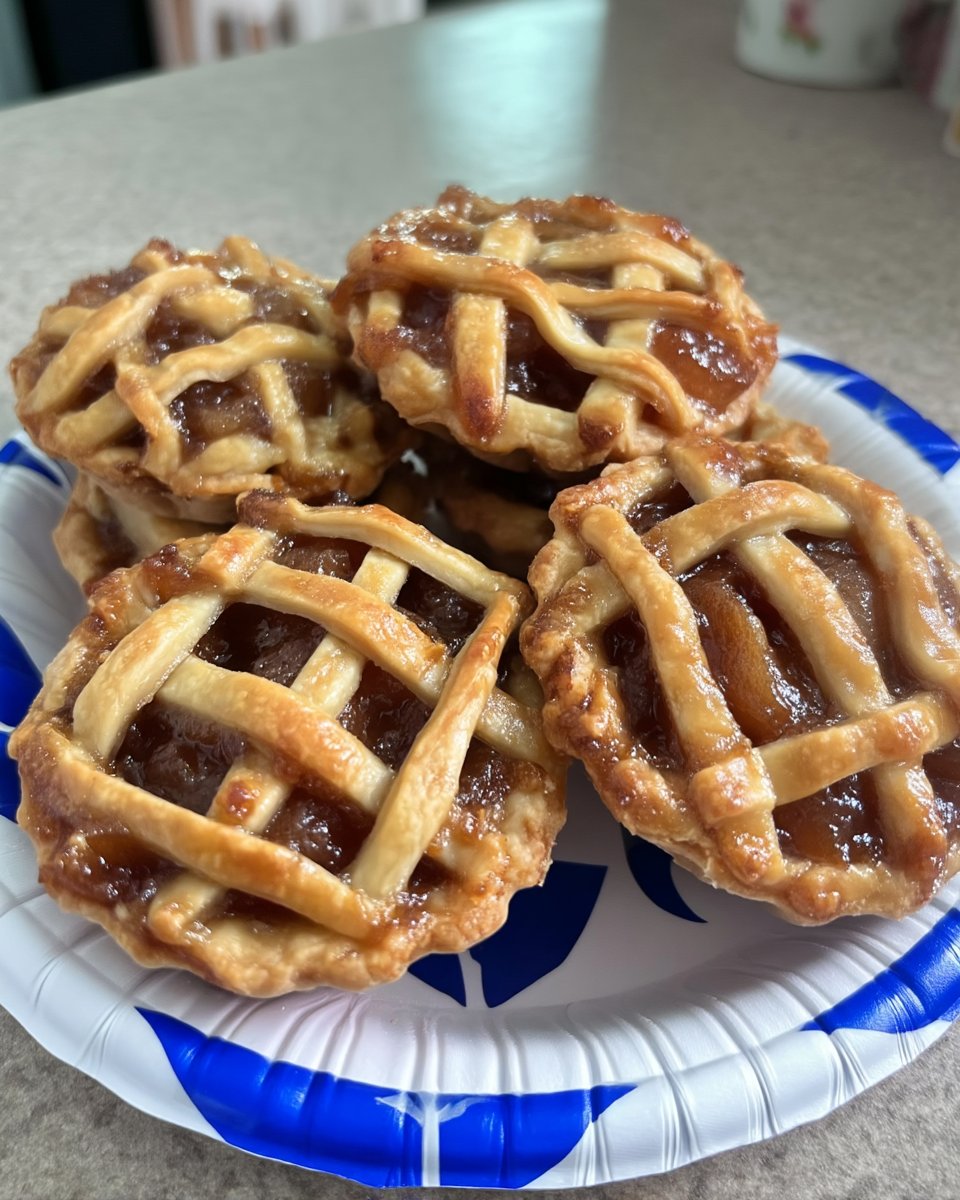
- Fruity Alternative: If you are in the mood for fruit instead of chocolate and don’t mind turning on the oven, you might enjoy a recipe for apple roll cookies which offers a different kind of nostalgic comfort.
Sharing the Tradition
There is nothing quite like a plate of these glossy chocolate cookies sitting on the counter to welcome the kids home from school. They are incredibly rich, so I find they pair best with a tall, cold glass of milk to cut through the sweetness.
For a lovely presentation, stack them in a clear glass cookie jar or wrap them in little cellophane bags tied with ribbon for a simple, homemade gift. They travel very well, making them perfect for picnics or potlucks. If you are building a holiday platter, place these alongside some of our Classic Cookie Recipes for a wonderful contrast of textures.
A Sweet Heritage
These chocolate no bake cookies are more than just a quick dessert; they are a link to the past, a reminder of simpler times when a treat didn’t require fancy equipment—just a pot, a spoon, and a little bit of love. I hope this recipe finds a permanent home in your recipe box, just as it has in mine. Whether you are making them for the first time or the hundredth, the result is always pure joy.
For more seasonal inspiration and giftable treats, explore our Holiday Cookie Celebrations. Happy cooking, friends!
Share your cookie jar photos with us!
