I still remember the crinkle of the worn index card Grandma pulled from her recipe box every December. The kitchen would fill with the scent of softening butter and the promise of festive shapes soon to be cut from the dough. This recipe was the heart of our Sundays, a tradition that brought the whole family together around the floured kitchen table, creating moments that have lasted a lifetime.

These Christmas sugar cookies are truly special, offering a melt-in-your-mouth texture that modern recipes often miss. They are simple to prepare yet yield a result that feels like a cherished gift from the past. Whether you are baking for a holiday swap or filling your own cookie jar, these are the cookies that everyone will ask for year after year.
A Timeless Classic for Your Holiday Jar
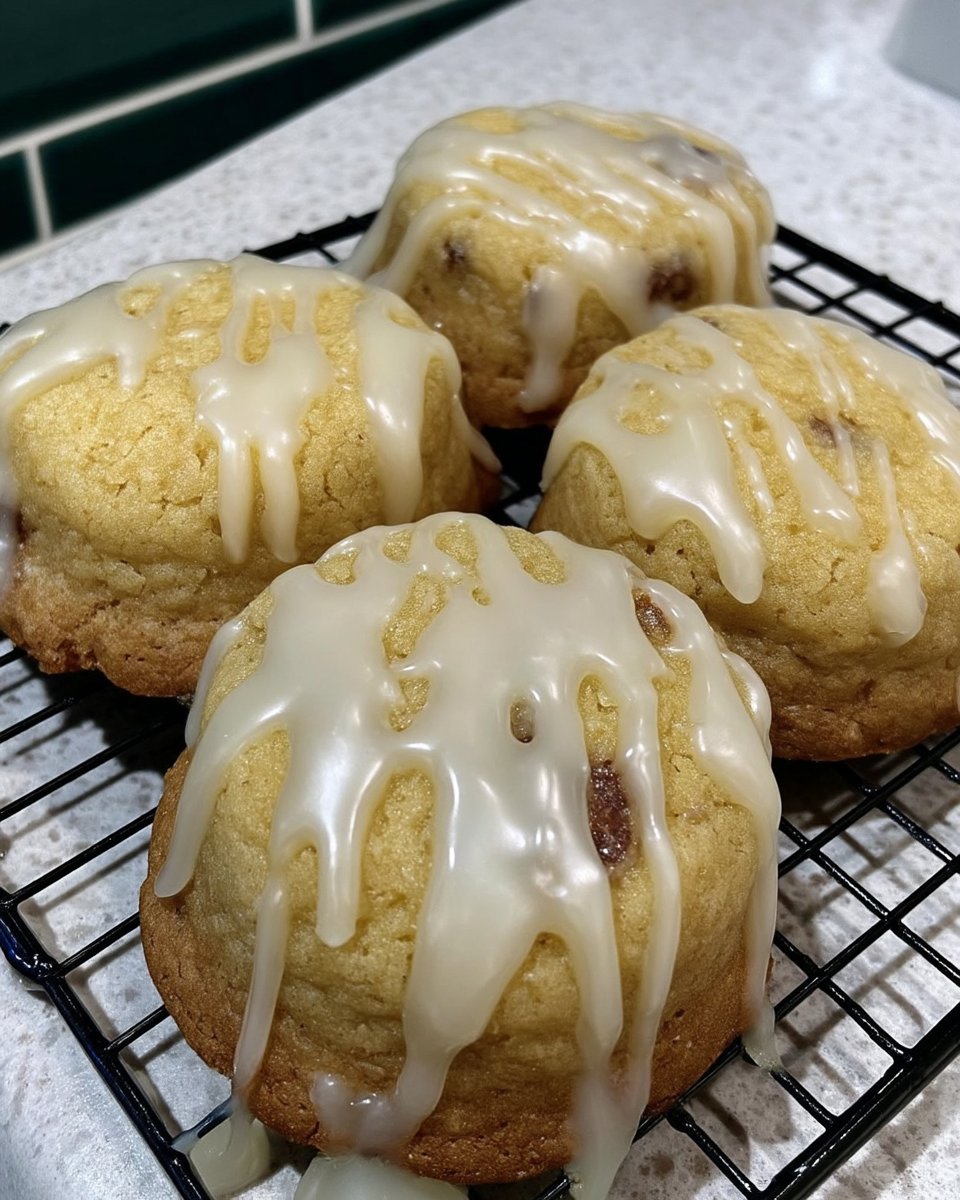
There is something profoundly comforting about a cookie that tastes like a childhood memory. These cookies aren’t just sweets; they are a bridge to the past, reminding us of slower times and the joy of handmade treats. You will love how the edges remain crisp while the centers stay tender, creating a perfect balance that makes it hard to stop at just one. Every bite carries the warmth of a thousand holiday afternoons spent in a cozy kitchen.
Because this recipe uses simple pantry staples, you can whip up a batch whenever the nostalgic urge strikes. They are the ultimate canvas for your creativity, holding their shape beautifully during the bake so your stars, trees, and bells look exactly as they should. It is a reliable, proven method that has stood the test of time in kitchens just like mine. There is no need for fancy gadgets or complicated techniques when the traditional way works so perfectly.
You will also appreciate how these cookies keep their freshness. In our house, they would sit in the heavy ceramic jar on the counter, and even after a few days, they tasted just as wonderful as they did the moment they cooled. They are sturdy enough for little hands to decorate but delicate enough to dissolve on the tongue with a sip of hot cocoa. It is a recipe that honors the simple ingredients of flour, sugar, and butter in the most delicious way possible.
Print
Christmas Sugar Cookies 3
- Total Time: 45 mins
- Yield: 24 cookies
- Diet: Vegetarian
Description
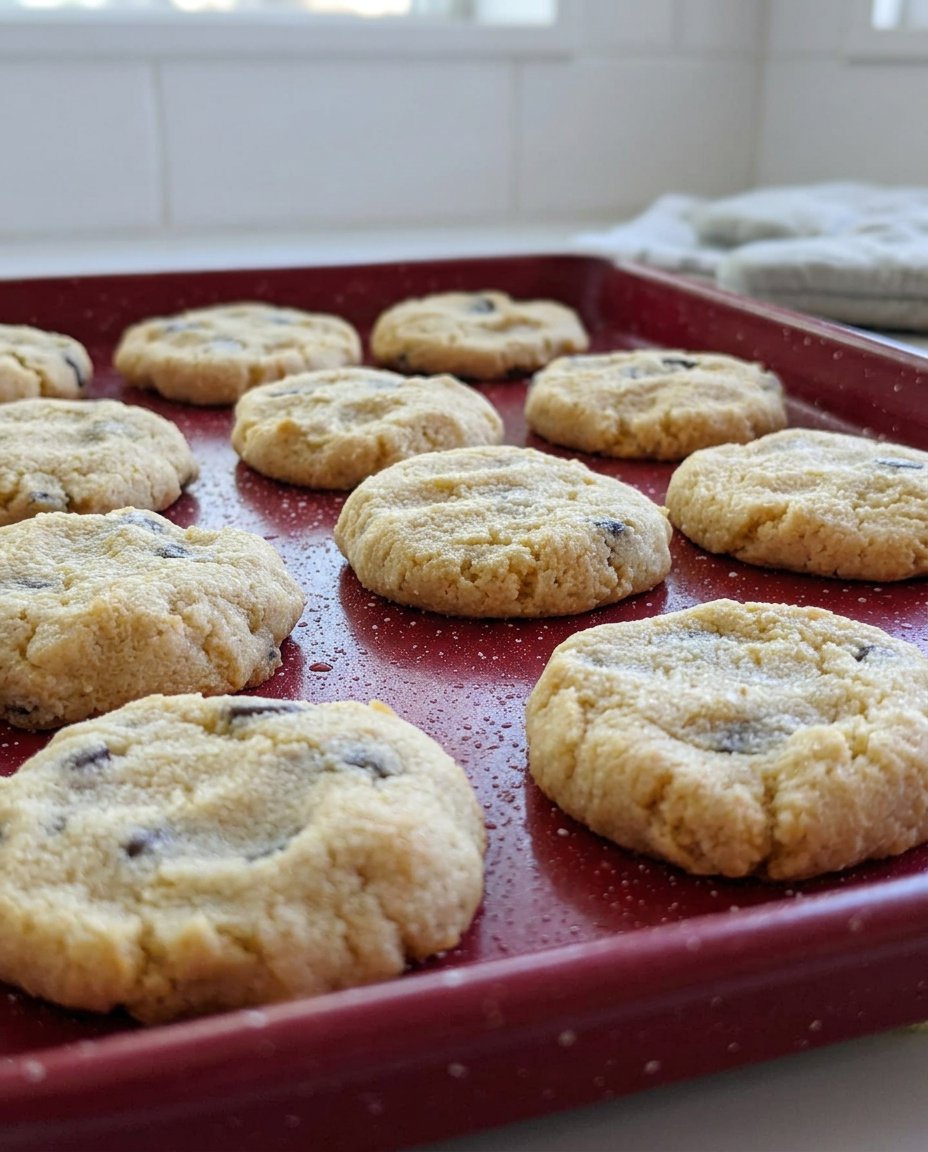
These classic holiday cookies offer a nostalgic, melt-in-your-mouth texture with edges that stay perfectly crisp. Made with simple pantry staples, the dough holds its shape beautifully through the baking process, making it the perfect base for your favorite festive decorations.
Ingredients
- 1 cup unsalted butter, softened
- 1 cup granulated sugar
- 1 large egg
- 1 teaspoon pure vanilla extract
- 2 1/2 cups all-purpose flour
- 1 teaspoon baking powder
- 1/2 teaspoon salt
Instructions
- Preheat your oven to 350°F (175°C) and line your baking sheets with parchment paper or silicone mats.
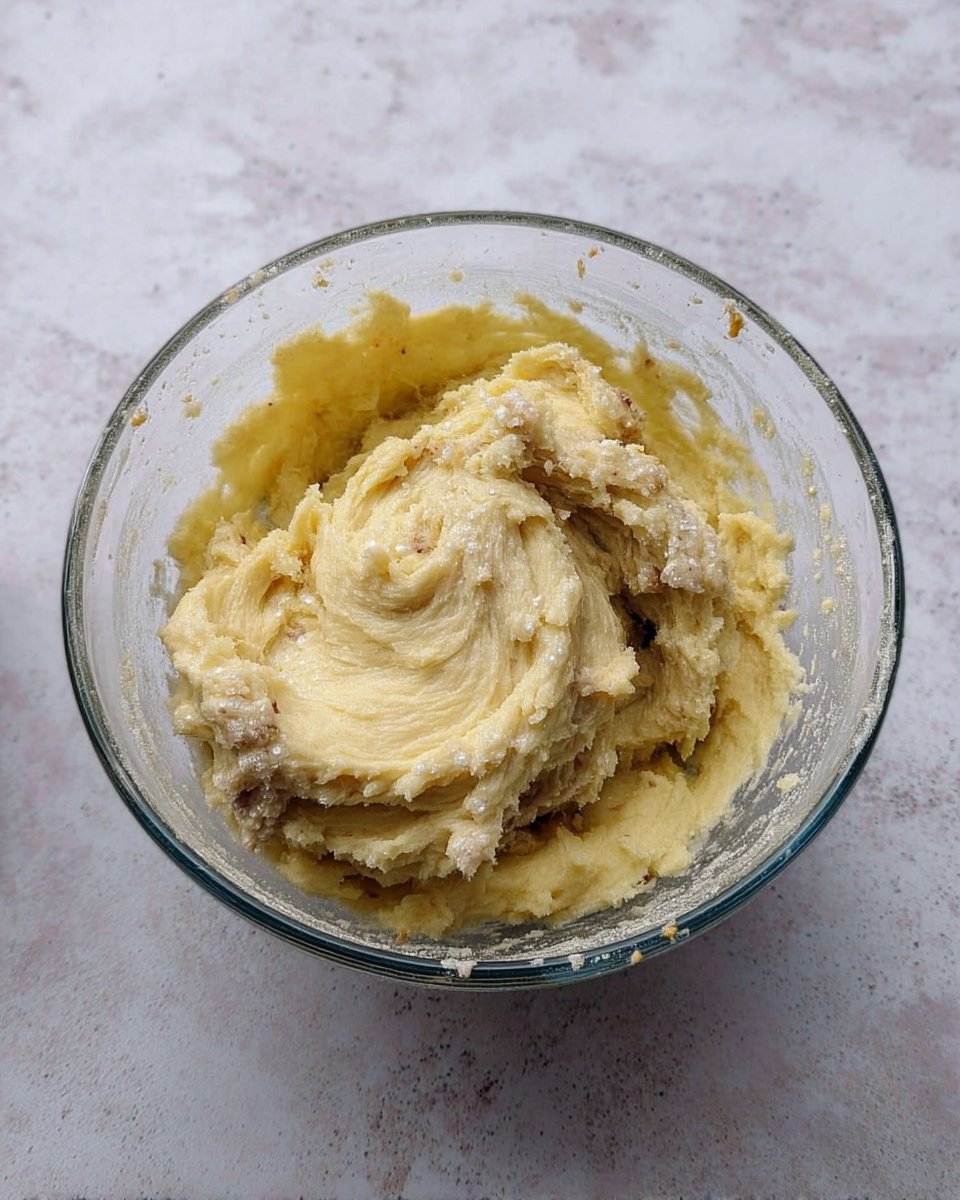
- In a large bowl, beat the softened butter and granulated sugar together until the mixture is light and fluffy.
- Add the egg and vanilla extract to the butter mixture, beating until smooth.
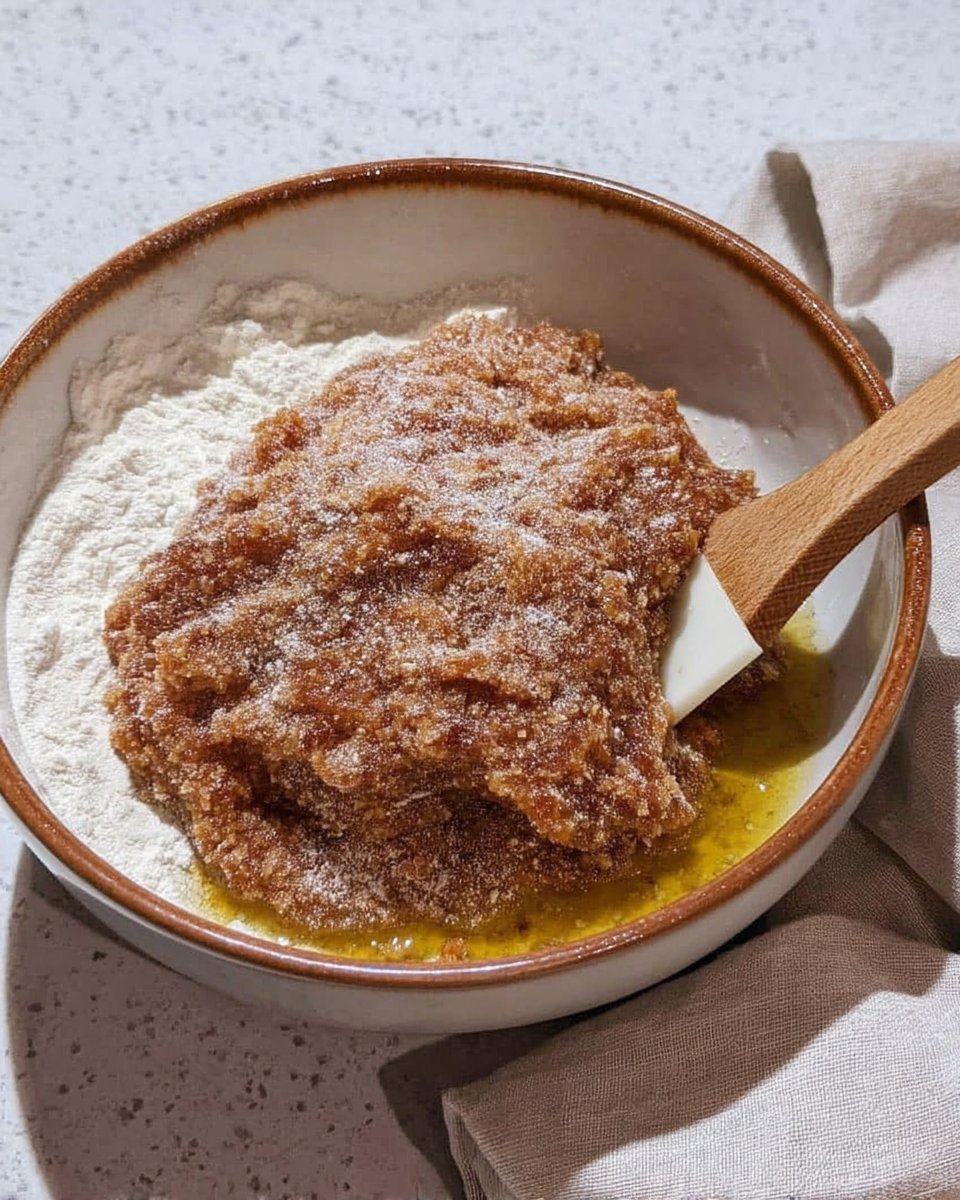
- In a separate small bowl, whisk together the flour, baking powder, and salt.
- Gradually add the flour mixture to the wet ingredients in three parts, mixing on low speed until just combined.
- On a lightly floured surface, roll the dough to a 1/4-inch thickness and use cookie cutters to create holiday shapes.
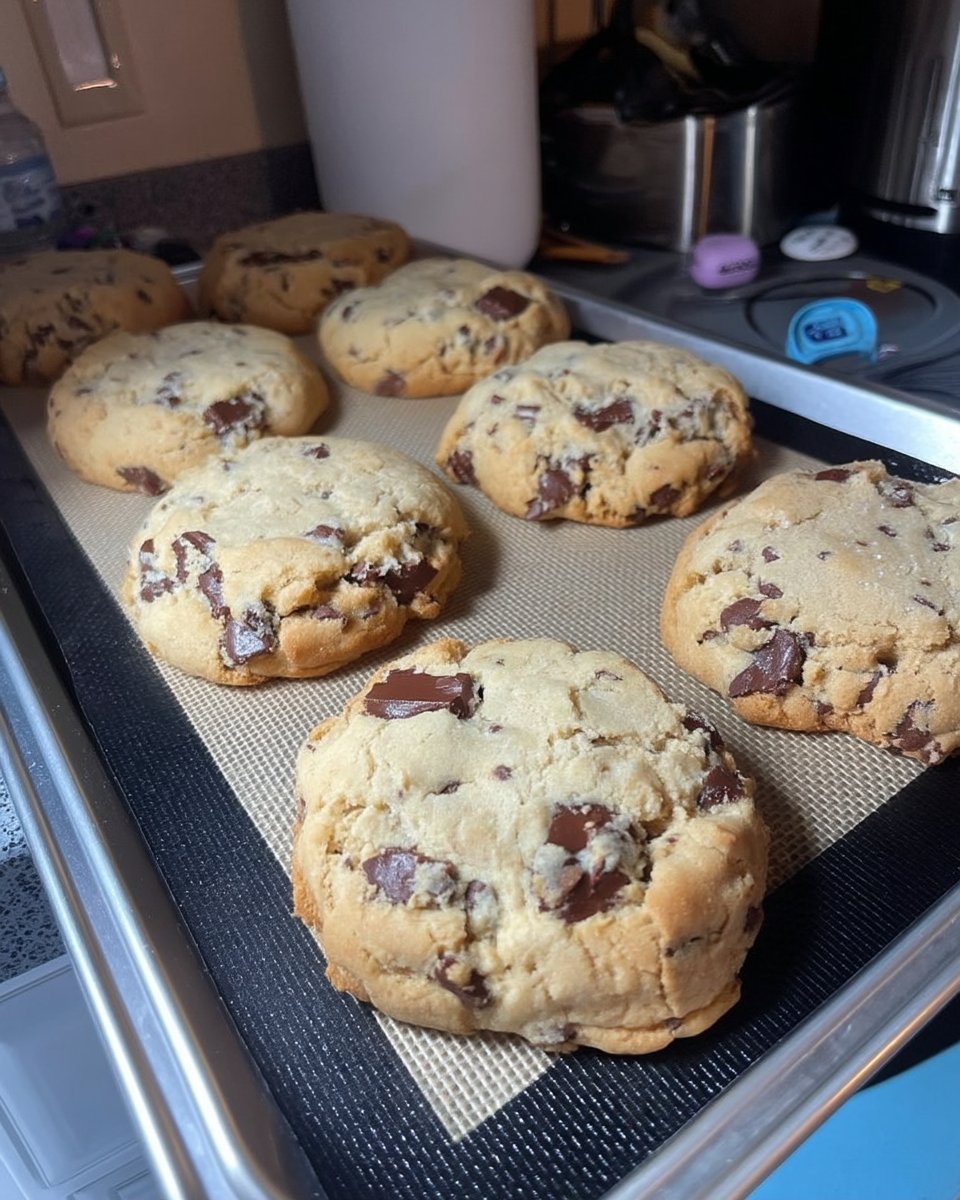
- Place cutouts on the prepared baking sheets and bake for 10 minutes, or until the edges just barely start to show a hint of golden brown.
- Let the cookies rest on the baking sheet for 5 minutes before transferring them to a wire rack to cool completely.
Notes
For the most consistent results, always use the spoon-and-level method when measuring your flour to prevent the cookies from becoming too dry. If your kitchen is warm and the dough becomes difficult to handle, a brief chill in the refrigerator will help the shapes release cleanly from your cutters and maintain their sharp edges during baking.
- Prep Time: 20 mins
- Cook Time: 10 mins
- Category: Dessert
- Method: Baking
- Cuisine: American
Simple Ingredients for a Heritage Batch
To make these cookies, you only need the basics that Grandma always kept in her cupboard. Quality matters here, so I always recommend using the best real butter and pure vanilla extract you can find. These humble ingredients come together to create a flavor that is far greater than the sum of its parts. Each item on this list has a purpose, ensuring the cookies have that classic, honest taste we all remember.
- Unsalted Butter: Make sure it is softened to room temperature for the best creaming results. This is the foundation of the cookie’s rich flavor.
- Granulated Sugar: This provides the classic sweetness and the slight crunch on the edges that defines a perfect sugar cookie.
- Large Egg: This acts as the binder, giving the dough its structure and a hint of richness.
- Pure Vanilla Extract: A teaspoon of this liquid gold brings that warm, nostalgic aroma that fills the whole house while you bake.
- All-Purpose Flour: Be sure to measure correctly to avoid a dry or crumbly cookie; use the scoop and level method for accuracy.
- Baking Powder: I prefer using aluminum-free for the cleanest taste, allowing the butter and vanilla to shine through.
- Salt: Just a pinch to balance the sweetness and highlight the creamy butter notes.
The Classic Way to Bake Memories
Step 1: Prepare Your Kitchen
Before you begin, preheat your oven to 350°F (175°C) and make sure the rack is positioned in the center. This even heat is crucial for that golden finish we all love. Line your baking sheets with parchment paper or a silicone mat, just as we used to use buttered pans in the old days, though these modern tools make cleanup much gentler for a busy grandmother.
Step 2: Cream the Butter and Sugar
In a large bowl, beat the softened butter and granulated sugar together until the mixture is light and fluffy. This step incorporates air, which helps the cookies achieve that cherished texture. Once combined, add the egg and the vanilla extract, beating until the mixture is smooth and smells like a holiday dream. Take your time here; the patience you put in now shows in the final cookie.
Step 3: Mix the Dry Ingredients
In a separate small bowl, whisk together the flour, baking powder, and salt. This helps the leavening agent distribute evenly throughout the dough. Gradually add this flour mixture to your butter mixture in three parts. Mix on low speed until the dough just comes together—over-mixing is the enemy of a tender cookie and can make the dough tough.
Step 4: Roll and Cut Your Shapes
Divide your dough into two equal portions. On a lightly floured surface, roll the dough out to a thickness of about 1/4-inch. Use your favorite holiday cutters to create stars, hearts, or trees. If the dough feels too soft, you can chill it for a few minutes to make it easier to handle, just like Grandma did on warm afternoons in the kitchen.
Step 5: Bake to Perfection
Place your cutouts on the prepared sheets, leaving a bit of space for them to breathe. Bake for 10 minutes, or until the edges just barely start to show a hint of golden brown. You want them to look set but still pale in the center to maintain that melt-in-your-mouth quality that makes this recipe a winner.
Step 6: Cool and Decorate
Let the cookies rest on the hot baking sheet for about 5 minutes. This helps them firm up so they do not break when you move them to the rack. Transfer them to a wire rack to cool completely. Once they are cold to the touch, they are ready for icing or a simple dusting of sugar. This is the perfect time to gather the family and share some stories.
Grandma’s Secrets for the Perfect Batch
One of the most important things I’ve learned over the years is the importance of flour measurement. Always fluff your flour with a spoon before leveling it off in the measuring cup. If you pack the flour down, you’ll end up with too much, and the cookies will be tough rather than tender. For more ideas on keeping things simple in the kitchen, visit our collection of Quick & Easy Cookies.
Another secret is the temperature of your butter. It should be soft enough to leave an indent when pressed but not so soft that it is greasy. If your kitchen is very warm, your dough might spread too much in the oven. If this happens, try popping the cut-out cookies into the fridge for ten minutes before they go into the oven. This little bit of patience makes a world of difference in keeping those sharp edges on your shapes. For a slightly different approach to the base dough, you might also look at this sugar cookies recipe which is another family favorite.
Heritage Twists for Your Family Table
While the classic vanilla flavor is a timeless favorite, my family often liked to add a little something extra depending on the occasion. You can swap the vanilla extract for almond extract for a deeper, nuttier flavor that pairs beautifully with a cup of tea. If you want a bit of brightness, adding the zest of a fresh lemon to the dough provides a lovely citrus note that cuts through the sweetness and feels very refreshing during the winter months.
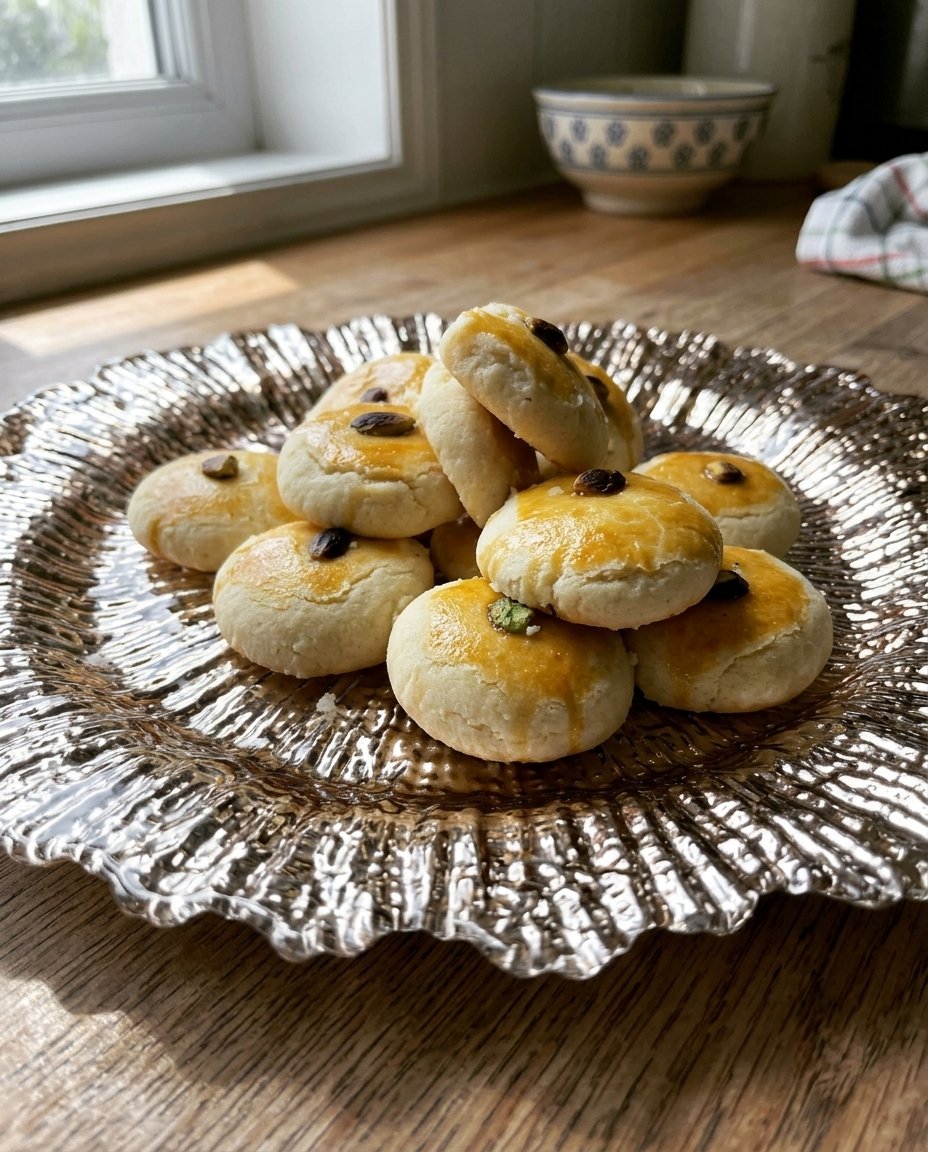
For those who love a bit of texture, you can press a single walnut half into the center of each cookie before baking. This was a common sight at church bake sales when I was a girl. If you are looking for creative ways to finish your cookies, you might find inspiration in our guide to Cookie Decorating Traditions. Sometimes a simple dip in colored sugar or a drizzle of chocolate is all you need to make them feel festive and new while keeping the heritage alive.
Cookie Jar Time and Sharing Tradition
In our house, the best way to enjoy these cookies is straight from the jar with a cold glass of milk. There is something about the click of a heavy ceramic lid that signals the start of a perfect afternoon break. These cookies also make wonderful gifts when tucked into a vintage tin lined with wax paper, ensuring they stay fresh for those you love. Check out our Holiday Cookie Celebrations for more ways to make your season bright.
If you’re hosting a small gathering, arrange the cookies on a tiered stand alongside some fresh fruit or a pot of coffee. They are light enough to be a sweet finish to a meal without being overwhelming. Sharing a plate of these with the grandkids is a tradition that I hope continues for many more decades to come. There is no greater joy than seeing a child’s eyes light up when the cookie jar is opened.
The Sweet Heritage of Baking
Baking these Christmas sugar cookies is about more than just the end result; it is about the stories told while the dough is rolled and the laughter shared while the icing is applied. I hope this recipe finds a permanent home in your own index card box and brings as much joy to your kitchen as it has to mine. For more timeless treats, I invite you to see our other Classic Cookie Recipes that celebrate the heart of the home. Don’t forget to share your holiday bakes with us on Pinterest and Instagram. Happy baking, from my kitchen to yours!
