My mother’s kitchen always felt a little warmer when December arrived and the flour bin stayed open on the counter. I remember the scratch of her fountain pen on a yellowed index card as she handed me this very recipe, her eyes twinkling with the promise of festive shapes. These Christmas sugar cookies aren’t just treats; they are the edible timeline of our family’s holiday joy, preserved for decades in a chipped ceramic jar.

This particular dough is a wonder to work with, holding its shape perfectly even after a long winter’s nap in the refrigerator. With a hint of almond and a soft, buttery crumb, they are the reliable foundation for all your decorating dreams. Whether you use royal icing or a simple dusting of sugar, they bring a sense of home to every dessert platter and a smile to every face.
A Timeless Classic for Your Cookie Jar
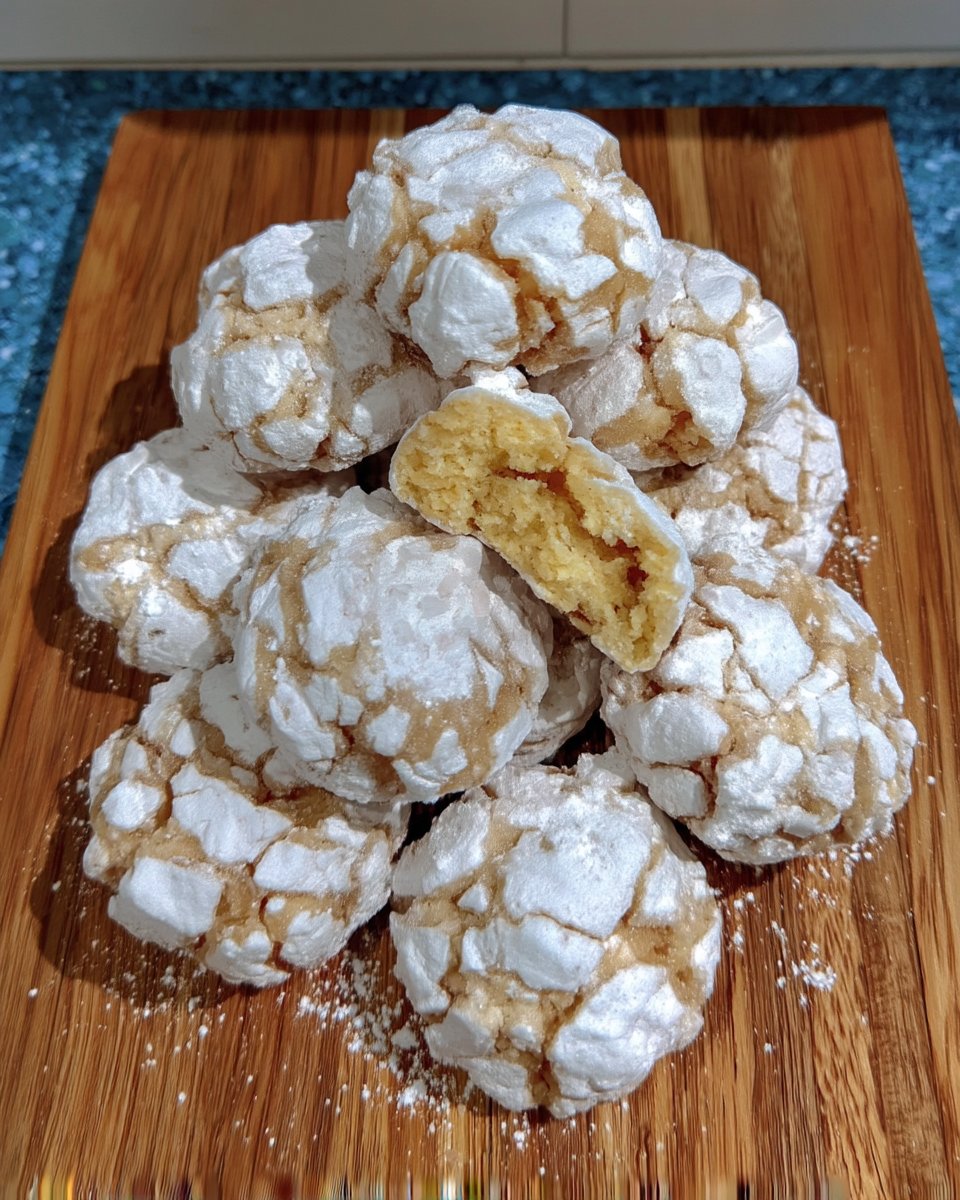
There is something truly magical about a cookie that tastes like a memory. These are the soft, buttery treasures that have graced our family table since the 1950s, providing a canvas for generations of little hands to sprinkle colored sugar and spread icing. Unlike modern recipes that might be too hard or too crumbly, these strike the perfect balance between a crisp edge and a tender, melt-in-your-mouth middle. They carry a nostalgic aroma that fills the house, a blend of sweet butter and that distinct, cherry-like note of pure almond extract.
You will find that these cookies are remarkably sturdy, making them the ideal choice for shipping to loved ones in far-away places. They don’t shy away from detailed cookie cutters, holding onto every curve of a reindeer’s antler or the points of a snowflake. This recipe is a testament to the beauty of simple ingredients coming together to create something far greater than the sum of its parts. It is a heritage treasure that I am so grateful to share with your family today, from my kitchen to yours.
Print
Christmas Sugar Cookies
- Total Time: 2 hours 25 mins
- Yield: 24 cookies
- Diet: Vegetarian
Description
These heritage sugar cookies offer a perfect balance of a crisp edge and a soft, buttery center infused with a hint of almond. This reliable dough holds intricate shapes beautifully, making it the ideal canvas for your holiday decorating traditions.
Ingredients
- All-Purpose Flour
- Unsalted Butter
- Granulated Sugar
- Large Egg
- Vanilla Extract
- Almond Extract
- Baking Powder
- Sea Salt
Instructions
- In a medium bowl, whisk together the all-purpose flour, baking powder, and sea salt.
- Using a stand mixer or hand mixer, beat the room-temperature unsalted butter and granulated sugar until light and fluffy.
- Add the egg, vanilla extract, and almond extract to the butter mixture and mix until fully combined.
- Turn the mixer to low speed and gradually add the dry ingredients, mixing only until the flour streaks disappear.
- Divide the dough into two disks, wrap tightly in plastic, and refrigerate for at least two hours to firm up.
- On a lightly floured surface, roll the dough to a quarter-inch thickness and use cookie cutters to create festive shapes.
- Bake at 350°F for 9 to 11 minutes until the edges are just barely golden, then allow them to set on the baking sheet before moving.
Notes
For the cleanest edges, try rolling your dough between two sheets of parchment paper to avoid using excess flour. If the dough becomes too warm while cutting out shapes, return it to the refrigerator for ten minutes to ensure the cookies maintain their definition during baking.
- Prep Time: 15 mins
- Cook Time: 10 mins
- Category: Dessert
- Method: Baking
- Cuisine: American
Simple Pantry Staples for Holiday Magic

Gathering your ingredients for these Christmas sugar cookies is like reconnecting with old friends. We use simple, honest items that you likely already have tucked away in your pantry, waiting for their moment to shine. There is no need for fancy additives or complicated chemicals here—just the basics that Grandma always kept on hand.
- All-Purpose Flour: This provides the structure. Make certain to spoon it into your measuring cup and level it off with a knife so the cookies don’t turn out dry and tough.
- Unsalted Butter: Real butter is the heart of this recipe. It should be soft enough to hold a thumbprint but still cool to the touch for the best texture.
- Granulated Sugar: This brings the sweetness and helps those edges get just a tiny bit golden and crisp.
- Large Egg: The binder that holds our memories together, giving the dough its richness and strength.
- Vanilla and Almond Extracts: While vanilla is a classic, the almond extract is the secret heritage touch that makes people ask for the recipe every single year.
- Baking Powder and Sea Salt: These provide just enough lift and a balance to the sweetness, making every bite feel complete.
The Heritage Method
Step 1: Whisking the Dry Ingredients
Start by sifting or whisking together your flour, baking powder, and sea salt in a medium bowl. Taking this moment to combine them thoroughly helps make certain that every cookie rises evenly and has a consistent flavor throughout the batch.
Step 2: Creaming the Butter and Sugar
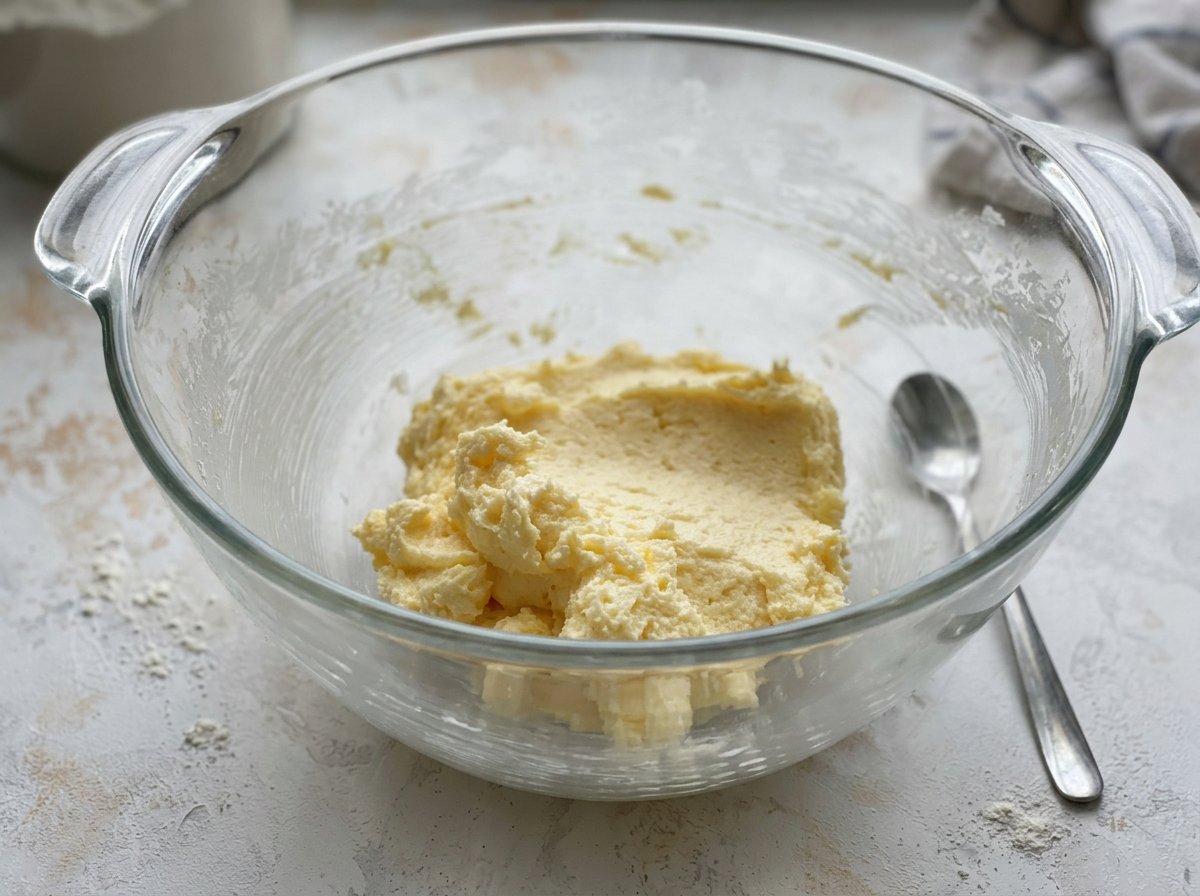
In your stand mixer, or with a sturdy hand mixer, beat the room-temperature butter and sugar together. You are looking for a light, fluffy texture that resembles a pale summer cloud. This process incorporates air, which is the secret to a cookie that is soft rather than dense.
Step 3: Adding the Heart and Soul
Crack your egg into the buttery mixture and mix well until it is fully incorporated. Now, pour in your vanilla and almond extracts. The scent at this stage is absolutely heavenly—it always reminds me of the Sunday afternoons spent at the kitchen table waiting for the first batch to come out of the oven.
Step 4: Combining the Dough
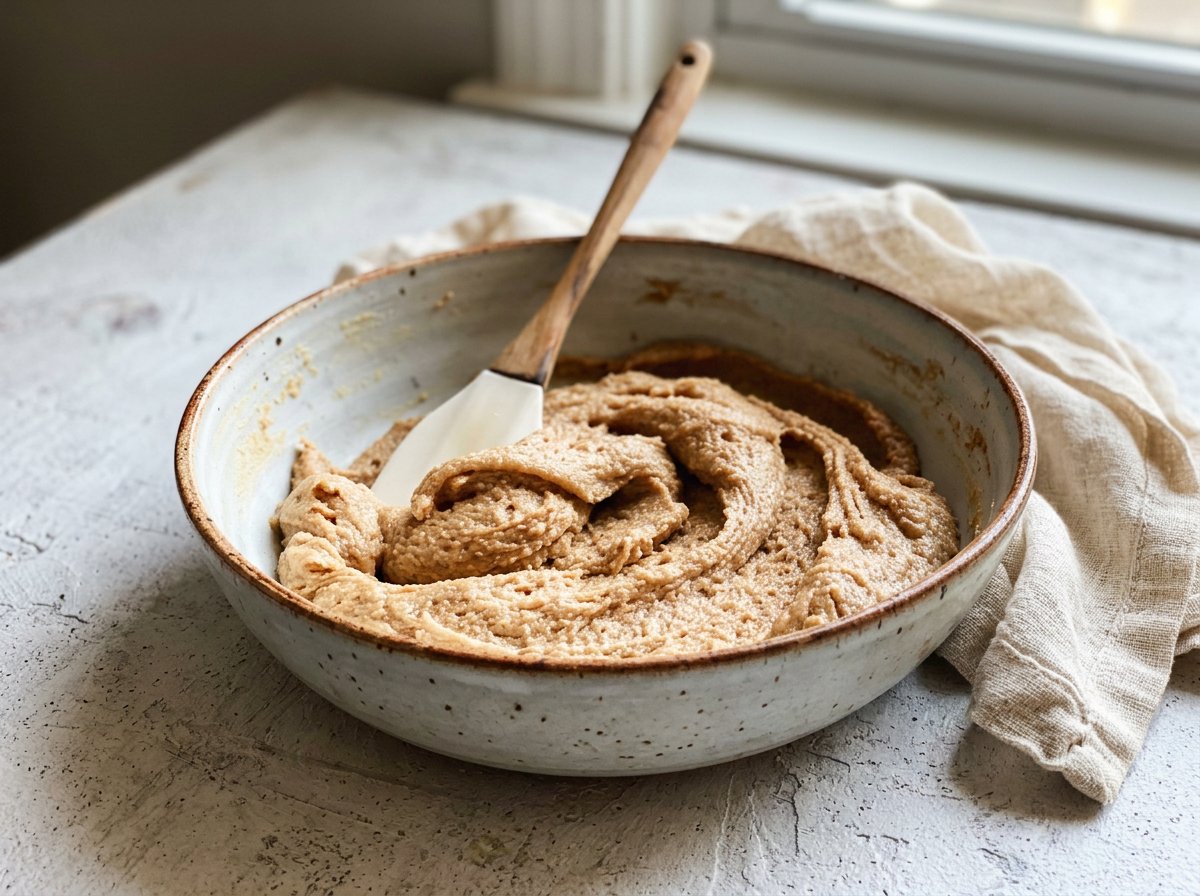
Turn your mixer to the lowest speed and gradually add your flour mixture. Mix only until the white streaks of flour disappear. Over-mixing can make the cookies tough, and we want them to stay as tender as a childhood memory. The dough will feel soft and slightly tacky, which is exactly right.
Step 5: The Important Chill
Divide your dough into two disks and wrap them tightly in plastic. They need at least two hours in the refrigerator to firm up. This patience allows the butter to solidify again, which prevents the cookies from spreading into flat puddles when they hit the hot oven.
Step 6: Rolling and Cutting Shapes
On a lightly floured surface, roll your dough out to about a quarter-inch thickness. Use your favorite festive cutters to create stars, trees, and bells. If the dough gets too soft as you work, simply pop it back in the fridge for a few minutes to regain its composure.
Step 7: Baking to Perfection
Bake your cookies at 350°F for about 9 to 11 minutes. The key is to pull them out before they look “done” in the middle. They should just be beginning to show a hint of gold on the very edges. They will set up beautifully as they cool on the baking sheet, keeping that soft, delightful center we all love.
Grandma’s Secrets for Perfect Shapes
One of the most important things I learned from watching my mother is that the temperature of your kitchen matters. If your house is particularly warm from the oven, keep half of your dough in the refrigerator while you work with the other half. This makes certain the shapes stay sharp and the dough doesn’t stick to your rolling pin. I also recommend rolling your dough between two sheets of parchment paper; it avoids adding too much extra flour which can make the cookies dry. For more helpful advice on handling dough, you can look at my Quick & Easy Cookies guide. You might also find these Christmas sugar cookies helpful if you are looking for even more decorating inspiration. Always remember that a cookie made with love will always taste better than one made in a hurry.
Heritage Twists for the Family
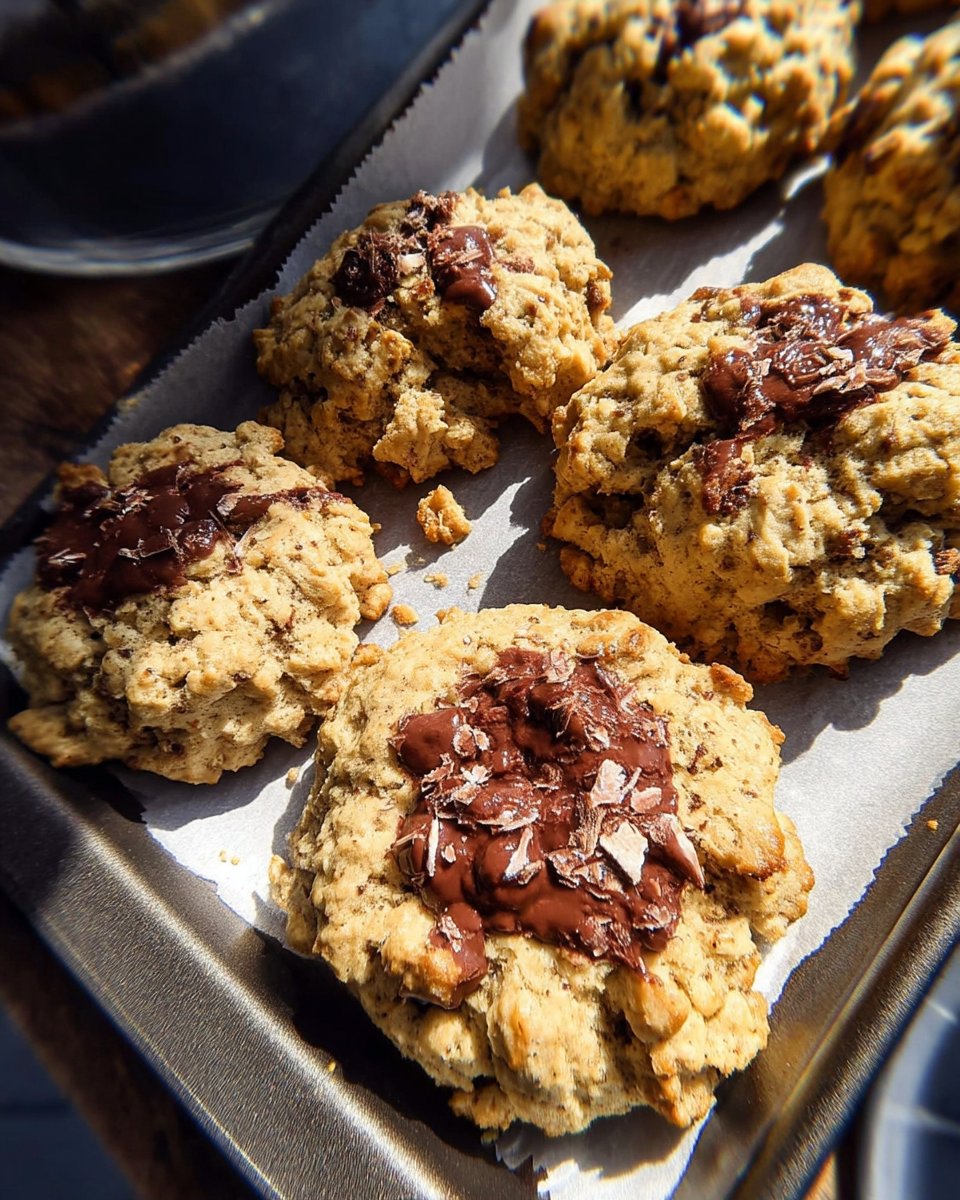
While we usually stick to the classic recipe, there are many ways to make these your own. My Aunt Martha used to add a teaspoon of fresh orange zest to the dough for a bright, citrusy finish that felt very sophisticated. You could also swap the almond extract for peppermint if you want a more cooling, wintery flavor. If you prefer a more rustic look, try pressing a walnut half into the center before baking, or dipping half of the cooled cookie into melted dark chocolate. For those who want to stick to the most traditional paths, my Classic Cookie Recipes collection has plenty of other timeless options to fill your jar alongside these festive cutouts.
Sharing the Joy from the Cookie Jar
These cookies are at their very best when served with a cold glass of milk or a hot cup of coffee as the sun sets on a cold December day. I love to layer them in a vintage tin with sheets of waxed paper in between to keep the icing from smudging. They make a wonderful gift for neighbors, especially when tucked into a basket with a jar of homemade jam. These are a centerpiece of our Holiday Cookie Celebrations, and seeing the cookie jar full of stars and trees always makes the house feel like home. If you have leftovers, they stay fresh and delicious for up to a week if kept in an airtight container at room temperature.
The Sweet Heritage of Baking Together
Baking these Christmas sugar cookies is about more than just the sugar and the butter; it is about the time spent together in the heart of the home. Every batch we bake is a way to honor the women who came before us, keeping their traditions alive and their recipes cherished. I hope you enjoy these Cookie Decorating Traditions as much as my family has over the years. Please share your beautiful creations with us on Pinterest, Instagram, and Facebook. Happy baking, and may your cookie jar always be full of love.

