I remember watching Grandma carefully mix her blue-hued batter by hand, a process that seemed to take all afternoon. My version brings that same childhood joy to your kitchen in under an hour, using modern tools to keep the heritage flavor intact. It is the perfect way to share a bit of nostalgia with your family without spending your entire Saturday at the oven.

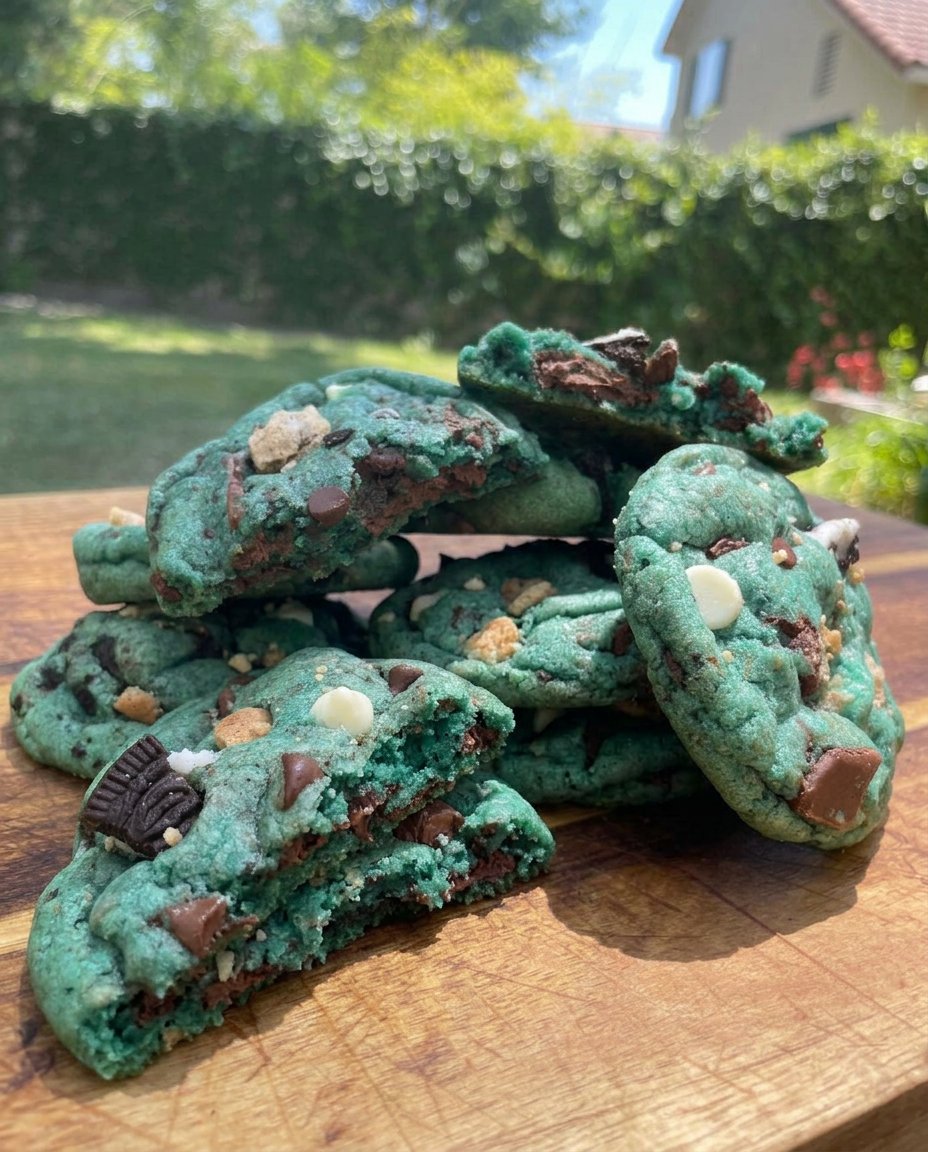
These Cookie Monster Cookies are thick, chewy, and packed with three different types of crunch. With a vibrant blue color and plenty of chocolate, they look like they came from a professional bakery but use simple pantry staples. They are truly the ultimate treat for anyone who loves a bit of whimsy with their dessert.
A Modern Nostalgia Favorite
You will love these cookies because they offer a wonderful balance of textures that reminds us of the best childhood treats. They are practical for busy families since the dough requires no chilling, meaning you can go from mixing to eating in about 45 minutes. The combination of classic chocolate chips and crushed store-bought cookies creates a deep, rich flavor that feels like a treasure in every bite.
This recipe is a keeper because it is reliable and produces a soft, thick cookie every single time. It honors the classic blue character we all grew up with while using a straightforward method that fits into a modern schedule. Whether you are baking for a school event or just a fun weeknight surprise, these cookies deliver maximum joy with minimal stress.
Print
Cookie Monster Cookies
- Total Time: 45 mins
- Yield: 18 cookies
- Diet: Vegetarian
Description
These vibrant Cookie Monster Cookies are thick, chewy, and loaded with a mix of chocolate chips, mini Oreos, and crushed Chips Ahoy. They feature a brilliant blue hue and whimsical candy eyes, making them a professional-looking treat that is surprisingly easy to whip up without any dough chilling.
Ingredients
- 1 cup Unsalted Butter, room temperature
- 3/4 cup Light Brown Sugar
- 1/2 cup Granulated Sugar
- 2 large Eggs
- 1 tsp Vanilla Extract
- Royal Blue and Light Blue Gel Icing
- 3 cups All-Purpose Flour
- 1 tbsp Corn Starch
- 1 tsp Baking Soda
- 1/2 tsp Salt
- 1/2 cup Semi-Sweet Chocolate Chips
- 1/2 cup White Chocolate Chips
- 15 Mini Chips Ahoy cookies, roughly chopped
- 1 heaping cup Mini Oreos
- Extra mini cookies, crushed for coating
- Candy Eyes
Instructions
- Preheat your oven to 350°F (175°C) and line a large baking sheet with parchment paper.
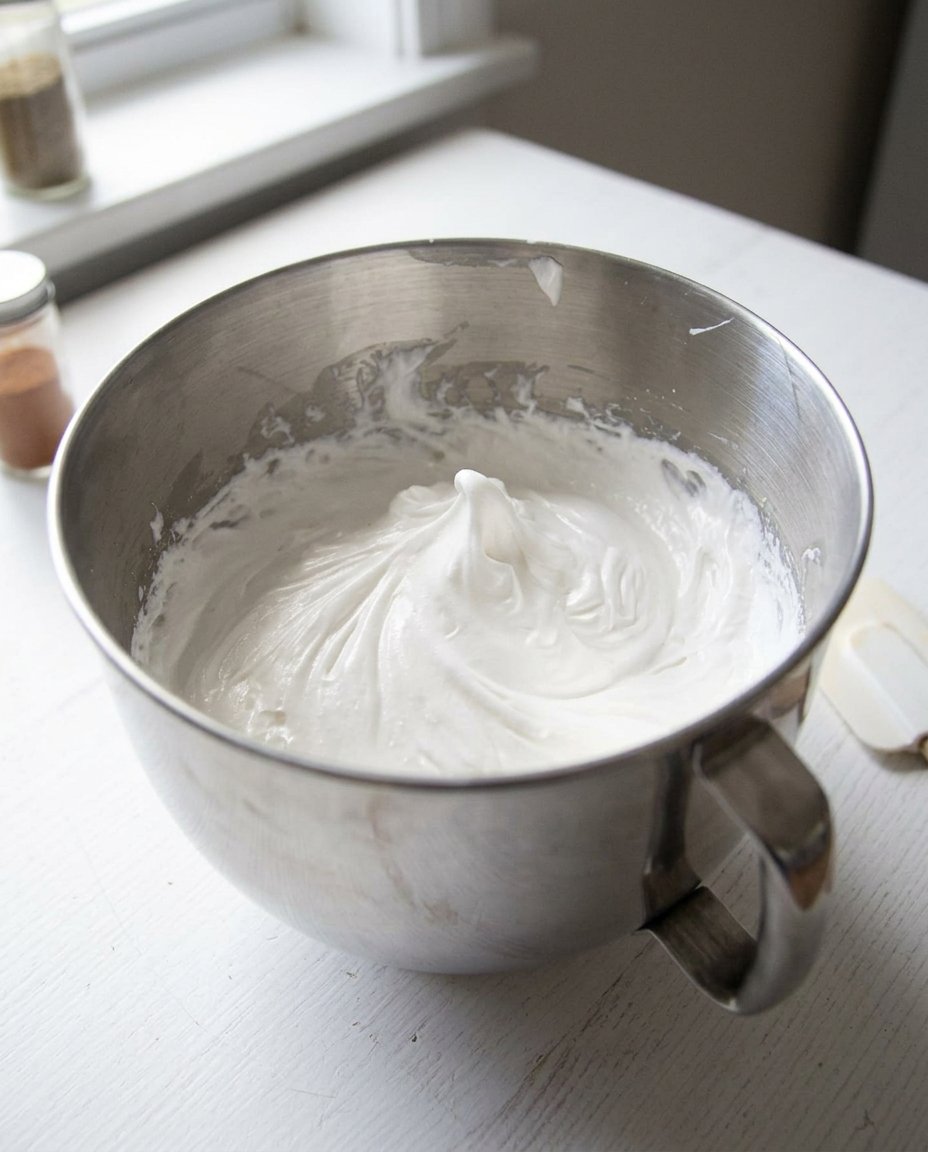
- In a large bowl, beat the softened butter with the brown and granulated sugars for 2-3 minutes until the mixture is light and fluffy.
- Add the eggs and vanilla extract to the butter mixture, beating until combined, then add the royal blue and light blue gel colors until uniform.
- In a separate bowl, whisk together the flour, corn starch, salt, and baking soda, then slowly add this to the wet ingredients on low speed.
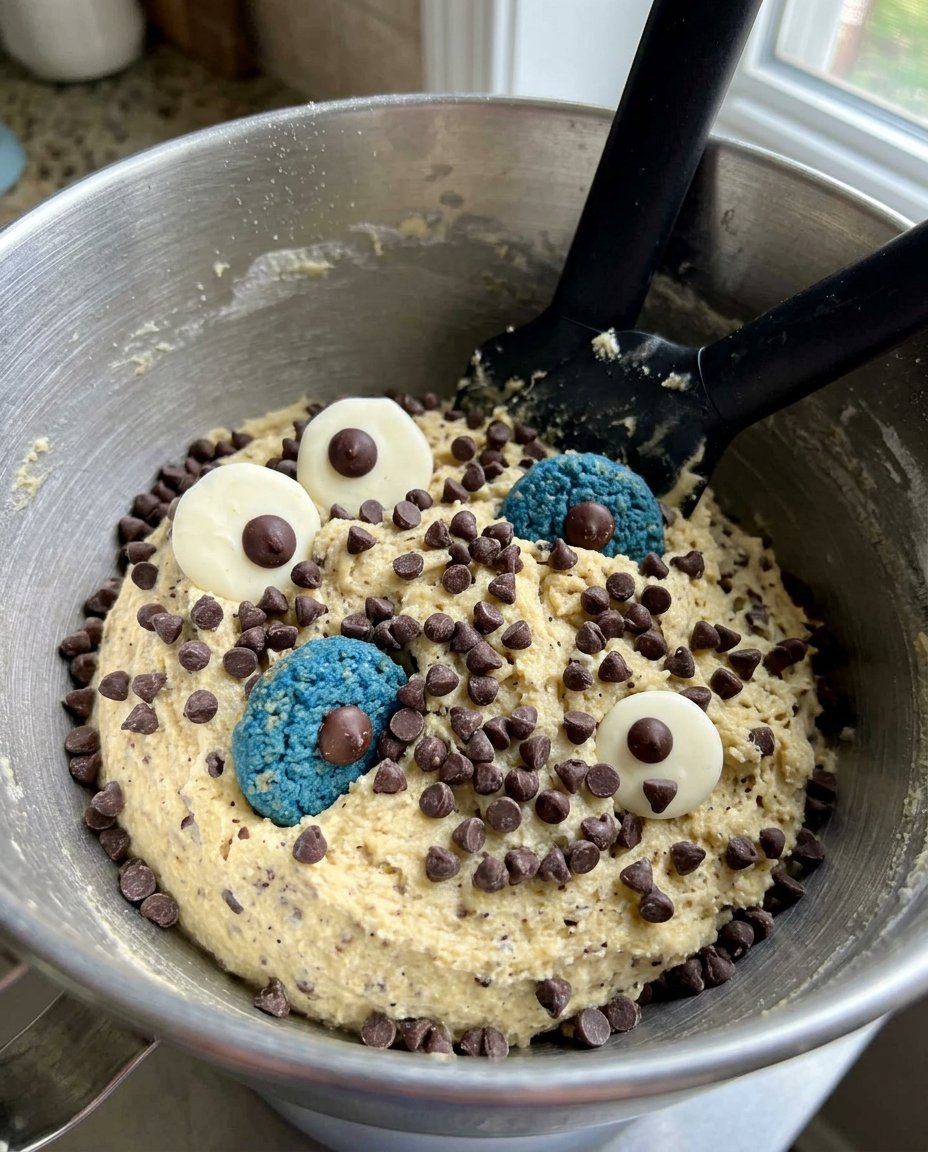
- Just as the dough begins to form, fold in the semi-sweet and white chocolate chips.
- Gently fold in the chopped mini Chips Ahoy cookies and the mini Oreos using a spatula.
- Scoop 1/4 cup of dough, roll into a ball, coat in crushed cookie crumbs, and place on the sheet 3 inches apart.
- Bake for 12-14 minutes, immediately press candy eyes into the tops, and let them cool on the pan for 15 minutes to set.
Notes
To ensure the most vibrant blue color, always use gel food coloring rather than liquid, as it provides intense pigment without thinning the cookie dough. If the dough feels too soft after mixing, you can let it rest for 5 minutes before scooping to help it hold its shape. Store these cookies in an airtight container to keep the folded-in cookie pieces crisp and the base cookie soft.
- Prep Time: 20 mins
- Cook Time: 14 mins
- Category: Dessert
- Method: Baking
- Cuisine: American
Simple Ingredients for Big Flavor
To make these iconic treats, you will need basic baking supplies that you likely already have in your cupboard. The magic comes from the combination of textures and the specific blue shades that give these cookies their personality.
- Unsalted Butter: Make sure it is at room temperature for a smooth creamed base.
- Sugars: A mix of light brown and granulated sugar provides both moisture and a crisp edge.
- All-Purpose Flour: This provides the structure for a thick, soft cookie.
- Corn Starch: My secret for keeping the cookies soft for days.
- Blue Gel Icing: Using gel instead of liquid keeps the dough consistency perfect while providing a deep, royal blue color.
- Mini Sandwich Cookies: Both Oreos and Chips Ahoy minis add the signature crunch that makes these “monster” cookies.
- Candy Eyes: These add the final touch of character once the cookies are baked.
Using mini cookies is a great shortcut because they are easier to fold into the dough than full-sized ones, preserving that chunky texture without extra work.
Simple Steps for Monster Perfection
Step 1: Prep Your Workspace
Preheat your oven to 350°F (175°C). Line a large baking sheet with parchment paper. This modern shortcut is much faster than greasing pans and helps your cookies bake evenly without sticking.
Step 2: Cream the Butter and Sugars
In a large bowl, beat the softened butter with the brown and granulated sugars. Use a stand mixer or hand mixer on medium speed for about 2-3 minutes until the mixture is light and fluffy. This step is vital for the right cookie structure.
Step 3: Incorporate the Wet Ingredients
Add the eggs and vanilla extract to the butter mixture, beating until well combined. Now, add your royal blue and light blue gel colors. Scrape down the sides of the bowl to ensure the color is uniform throughout the dough.
Step 4: Mix the Dry Ingredients
In a separate bowl, whisk together the flour, corn starch, salt, and baking soda. Slowly add this to the wet ingredients on low speed. Just as the dough begins to form, fold in the semi-sweet and white chocolate chips.
Step 5: Fold in the Crunchy Pieces
Roughly chop about 15 mini Chips Ahoy cookies and add them to the dough along with a heaping cup of mini Oreos. Use a spatula or your hands to fold these in gently so you keep some large, delicious chunks intact.
Step 6: Roll and Coat
In a small bag, crush a handful of extra cookies into fine crumbs. Scoop about 1/4 cup of dough, roll it into a ball, and then roll the top and sides in the cookie crumbs. This adds an extra layer of flavor and a professional look.
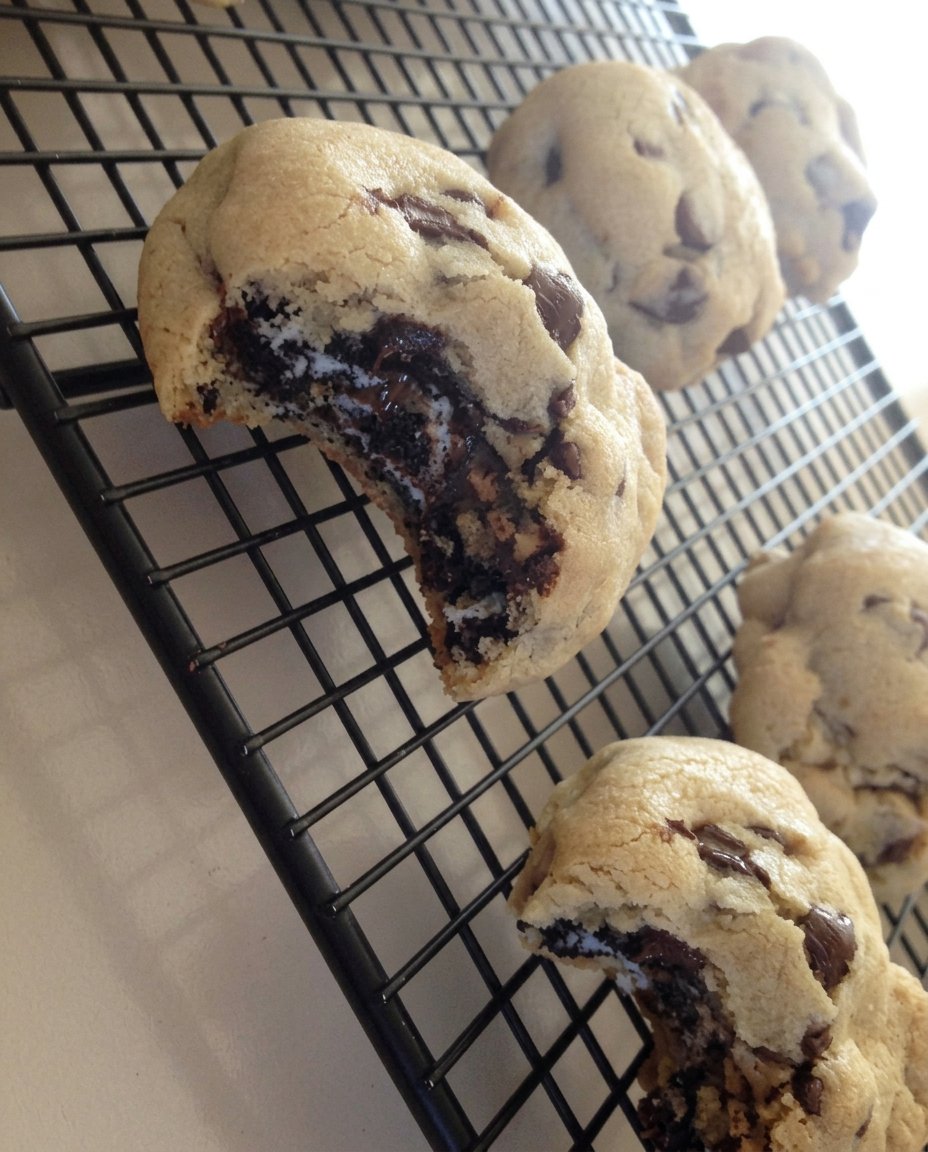
Step 7: Bake and Garnish
Place the dough balls 3 inches apart on the sheet. Bake for 12-14 minutes. The centers should look slightly soft. Immediately after removing them from the oven, press the candy eyes into the tops. Let them cool on the pan for 15 minutes to set.
Meagan’s Time Savers
To get the best results without extra effort, I always recommend using a cookie scoop to keep the sizes consistent. This ensures all your cookies bake at the exact same rate, so you don’t end up with some burnt edges and raw centers. For more ways to speed up your kitchen routine, check out our Quick & Easy Cookies section.
Another quick win is to use gel food coloring rather than the liquid variety found in most grocery stores. Gel is much more concentrated, meaning you only need a tiny bit to get that vibrant blue, and it won’t thin out your dough. If you are in a rush, you can even skip the crumb coating step, though it does add a lovely finish that makes these look like heritage bakery treats.
Quick Twists and Easy Changes
If you want to change things up, try swapping the white chocolate chips for peanut butter chips for a salty-sweet combination that pairs perfectly with the blue dough. You can also use different colors of gel icing to make “monster” cookies for different holidays, like green for St. Patrick’s Day or orange for Halloween. For those who enjoy a more traditional approach, take a look at our Classic Cookie Recipes.
You might also enjoy seeing how other bakers handle these fun treats, such as the version found at Beyond Frosting. Another simple variation is to use full-sized cookies if you cannot find the minis; just be sure to chop them into dime-sized pieces before folding them into the batter so the dough remains easy to scoop.
Quick Enjoyment and Modern Sharing
These cookies are a total hit at after-school snacks or as a surprise in a lunchbox. Because they are so vibrant, they don’t need much decoration, but serving them on a simple white platter really makes the blue color pop. If you are looking for more ways to present your treats, browse our Cookie Decorating Traditions for inspiration.
I love serving these with a tall glass of cold milk. The crunchy cookie pieces inside the soft dough are perfect for dipping. For a modern party twist, you can even crumble one of these over a bowl of vanilla ice cream to create an instant “monster” sundae that children and adults alike will love.
Heritage Rediscovered
Baking these treats is a wonderful way to bring a little bit of playful tradition into your modern home. They prove that you don’t need a whole day in the kitchen to create something that looks and tastes like a special occasion. For more festive ideas that bring the family together, visit our Holiday Cookie Celebrations page. Don’t forget to share your blue monster creations with us on Pinterest, Instagram, and Facebook. Happy baking!
