The disappointment of reaching into a cookie jar only to find a soft, bendy disk where a crisp treat should be is a common kitchen tragedy that many home bakers face. This recipe for Crispy Chocolate Chip Cookies 2 solves that struggle by focusing on the precise science of moisture ratios and baking temperatures to guarantee a satisfying snap. It is a texture revelation that turns a vintage favorite into a reliable, long-lasting snack that stays fresh for days without losing its character. I have spent countless hours in my kitchen testing the physics of spread and crunch to bring you a solution that honors the past while perfecting the texture for modern cookie lovers.

The secret to this successful bake lies in the balance of melted butter and granulated sugar, which creates a delicate, glass-like surface and a golden-brown finish. These cookies are a special treat for those who treasure a firm crunch and a rich, buttery flavor in every single bite. Whether you are a seasoned pro or a beginner, this method provides a wonderful and proven way to keep your treats jar-fresh for up to a full week. They are the ultimate answer to the problem of dry, crumbly cookies that fail to satisfy.
A Masterclass in Golden Crunch
These treats are a special addition to any baker’s repertoire because they deliver a consistent, satisfying snap that is often missing from modern soft-baked recipes. You will love how the buttery edges crumble perfectly, giving way to a rich chocolate flavor that isn’t masked by a cakey or bread-like texture. They are incredibly reliable and proven to stay jar-fresh for days, making them the ultimate choice for gifting or stocking up your own pantry. There is a certain comfort in knowing your hard work won’t go stale by the time the sun sets, providing a satisfying treat that maintains its quality from the first day to the last. This recipe is a treasure for anyone who loves the heritage of baking but demands a better, more durable texture.
Print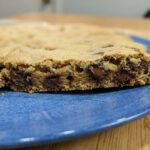
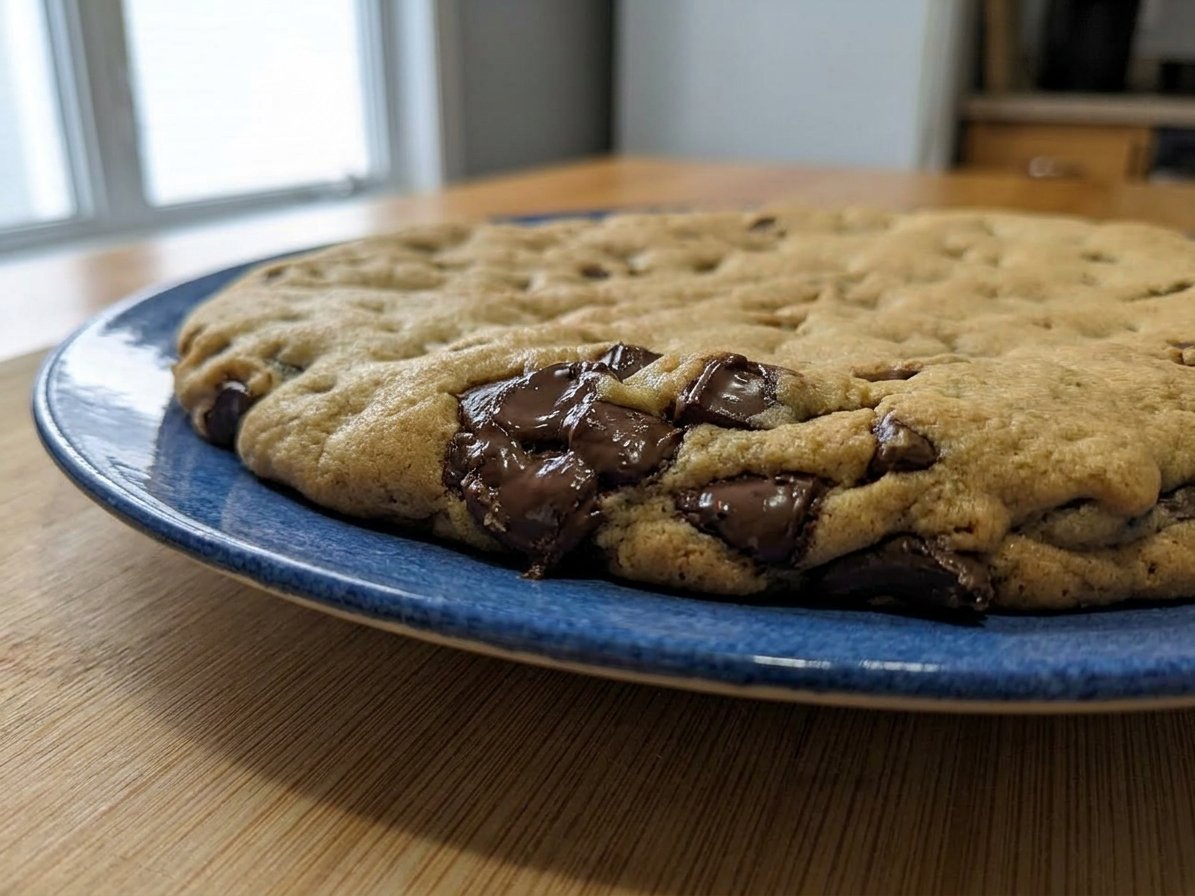
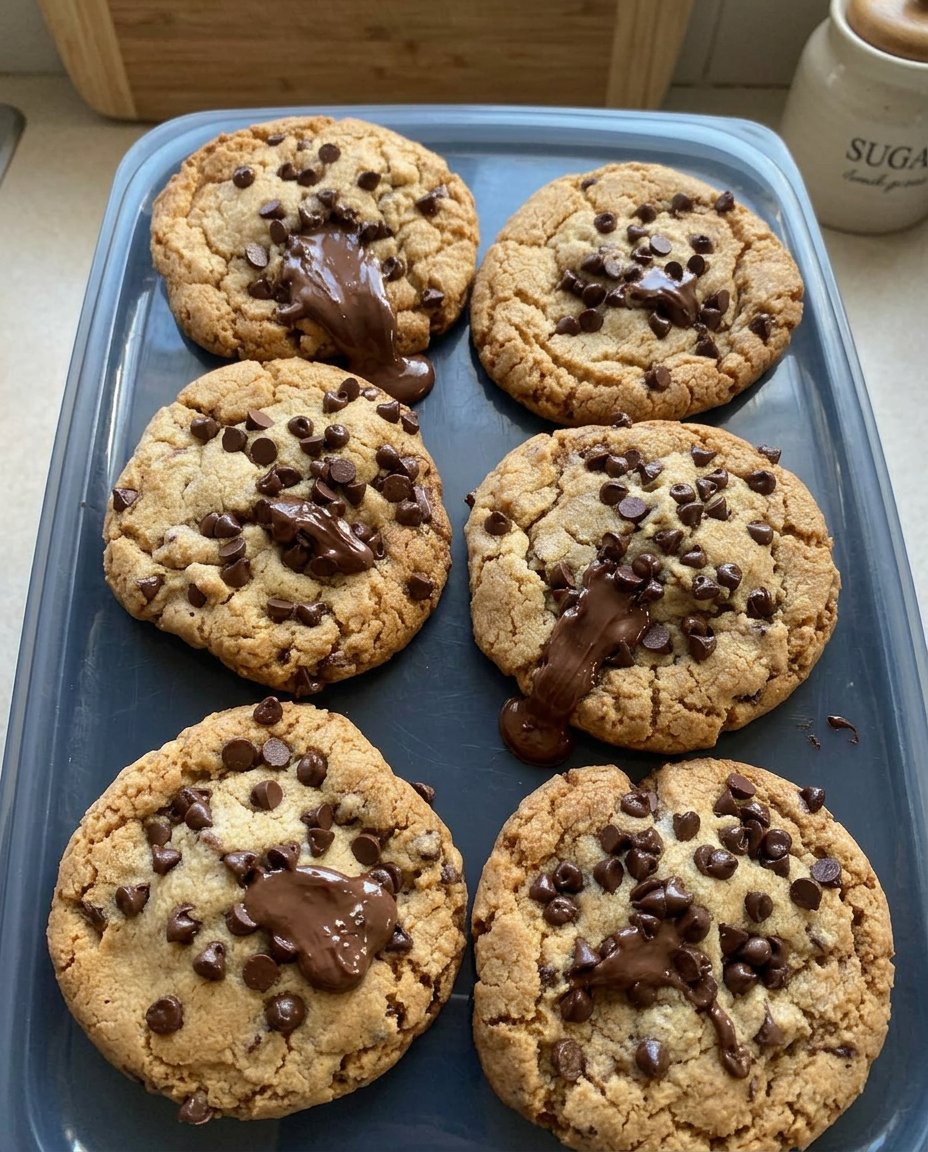
Crispy Chocolate Chip Cookies 2
- Total Time: 26 mins
- Yield: 24 cookies
- Diet: Vegetarian
Description
Experience the ultimate golden crunch with this refined recipe designed for those who prefer a brittle, snappy texture over soft-baked alternatives. These buttery treats use a specific ratio of sugars and melted butter to ensure they stay jar-fresh and satisfyingly crisp for up to a week.
Ingredients
- 1.5 cups All-Purpose Flour
- 10 Tablespoons Melted Butter
- 3/4 cup Granulated Sugar
- 1/4 cup Light Brown Sugar
- 1 Tablespoon Honey or Corn Syrup
- 1 large Egg Yolk
- 1 Tablespoon Milk
- 1 teaspoon Vanilla Extract
- 1/2 teaspoon Baking Soda
- 1/2 teaspoon Salt
- 1.25 cups Semi-Sweet Chocolate Chips
Instructions
- Whisk the flour, baking soda, and salt in a large glass mixing bowl to ensure the leavening agent is evenly distributed.
- In a separate bowl, whisk the melted and slightly cooled butter with the granulated sugar, brown sugar, honey, egg yolk, milk, and vanilla until the mixture is smooth and glossy.
- Slowly add the dry ingredients to the wet mixture, stirring until no streaks of flour remain, then fold in the chocolate chips using a silicone spatula.
- For maximum crunch, proceed to bake immediately; for a slightly more tender heart with crisp edges, chill the dough for 1-2 hours.
- Preheat the oven to 375°F (191°C) and line baking sheets with parchment paper.
- Roll the dough into tablespoon-sized balls, place them two inches apart on the sheets, and bake for 10-11 minutes until the edges are well-browned.
- Let the cookies sit on the pan for 3 minutes before moving them to a wire rack to reach peak crunchiness at room temperature.
Notes
To maintain the signature brittle texture, avoid storing these cookies in plastic containers which can trap humidity; a glass jar with a tight seal is much more effective. If you find your cookies have softened due to kitchen humidity, you can restore the snap by warming them in a 300°F oven for five minutes.
- Prep Time: 15 mins
- Cook Time: 11 mins
- Category: Dessert
- Method: Baking
- Cuisine: American
The Secret to Crispy Chocolate Chip Cookies 2
To get that perfect texture, we carefully choose ingredients that promote spreading and browning while discouraging the puffiness associated with soft cookies. Each element plays a specific role in creating the final snap we adore.
- 1.5 cups All-Purpose Flour: We use a specific amount, spooned and leveled, to keep the dough light enough to spread efficiently across the baking sheet.
- 10 Tablespoons Melted Butter: Melting the butter instead of creaming it with sugar breaks down the structure, leading to a thinner, crispier result that honors traditional flavors with better chew.
- Granulated and Brown Sugar: The high ratio of granulated sugar provides the crunch, while a touch of brown sugar adds just enough moisture for depth without making the cookie soft.
- Honey or Corn Syrup: This acts as a secret weapon for moisture retention and creates a beautiful, crackly golden hue on the surface.
- Egg Yolk and Milk: By removing the egg white, we eliminate the drying, leavening protein that makes cookies cakey, focusing instead on a rich and brittle texture.
- 1.25 cups Semi-Sweet Chocolate Chips: These provide a wonderful balance of sweetness and cocoa that complements the buttery, toasted notes of the dough.
The Method for Texture Mastery
Step 1: Prep Your Ingredients
Start by whisking your dry ingredients—flour, baking soda, and salt—in a large glass mixing bowl to making sure there is an even distribution of the leavening agent. This step is vital for ensuring that every cookie rises and browns at the same rate.
Step 2: Combine Wet Ingredients
In a separate bowl, whisk the melted and slightly cooled butter with the sugars, honey, yolk, milk, and vanilla until the mixture is smooth and glossy. You want to see the sugars beginning to dissolve into the fats for the best surface texture.
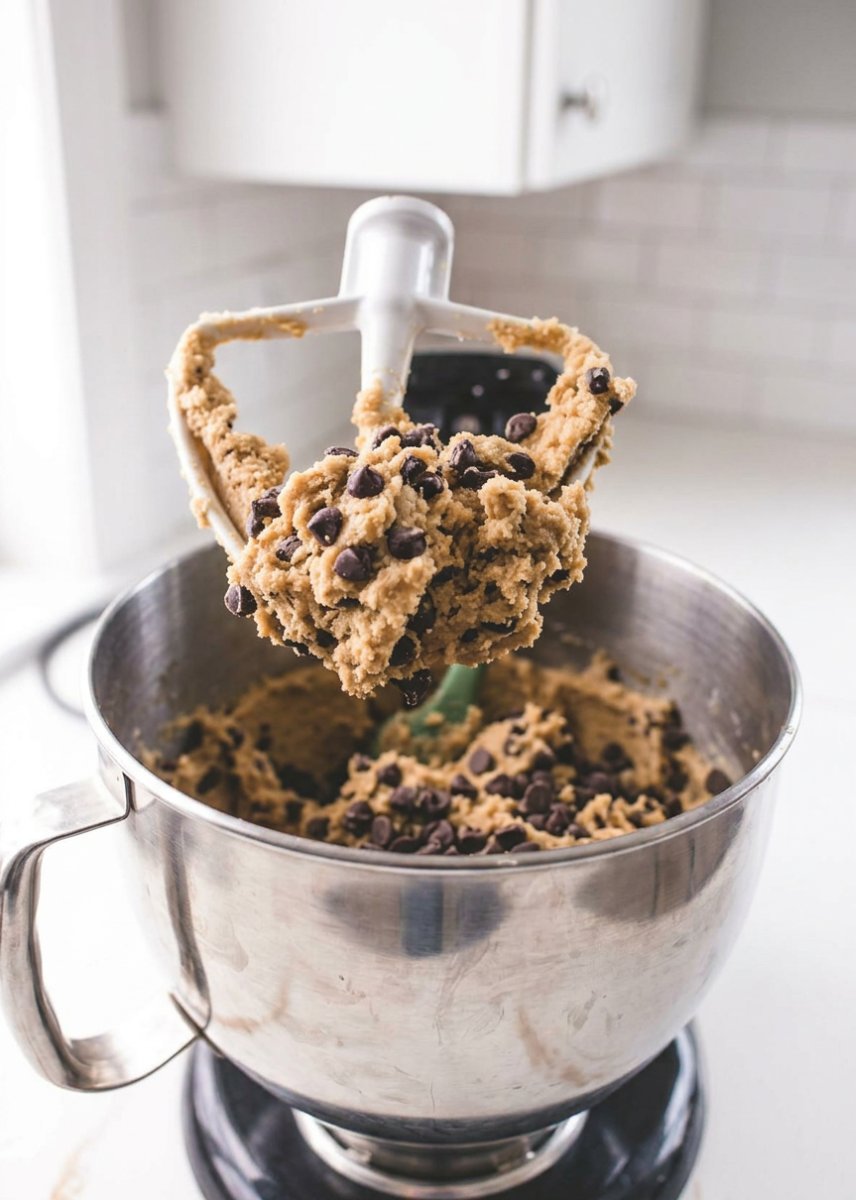
Step 3: Mix the Dough
Slowly add the dry ingredients to the wet mixture, stirring until no streaks of flour remain, then fold in the semi-sweet chocolate chips using a silicone spatula. The dough will feel soft and slightly oily, which is the perfect starting point for a crispy outcome.
Step 4: The Texture Choice
If you want the maximum crunch and a thin profile, proceed to baking immediately. For those who prefer slightly more body and a crisp edge with a tender heart, cover the dough and let it rest in the fridge for one to two hours before rolling.
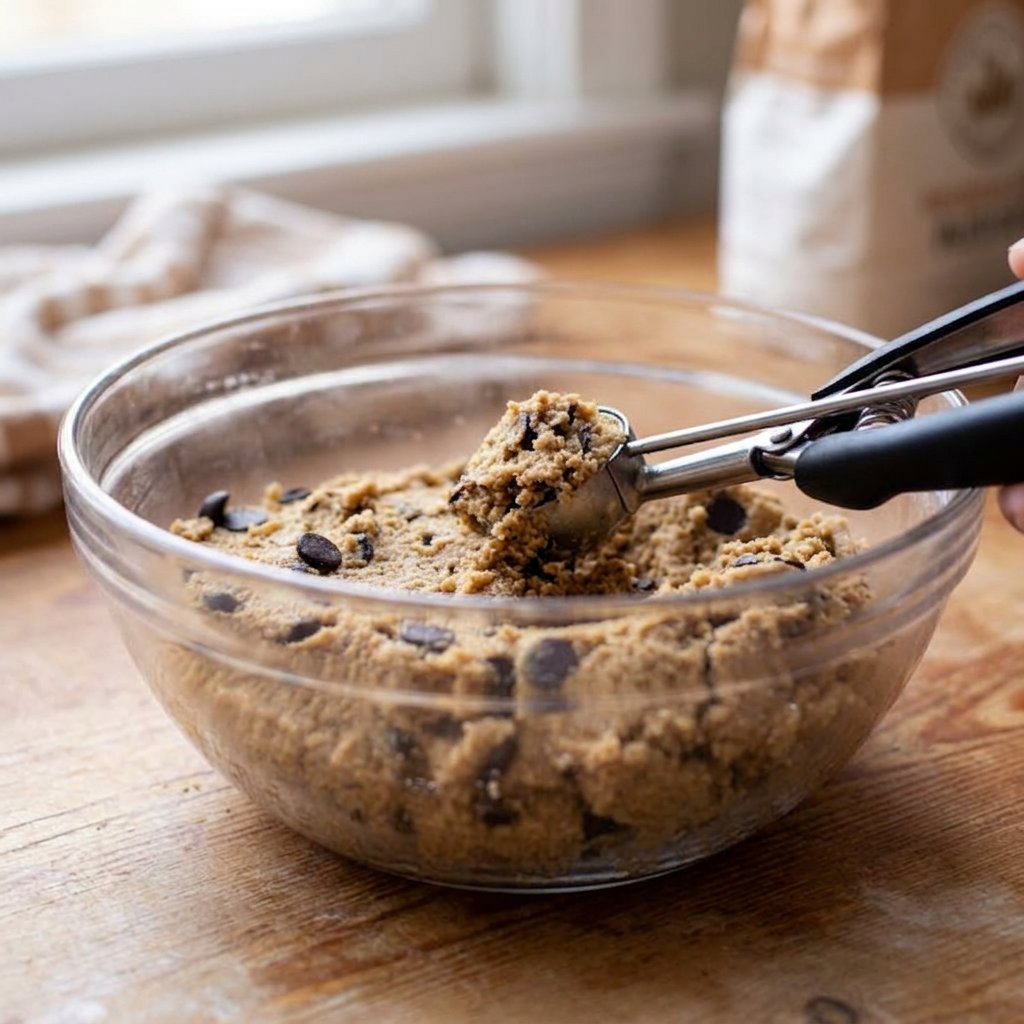
Step 5: Scoop and Bake
Preheat your oven to 375°F (191°C) and line your sheets with parchment. Roll the dough into tablespoon-sized balls and place them two inches apart. Bake for 10-11 minutes until the tops are golden and the edges are well-browned.
Step 6: The Final Snap
Allowing the cookies to sit on the pan for three minutes before moving them to a wire rack is vital. They will continue to firm up as they cool, reaching their peak crunchiness only after they have reached room temperature.
Mehmet’s Freshness Secrets
The absolute best way to making sure your Crispy Chocolate Chip Cookies 2 stay crunchy is to avoid any source of moisture during storage. I recommend using a high-quality glass jar with a tight seal rather than a plastic container, which can sometimes trap humidity. For more expert advice on maintaining the best texture for all your bakes, check out our Classic Cookie Recipes or see what other experts suggest at Sally’s Baking Addiction. If your kitchen is particularly humid and the cookies happen to soften, a quick five-minute stint in a 300°F oven will bring back that satisfying snap instantly. Always let them cool completely on a wire rack to prevent steam from softening the bottoms.
Texture Tweaks and Flavor Options
You can easily modify this recipe to suit your preferences by changing the type of chocolate or adding a hint of warm spice. For those who love a bit of variety, swapping semi-sweet chips for white chocolate and chopped macadamia nuts offers a wonderful alternative that still maintains those signature crisp edges. For more seasonal inspiration and heritage improvements, look through our Holiday Cookie Celebrations. If you prefer a more rustic look and a different mouthfeel, try using a roughly chopped dark chocolate bar instead of uniform chips to create puddles of cocoa within the golden crunch. You can also press the dough balls down slightly with the palm of your hand before baking to create the thinnest possible profile.
How to Enjoy Your Golden Treasures
These sturdy cookies are the best companions for a rich espresso or a warm glass of milk because they hold their shape beautifully and do not fall apart when dipped. They also serve as a perfect base for sophisticated desserts, such as being crumbled over vanilla bean ice cream or layered in a parfait for a delightful contrast in texture. To see how we present our bakes during special events and gatherings, check out our Cookie Decorating Traditions. They are a guaranteed crowd-pleaser at potlucks because they stay fresh and maintain their crunch throughout the day, even in an open display. For a special touch, serve them slightly warm to experience the aroma of toasted butter and vanilla.
The Texture Truth
Finding the balance between buttery richness and a brittle, golden snap is what makes these cookies a true treasure in the modern kitchen. This recipe is a proven way to keep your cookie jar full of treats that stay satisfyingly crisp and jar-fresh for a full week. For more rapid and reliable results that honor vintage flavors, visit our Quick & Easy Cookies page. We would love to see your baking results, so be sure to follow us and share your photos on Instagram, Pinterest, and Facebook. Happy baking, and may your kitchen always be filled with the scent of perfect, crunchy cookies.

