I remember watching my grandmother carefully roll out these delicate almond cookies on her flour-dusted counter every Sunday afternoon. While I treasure those memories, my own schedule rarely allows for an all-day baking project, so I have updated her method to be much faster. This version keeps that same tender crumb and nostalgic flavor but gets you from pantry to plate in a fraction of the time.

These treats are a beautiful bridge between a classic sugar cookie and a buttery shortbread, topped with a simple buttercream and bright sprinkles. They are the perfect way to bring a bit of 1940s charm to your modern kitchen table without the fuss of traditional chilling or complicated decorating.
A Nostalgic Treat for Busy Modern Kitchens
You are going to love these because they deliver Grandma’s flavor with modern speed. Most vintage cutout recipes require hours of chilling in the fridge, but these are ready to roll and bake immediately. This makes them a perfect choice for those moments when you need a homemade treat for a school event or a last-minute gathering but only have a short window of time.
The texture of these Fairy Cookies is truly special. They are thick—about half an inch—which keeps the center soft and pillowy while the edges stay just crisp enough to hold their shape. Because we cut them into simple triangles using a knife or a pizza cutter, you do not have to spend time searching for specific cookie cutters or re-rolling scraps over and over again. It is a smart, efficient way to get a beautiful result.
Finally, the flavor profile is a wonderful blend of vanilla and almond. It is a sophisticated taste that feels like a special occasion treat, yet the ingredients are likely already sitting in your pantry. It is high-quality baking made practical for real life, proving that you do not have to sacrifice heritage flavor for the sake of your schedule.
Print
Fairy Cookies
- Total Time: 23 mins
- Yield: 24 cookies
- Diet: Vegetarian
Description
These thick, tender almond-vanilla cookies offer a nostalgic taste with a modern, efficient method that skips the chilling process. Cut into charming triangles and topped with sweet buttercream and sprinkles, they are the perfect quick treat for any occasion.
Ingredients
- 1 cup unsalted butter, room temperature
- 1 cup granulated sugar
- 1 large egg
- 1 teaspoon almond extract
- 1 teaspoon vanilla extract
- 1 teaspoon baking powder
- 1/2 teaspoon salt
- 3 cups all-purpose flour
- 1/2 cup butter, room temperature (for frosting)
- 2 cups powdered sugar
- Assorted colorful sprinkles
Instructions
- Preheat your oven to 350°F (175°C) and line a baking sheet with parchment paper.
- In a stand mixer, cream the room temperature butter and granulated sugar for 2 to 3 minutes until light and fluffy.
- Add the egg, almond extract, and vanilla extract, beating at medium speed until the mixture is smooth.
- Reduce speed to low and gradually mix in the baking powder, salt, and flour until no white streaks remain.
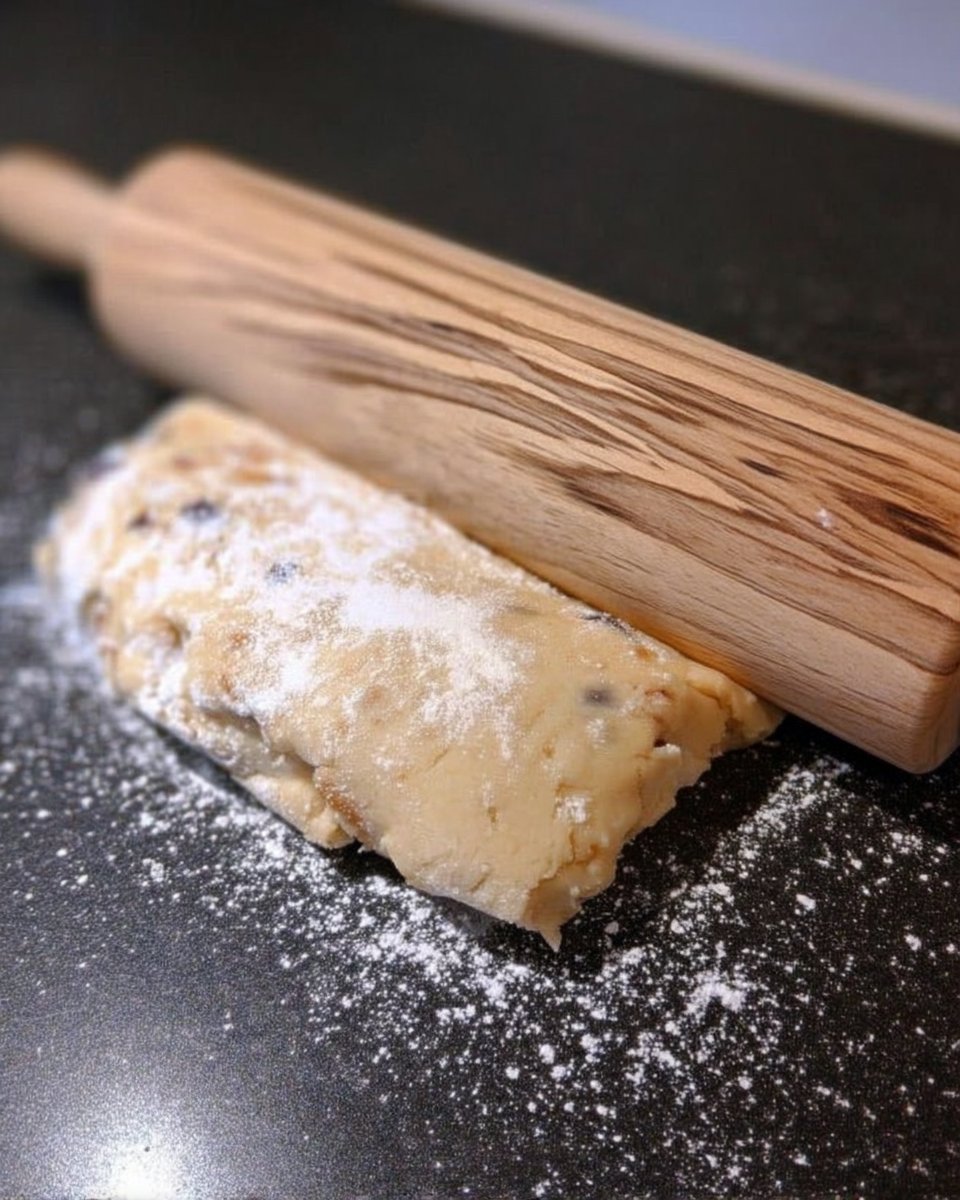
- Roll the dough out on a lightly floured surface to a 1/2-inch thickness and cut into 3 1/2-inch triangles using a pizza cutter.
- Bake for exactly 8 minutes until the edges are just barely golden, then let the cookies cool completely.
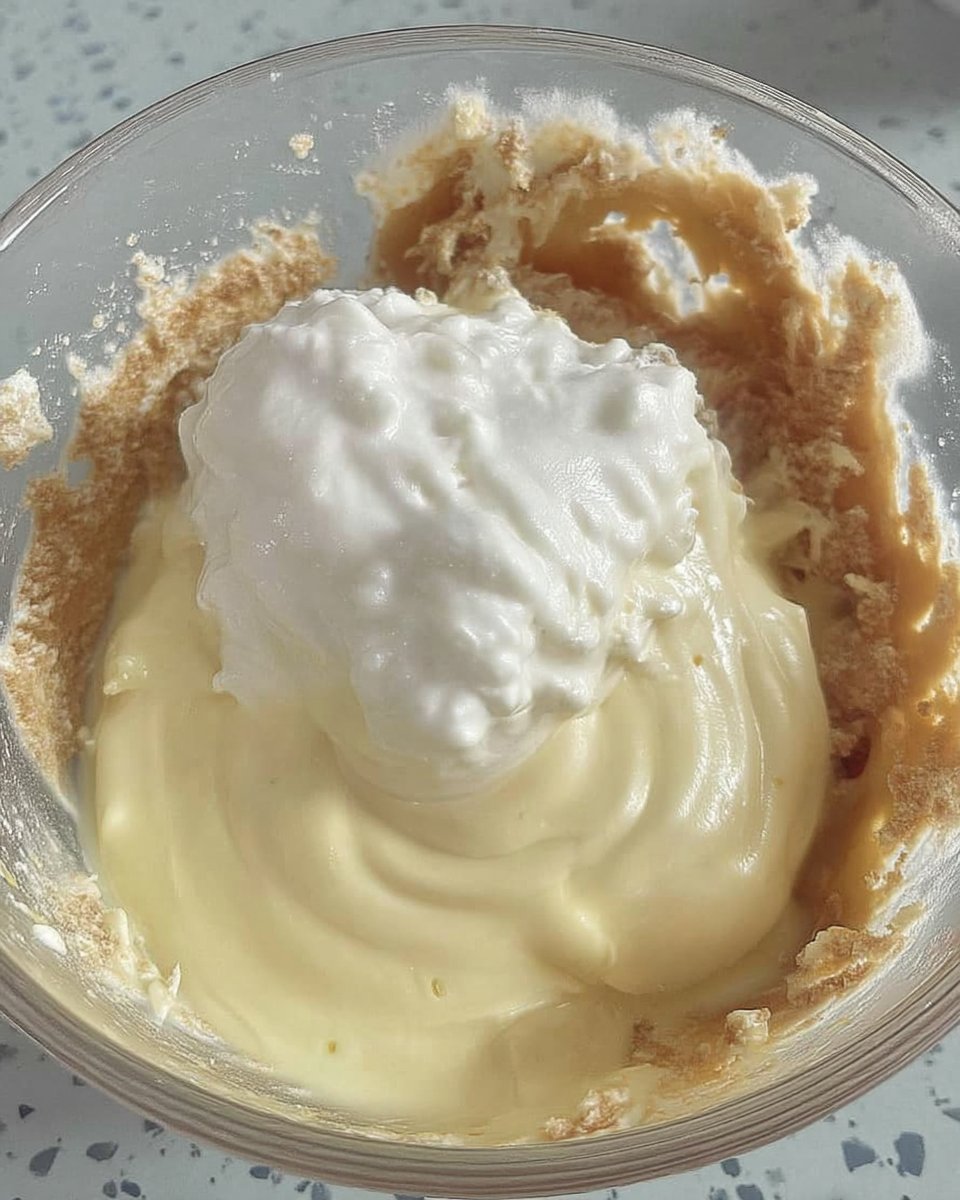
- Prepare the frosting by beating the remaining butter and powdered sugar until smooth, spread onto cooled cookies, and decorate with sprinkles.
Notes
To ensure the cookies remain soft and pillowy, be careful not to over-mix the dough once the flour has been added. If your kitchen is warm and the dough feels soft, placing the cut triangles in the freezer for five minutes before baking will help them maintain their sharp geometric shape.
- Prep Time: 15 mins
- Cook Time: 8 mins
- Category: Cookies
- Method: Baking
- Cuisine: American
Simple Pantry Staples for Timeless Flavor
To make these cookies, you only need basic ingredients that most home bakers keep on hand. Using high-quality butter and fresh extracts is the secret to making these simple items taste like they came from a professional bakery. Here is what you will need to gather:
- Butter: Use real unsalted butter at room temperature. This is the foundation of the cookie’s tender texture.
- Granulated Sugar: Provides sweetness and helps the edges get that light golden crunch.
- Egg: Just one large egg binds the dough together and adds richness.
- Extracts: A combination of almond and vanilla extracts creates that classic ‘bakery’ scent and depth of flavor.
- Baking Powder and Salt: These provide the lift and balance needed to keep the cookies from being too dense or cloying.
- All-Purpose Flour: This provides the structure. Make sure to measure by spooning it into the cup to avoid packing it too tightly.
- Powdered Sugar: For the frosting, this creates a smooth, spreadable finish that hardens just enough to stack.
If you want to try a professional shortcut, you can replace the extracts with a teaspoon of Princess Bakery Emulsion. It gives the cookies a bright, citrusy-almond flavor that many vintage bakeries were known for. Whether you use the classic extracts or the emulsion, the key is to avoid over-mixing once the flour is added to keep the crumb light and airy.
How to Make These Quick Classic Treats
Step 1: Prep and Cream
Start by preheating your oven to 350°F (175°C). In the bowl of your stand mixer, or using a hand mixer, beat the room temperature butter and granulated sugar together. You want to beat them until the mixture is light, fluffy, and noticeably paler in color. This usually takes about 2 to 3 minutes and is the most important part of building the cookie’s structure.
Step 2: Add the Wet Ingredients
Once the butter and sugar are creamy, add in the egg and both the almond and vanilla extracts. Continue beating at a medium speed until the egg is fully incorporated and the mixture looks smooth. Scrape down the sides of the bowl with a spatula to make sure no butter streaks remain.
Step 3: Mix in the Dry Ingredients
With the mixer on low, add the baking powder and salt. Gradually pour in the flour. Mix only until the dough just comes together and no white streaks of flour are visible. Over-mixing at this stage can make the cookies tough, so keep a close eye on it. The dough should be soft but not overly sticky.
Step 4: Roll and Cut
Turn the dough out onto a lightly floured surface. Instead of using a rolling pin to make it thin, roll it out until it is still quite thick—about 1/2 inch (1.25 cm). Use a pizza cutter or a sharp knife to cut the dough into long triangles, roughly 3 1/2 inches (9 cm) in length. This geometric shape is what gives Fairy Cookies their unique, vintage look without the work of cookie cutters.
Step 5: Bake to Perfection
Place the triangles on a baking sheet lined with parchment paper. Bake for exactly 8 minutes. You are looking for the edges to be just barely turning a light golden brown while the tops stay pale. Do not overbake! Let them cool completely on the pan or a wire rack before you even think about frosting them.
Step 6: Frost and Decorate
While the cookies cool, make the frosting by beating the butter until smooth, then slowly adding the powdered sugar. Beat until the frosting is spreadable and light. Spread about a teaspoon or two onto each cooled cookie and top immediately with your favorite colorful sprinkles.
Meagan’s Time-Saving Tips for Success
To get the best results in the shortest time, always use parchment paper on your baking sheets. It prevents sticking and makes cleanup a breeze, which is vital for a busy baker. If you find your kitchen is particularly warm, you can pop the cut triangles into the freezer for 5 minutes before baking to make sure they hold their shape perfectly in the oven. For those looking for more ways to fill their cookie jars without the stress, check out our other Quick & Easy Cookies.
Another great tip is using a pizza cutter for the shapes. It is much faster than a knife and gives you clean, straight lines every time. If you love the whimsical vibe of these treats, you might also enjoy reading about fairy toast cookies for more magical inspiration. Lastly, make sure your butter is truly at room temperature; if it is too cold, the dough won’t come together smoothly, and if it is melted, the cookies will spread too much.
Simple Twists for Any Occasion
These cookies are a fantastic canvas for your own creativity. You can easily swap the almond extract for lemon or orange extract to give them a bright, citrusy kick that is perfect for spring. If you are baking for a specific holiday, simply change the color of the sprinkles or add a drop of food coloring to the frosting. For more ideas on how to personalize your bakes, look through our guide on Cookie Decorating Traditions.
If you want a bit of texture, you can press a few chopped nuts or even some small chocolate chips into the dough before baking. Some people like to use a simple glaze instead of the buttercream frosting for a lighter finish. You can also try making ‘mini’ versions by cutting the triangles half as long, which makes them great for a bite-sized snack during a busy workday.
Beautiful Ways to Share Your Bakes
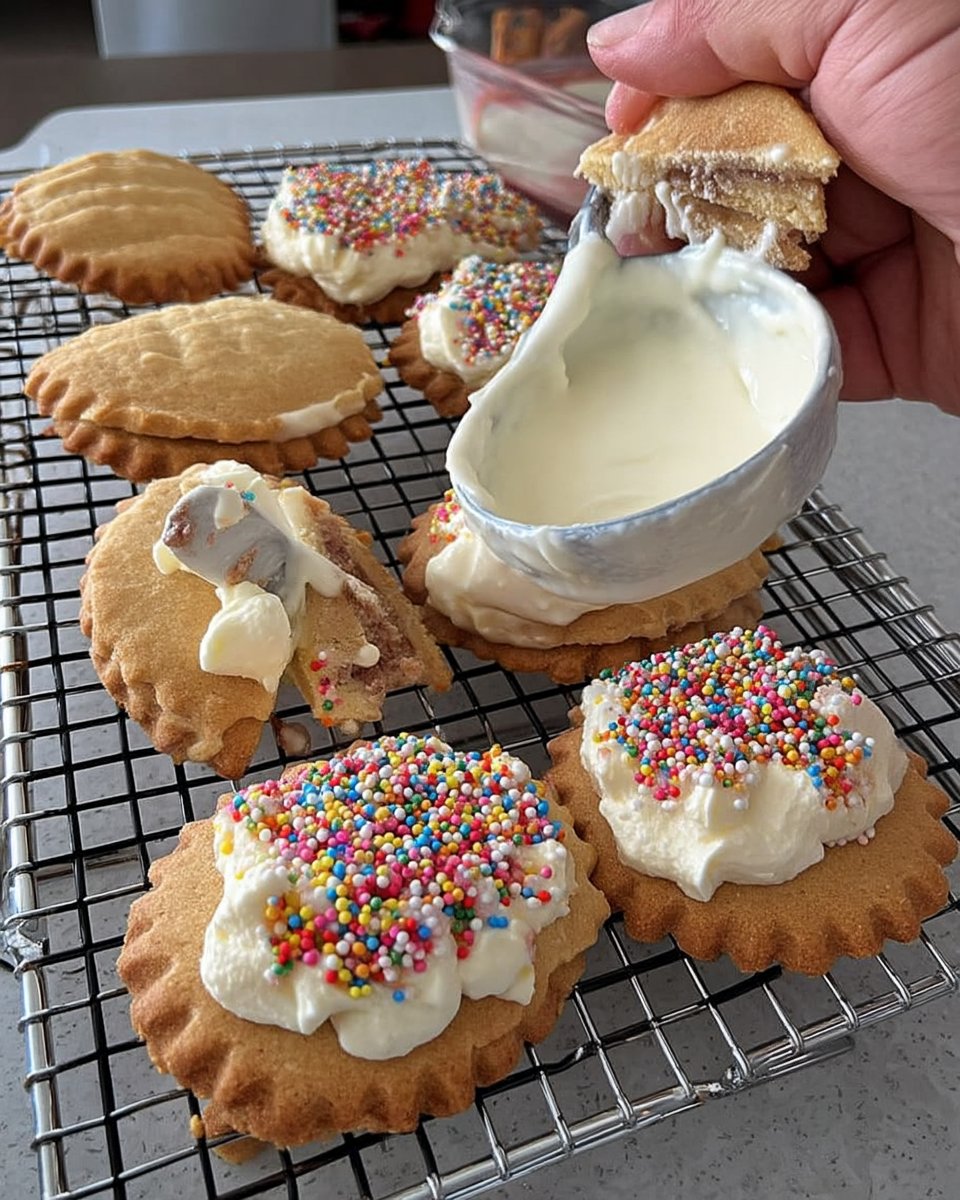
These cookies look stunning when arranged in a circle on a vintage platter, highlighting their unique triangle shape. They are a wonderful addition to an afternoon tea spread or as a special treat in a child’s lunchbox. Because they are sturdy enough to be stacked once the frosting sets, they are also an excellent choice for gifting to neighbors or friends. For more inspiration on how to present your treats, browse our Classic Cookie Recipes.
Try serving them alongside a cold glass of milk for the kids or a warm cup of Earl Grey tea for the adults. The almond flavor in the cookie pairs beautifully with the floral notes of the tea. They also make a lovely dessert for a family Sunday dinner, bringing a sense of tradition to the table without requiring the baker to spend all day in the kitchen.
Heritage Baking for the Modern Home
Making these Fairy Cookies is a wonderful way to honor the past while staying present in your busy life. It is possible to have that handcrafted, nostalgic taste without the hours of labor we often associate with vintage recipes. This recipe proves that with a few smart shortcuts, like skipping the chill time and using a pizza cutter, you can keep heritage alive every single week. I hope these become a new favorite in your household. For more seasonal ideas, visit our collection of Holiday Cookie Celebrations. Don’t forget to share your results with me on Pinterest, Instagram, and Facebook!
