I still remember the scent of warm currants and orange zest drifting from Grandma’s kitchen every rainy Tuesday afternoon. She would stand at her worn wooden counter, her hands moving with a rhythmic grace as she rolled out the dough for her famous Garibaldi Biscuits. Those thin, crisp treasures were more than just a snack; they were a piece of our family heritage that she guarded with a gentle pride.

These Garibaldi Biscuits carry the weight of tradition in every bite, offering a perfect balance of buttery pastry and sweet, chewy fruit. Whether you call them by their traditional name or their playful nickname, they are a timeless addition to any cookie jar. It is a joy to share this recipe with you, knowing it will bring that same sense of comfort to your home that it always brought to ours.
A Timeless Jar Favorite for Every Generation
There is something truly special about a recipe that stands the test of time, and these Garibaldi Biscuits are a testament to the beauty of simple baking. For decades, these have been the most requested item in my family’s cookie jar, sitting right alongside the heavy hitters but always disappearing first. They possess a unique charm that modern, over-complicated treats often lack, relying on the quality of the ingredients and a bit of patience to create something truly memorable.
You will love the way the thin layers of dough snap with a satisfying crispness, revealing a dense, sweet layer of fruit inside. They are not overly sweet, which makes them the perfect companion for a morning cup of coffee or a late-afternoon tea. In a world of flashy desserts, these biscuits remind us that the most treasured recipes are often the ones that feel like home. They are honest, reliable, and deeply comforting, just like a long talk with an old friend over a shared plate of treats.
Another reason this recipe remains a favorite is the wonderful nostalgia it evokes. Every time I pull a batch out of the oven, I am transported back to my childhood, hearing the click of the heavy ceramic lid on Grandma’s cookie jar. These biscuits keep remarkably well, staying fresh and crisp for days, though they rarely last that long in my house. They represent a tradition of heritage baking that values texture and subtle flavors above all else, making them a genuine classic in the truest sense of the word.
Print
Garibaldi Biscuits
- Total Time: 43 mins
- Yield: 12 biscuits
- Diet: Vegetarian
Description
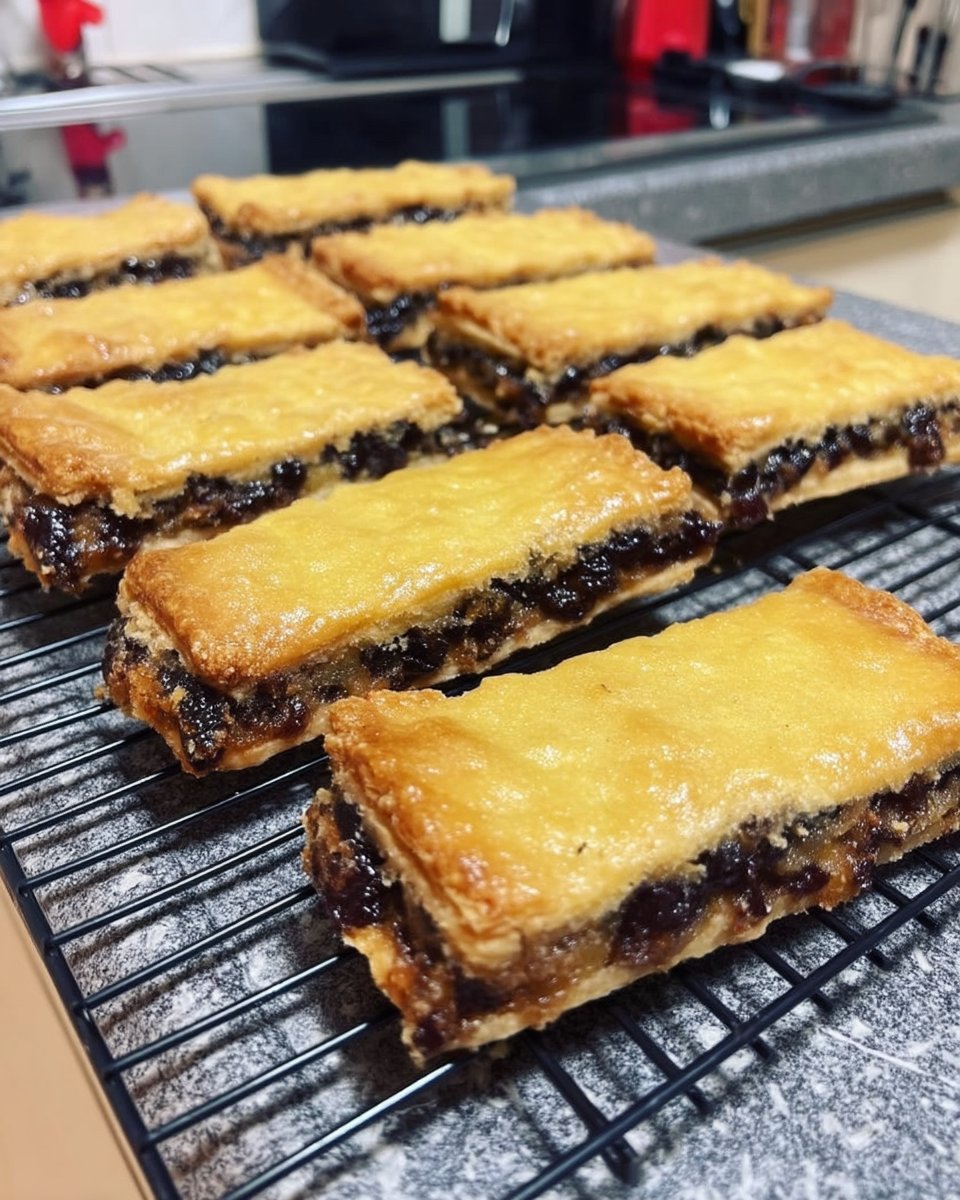
Experience a true British classic with these crisp, golden Garibaldi Biscuits, featuring a sweet layer of zesty currants pressed between thin sheets of buttery pastry. These timeless treats are deceptively simple to make and provide the perfect nostalgic accompaniment to your afternoon tea.
Ingredients
- 1 cup dried currants (or raisins)
- 3 tablespoons orange juice
- 1 1/2 cups self-raising flour
- 1 pinch salt
- 4 tablespoons cold unsalted butter, cubed
- 2 tablespoons granulated sugar, plus extra for topping
- 1 large egg, separated
- 1 tablespoon water
Instructions
- Finely chop the currants and simmer them with orange juice in a small saucepan until plump, then strain and dry them thoroughly on paper towels.
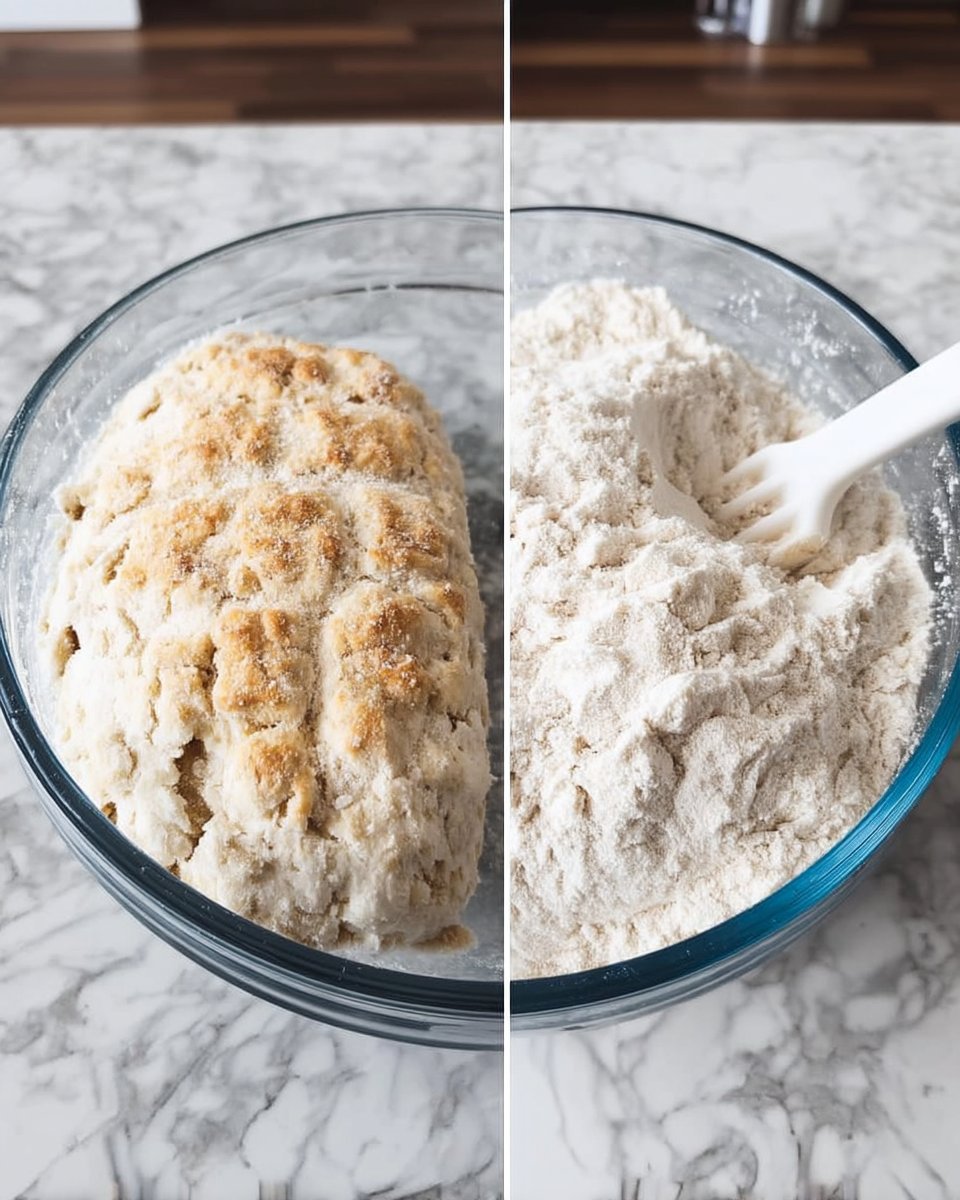
- Pulse the flour and salt in a food processor, add the cold butter until the mixture resembles fine breadcrumbs, and then pulse in the sugar.
- Add the egg yolk and water, pulsing until a dough ball forms, then knead very gently on a floured surface until smooth.
- Divide the dough into two disks, wrap in plastic, and refrigerate for 20 minutes while preheating your oven to 350°F (175°C).
- Roll each disk into a 6×8 inch rectangle, brush one with egg white, spread the dried fruit over it, and place the second rectangle on top.
- Gently roll the layers together into a 10×11 inch rectangle, cut into 12 smaller pieces, and brush with the remaining egg white and a sprinkle of sugar.
- Bake on a parchment-lined sheet for 12 to 13 minutes until golden brown, then allow to cool completely on a wire rack.
Notes
For the best results, ensure your butter is very cold to maintain the pastry’s delicate snap. If the dough feels sticky while rolling, lightly flour your rolling pin rather than adding more flour to the dough itself to keep the texture light.
- Prep Time: 30 mins
- Cook Time: 13 mins
- Category: Dessert
- Method: Baking
- Cuisine: British
Simple Pantry Staples for Heritage Flavor
The beauty of this recipe lies in how it transforms humble pantry items into something extraordinary. When we look at the ingredients for Garibaldi Biscuits, we see the building blocks of traditional baking: flour, butter, sugar, and fruit. There are no fancy additives or hard-to-find components here—just the honest staples that have filled bakeries for centuries.
- Dried Fruit: I often use currants for that classic look, but raisins or even dried cherries add a wonderful depth. The key is to chop them finely so they distribute evenly between the layers of dough.
- Orange Juice: This is my little secret for adding a bright, citrusy note that cuts through the richness of the butter and sweetens the fruit naturally as it simmers.
- Self-Raising Flour: This provides just enough lift to keep the biscuits from being too hard, giving them that signature light-yet-crisp texture we all love.
- Cold Butter: Using cold butter is vital for a flaky pastry. It creates tiny pockets of fat that puff up slightly during baking, resulting in a delicate crumb.
- Egg Yolk and Water: These bind the dough together without making it tough, while the egg white is saved for a beautiful, golden wash on top.
- Sugar: Just a touch is needed in the dough, as the fruit provides most of the sweetness. A little sprinkle on top before baking adds a lovely crunch.
When you gather these ingredients, think of the generations of bakers who did the same before you. There is a profound connection in using the same simple tools and staples that our grandmothers used. By choosing high-quality butter and fresh dried fruit, you honor the tradition of making the best with what you have on hand. These ingredients might seem basic, but together they create a flavor profile that is sophisticated and deeply satisfying.
The Heritage Method for Perfect Biscuits
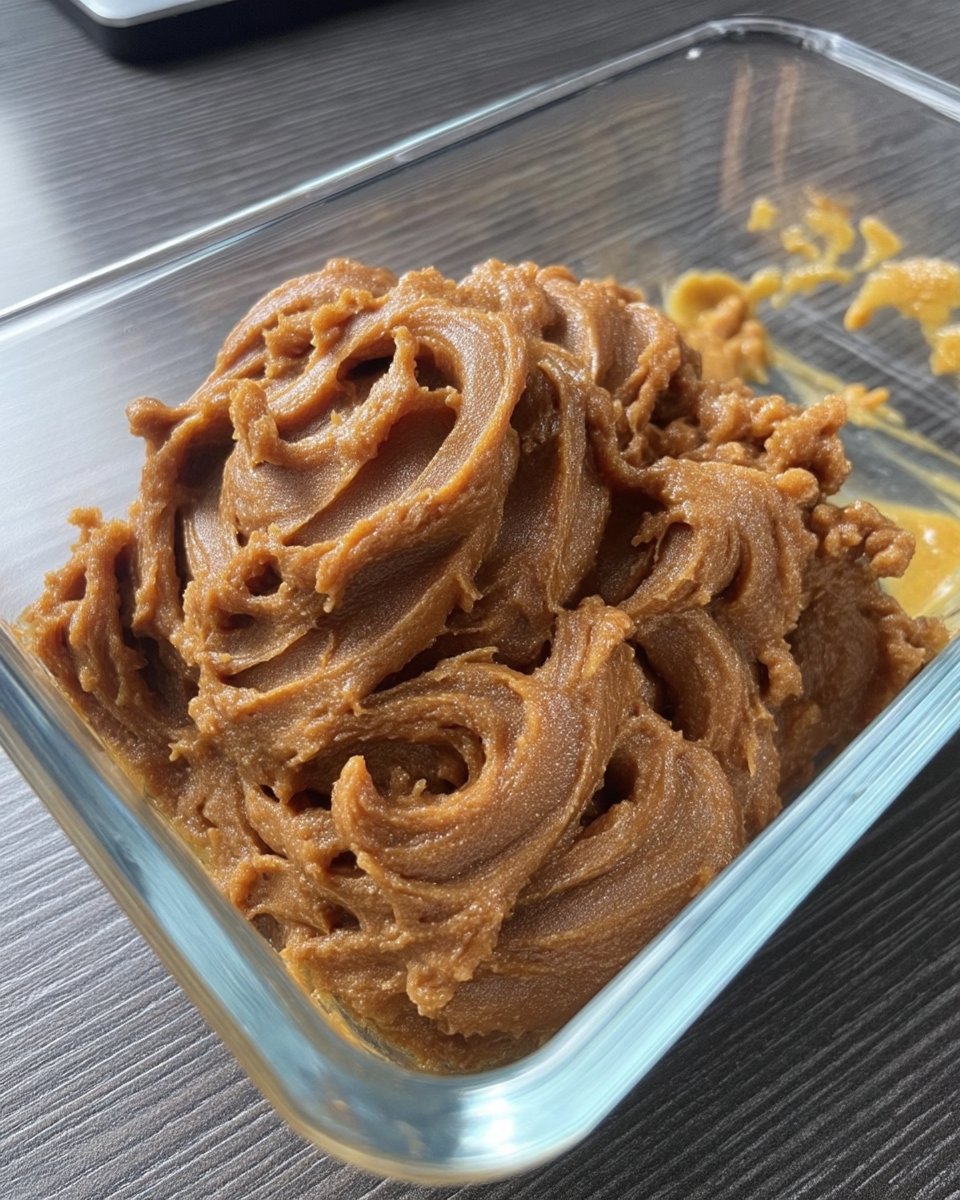
Step 1: Prepare the Fruit Filling
Start by finely chopping your choice of dried fruit—I personally love a mix of currants and dried cherries for a little surprise. Place the fruit in a small saucepan with the orange juice and gently warm it until it reaches a simmer. Remove it from the heat and let it sit for a few minutes to plump up. Once softened, strain the fruit and spread it out on paper towels to drain thoroughly. You want the fruit to be moist but not wet, or it will make the dough soggy.
Step 2: Create the Pastry Base
In your food processor, pulse together the self-raising flour and a pinch of salt. Add the cold, cubed butter and pulse until the mixture looks like fine breadcrumbs. This process should be quick to keep the butter from melting. Sprinkle in the sugar and pulse once more to combine. This dry mixture is the foundation of your biscuit, so take care not to over-process it.
Step 3: Bind the Dough
Add the egg yolk and the tablespoon of water to the flour mixture. Pulse just until a dough ball begins to form. Turn the dough out onto a lightly floured surface and knead it very gently for a few seconds. You are looking for a smooth, cohesive dough that isn’t sticky. Over-kneading will make the biscuits tough, so keep your touch light and quick, just as Grandma always taught me.
Step 4: Chill and Roll
Divide the dough into two equal portions and flatten them into disks. Wrap them tightly in plastic wrap and let them rest in the refrigerator for about 15 to 20 minutes. This resting period allows the gluten to relax and the butter to firm up again. While the dough chills, use a paper towel to press any remaining moisture out of the fruit. Preheat your oven to 350°F (175°C) and line a baking sheet with parchment paper.
Step 5: Assemble the Layers
Roll each chilled disk of dough into a rectangle about 6×8 inches. Brush one rectangle with a thin layer of egg white, which acts as the glue for our fruit. Evenly sprinkle the prepared dried fruit over the egg-washed surface, leaving a tiny border around the edges. Carefully place the second rectangle of dough on top of the fruit layer.
Step 6: The Final Press and Cut
Using your rolling pin, gently roll the two layers together into a larger rectangle, roughly 10×11 inches. You will see the fruit start to peek through the dough—this is exactly what you want! Cut the rectangle in half lengthwise, then cut each half into six rectangular pieces. Brush the tops with the remaining egg white and a sprinkle of sugar for that classic finish.
Step 7: Bake to Golden Perfection
Place the biscuits on the prepared baking sheet and bake for 12 to 13 minutes, or until they are a light, golden brown. Keep a close eye on them, as they can go from perfect to overdone very quickly. Let them cool on the sheet for five minutes to set before moving them to a wire rack. If the fruit makes them stick together, simply use kitchen scissors to gently separate them once they are completely cool.
Grandma’s Secrets for the Best Garibaldi Biscuits
To get that authentic look where the fruit peeks through the dough—often called the “flies’ graveyard” in British tradition—make sure you roll the dough thin enough. The pressure of the rolling pin should almost squash the fruit into the pastry. If you find your dough is getting too warm while you work, don’t be afraid to pop it back in the fridge for five minutes. Keeping the butter cold is the secret to that delicate, crisp snap that defines a true heritage biscuit. For those looking to master more of these timeless treats, I highly recommend looking through our collection of Classic Cookie Recipes to build your baking repertoire. Another tip is to use a very sharp knife or a pizza cutter to get clean edges on your biscuits, which helps them bake more evenly. You can also find more detailed techniques at Little House Big Alaska for extra guidance.
Heritage Twists on a Family Classic
While the traditional currant filling is hard to beat, our family has developed a few beloved variations over the years. Substituting the currants with dried cranberries and adding a touch of orange zest to the dough makes for a wonderful holiday version. If you enjoy a bit of crunch, try adding a tablespoon of very finely chopped walnuts to the fruit mixture. For more festive ideas, our Holiday Cookie Celebrations guide has plenty of inspiration for adapting heritage recipes for the seasons. You might even try a spiced version by adding half a teaspoon of cinnamon or ginger to the flour mixture for a warmer, more autumnal flavor profile that pairs beautifully with a dark roast coffee.
Cookie Jar Traditions and Sharing

Serving Garibaldi Biscuits is an invitation to slow down and enjoy the moment. In my house, these are always served on a vintage china plate alongside a pot of hot Earl Grey tea. They are sturdy enough to be dipped but crisp enough to be enjoyed on their own. If you are serving them to little ones, a cold glass of milk is the classic choice that never fails to bring smiles. For more ideas on quick treats for your next gathering, visit our Quick & Easy Cookies section. These biscuits also make a lovely gift; simply stack them in a cellophane bag tied with a piece of rustic twine for a thoughtful, homemade gesture that speaks of tradition and care.
The Sweet Heritage of Baking
As you place these biscuits into your own cookie jar, I hope you feel the same warmth and connection to the past that I do. Baking is a way of keeping our memories alive and passing them down to the next generation, one batch at a time. These Garibaldi Biscuits are a simple reminder that the best things in life are often the ones we make with our own two hands and share with those we love. For more mindful baking ideas, be sure to check out our Wholesome Cookie Options. I would love to see your baking creations, so please share them with our community on Pinterest, Instagram, Facebook, or TikTok. Keep your kitchen warm and your cookie jar full!
