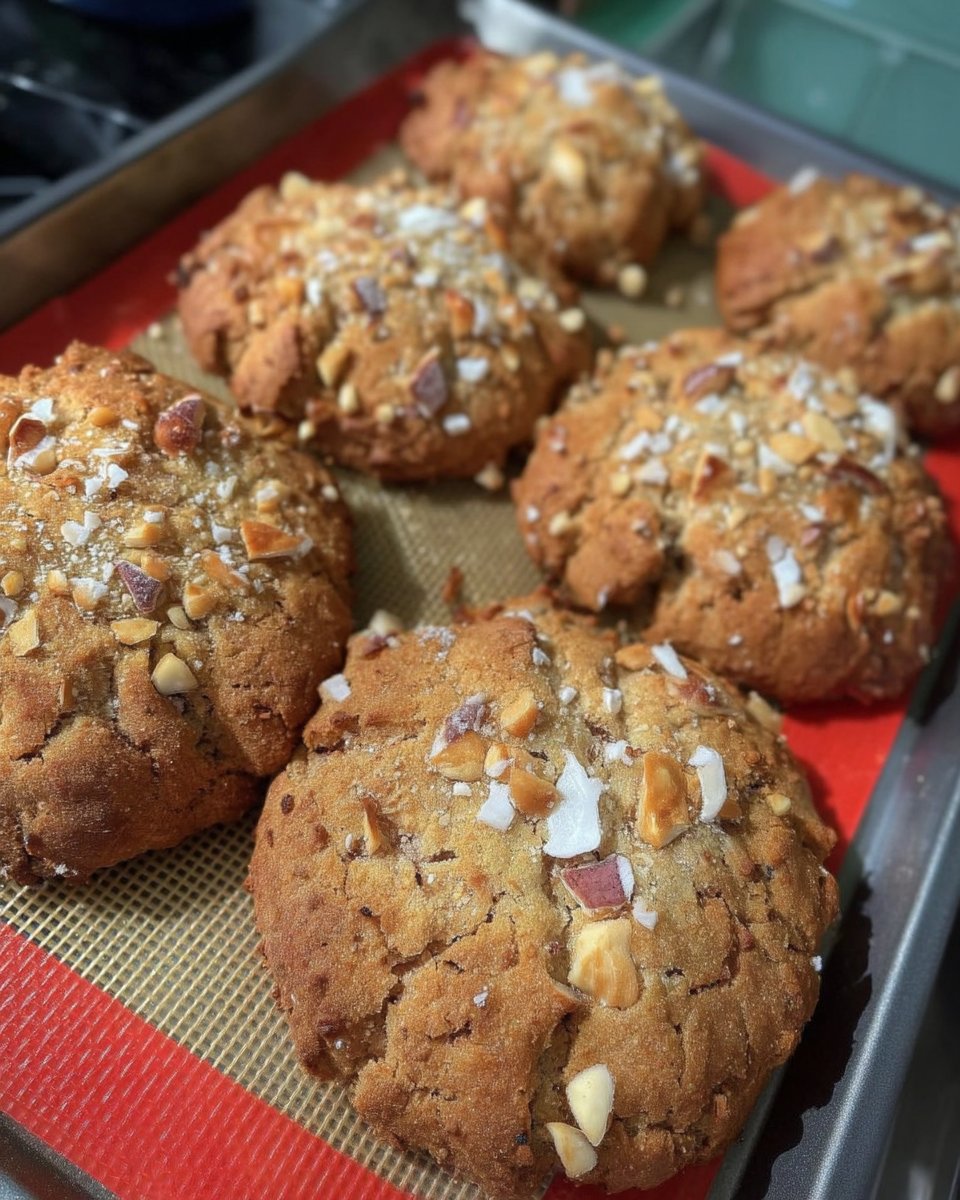
Most gluten-free treats suffer from a short shelf life, turning into dry crumbs by the second day. I spent months perfecting this Gluten Free Chocolate Chip recipe to guarantee a cookie that stays soft and chewy for a full week. By adjusting the hydration and using brown butter, we’ve solved the stale cookie problem while keeping that vintage kitchen flavor.

This recipe is a modern take on a classic heirloom treat, focusing on a tender crumb that feels like it came straight from a professional bakery. We use a blend of gluten-free and almond flours to create a satisfying chew that mirrors traditional wheat-based favorites. These are the cookies you’ll want to keep stocked in your favorite jar for whenever a sweet craving hits.
Why This Gluten Free Chocolate Chip Recipe Works
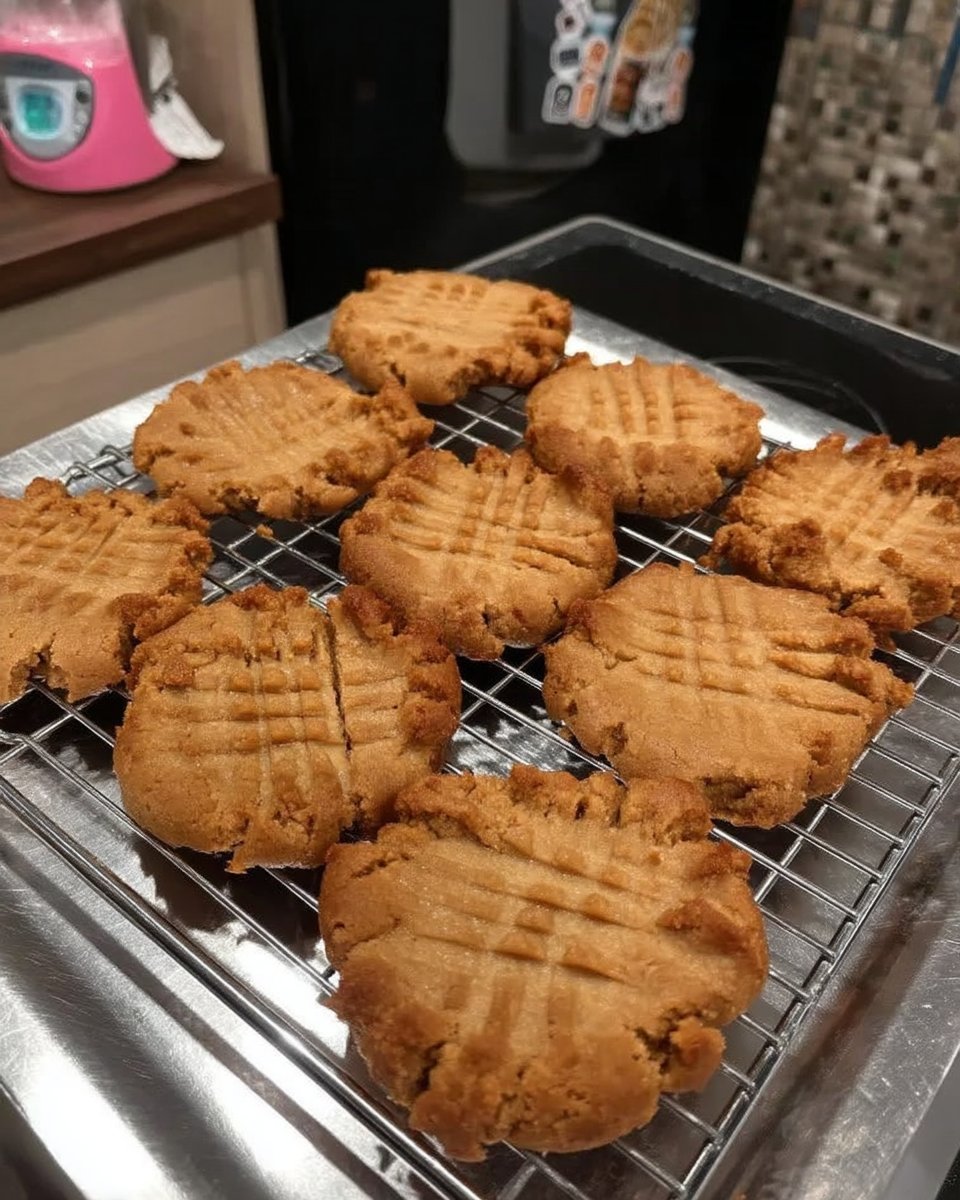
The biggest frustration with gluten-free baking is how quickly the results can turn hard. These cookies are different because they rely on brown butter and a specific resting time to keep the moisture locked inside the dough. You will love how the edges stay golden and slightly crisp while the centers remain wonderfully soft and gooey, even after sitting in the cookie jar for three or four days. Unlike many vintage recipes that can be a bit dry, this texture-focused version honors tradition while making sure every bite is perfectly tender. It is a reliable favorite that brings the comfort of a Sunday kitchen to anyone avoiding gluten.
Print
Gluten Free Chocolate Chip
- Total Time: 57 mins
- Yield: 24 cookies
- Diet: Gluten-Free
Description
Experience the ultimate soft and chewy cookie with this gluten-free recipe that utilizes brown butter and a specific hydration rest to prevent dryness. These bakery-quality treats feature a perfect balance of nutty flavor and melted chocolate pockets that stay fresh for days.
Ingredients
- Gluten-free flour blend (with xanthan gum)
- Almond flour
- Baking soda
- Kosher salt
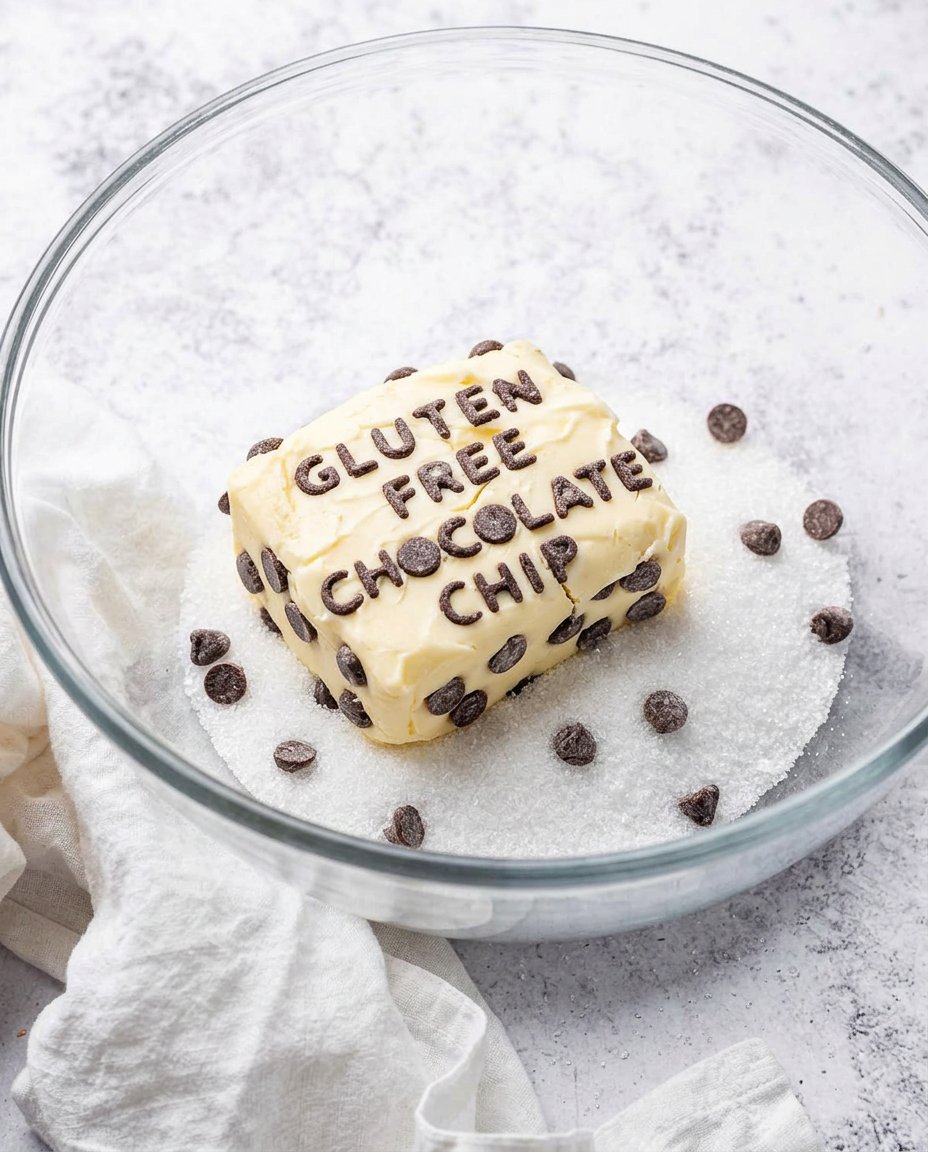
- Unsalted butter (for browning)
- Milk
- Brown sugar
- Granulated sugar
- Large egg
- Vanilla extract
- Chocolate chips
- Flaky sea salt
Instructions
- Whisk together the gluten-free flour, almond flour, baking soda, and kosher salt in a medium bowl until the leavening agent is evenly distributed.
- Melt the butter in a skillet over medium-low heat, stirring constantly until it foams and turns golden brown with a nutty aroma, then transfer immediately to a bowl.
- Combine the milk, brown sugar, and granulated sugar with the warm brown butter, whisking until the sugar begins to dissolve.
- Whisk in the egg and vanilla extract until the mixture is completely smooth and creamy.
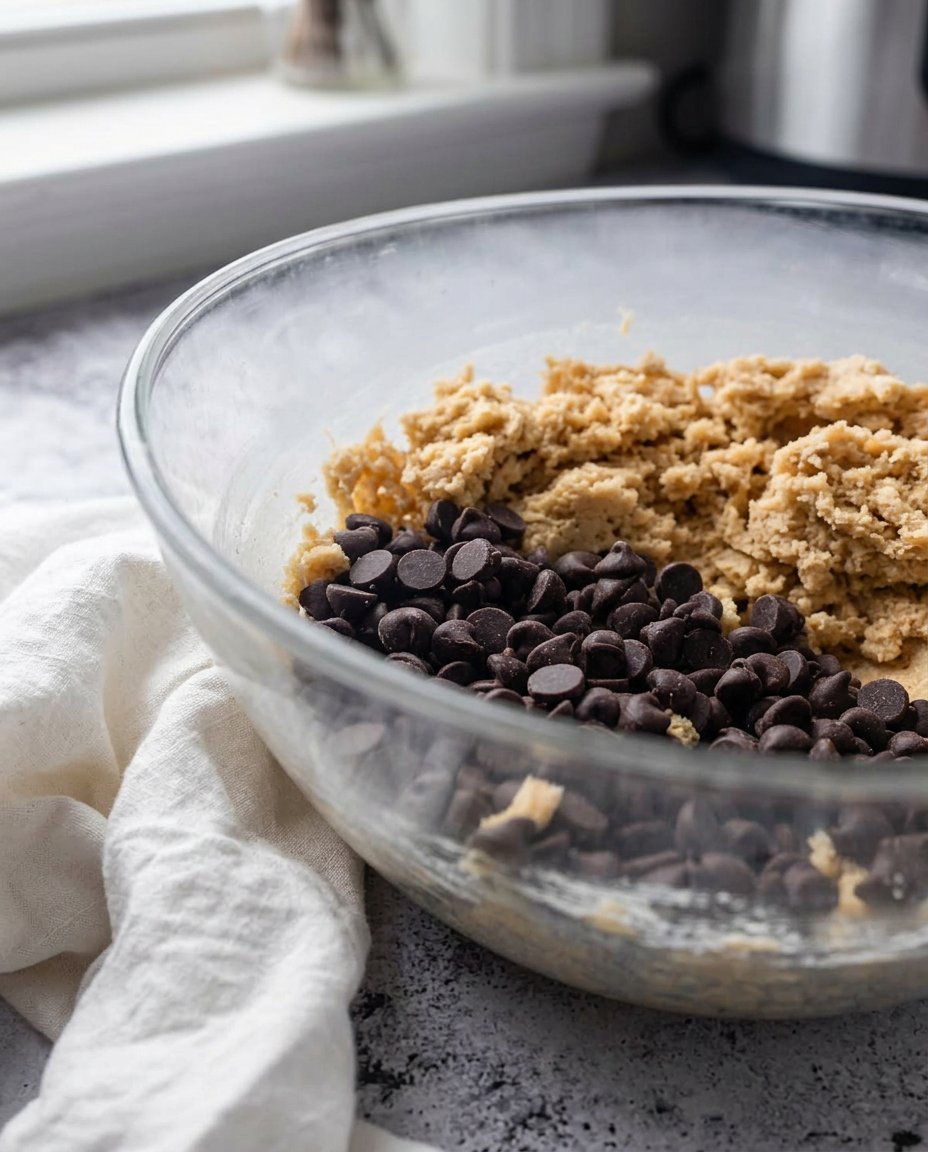
- Gently fold the dry ingredients into the wet mixture using a spatula until no flour streaks remain, then stir in the chocolate chips.
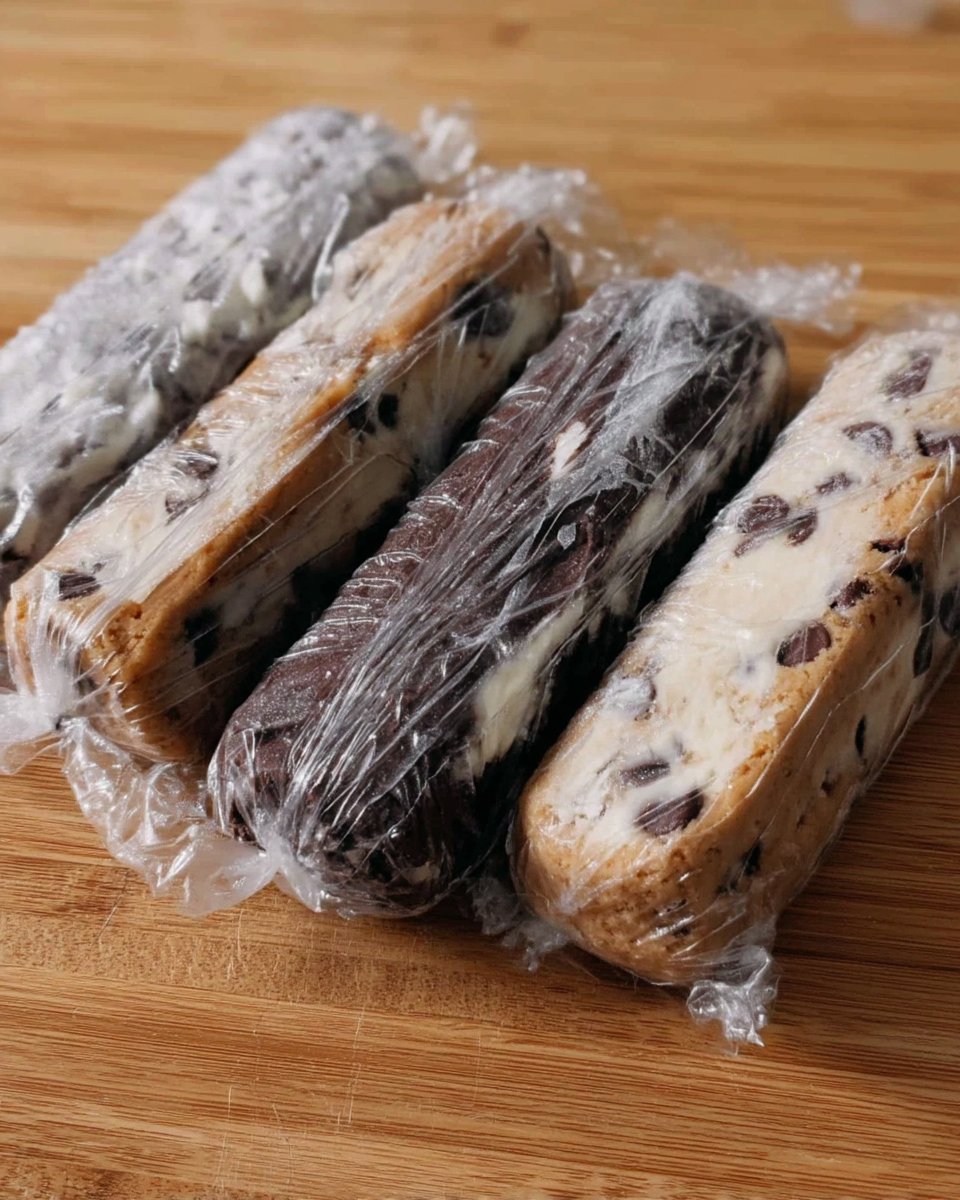
- Cover the dough and allow it to rest at room temperature for at least 30 minutes to ensure the flour hydrates properly.
- Preheat the oven to 350°F (175°C) and line baking sheets with parchment paper.
- Scoop two-tablespoon portions of dough onto the sheets, spacing them two inches apart, and bake for 10 to 12 minutes until edges are golden.
- Cool the cookies on the baking sheet for 5 minutes before moving them, and finish with a sprinkle of flaky sea salt.
Notes
For the best texture, ensure your brown butter has cooled slightly before adding the egg to avoid cooking it prematurely. The 30-minute resting period is essential for gluten-free baking as it allows the rice-based flours to absorb moisture, resulting in a smooth crumb rather than a gritty one.
- Prep Time: 45 mins
- Cook Time: 12 mins
- Category: Dessert
- Method: Baking
- Cuisine: American
The Soft Secret Ingredients
To achieve a texture that rivals any traditional cookie, we choose our ingredients based on how they hold onto moisture. Gluten-free flour alone can sometimes be thirsty, so we balance it with fats and sugars that prevent a dry finish.
- Gluten-Free Flour: Using a blend with xanthan gum is vital for providing the structure that gluten usually handles. I recommend King Arthur or Bob’s Red Mill 1:1 blends.
- Almond Flour: This is my secret for a tender crumb. It adds a bit of healthy fat and moisture that prevents the cookies from becoming sandy.
- Brown Butter: By browning the butter, we add a deep, nutty flavor and a chewier texture that regular melted butter just cannot match.
- Brown Sugar: This is the key to that soft, bendable cookie center we all treasure. It holds more moisture than white sugar.
- Chocolate Chips: High-quality chips are essential for those perfect melted pockets in every bite. Whether you prefer semi-sweet or dark, they provide the soul of the cookie.
- Milk: A tiny amount of milk helps replace the moisture lost during the butter-browning process, keeping the dough hydrated and easy to work with.
How to Make the Perfect Batch
Step 1: Prep the Dry Blend
In a medium-sized bowl, whisk together the gluten-free flour, almond flour, baking soda, and kosher salt. It is important to mix these thoroughly so the leavening agent is distributed evenly, which guarantees a consistent rise across the whole batch.
Step 2: Master the Brown Butter
Melt your butter in a medium skillet over medium-low heat. Keep it moving with a spoon. You will see it foam up, then turn a beautiful golden brown with a nutty smell. Move it to a bowl immediately so it does not burn; this step is what gives the cookies their professional-level depth.
Step 3: Combine the Sugars and Fats
Add the milk, brown sugar, and granulated sugar into the warm brown butter. Whisk them together until the sugar starts to dissolve. The warmth of the butter helps create a smooth base for the dough.
Step 4: Emulsify the Wet Ingredients
Whisk in the large egg and the vanilla extract. Keep whisking until the mixture looks smooth and slightly creamy. This emulsification is what helps create that perfect chewy top on the finished cookie.
Step 5: Folding in the Texture
Using a rubber spatula, gently fold the dry ingredients into the wet mixture. You want to mix until no flour streaks remain, but do not overwork it. Fold in the chocolate chips last so they are scattered evenly throughout the dough.
Step 6: The Vital Dough Rest
Cover your bowl and let the dough sit at room temperature for at least 30 minutes. This is the most important step for gluten-free baking. It allows the flour to fully hydrate, which removes any gritty texture and creates a much softer cookie.
Step 7: Scoop and Bake
Preheat your oven to 350°F (175°C). Line your pans with parchment paper. Scoop balls about two tablespoons in size and place them two inches apart. Bake for 10 to 12 minutes. Look for the edges to be golden brown while the center still looks a bit soft—they will firm up as they cool.
Step 8: The Cooling Ritual
Let the cookies rest on the hot baking sheet for 5 minutes before moving them. This carry-over cooking finishes the centers perfectly. Sprinkle with a little flaky sea salt while they are still warm if you like that sweet and salty balance.
Mehmet’s Freshness Secrets
The best way to keep these cookies soft is to avoid overbaking them. If they look completely done in the oven, they are likely overcooked. Take them out when the centers still look slightly underdone to keep that jar-fresh texture. For more ideas on nutritious swaps that do not sacrifice flavor, check out our Wholesome Cookie Options.
Storing these in an airtight container with a small slice of bread can help maintain moisture for an even longer period. If you are looking for more technical advice on gluten-free textures, you might find this guide on the best gluten free chocolate chip cookies very helpful. Remember that the quality of your flour blend makes a huge difference; always stick with a trusted 1:1 replacement.
Heritage Texture Tweaks
If you want a cookie with a bit more snap on the edges, you can increase the granulated sugar by two tablespoons and decrease the brown sugar by the same amount. For those who love a bit of crunch, adding half a cup of toasted pecans or walnuts provides a wonderful contrast to the soft dough. You can find more inspiration for your next baking project in our Classic Cookie Recipes section.
For a dairy-free version, use a high-quality plant-based butter. Note that it will not brown the same way as dairy butter, so you will lose that nutty toasted flavor, but the texture will still be remarkably soft. If you are allergic to nuts, simply swap the almond flour for an equal amount of your gluten-free flour blend. This adjustment keeps the cookie safe for everyone while maintaining that satisfying chew.
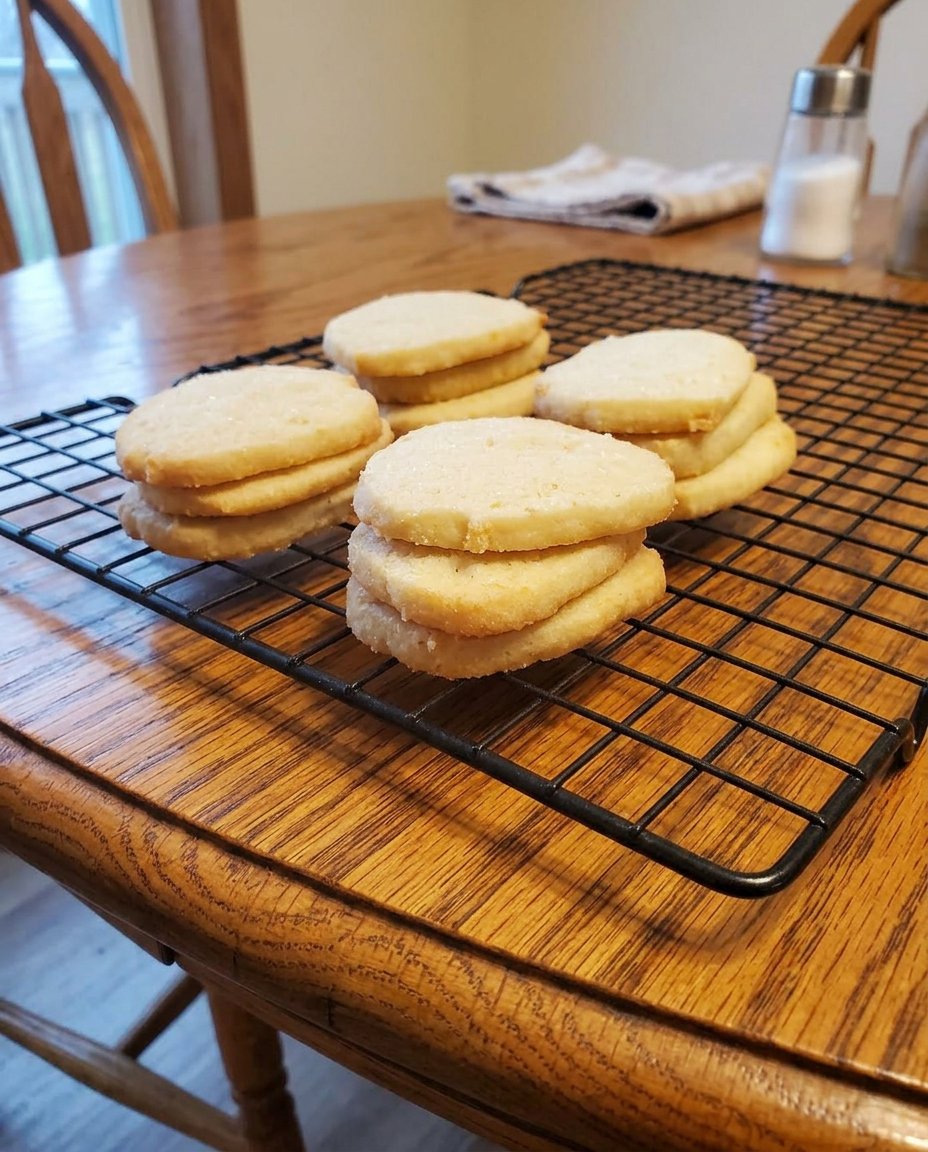
The Cookie Jar Ritual

These cookies are at their absolute best when served with a cold glass of milk or a warm cup of coffee. To recreate that “just out of the oven” feel on the third or fourth day, pop a cookie in the microwave for about eight seconds. This softens the chocolate chips and relaxes the crumb. For those times when you need a treat in a hurry, look through our Quick & Easy Cookies for more fast-baking ideas.
I always recommend storing these in a vintage ceramic cookie jar. The weight of the lid helps keep the air out, keeping them fresh and chewy. They also make a wonderful gift when stacked in a clear jar tied with a simple twine ribbon and a hand-written note about the texture.
A Tradition of Texture
Baking gluten-free does not mean you have to settle for cookies that turn into rocks. By using brown butter and giving the dough time to hydrate, you can enjoy a treat that honors the heritage of classic baking while meeting modern dietary needs. We hope these become a staple in your home for years to come. For more festive ideas, explore our Holiday Cookie Celebrations.
Follow us for more texture-perfect recipes:
