I remember the old yellow linoleum in Grandma’s kitchen, where the sunlight caught the dust motes dancing over a heavy ceramic bowl. She would hand me the wooden spoon, its handle smoothed by decades of use, and let me stir the thick ribbons of peanut butter into the sugar. Those afternoons were measured not by the clock, but by the steady rhythm of the oven door opening and closing as we baked batch after batch of Gluten Free Peanut Butter cookies. Each cookie was a small token of love, a simple treasure that made the whole house smell like roasted nuts and sweet vanilla.

This recipe is my way of keeping those golden memories alive for everyone at the table, regardless of their dietary needs. It stays true to the rich, salty-sweet soul of the original cookie while gently making room for those who need to avoid gluten. You will find that these cookies possess that same tender crumb and crackled top that filled our family cookie jar every single Saturday morning. It is a humble recipe, but it carries the weight of generations who knew that the best things in life are often the simplest ones.
Why You Will Love This Gluten Free Peanut Butter Recipe
There is something deeply comforting about a peanut butter cookie that just feels right in your hand. This particular version is a Gluten Free Peanut Butter masterpiece because it refuses to compromise on the classic texture we all grew up with. Many modern recipes try to do too much, but this one relies on the honest flavors of real butter and creamy peanut butter. It is the kind of cookie that stays soft in the center with just a hint of a crisp edge, making it the perfect companion for a cold glass of milk.
You will also appreciate how reliable this recipe is for your weekly baking routine. Whether you are filling a jar for the grandkids or bringing a plate to a neighbor, these cookies hold up beautifully. They do not crumble into dust like some gluten-free treats; instead, they maintain a sturdy yet delicate bite that honors the heritage of home baking. They are a testament to the fact that heritage recipes can adapt to the times while keeping their heart and soul intact for the next generation to enjoy.
Print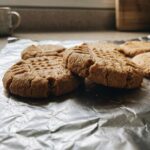
Gluten Free Peanut Butter
- Total Time: 59 mins
- Yield: 24 cookies
- Diet: Gluten-Free
Description
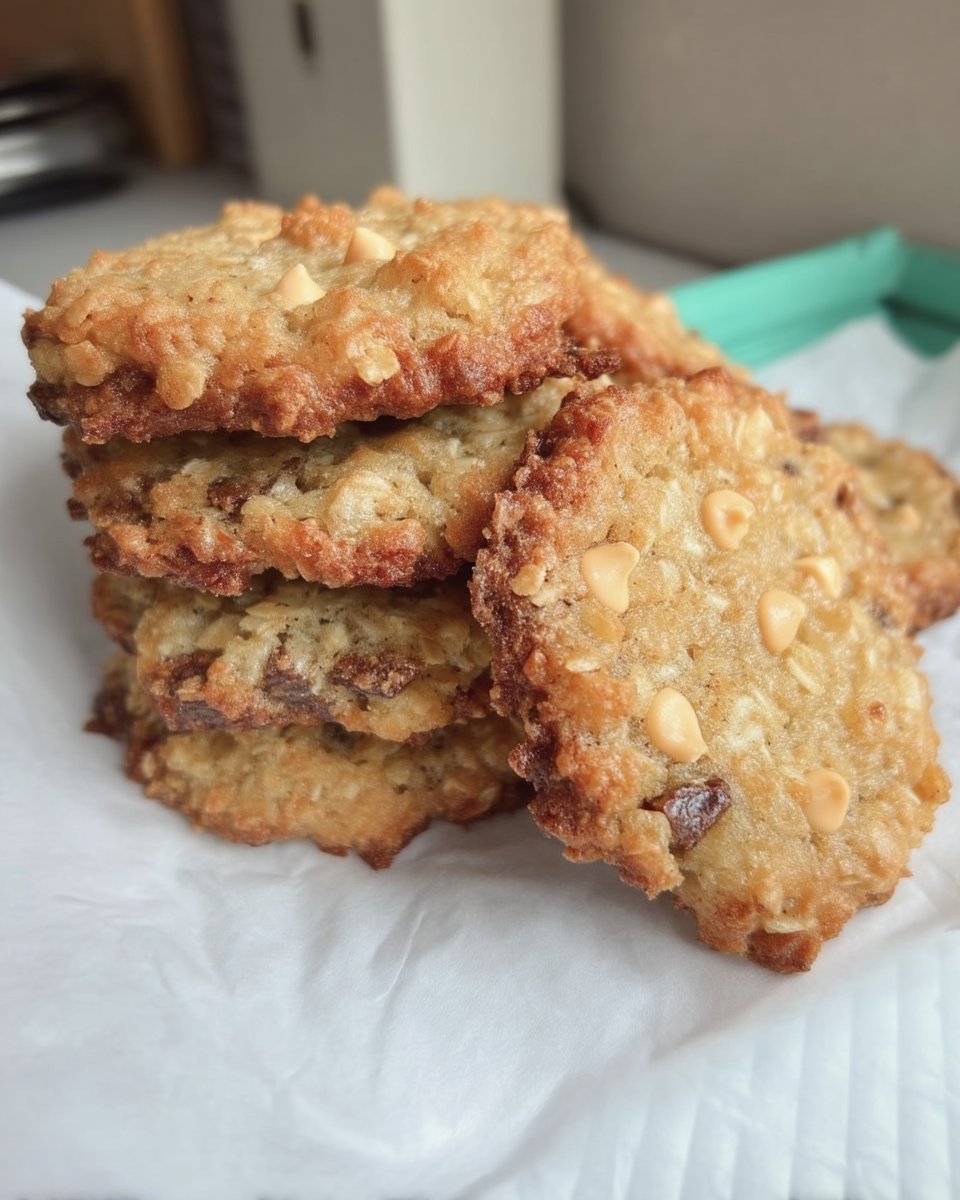
These Gluten Free Peanut Butter cookies offer a nostalgic, tender crumb with a classic crackled top and a perfect salty-sweet balance. Inspired by heritage family recipes, they are reliable, easy to bake, and safe for those avoiding gluten.
Ingredients
- 1 cup creamy peanut butter
- 1/2 cup unsalted butter, melted
- 1 cup light brown sugar, packed
- 3/4 cup granulated sugar
- 2 large eggs, room temperature
- 1 teaspoon pure vanilla extract
- 2 1/2 cups gluten-free all-purpose flour blend
- 1 teaspoon baking soda
- 1/2 teaspoon salt
Instructions
- Line heavy baking sheets with parchment paper or silicone baking mats and set aside.
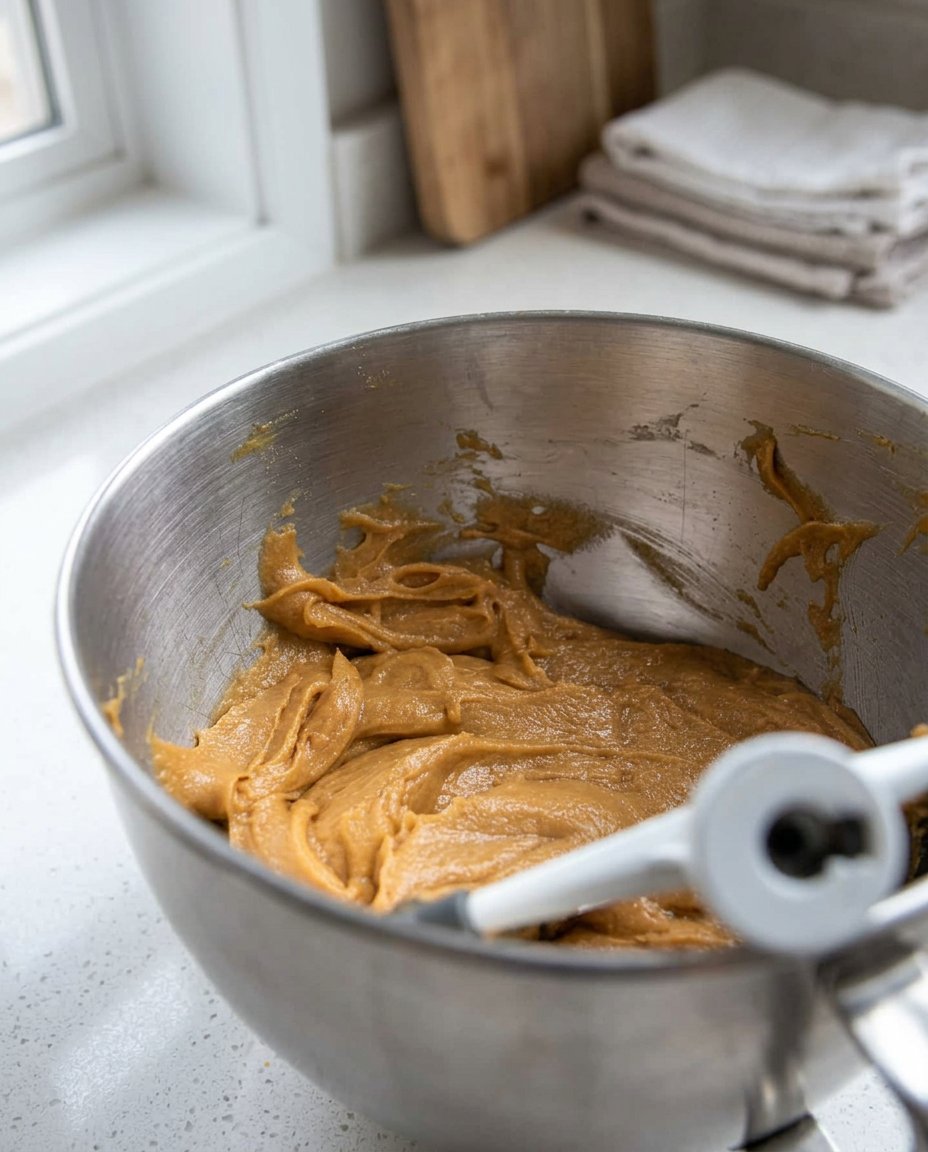
- In a large mixing bowl, beat together the creamy peanut butter, melted butter, brown sugar, and granulated sugar until the texture is smooth and golden.
- Add the room temperature eggs one at a time, followed by the pure vanilla extract, mixing until the batter is smooth and resembles liquid gold.
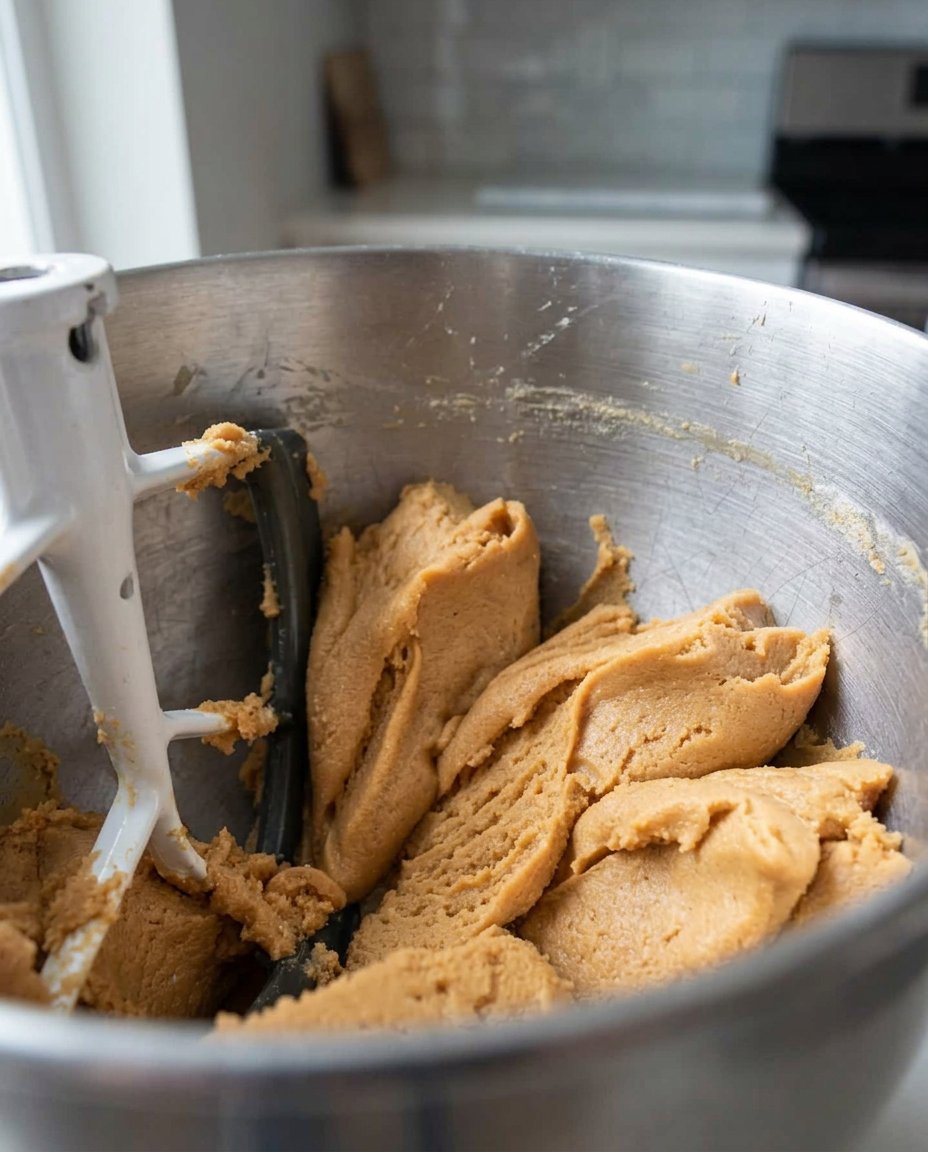
- Turn the mixer to the lowest speed and blend in the baking soda and salt, then gradually add the gluten-free flour until no white pockets remain.
- Cover the bowl tightly with plastic wrap and refrigerate for at least 30 minutes; meanwhile, preheat your oven to 325ºF (163ºC).
- Use a medium cookie scoop to portion out two-tablespoon balls of dough, roll them between your palms, and place them two inches apart on the prepared sheets.
- Bake for 12 to 14 minutes, rotating the pans halfway through, until the tops are set and cracked; allow them to cool completely on the pan before moving to a wire rack.
Notes
Always use a standard creamy peanut butter rather than the natural “stir” variety to ensure the dough maintains its structure and does not become too oily. Measuring your gluten-free flour by using the spoon-and-level method is crucial for preventing a dry or crumbly texture in these heritage-style treats.
- Prep Time: 45 mins
- Cook Time: 14 mins
- Category: Dessert
- Method: Baking
- Cuisine: American
Simple Pantry Staples from the Heart of the Home
When I look at these ingredients, I see the building blocks of a happy afternoon. We start with real, creamy peanut butter—the kind that reminds you of school lunches and late-night snacks. It is important to use the standard creamy variety here, as the natural oils in the stir-style jars can make the dough a bit too temperamental for this traditional method. Combined with a full cup of light brown sugar and a three-quarter cup of granulated sugar, we create a base that is rich, caramelized, and perfectly sweet.
- Creamy Peanut Butter: The star of the show, providing that signature nutty depth.
- Melted Butter: Use real butter here; its warmth helps the sugars dissolve into a smooth, velvety ribbon.
- Brown and Granulated Sugars: This combination creates the perfect balance of moisture and that classic cookie crunch.
- Room Temperature Eggs: These help the dough bind together naturally and rise just enough in the oven.
- Pure Vanilla Extract: A splash of vanilla brings a floral warmth that rounds out the saltiness of the peanuts.
- Gluten-Free All-Purpose Flour: I highly recommend a blend like Cup4Cup to mimic the traditional texture Grandma always achieved.
- Baking Soda and Salt: These humble leaveners and seasonings work behind the scenes to make the cookies light and flavorful.
The Heritage Method for Perfect Cookies
Step 1: Prepare Your Workspace
Begin by lining your heavy baking sheets with parchment paper or those handy silicone baking mats. If you prefer the way Grandma did it, ungreased cookie sheets work just as well for this dough. Setting the stage early allows you to focus on the rhythm of the mixing, making the whole process a peaceful retreat from the busy world outside.
Step 2: Cream the Bases Together
In a large, sturdy bowl, beat together your creamy peanut butter, the slightly warm melted butter, the packed light brown sugar, and the granulated sugar. You want to mix this until the texture is smooth and the colors have melded into a beautiful golden hue. This is where the magic starts, as the sugars begin to melt into the fats, creating the foundation for a tender cookie.
Step 3: Incorporate the Eggs and Vanilla
Add your room temperature eggs one at a time, followed by the teaspoon of pure vanilla extract. Mix again until the batter is completely smooth and looks like liquid gold. Taking the time to use room temperature eggs makes a world of difference, as it prevents the butter from seizing and keeps the dough’s texture consistent throughout the batch.
Step 4: Blend the Dry Ingredients
Turn your mixer to its lowest speed and gently blend in the baking soda and salt. Once those are distributed, add your gluten-free flour in stages. Mix until no white flour pockets remain and the dough appears shiny and soft. It will feel different than traditional wheat dough—a bit more delicate and pliable—but that is exactly what we want for these heritage treats.
Step 5: The Essential Chill
Cover your bowl tightly with plastic wrap and let it rest in the refrigerator for at least 30 minutes. This is a vital step in heritage baking; it allows the gluten-free flours to fully hydrate and the fats to firm up. While the dough chills, preheat your oven to 325ºF (163ºC), letting the warmth fill your kitchen as you wait with a bit of patience.
Step 6: Scoop and Shape
Use a medium cookie scoop to portion out dough balls about the size of two tablespoons. For that perfectly round, professional look that still feels homemade, roll each ball gently between your palms before placing them on the pan. Space them about two inches apart, giving each cookie plenty of room to breathe as it bakes.
Step 7: Bake to Golden Perfection
Bake for 12 to 14 minutes, making sure to rotate your pans halfway through so every cookie gets an even kiss of heat. You are looking for the tops to be just set and starting to show those beautiful characteristic cracks. Do not overbake them; they will finish setting on the warm pan. Let them cool completely before you move them to a wire rack, as gluten-free cookies need that time to find their strength.
Grandma’s Secrets for the Perfect Batch
One of the most important things to remember when working with this Gluten Free Peanut Butter dough is the brand of flour you choose. Since we are looking for a result that tastes like childhood, I find that a high-quality blend with milk powder often yields the best crumb. For more ideas on finding the right ingredients for your dietary needs, take a look at our Wholesome Cookie Options for more guidance. Also, make sure your peanut butter is at room temperature before you begin mixing; if it is too cold from the fridge, it won’t cream properly with the melted butter.
Another tip passed down through the years is to use a heavy-bottomed baking sheet. This helps prevent the bottoms from browning too quickly while the centers stay soft. If you find your cookies are spreading more than you like, check your oven temperature with a thermometer. Gluten-free treats are more sensitive to heat fluctuations than traditional ones. Finally, always let the cookies rest on the baking sheet for at least five minutes after they come out of the oven. This little bit of patience helps them set so they don’t break when you lift them with your spatula.
Family Recipe Twists and Heritage Variations
While the classic version is a true treasure, our family often liked to add a little something extra to the cookie jar. You can gently fold in a half-cup of semi-sweet chocolate chips for a combination that tastes like a peanut butter cup in cookie form. For a more sophisticated touch, try a tiny sprinkle of flaky sea salt on top immediately after they come out of the oven. If you are looking for other ways to fill your jar, our Classic Cookie Recipes offer plenty of inspiration for every season.
You might also consider adding a half-cup of chopped roasted peanuts for an extra bit of crunch that honors the textures found in traditional peanut butter cookies. If you are feeling nostalgic for the 1950s style, use a fork to press a cross-hatch pattern into the dough balls before baking. This old-fashioned technique not only looks beautiful but also helps the cookies bake more evenly. Just remember that gluten-free dough can be a bit stickier, so dip your fork in a little extra flour or sugar before pressing down.
Moments Around the Kitchen Table

Serving these cookies is about more than just a snack; it is about creating a moment of connection. There is nothing quite like the sound of a heavy ceramic cookie jar lid clicking shut after a fresh batch has been tucked inside. For a truly nostalgic experience, serve these cookies with a cold glass of milk or a warm cup of coffee while sitting at the kitchen table. If you need a quick treat for an unexpected guest, you can find more ideas in our Quick & Easy Cookies section.
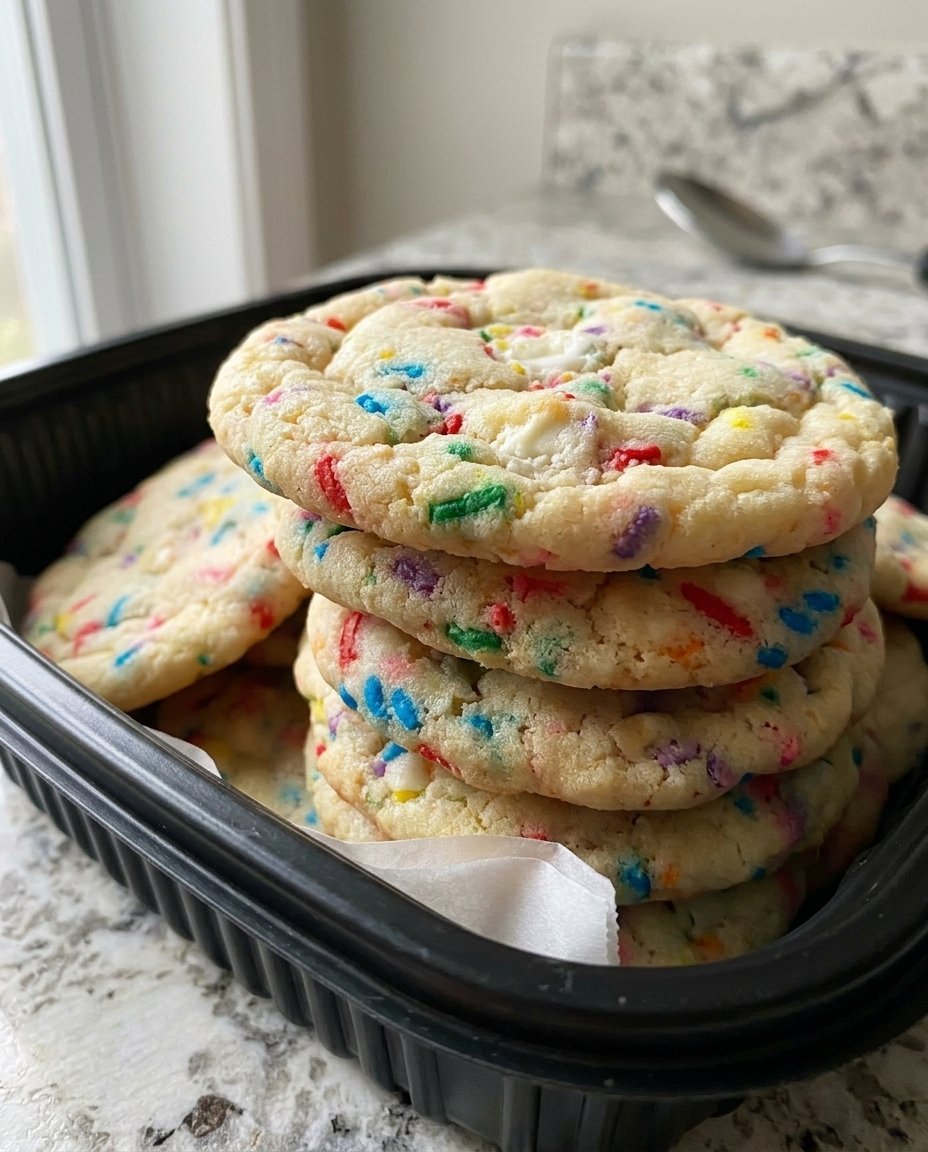
I love to arrange these on a vintage floral platter when family comes to visit. They look so inviting when stacked in small towers, showing off their crackled tops. If you are feeling generous, tuck a few into a parchment-lined tin to share with a neighbor. These cookies carry the warmth of a home kitchen, and sharing them is a way to pass that comfort along to someone else. They are just as good the next day, making them a reliable favorite for lunchboxes or afternoon tea times with the grandchildren.
The Sweet Heritage of Home Baking
Baking is a way of speaking love without saying a word, and these Gluten Free Peanut Butter cookies are a perfect example of that timeless tradition. As you pull that last tray from the oven and the scent of toasted peanuts lingers in the air, I hope you feel the same sense of peace and pride that Grandma did all those years ago. It is a joy to keep these heirloom flavors alive, ensuring that everyone has a seat at the table and a cookie in their hand. For more ways to celebrate the special moments in life, visit our Holiday Cookie Celebrations and keep the tradition growing.
Please share your baking memories with me! You can find our community of home bakers on Pinterest, Instagram, and Facebook. Seeing your cookies in their forever homes makes my heart truly happy. Until the next batch, keep your kitchen warm and your cookie jar full.
