Growing up, the cookie jar was a promise of comfort, but with gluten-free baking, that promise often breaks by day two. We have all experienced the disappointment of a cookie that turns crumbly, gritty, or rock-hard overnight. I have spent months tweaking the moisture balance to make sure these gluten-free snickerdoodles keep that signature pillowy softness and tangy chew, proving that heritage texture can exist without the wheat.

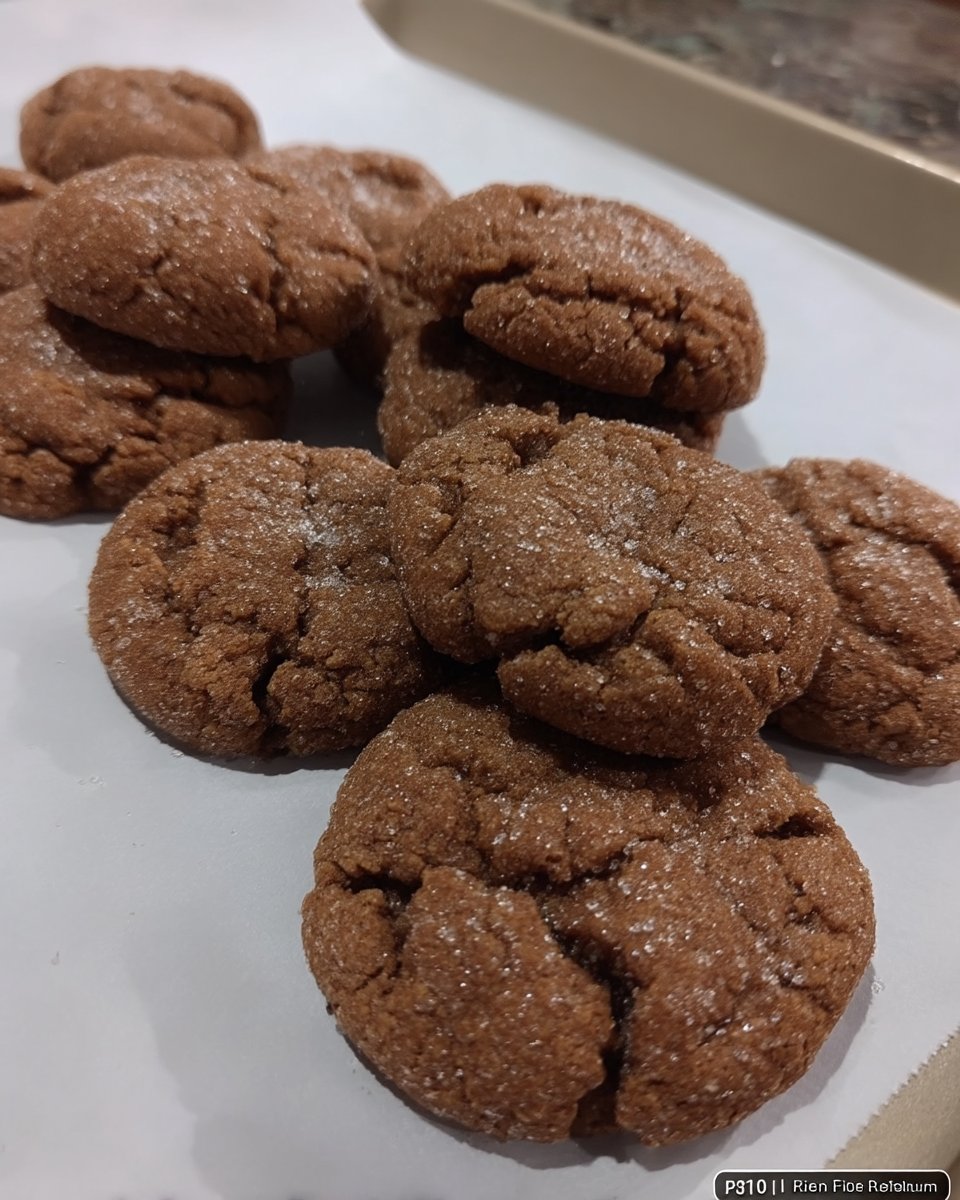
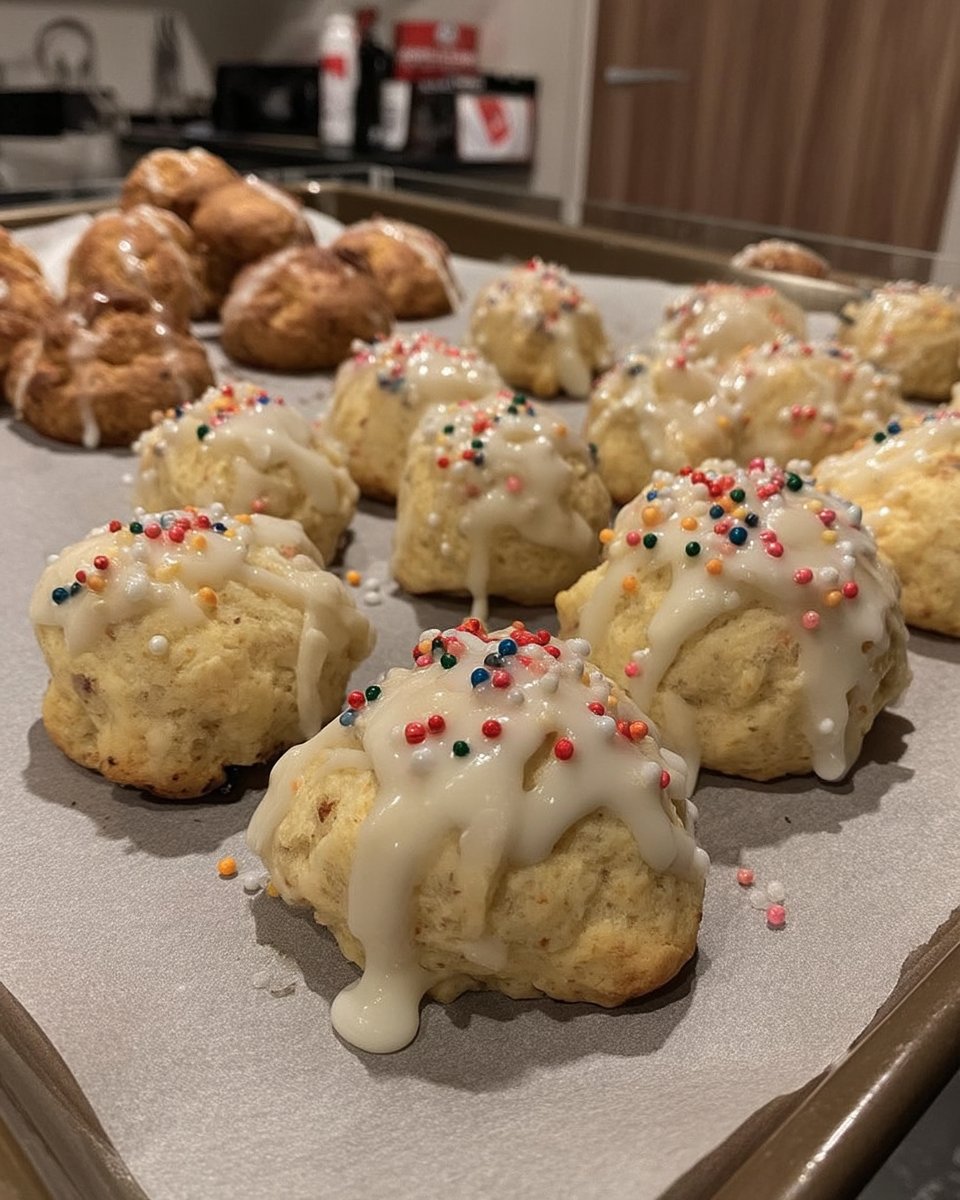
These cookies come together in one bowl with a simple cinnamon-sugar coating that crackles perfectly in the oven. The secret lies in the ratio of brown sugar and a precise chill time, giving you a texture so convincing, no one will guess they are gluten-free.
Why This Recipe is a Keeper
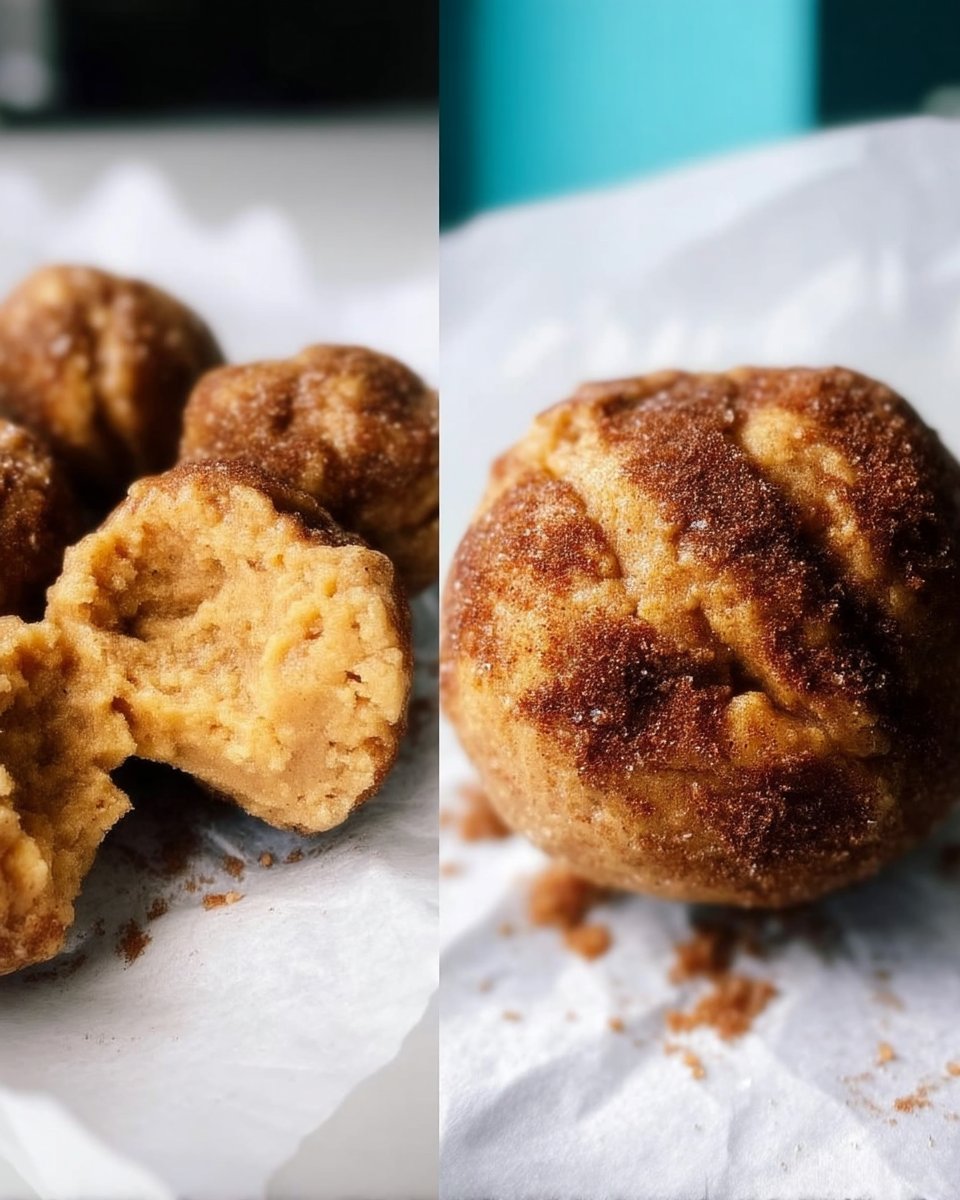
You will love the texture—soft, tender, and slightly chewy in the center. It uses standard pantry ingredients plus your favorite measure-for-measure flour, making it accessible for any home baker. Plus, the brown sugar helps them stay moist in the jar for days, solving the common dry gluten-free cookie problem.
Print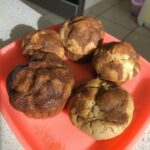
Gluten Free Snickerdoodles
- Total Time: 57 mins
- Yield: 18 cookies
- Diet: Gluten-Free
Description
These gluten-free snickerdoodles are crafted to stay soft and pillowy for days, featuring a classic tangy chew and a crackled cinnamon-sugar finish. By balancing brown sugar and a necessary chill time, this recipe achieves a perfect heritage texture without any wheat.
Ingredients
- 1/2 cup unsalted butter, softened
- 1/2 cup granulated white sugar
- 1/3 cup light brown sugar, packed
- 1 large egg
- 1 teaspoon vanilla extract
- 1 1/2 cups 1:1 gluten-free flour blend with xanthan gum
- 1 teaspoon cream of tartar
- 1/2 teaspoon baking soda
- 1/4 teaspoon salt
- 2 tablespoons granulated sugar (for rolling)
- 1 tablespoon ground cinnamon (for rolling)
Instructions
- In a large bowl, cream together the softened butter, white sugar, and brown sugar until the mixture is light and fluffy.
- Beat in the egg and vanilla extract until the dough is smooth and well incorporated.
- Add the gluten-free flour, cream of tartar, baking soda, salt, and a pinch of cinnamon, mixing until just combined and no flour streaks remain.
- Scoop the dough into balls, approximately 1.5 tablespoons each, and roll them thoroughly in the cinnamon-sugar mixture.
- Place the cookies on a baking sheet lined with parchment paper and chill in the refrigerator for at least 30 minutes to hydrate the flour.
- Preheat your oven to 350°F (175°C) and bake for 10 to 14 minutes, removing them when the edges are set but the centers still look slightly soft.
Notes
To ensure your cookies don’t turn out gritty, never skip the 30-minute chilling phase as it allows the rice flours in the gluten-free blend to fully hydrate. For the most accurate results, use the spoon-and-level method for your flour or a kitchen scale to avoid a dense, dry cookie.
- Prep Time: 15 mins
- Cook Time: 12 mins
- Category: Dessert
- Method: Baking
- Cuisine: American
What You’ll Need for Perfect Texture
- Butter (Dairy-Free or Regular): Provides the fat needed for spreading and tenderness. Use a high-quality block butter if going dairy-free.
- Sugars (White & Light Brown): The brown sugar is my secret weapon here; the molasses content retains moisture better than white sugar alone.
- Egg & Vanilla: The egg binds the gluten-free flour, while plenty of vanilla rounds out the flavor.
- Gluten-Free Flour (1:1): Use a blend with xanthan gum for the best structure. This is crucial for avoiding grit.
- Cream of Tartar: Essential for that classic Snickerdoodle tang and chewy texture. It activates the baking soda perfectly.
- Cinnamon Sugar: For that iconic sparkling crust that cracks as they bake.
How to Make It
Step 1: Cream the Butter and Sugars
Start by creaming your butter and sugars together until light and fluffy, about one minute. This aeration is key for a soft cookie. Beat in the egg and vanilla extract until smooth.
Step 2: Mix the Dry Ingredients
Add your gluten-free flour, cream of tartar, baking soda, salt, and cinnamon. Be sure to spoon and level your flour to avoid a dense dough. Mix until just combined.
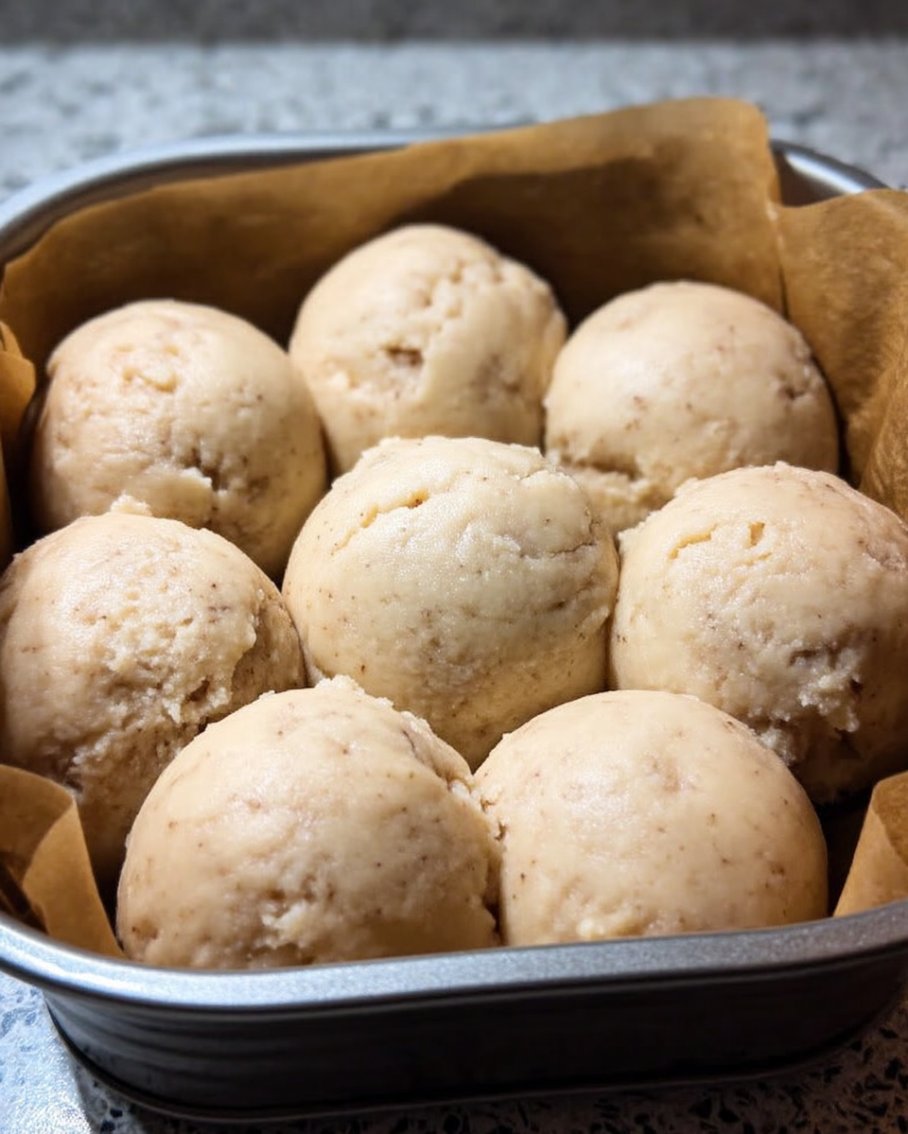
Step 3: Roll and Chill
Scoop the dough into balls—I prefer using a 1 1/2 to 2 tablespoon scoop—and roll them generously in the cinnamon-sugar mixture. Place them on a parchment-lined baking sheet and chill for at least 30 minutes. This step hydrates the flour, which eliminates grit.
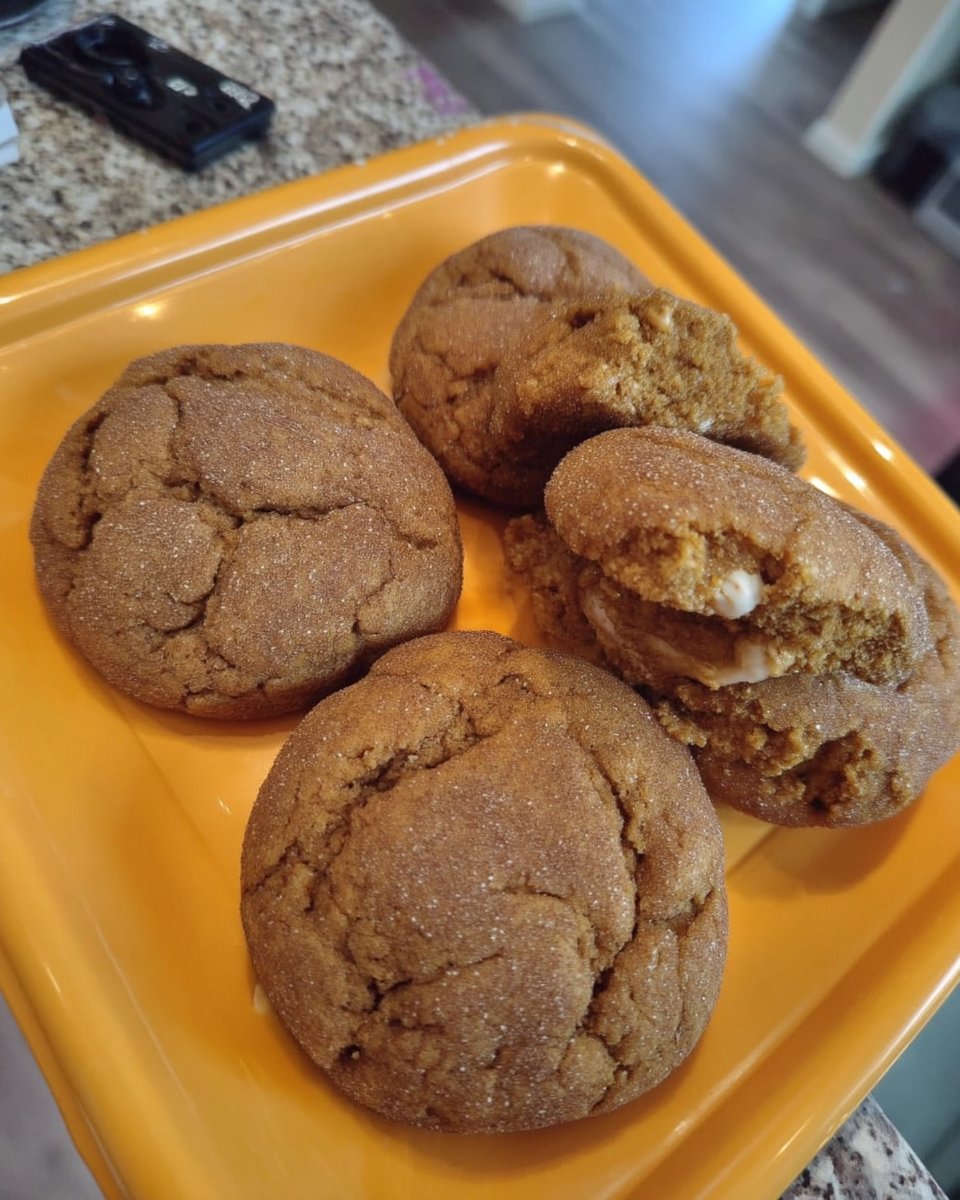
Step 4: Bake to Perfection
Preheat your oven to 350°F (175°C) during the last 15 minutes of chilling. Bake the cookies for 10–14 minutes. They should look soft but will firm up as they cool on the baking sheet.
Mehmet’s Texture Tips
To keep these soft, do not overbake them. They should look slightly underdone in the center when you pull them out; the residual heat on the pan sets the structure without drying them out. Also, correct flour measurement is vital—too much flour leads to dry cookies. For more heritage baking ideas that focus on healthy swaps, check out our wholesome cookie options.
Flavor Options and Tweaks
You can easily make these dairy-free by using a high-quality vegan butter block. For a fall twist, try adding a pinch of nutmeg or pumpkin spice to the rolling sugar. If you love festive baking, these fit right in with our holiday cookie celebrations, offering a warm, spiced flavor everyone enjoys.
Serving and Storage
These are best enjoyed warm with a glass of milk or coffee. Store them in an airtight container at room temperature; the brown sugar helps them keep that “fresh-baked” feel for up to four days. They are a staple among our classic cookie recipes because they travel so well in a jar.
The Texture Truth
These gluten-free snickerdoodles prove that you do not need gluten to achieve a perfect, pillowy chew. They bring back the joy of the vintage cookie jar without the worry of them turning into rocks by the next day. For a quicker bake next time, try our quick & easy cookies.
Follow us for more fresh baking tips on Pinterest, Instagram, and Facebook.
