My grandmother’s handwritten recipe box is a treasure chest of flavor, but her snickerdoodles usually required a whole afternoon of effort and specialized flour. I wanted that same cinnamon-kissed comfort for my own kids without the long wait, so I adapted her classic method for our busy modern lives. This version keeps the heritage heart intact while making the process much faster for today’s kitchen.

These gluten free snickerdoodles 3 are the perfect solution for anyone craving a soft, tangy cookie with a crisp cinnamon-sugar crust. By using a smart blend of alternative flours and melted butter, we achieve that classic chewiness that traditionally came from hours of chilling. You get all the nostalgia and warmth of a 1950s kitchen in a fraction of the time.
Why You’ll Love These Gluten Free Snickerdoodles 3
You will love these because they are fast, reliable, and taste exactly like the ones from a high-end vintage bakery. They deliver that iconic soft center and crisp edge without needing any wheat flour at all.
There is no need for fancy equipment or heavy mixers to get these right; just a bowl and a spoon will do the trick nicely. Plus, they stay soft for days, making them a wonderful choice for a weeknight treat or a surprise for a neighbor.
This recipe respects the old-fashioned flavor profiles while respecting your time. It is a simple drop cookie method that removes the stress of traditional gluten-free baking.
Print
Gluten Free Snickerdoodles
- Total Time: 1 hour
- Yield: 18 cookies
- Diet: Gluten-Free
Description
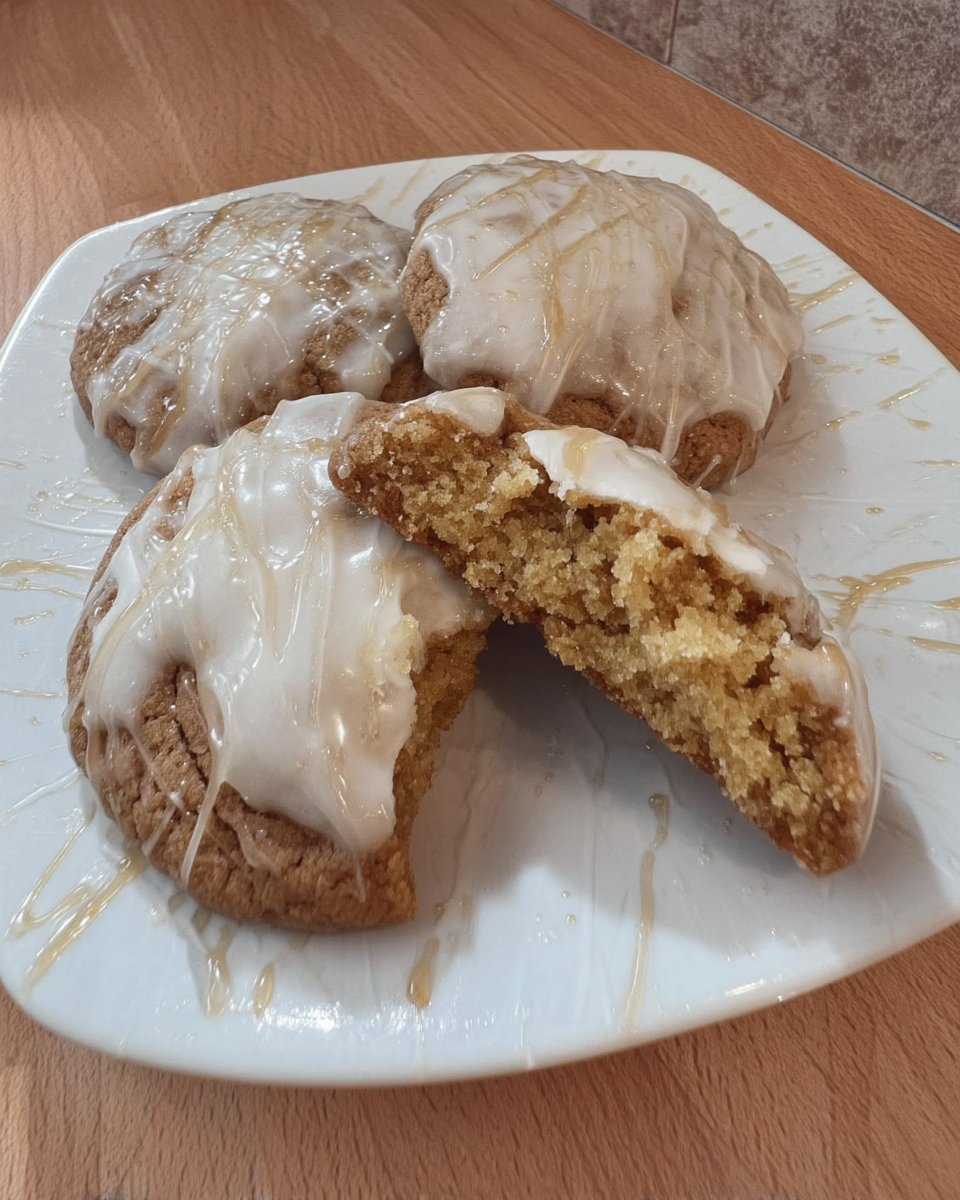
Rediscover the nostalgic charm of classic snickerdoodles with this gluten-free version that prioritizes both flavor and efficiency. Featuring a signature tangy puff and a crisp cinnamon-sugar crust, these cookies offer a soft, chewy texture without the long wait of traditional recipes.
Ingredients
- 113 g Unsalted Butter, melted
- 200 g Granulated Sugar (plus extra for coating)
- 55 g Almond Flour
- 78 g Sweet Rice Flour
- 25 g Oat Flour
- 28 g Tapioca Flour
- 2 tsp Cream of Tartar
- 1 tsp Baking Soda
- 1/2 tsp Salt
- 1 tsp Ground Cinnamon (plus extra for coating)
- 1 large Egg
- 1 tsp Vanilla Extract
Instructions
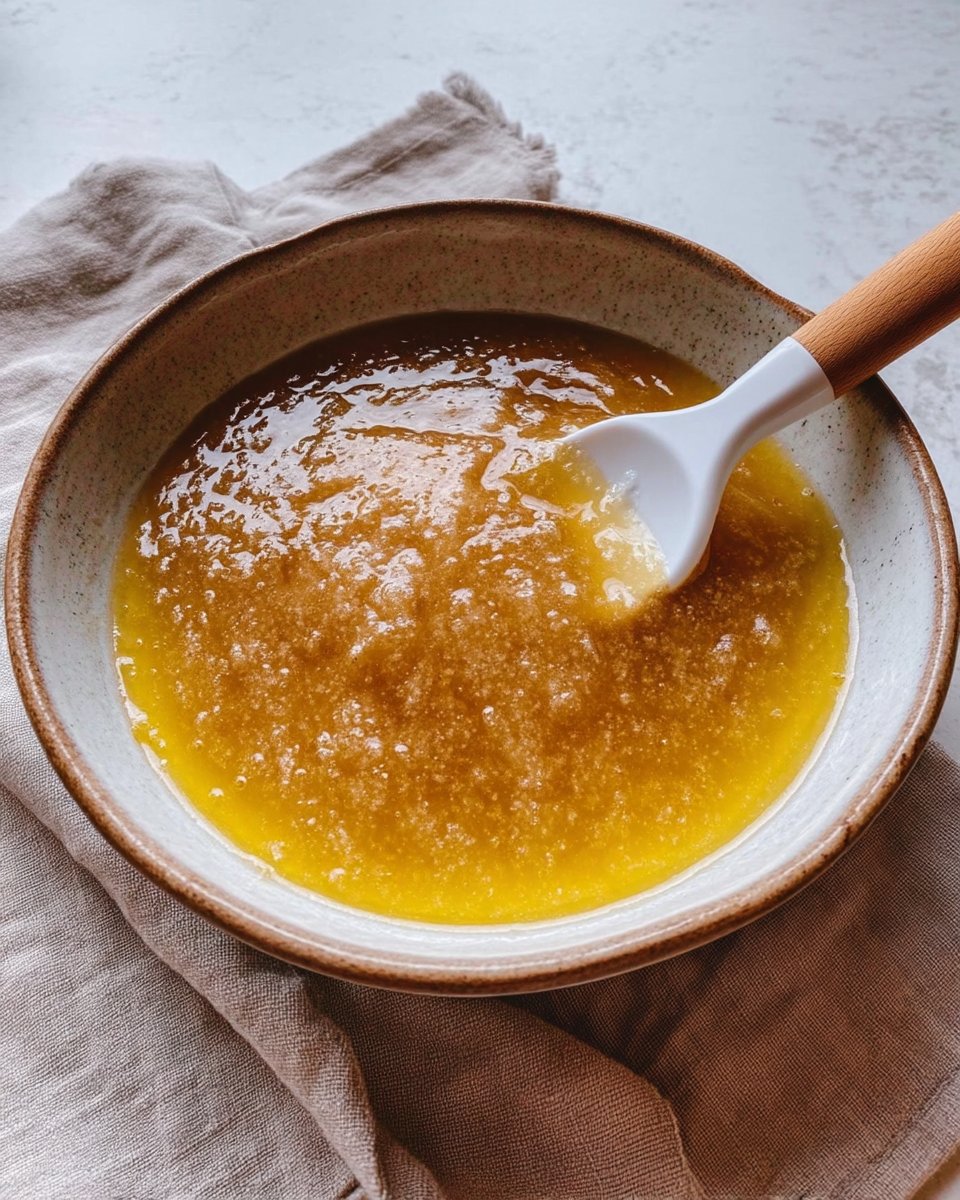
- Melt the butter and pour it over the sugar in a large bowl, letting it sit for 10 minutes to cool slightly.
- In a separate bowl, sift together the almond flour, sweet rice flour, oat flour, and tapioca flour with the cinnamon, cream of tartar, baking soda, and salt.
- Whisk the egg and vanilla into the cooled butter and sugar mixture until the emulsion is smooth and fully combined.
- Stir the dry flour mixture into the wet ingredients, then beat the dough with a wooden spoon for exactly 60 strokes to help the starches bond.
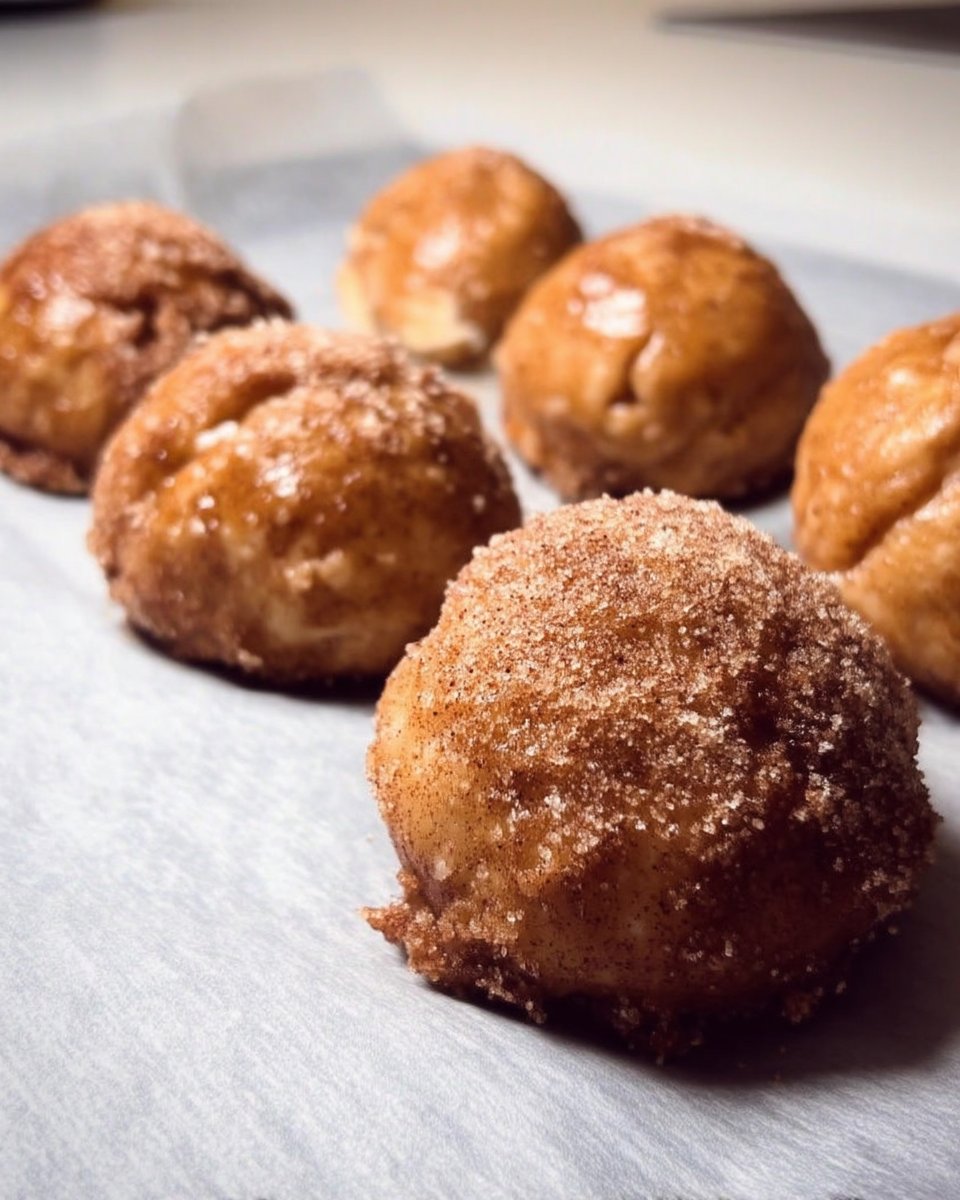
- Chill the dough in the refrigerator for 30 minutes, then roll into balls and coat them heavily in a cinnamon-sugar mixture.
- Bake at 350ºF for 8 to 10 minutes; immediately after removing from the oven, give the pan a firm rap on the counter for a dense texture.
Notes
To ensure the best texture, do not skip the 60-stroke beating step, as this helps the gluten-free starches bind effectively. If you prefer an extra-tangy cookie, you can slightly increase the cream of tartar by half a teaspoon without affecting the structural integrity.
- Prep Time: 50 mins
- Cook Time: 10 mins
- Category: Dessert
- Method: Baking
- Cuisine: American
Simple Pantry Ingredients
We use a specific blend of flours to mimic the texture of wheat without the hassle of a pre-made mix. This combination provides the perfect balance of moisture, structure, and that essential cookie chew.
- Almond Flour (55 g): This provides moisture and a tender crumb that keeps the cookies from drying out.
- Sweet Rice Flour (78 g): This is the secret to a chewy texture that mimics gluten perfectly.
- Oat Flour (25 g): Adds a hearty, traditional flavor and helps with the structure of the cookie.
- Tapioca Flour (28 g): Works as a binder to keep the cookies from becoming too crumbly.
- Cream of Tartar: This is non-negotiable for the signature tang and puff that defines a snickerdoodle.
- Melted Butter (113 g): Using hot melted butter speeds up the process and creates a denser, chewier cookie.
Using these individual flours allows you to control the quality and texture much better than a one-size-fits-all blend. It is a small extra step that makes a huge difference in the final product.
Quick Method for Modern Bakers
Step 1: Prep the Butter and Sugar
Place your sugar in a large bowl. Melt your butter until it is hot, then pour it over the sugar and let it sit for about 10 minutes to cool slightly. This helps the sugar dissolve just enough to create a smooth dough later.
Step 2: Sift Your Dry Ingredients
While the butter cools, sift together your sweet rice flour, almond flour, oat flour, and tapioca flour. Add in the cinnamon, cream of tartar, baking soda, and salt to make sure everything is evenly distributed.
Step 3: Emulsify the Wet Ingredients
Once the butter and sugar mixture has cooled a bit, whisk in the egg and vanilla extract. Whisk vigorously until the mixture looks smooth and completely combined, which creates the base for a sturdy cookie.
Step 4: Mix and Beat the Dough
Stir in the dry flour mixture until no streaks remain. Then, beat the batter with a wooden spoon for exactly 60 strokes to help the starches bond, resulting in a much chewier cookie.
Step 5: Short Chill and Shape
Place the dough in the fridge for 30 minutes to firm up. When ready, roll the dough into balls, coat them heavily in cinnamon sugar, and place them on a parchment-lined baking sheet.
Step 6: Bake to Perfection
Bake at 350ºF for 8 to 10 minutes until the edges are set but the centers still look soft. For that classic dense texture, give the pan a firm rap on the counter immediately after pulling them out of the oven.
Meagan’s Time Savers
Make sure your oven temperature is accurate by using an external oven thermometer before you begin. For the best results, I always recommend checking out our Wholesome Cookie Options for more expert gluten-free baking advice.
Another trick I learned in my pastry chef days is to bake off a single test cookie before doing the whole batch. This helps you see how the dough spreads so you can adjust your oven rack or timing. For more advanced tips on grain-free textures, you might find this guide on almond flour snickerdoodles very helpful.
Quick Flavor Twists
If you want to change things up, try adding a tiny bit of ground cardamom to the cinnamon-sugar coating for a sophisticated floral note. You can also look into our Classic Cookie Recipes for ideas on how to swap different extracts.
Replacing the vanilla with almond extract gives a wonderful depth of flavor that reminds me of old-world holiday bakes. For a dairy-free version, you can swap the butter for a high-quality vegan butter stick, and they will still bake up beautifully.
Quick Enjoyment and Modern Sharing
These cookies are best served slightly warm with a cold glass of milk, just like after-school snacks used to be in the 1950s. For more ideas on how to share these at your next community gathering, see our guide on Quick & Easy Cookies.
They also pack perfectly into modern lunchboxes because they don’t crumble easily. I love to tuck one into my daughter’s bag for a little bit of home-baked comfort during a busy school day.
Heritage Rediscovered
Baking shouldn’t feel like a chore, even when you are honoring long-standing family traditions. These cookies prove that you can have the best of both worlds: vintage flavor and modern speed without the gluten. For more seasonal inspiration that fits your busy schedule, don’t forget to visit our Holiday Cookie Celebrations page.
I hope these bring as much joy to your kitchen as they do to mine! Follow us for more quick classics on Pinterest, Instagram, and Facebook.
