My grandmother’s recipe box is a treasure chest of butter-stained index cards, but the one for snickerdoodles is perhaps the most worn of all. I remember the sound of her heavy ceramic bowl hitting the counter and the sweet, woody scent of cinnamon filling her small kitchen every Sunday afternoon. Even though we’ve updated the flour for our gluten-free friends, the soul of this cookie remains exactly as she intended: warm, soft, and full of love.

These gluten free snickerdoodles are a testament to the fact that heritage baking doesn’t have to change just because our dietary needs do. They have that signature tang and the perfect pillowy center that makes them a permanent resident in my countertop cookie jar. It only takes a few simple pantry staples to bring this bit of history to your own home, keeping the tradition alive for the next generation of little hands.
A Timeless Treasure for Your Cookie Jar
There is something profoundly comforting about a snickerdoodle that other cookies simply cannot match. It isn’t just a sugar cookie; it is a warm hug in baked form. These gluten free snickerdoodles capture that magic perfectly, offering a texture that is crisp around the edges while remaining wonderfully tender and soft in the middle. Because we use a thoughtful blend of gluten-free flour, you get all the nostalgia without any of the worry.
I often find that modern recipes try to do too much, but this one relies on the beauty of simplicity. The way the cinnamon and sugar crust crinkles as the cookies bake creates a beautiful, rustic look that belongs on a hand-painted plate or tucked into a vintage tin. They are reliable, honest cookies that stay fresh for days, making them the perfect companion for a quiet cup of tea or a glass of cold milk after school.
Many people worry that gluten-free baking results in dry or crumbly treats, but these cookies defy those expectations. By following the heritage methods I’ve laid out, you will create a cookie that even the most traditional bakers in your family will cherish. It is about honoring the past while making sure everyone at the table can enjoy a bite of home. This recipe has become a staple in my own kitchen because it reminds me that some things, like the joy of a fresh cookie, are truly timeless.
Print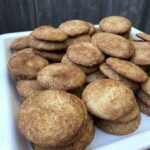
Gluten Free Snickerdoodles
- Total Time: 30 mins
- Yield: 24 cookies
- Diet: Gluten-Free
Description
Experience the nostalgic warmth of classic snickerdoodles with this perfectly adapted gluten-free recipe that maintains a soft, pillowy center and a signature crinkly cinnamon-sugar crust. These cookies offer a timeless taste of home that everyone at your table can enjoy regardless of dietary needs.
Ingredients
- Gluten-Free All-Purpose Flour (with xanthan gum)
- Baking Powder
- Baking Soda
- Salt
- Real Butter, room temperature
- Granulated Sugar
- Fresh Egg
- Ground Cinnamon
Instructions
- Preheat your oven to 350 degrees F (180 degrees C) and line two large baking sheets with parchment paper.
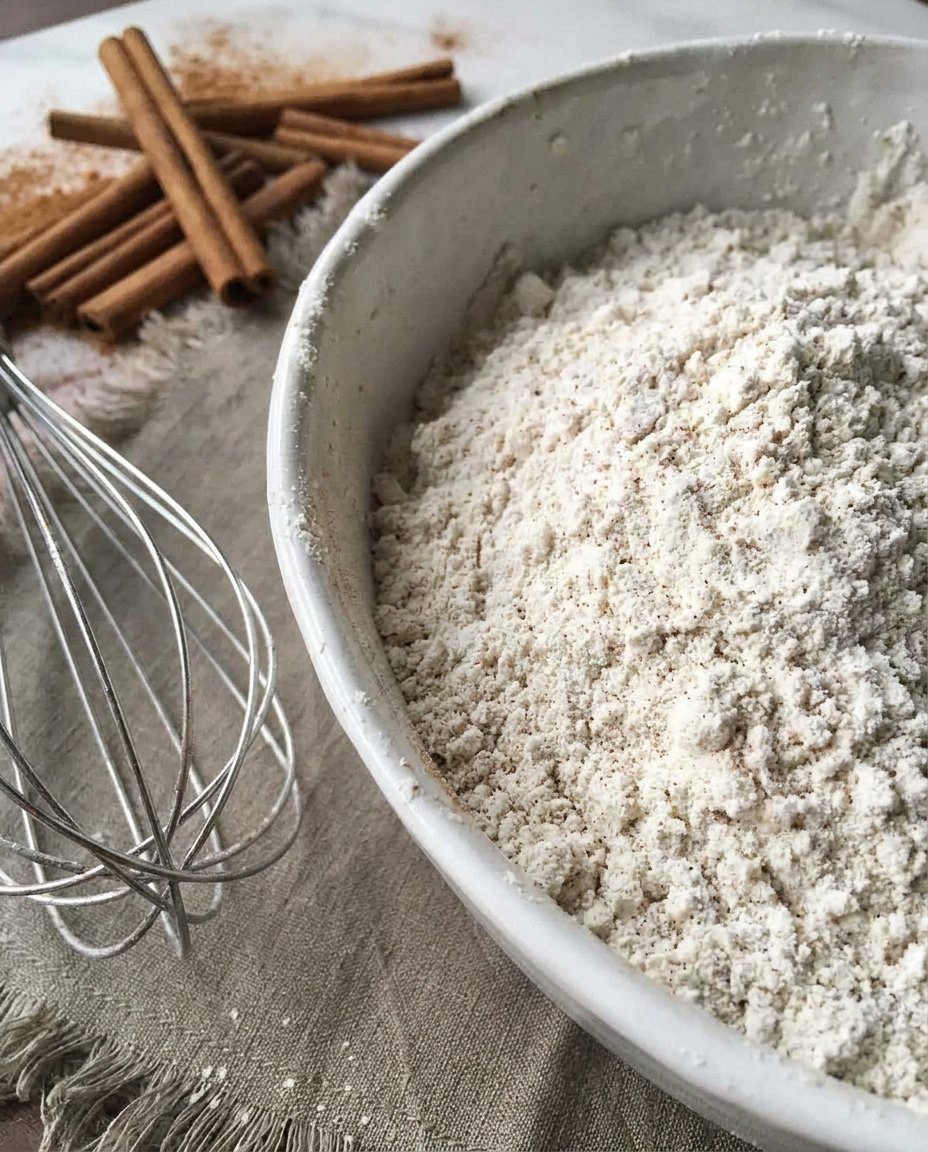
- In a medium-sized bowl, whisk together the gluten-free flour, baking powder, salt, and baking soda.
- In a separate larger bowl, cream the softened butter and 3/4 cup of the sugar with an electric mixer until pale and creamy, about 2 minutes.
- Add the egg to the butter mixture and whisk until well combined.
- Slowly add the dry flour mixture to the wet ingredients and whisk on low speed for about 2 minutes until a soft dough forms.
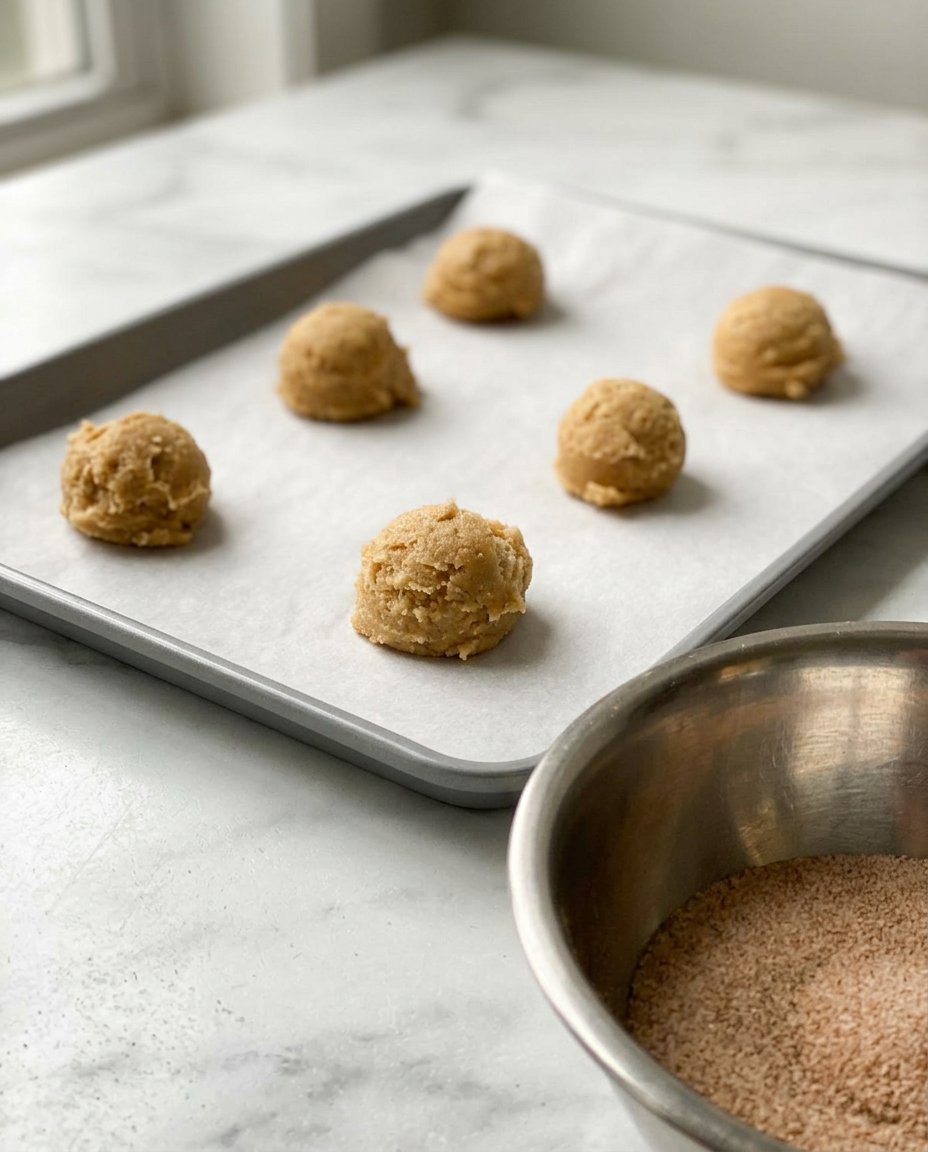
- In a small bowl, combine the remaining 1/4 cup of sugar with the ground cinnamon.
- Shape the dough into 1 1/2-inch balls, roll them thoroughly in the cinnamon-sugar mixture, and place them on the prepared baking sheets.
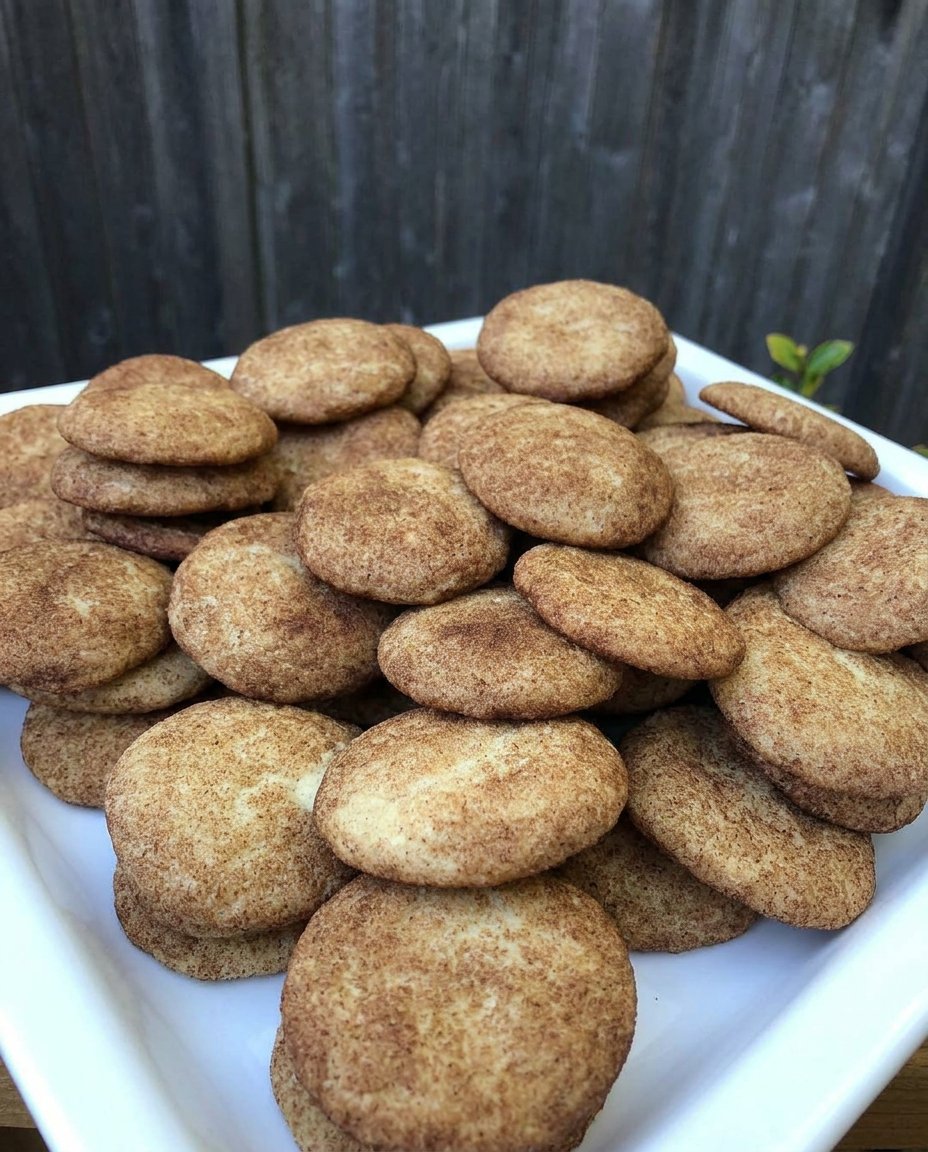
- Bake for 12 to 15 minutes until the edges are golden; let rest on the sheet for one minute before moving to a wire rack to cool.
Notes
For the best results, ensure your butter is truly at room temperature before starting to achieve the correct aeration during the creaming process. If your kitchen is particularly warm, chilling the rolled dough balls for 10 minutes before baking can help prevent the cookies from spreading too thin.
- Prep Time: 15 mins
- Cook Time: 15 mins
- Category: Dessert
- Method: Baking
- Cuisine: American
Simple Pantry Staples from Grandma’s Kitchen
When I look at this list of ingredients, I see the same basic building blocks my mother and grandmother used. We don’t need fancy gadgets or hard-to-find items to make something special. These simple ingredients work together to create a flavor profile that is both familiar and deeply satisfying. Here is what you will need to gather from your pantry:
- Gluten-Free All-Purpose Flour: Look for a high-quality blend that includes xanthan gum to help hold the structure of the cookie together. This replaces the traditional wheat flour while keeping the dough easy to work with.
- Baking Powder and Baking Soda: This duo provides the lift and the classic ‘puff’ that makes a snickerdoodle so distinctive. They work in tandem to create those beautiful cracks on the surface.
- Real Butter: There is no substitute for the flavor of real creamery butter. Make sure it is at room temperature so it creams together beautifully with the sugar.
- Granulated Sugar: We use sugar both in the dough for sweetness and in the coating for that iconic crunch. It is the heart of the cookie’s texture.
- Fresh Egg: A single egg binds our ingredients together, adding richness and helping the cookies stay soft.
- Ground Cinnamon: The star of the show! This warm spice provides the fragrance and flavor that defines the snickerdoodle experience.
- Salt: Just a pinch to balance the sweetness and bring out the depth of the butter and vanilla notes.
The Heritage Method
Step 1: Prepare Your Kitchen
Begin by preheating your oven to 350 degrees F (180 degrees C). There is something so peaceful about the sound of the oven clicking to life. Line two large baking sheets with parchment paper. This simple step makes sure your cookies don’t stick and makes cleanup as easy as a summer breeze.
Step 2: Mix the Dry Ingredients
In a medium-sized mixing bowl, whisk together your gluten-free flour, baking powder, salt, and baking soda. I like to use a vintage wire whisk for this. It helps aerate the flour and makes sure the leavening agents are distributed evenly, which is the secret to a perfect rise.
Step 3: Cream the Butter and Sugar
In a separate larger bowl, take your softened butter and 3/4 cup of the sugar. Using an electric mixer, whisk them together until the mixture is soft, creamy, and pale yellow—usually about 2 minutes. This process incorporates air into the fat, which is what gives the cookies their light, delicate crumb.
Step 4: Combine into a Soft Dough
Add the egg to your butter mixture and whisk until it is well combined. Now, slowly add your flour mixture. I recommend whisking on a low speed for about 2 minutes until a soft, pliable dough forms. You should be able to touch it without it sticking to your fingers too much.
Step 5: Roll and Coat
In a small bowl, mix the remaining 1/4 cup of sugar with your ground cinnamon. Scoop out a bit of dough and shape it into a 1 1/2-inch ball between your palms. Roll the ball through the cinnamon sugar until it is completely coated in that beautiful brown spice. Place them on your prepared sheets, leaving a bit of room for them to spread.
Step 6: Bake to Golden Perfection
Slide the sheets into the oven and bake for 12 to 15 minutes. You are looking for the edges to turn a soft, honey-gold color while the centers still look a little tender. Let them rest on the baking sheet for a minute to firm up before moving them to a wire rack to cool completely. The smell in your kitchen will be absolutely heavenly.
Grandma’s Secrets for the Perfect Bake
The most important piece of wisdom I can share is to never overbake a snickerdoodle. If they look a little soft in the center when you pull them out, don’t worry—they will firm up as they cool. This is how you keep them from becoming hard and crunchy. Another secret is to use room temperature eggs; simply set your egg in a bowl of warm water for a few minutes if you forgot to take it out of the fridge earlier. For those who want to build a whole tray of treats, you can find more inspiration in my collection of Classic Cookie Recipes. Also, if you find your dough is a bit too soft to roll, let it rest in the icebox for ten minutes to make it easier to handle. These little touches are what turn a good cookie into a family legend.
Family Favorites and Heritage Twists
While the traditional cinnamon and sugar coating is perfect, our family has tried a few variations over the years that have become favorites in their own right. You might try adding a half-teaspoon of ground nutmeg to the cinnamon mixture for a deeper, more autumnal flavor. For a richer taste, some folks like to use brown butter in the dough, which adds a nutty depth that pairs beautifully with the spices. If you are looking for other dietary-friendly treats, be sure to look at our Wholesome Cookie Options for more ideas. Some cousins even like to press a single walnut half into the top of each cookie before baking for a bit of extra crunch and a rustic look that reminds me of old church cookbook recipes.
Cookie Jar Time and Sharing Traditions
In my house, these cookies are best served straight from the jar with a cold glass of milk. There is something so special about the way the cinnamon sugar lingers on your fingertips. These are also wonderful when served alongside a hot cup of coffee or tea during a mid-afternoon break. If you are hosting a gathering, try stacking them on a vintage cake stand to show off those beautiful crinkly tops. For more ideas on quick treats for guests, you can browse through our Quick & Easy Cookies section. These cookies also travel very well, making them a thoughtful gift for a neighbor or a lovely addition to a potluck spread. Just wrap them in a bit of parchment paper and tuck them into a pretty tin.
Keeping the Sweet Heritage Alive
Baking these gluten free snickerdoodles is about more than just satisfying a sweet tooth; it is about carrying forward a legacy of warmth and hospitality. I hope that as the scent of cinnamon fills your home, you feel the same connection to the past that I do every time I pull a tray from the oven. If you are planning a bigger bake for the holidays, you might enjoy our guide to Holiday Cookie Celebrations. For even more inspiration and techniques, you can visit AllRecipes to see how others are enjoying this classic. Please share your baking photos with me on Pinterest, Instagram, and Facebook. Seeing these recipes in your kitchens truly warms my heart. Happy baking, my dears!


