My grandmother always had a weathered tin of these cookies waiting on her oak counter, but she spent hours pulsing oats by hand with a heavy wooden mallet. I have updated her process for my busy kitchen using a food processor, which captures that signature spicy crunch without the morning-long project. It is the perfect way to bring a bit of heritage into a hectic Tuesday afternoon.

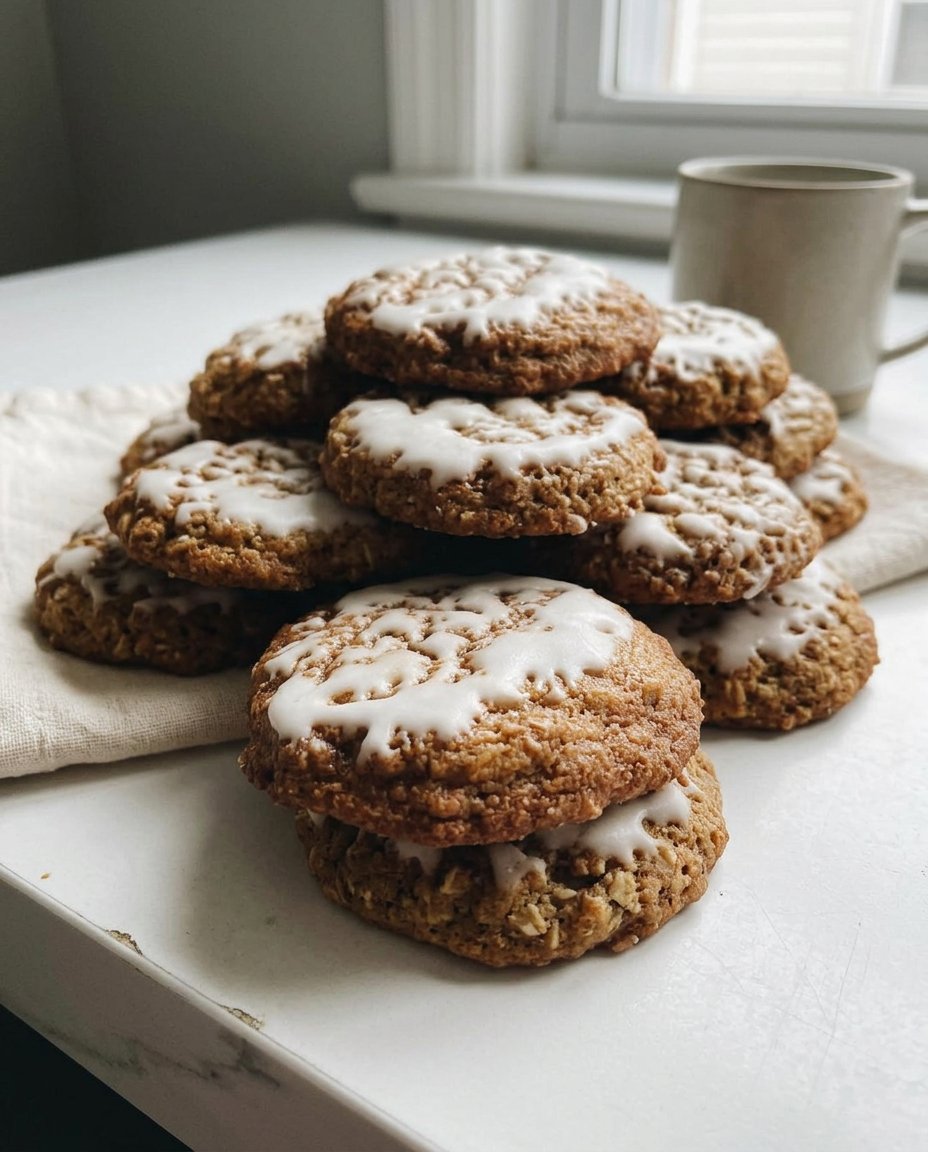
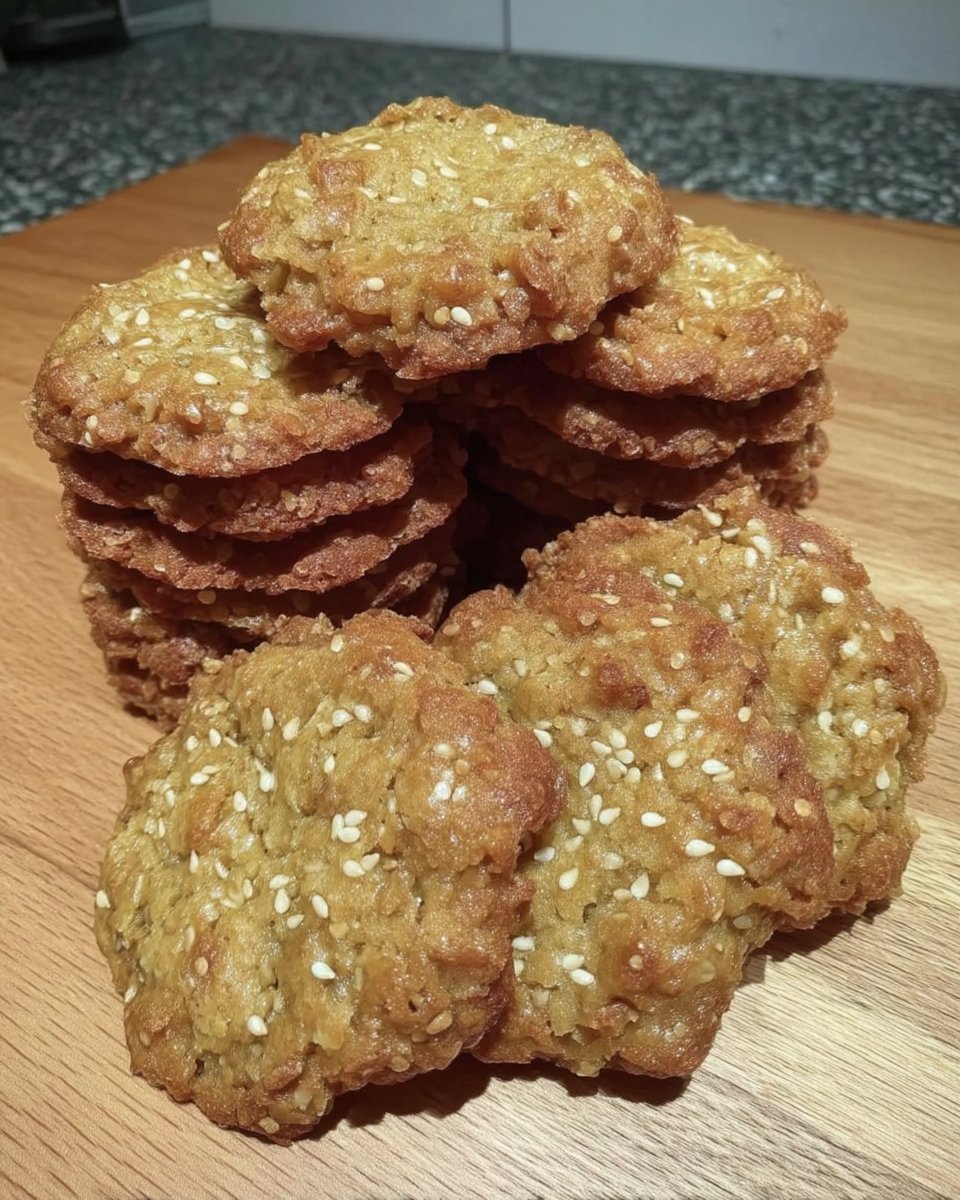
These Iced Oatmeal Cookies represent the ultimate balance of soft, chewy centers and crisp, golden edges that snap just right. By pulsing the oats quickly, we create a uniform texture that allows the vanilla icing to sit beautifully on top of every ridge. You get that deep, old-fashioned flavor in a fraction of the time, making these a staple for modern families.
A Modern Take on a Timeless Classic
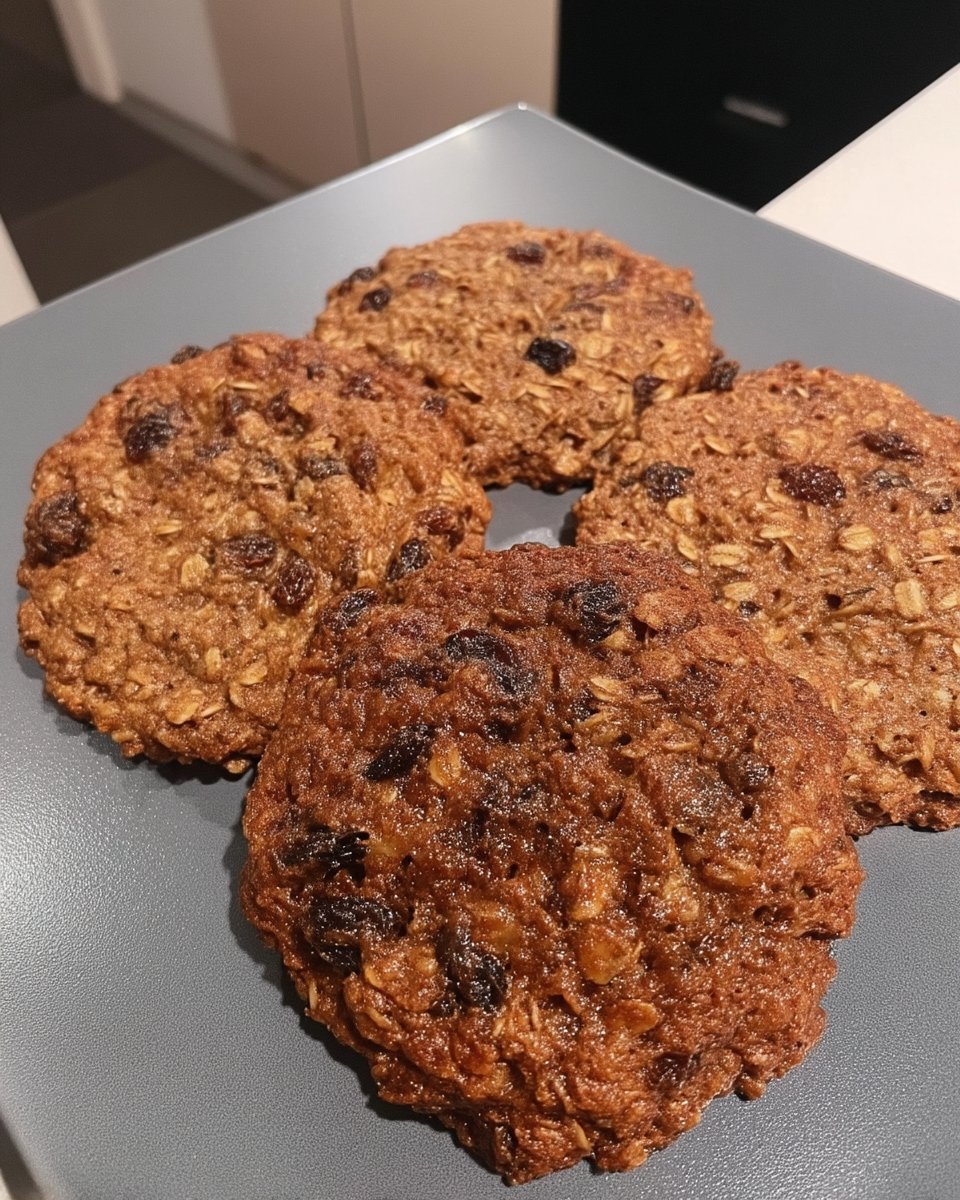
You will love these cookies because they offer a deep sense of comfort that only a spiced oatmeal treat can provide. The combination of cinnamon, nutmeg, and dark molasses creates a warm flavor profile that feels like a hug from the past. Unlike many modern recipes that are overly sweet, these focus on the complexity of the grains and the warmth of the spices.
The texture is truly the star of the show here. Because we pulse the oats, the cookies don’t turn out lumpy or uneven; instead, they have a tight crumb that is sturdy enough for dipping but soft enough to melt in your mouth. This method ensures every bite is consistent, which is a major win for busy bakers who need reliable results every single time.
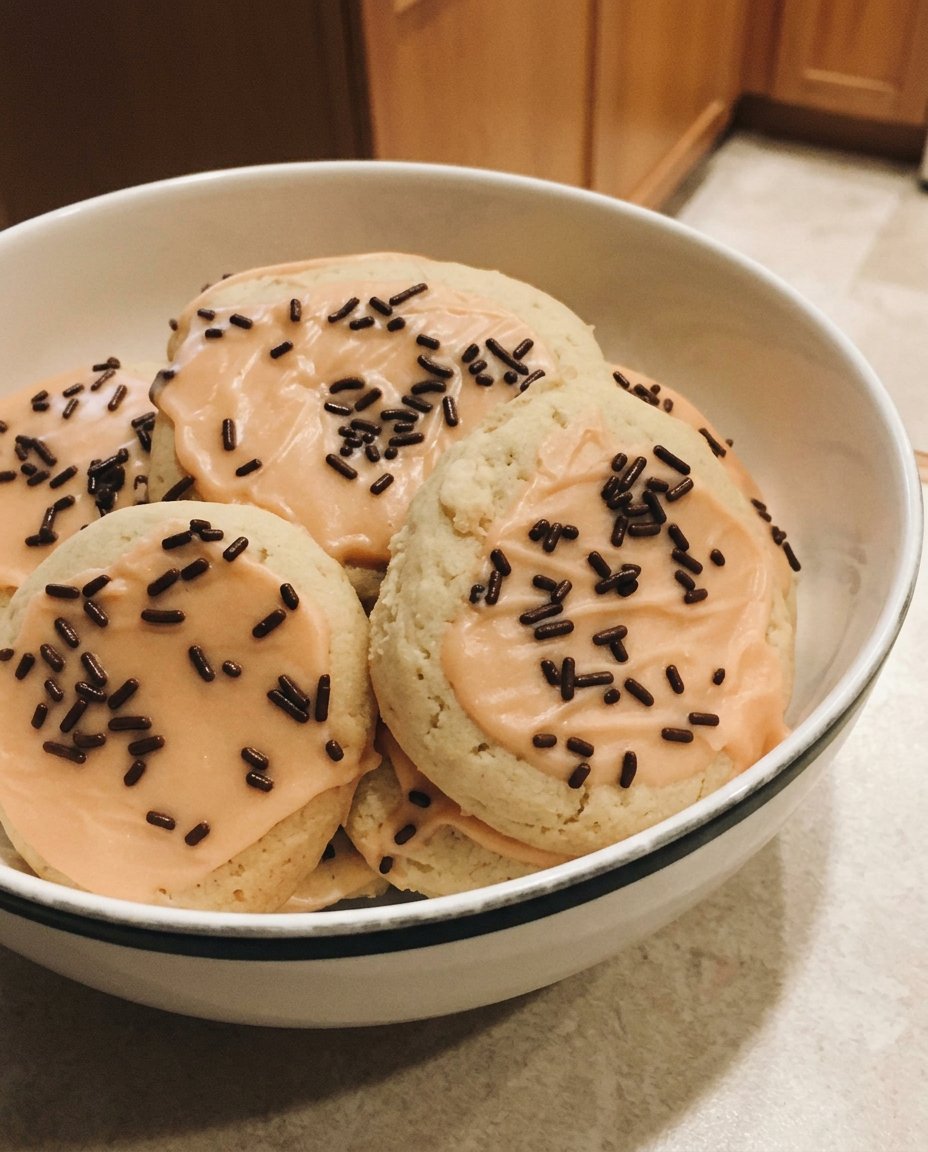
Another reason to adore this recipe is the icing technique. We use a thick, simple glaze that sets firmly, allowing you to stack these in a jar or lunchbox without a sticky mess. It is a practical solution for a classic treat, proving that you can have beautiful, decorated cookies even when you are short on time. These are the cookies that disappear from the cooling rack before they even have a chance to be put away.
Print
Iced Oatmeal Cookies
- Total Time: 1 hour 12 mins
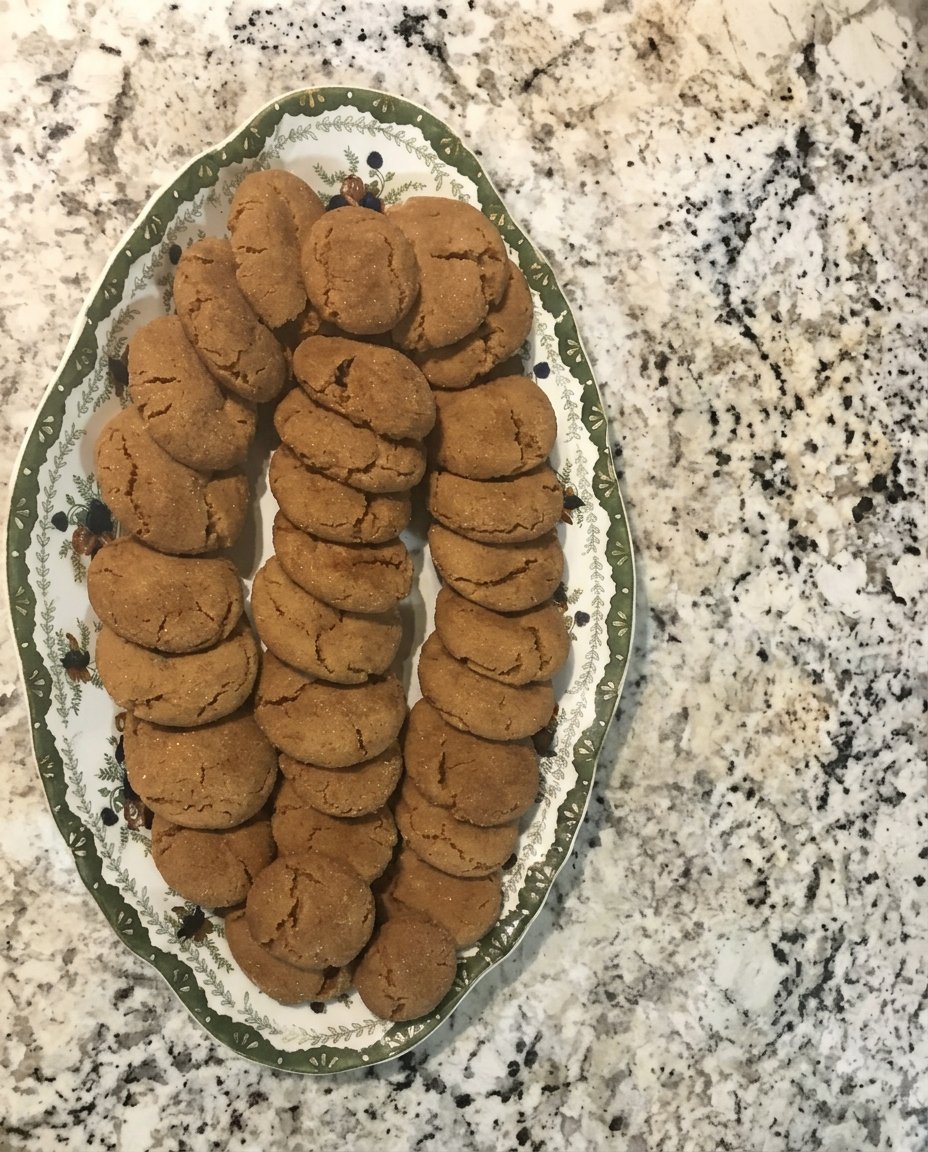
- Yield: 24 cookies
- Diet: Vegetarian
Description
These nostalgic cookies feature a perfectly spiced dough made with pulsed oats for a unique texture, topped with a sweet vanilla icing that sets firmly. They offer a delightful balance of chewy centers and crisp edges, making them a timeless treat for any occasion.
Ingredients
- 2 cups Old-Fashioned Rolled Oats
- 2 cups All-Purpose Flour
- 1 teaspoon Baking Soda
- 1/2 teaspoon Salt
- 1 tablespoon Ground Cinnamon
- 1/2 teaspoon Ground Nutmeg
- 1 cup Unsalted Butter, softened
- 1 cup Light Brown Sugar, packed
- 1/2 cup Granulated Sugar
- 1 tablespoon Unsulphured Molasses
- 2 Large Eggs
- 1 tablespoon Vanilla Extract
- 2 cups Confectioners’ Sugar
- 3–4 tablespoons Milk
- 1/2 teaspoon Vanilla Extract
Instructions
- Pulse the old-fashioned oats in a food processor 10 to 12 times until you have a mixture of fine flour and small pieces.
- In a medium bowl, whisk together the pulsed oats, flour, baking soda, salt, cinnamon, and nutmeg.
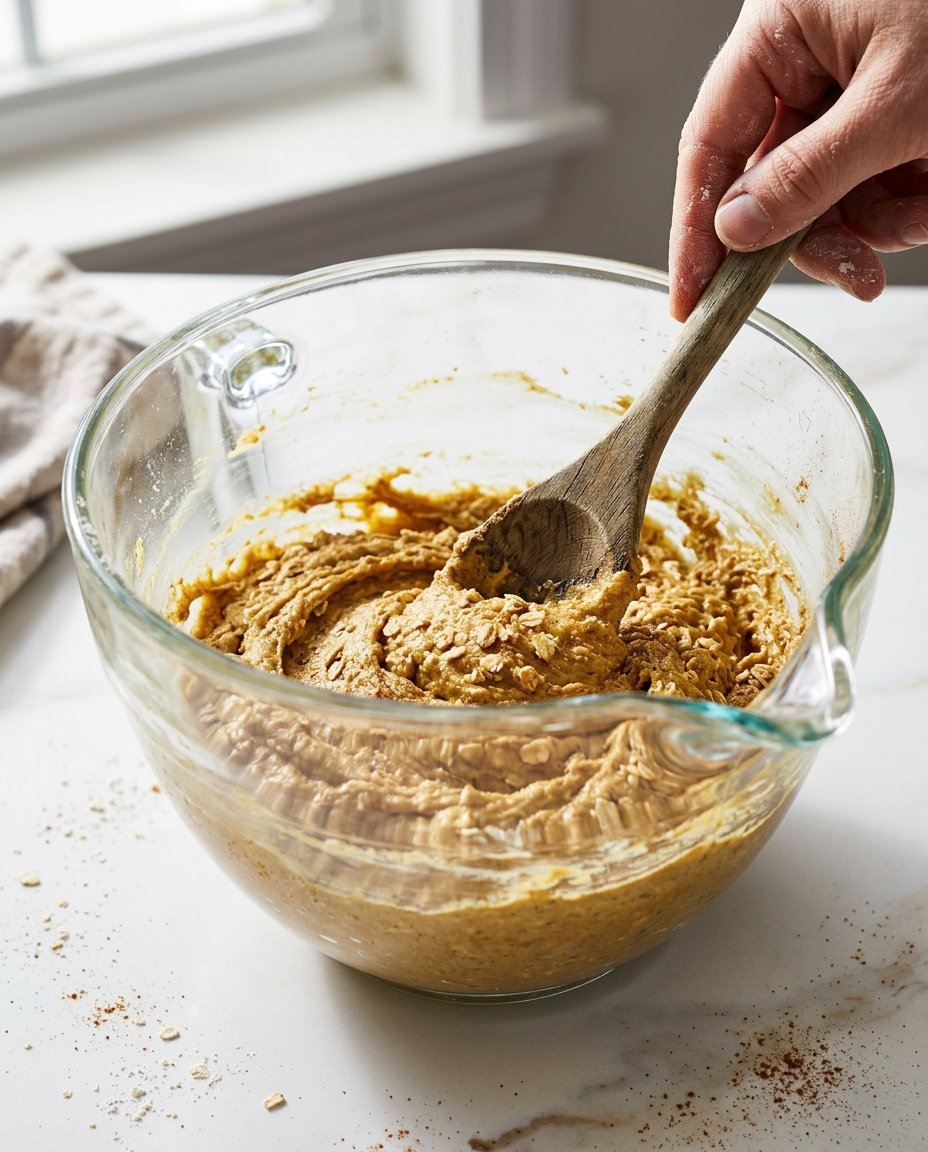
- Using an electric mixer, beat the softened butter with the brown and granulated sugars for about 2 minutes until pale and fluffy.
- Mix in the eggs, molasses, and vanilla extract on high speed, scraping down the sides of the bowl to ensure even distribution.
- Gradually add the dry ingredients to the wet mixture on low speed until a thick dough forms, then cover and refrigerate for 45 minutes.
- Preheat your oven to 350°F (177°C) and line baking sheets with parchment paper.
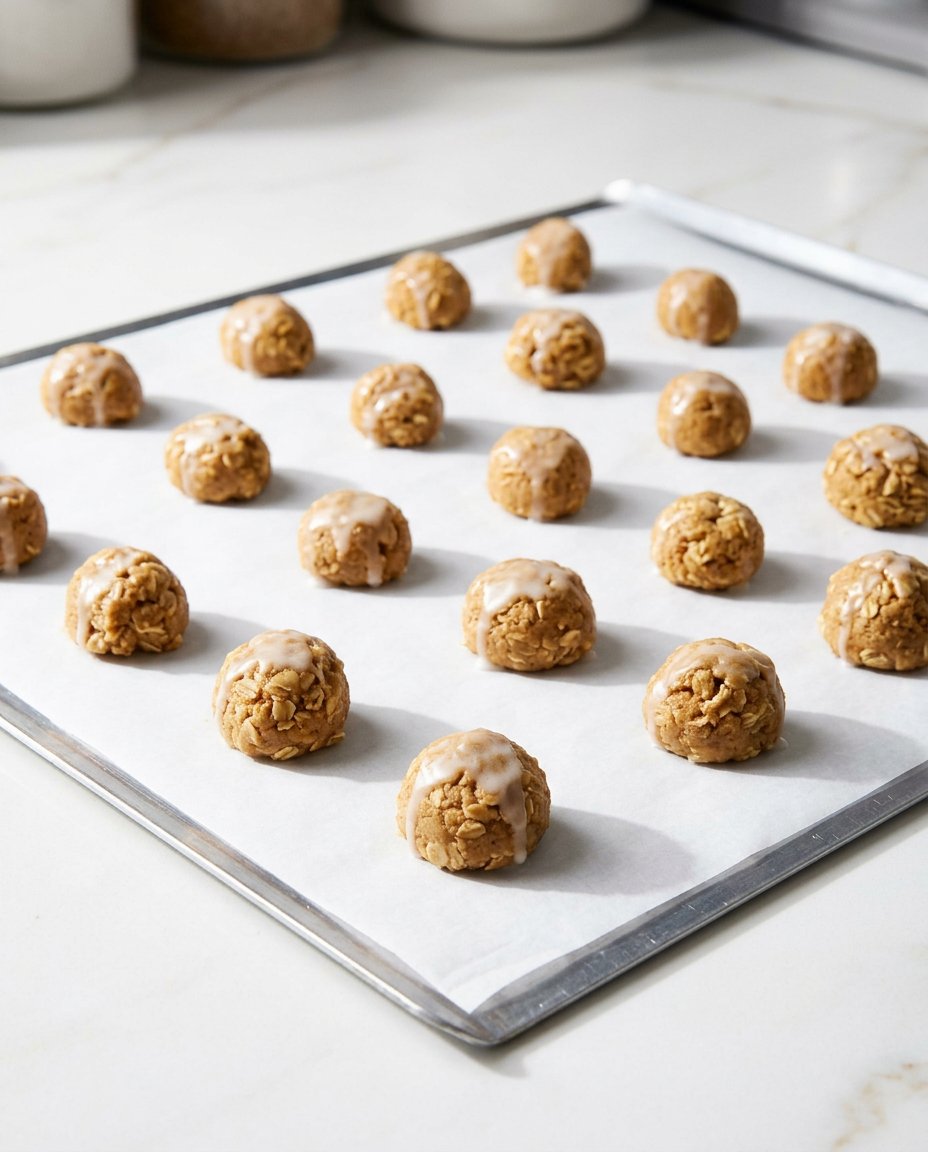
- Scoop 1.5 tablespoons of dough for each cookie, place them 3 inches apart, and bake for 11 to 12 minutes.
- Cool on the pan for 5 minutes before transferring to a wire rack, then dip the cooled tops into a thick icing made of confectioners’ sugar, milk, and vanilla.
Notes
To ensure the best texture, make sure your butter is truly at room temperature but not melting, as this helps the creaming process create those tiny air pockets. If the icing seems too thin, add more confectioners’ sugar a tablespoon at a time until it reaches a dip-able consistency that won’t run off the edges.
- Prep Time: 60 mins
- Cook Time: 12 mins
- Category: Dessert
- Method: Baking
- Cuisine: American
Simple Pantry Staples for Bold Flavor
Finding the right ingredients for Iced Oatmeal Cookies is simple because most of these items are already sitting in your kitchen. We focus on high-quality basics to ensure the heritage flavor shines through every batch.
- Old-Fashioned Rolled Oats: These provide the hearty base and the signature chew. Avoid using instant oats, as they lack the structure needed for that vintage texture.
- All-Purpose Flour: This provides the necessary framework. Be sure to spoon and level your flour to avoid a dry, crumbly cookie.
- Unsalted Butter: Using butter at room temperature allows for proper creaming with the sugars, creating a light and airy base.
- Brown and Granulated Sugars: The brown sugar adds moisture and a hint of caramel, while the white sugar helps the edges get that perfect crispness.
- Molasses: A single tablespoon of unsulphured molasses is the secret to that deep, dark flavor and chewy bite. It is a small addition that makes a massive difference.
- Warm Spices: Cinnamon and nutmeg are the duo that defines this cookie. They provide the aromatic warmth that makes your kitchen smell like a professional bakery.
- Confectioners’ Sugar and Milk: These simple components whisk together to create a professional-looking icing that sets hard and tastes like pure vanilla.
Using these simple ingredients allows the natural flavors of the oats and spices to take center stage. There are no complicated additions or hard-to-find extracts here, just honest food that tastes like home. This approach respects the original recipes of the past while making shopping a breeze for the modern baker.
Quick Method for Perfect Cookies
Step 1: Prep the Oats
Pulse your old-fashioned oats in a food processor about 10 to 12 times. You are looking for a mix of fine oat flour and small chopped pieces. This variety in texture is what gives the cookies their unique, compact bite.
Step 2: Whisk Dry Ingredients
In a medium bowl, combine the pulsed oats with the flour, baking soda, salt, cinnamon, and nutmeg. Whisking them thoroughly ensures the leavening agents and spices are evenly distributed, so every cookie rises perfectly.
Step 3: Cream the Butter and Sugars
Use an electric mixer to beat the softened butter with both the brown and granulated sugars. Continue for about 2 minutes until the mixture looks pale and fluffy. This step incorporates air, which helps the cookies stay soft in the middle.
Step 4: Add Wet Ingredients
Mix in the eggs, molasses, and vanilla extract on high speed. Be sure to scrape down the sides of your bowl to ensure the molasses is fully integrated. The dough should look rich and smell wonderful at this stage.
Step 5: Combine and Chill
Gradually add the dry ingredients to the wet mixture on a low speed. Once the dough is thick and sticky, cover it and refrigerate for at least 45 minutes. Chilling is vital because it prevents the cookies from spreading too much in the oven.
Step 6: Scoop and Bake
Preheat your oven to 350°F (177°C) and line your pans with parchment. Scoop 1.5 tablespoons of dough for each cookie and place them 3 inches apart. Bake for 11 to 12 minutes until the edges are golden brown but the centers still look soft.
Step 7: Cool and Ice
Let the cookies rest on the pan for 5 minutes before moving them to a wire rack. While they cool completely, whisk your icing ingredients into a very thick paste. Lightly dip the tops of the cooled cookies into the icing and let them set for two hours before serving.
Meagan’s Quick Wins for Success
To get that perfect crinkled look on top, do not over-mix the dough once you add the flour. A light hand keeps the gluten from developing too much, ensuring a tender bite. I always suggest using parchment paper or silicone mats to help the cookies bake evenly and prevent any sticking. If you want to see how this fits into a broader baking plan, check out our Quick & Easy Cookies section for more time-saving ideas. Also, if you need more technical details on oat textures, Sally’s Baking Addiction has a great deep-dive on the science of pulsing oats for this specific recipe.
Easy Flavor Twists for Your Batch
You can easily customize these to fit your family’s preferences. For a brighter flavor, try adding a half teaspoon of orange zest to the dough; it pairs beautifully with the cinnamon and nutmeg. If you prefer a more rustic feel, you can find inspiration in our Wholesome Cookie Options where we discuss using different grains. You might also try replacing the vanilla in the icing with almond extract for a sophisticated nuttiness that balances the sweetness of the sugar.
Modern Ways to Share the Tradition
These cookies are a fantastic addition to any lunchbox or as an after-school snack because they don’t crumble easily. I love serving them with a cold glass of milk or a warm cup of herbal tea during the winter months. For a festive touch, you can include them in your next dessert platter by looking through our Holiday Cookie Celebrations guide. They also make wonderful gifts when stacked in a clear jar and tied with a simple piece of twine.
Heritage Rediscovered in Every Bite
Baking a batch of these Iced Oatmeal Cookies is a beautiful way to honor the past while staying present in your busy life. They prove that you don’t need all day to create something that tastes like a lifetime of memories. If you enjoyed this recipe, be sure to explore our other Classic Cookie Recipes to keep your cookie jar full of nostalgic treats. I would love to see your results, so please share your baking photos with me on Pinterest, Instagram, or Facebook. Happy baking!

