Many vintage holiday recipes look beautiful on a platter but quickly turn into dry, crumbly pucks by the time Christmas morning arrives. I spent months in the kitchen adjusting the fat-to-flour ratios of this 1940s classic to make sure these Italian Christmas Cookies 2 stay tender and melt-in-your-mouth for a full week. By adding an extra egg yolk and maintaining a specific dough temperature, we achieve a texture that honors my family’s heritage while solving the stale cookie problem forever.

These cookies are the backbone of a classic Italian dessert tray, offering a delicate snap that gives way to a rich, buttery finish. Whether you choose to dust them with a snowy layer of powdered sugar or sandwich them with thick hazelnut cream, they represent a timeless tradition made better through modern texture science. These are the cookies that will stay soft in your jar, keeping that just-baked quality for days on end.
A Heritage Texture That Stays Fresh
You will love these cookies because they bridge the gap between a crisp shortbread and a soft sugar cookie. Most traditional recipes from the 1940s were designed for immediate consumption, but my perfected version uses moisture-retention techniques that keep the crumb moist and satisfying. The secret lies in the balance of cold salted butter and the addition of an extra egg yolk, which provides a richness that standard doughs often lack.
This recipe is a treasure because it is versatile enough for any skill level. If you have ever struggled with cookies that spread too much or become rock-hard in the oven, this method is your solution. We focus on the “texture-perfected” approach, meaning we prioritize the feel of the dough and the final bite over everything else. You get a cookie that is sturdy enough for decorating but soft enough to delight your guests.
Furthermore, these cookies celebrate the simplicity of Italian baking. They don’t rely on heavy spices or complex syrups; instead, the high-quality butter and vanilla shine through. This makes them the perfect canvas for your favorite holiday fillings. No more disappointing, dry holiday treats—just pure, soft, and buttery perfection that tastes even better on day two.
Print
Italian Christmas Cookies
- Total Time: 57 mins
- Yield: 24 cookies
- Diet: Vegetarian
Description
These heritage-inspired Italian cookies feature a tender, melt-in-your-mouth texture achieved through a specific cold-butter technique and an extra egg yolk. Perfect for holiday platters, they stay remarkably soft for up to a week when stored properly.
Ingredients
- 1¾ cups all-purpose flour
- ½ cup granulated sugar
- 1 teaspoon baking powder
- 1 large egg
- 1 extra egg yolk
- ½ cup plus 1 tablespoon cold salted butter
Instructions
- In a large glass bowl, whisk together the all-purpose flour, granulated sugar, and baking powder until evenly distributed.
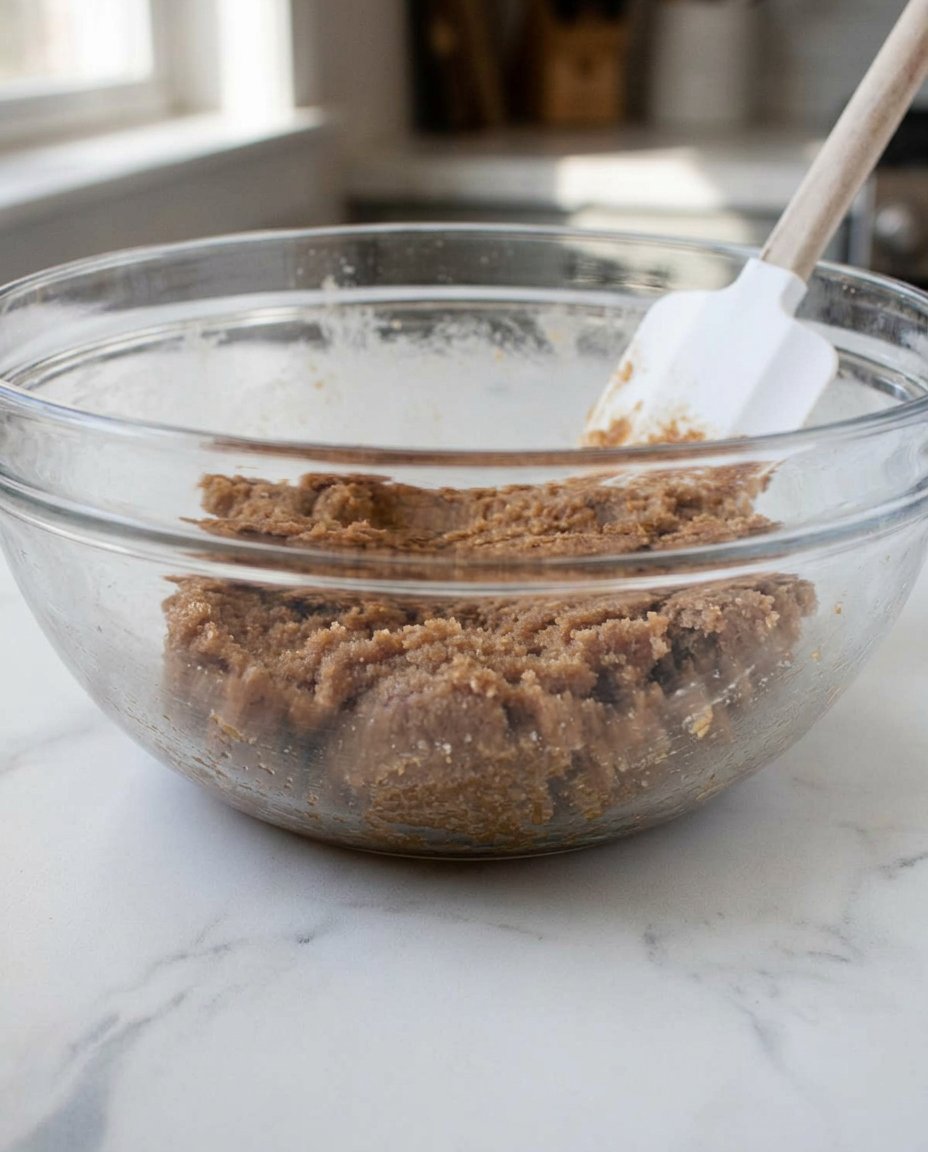
- Create a well in the center and add the egg, extra egg yolk, and cold salted butter, then mix with a pastry cutter or food processor until the mixture resembles coarse sand.
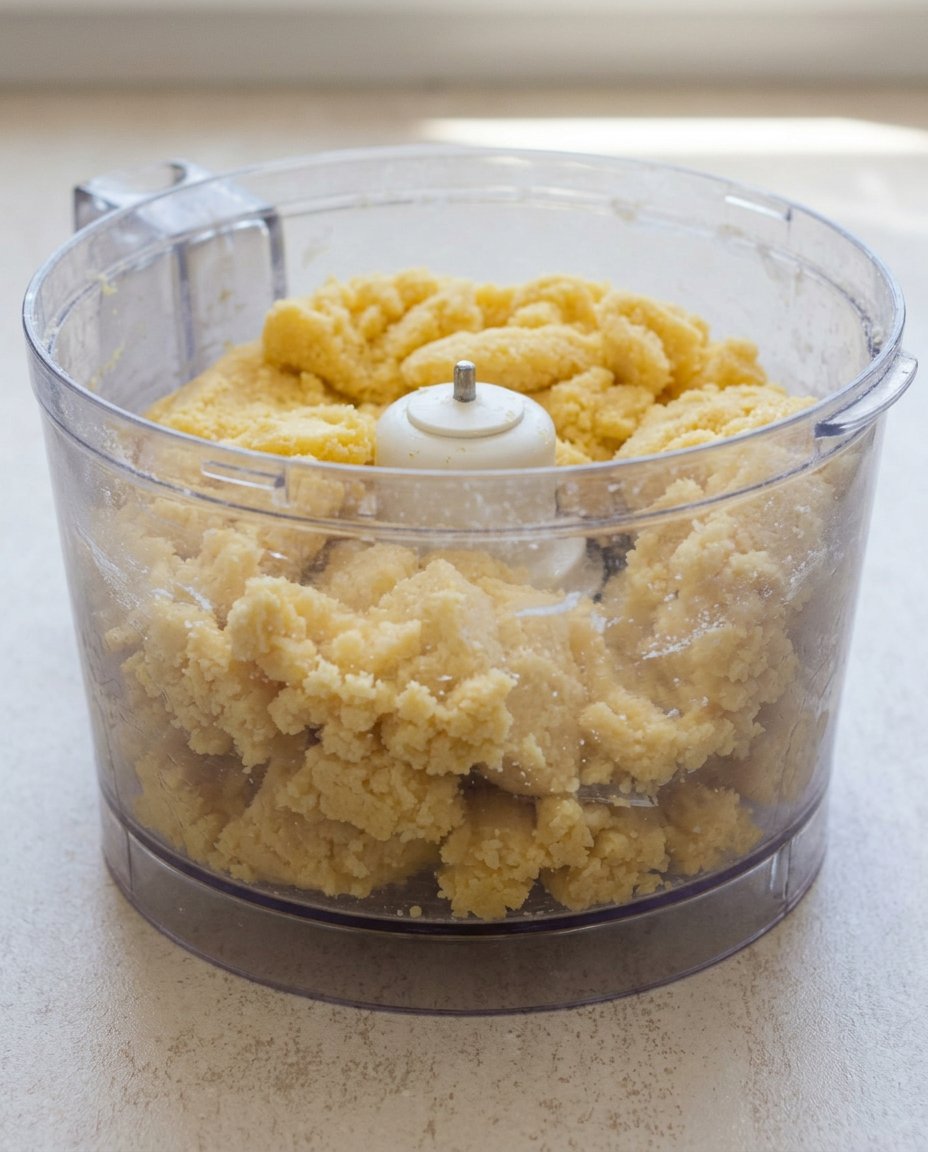
- Move the dough to a lightly floured surface and gently knead just until it forms a cohesive ball, being careful not to overwork the gluten.
- Wrap the dough tightly in plastic wrap and refrigerate for 30 minutes to allow the flour to hydrate and the butter to firm up.
- Roll the chilled dough to 1/4 inch thickness on a floured surface and cut into your preferred holiday shapes.
- Place the cut cookies on a parchment-lined baking sheet and chill them a second time while the oven preheats to 350°F (180°C).
- Bake for 10-12 minutes, looking for a very light golden color on the bottom while the tops remain pale.
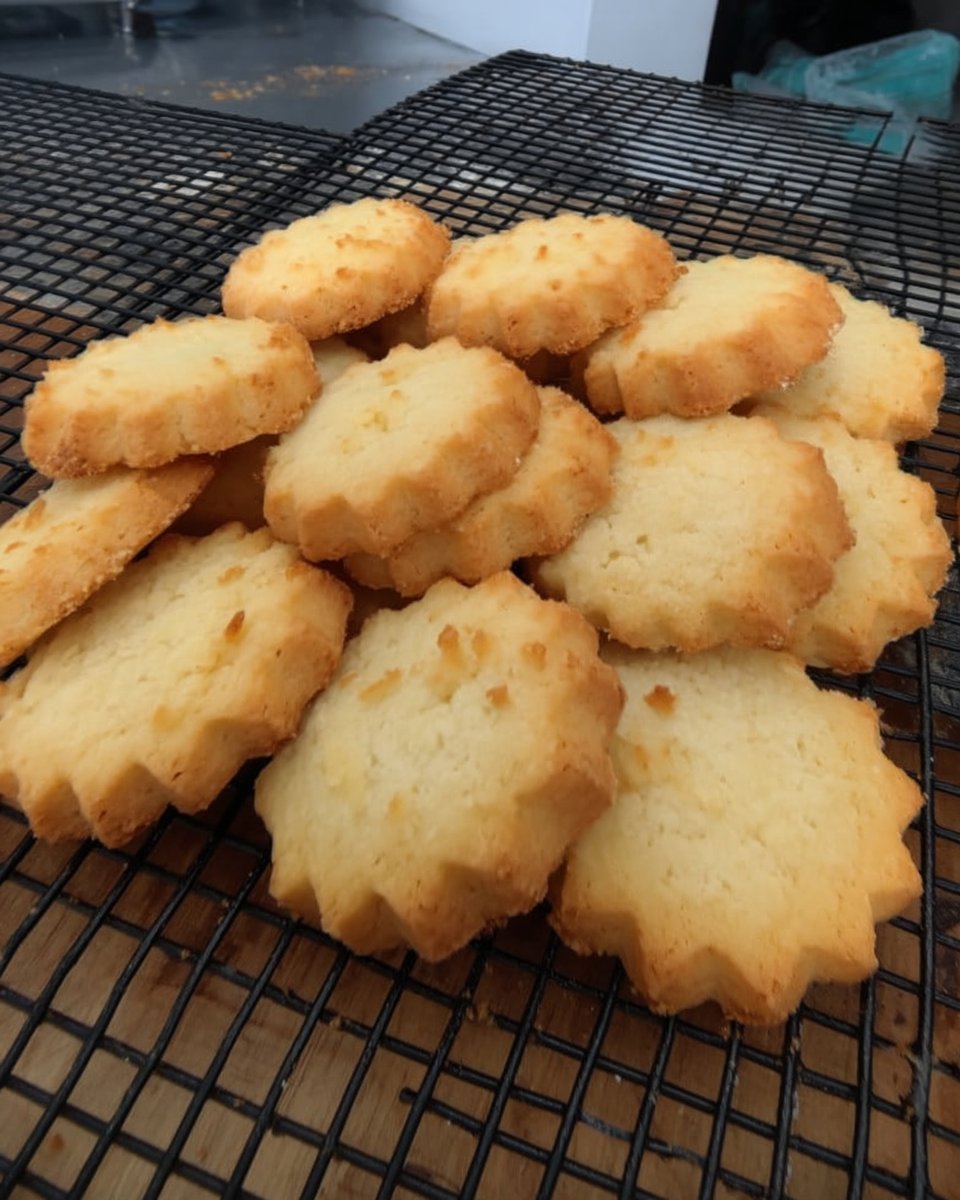
- Let the cookies rest on the baking sheet for 5 minutes before transferring them to a wire rack to cool completely.
Notes
For the best results, ensure your butter is truly cold straight from the fridge to create those signature steam pockets during baking. If the dough becomes too soft while rolling, return it to the refrigerator for 10 minutes to maintain the structural integrity of your shapes. To keep them extra fresh, store them in an airtight container at room temperature with a slice of white bread to maintain moisture.
- Prep Time: 45 mins
- Cook Time: 12 mins
- Category: Dessert
- Method: Baking
- Cuisine: Italian
The Secrets of Moisture and Crumb
To achieve the perfect Italian Christmas Cookies 2, every ingredient must play a specific role in texture management. We are not just mixing dough; we are building a structure that resists drying out.
- All-Purpose Flour (1¾ cup): This provides the essential structure. I prefer a flour with a moderate protein content to keep the cookies from becoming too tough.
- Granulated Sugar (½ cup): This adds sweetness and helps in the slight crisping of the edges while keeping the center tender.
- Baking Powder (1 teaspoon): This gives the cookies just enough lift to stay light and airy rather than dense and heavy.
- Large Egg + One Extra Egg Yolk: The whole egg provides structure, but the extra yolk is my signature move for moisture retention. It adds fat and lecithin, which emulsifies the dough and keeps it soft for days.
- Cold Salted Butter (½ cup + 1 tablespoon): Using cold butter is vital. When small bits of cold butter hit the hot oven, they create tiny steam pockets. This results in a delicate, flaky crumb that mimics the best vintage shortbreads.
Mixing these ingredients requires a gentle hand. If you overwork the flour, the gluten will develop, and your cookies will lose that signature softness. Think of the dough as a delicate pastry; treat it with care, and it will reward you with a wonderful, jar-fresh texture.
The Step-by-Step Texture Method
Step 1: Combine the Dry Base
In a large glass bowl, whisk together your all-purpose flour, granulated sugar, and baking powder. Creating a uniform mix at this stage prevents clumps and makes sure the leavening is distributed evenly throughout the dough.
Step 2: Create a Well and Add Fats
Make a small well in the center of your dry ingredients. Add your slightly beaten egg, the extra egg yolk, and the cold salted butter. If you are using a food processor, pulse until the mixture looks like coarse sand. If mixing by hand, use a pastry cutter to incorporate the butter until no large chunks remain.
Step 3: The Gentle Knead
Move the mixture to a lightly floured surface. Gently knead the dough just until it comes together into a soft, cohesive ball. Do not over-knead! The warmth from your hands should just barely begin to soften the butter, allowing the dough to bond without becoming tough.
Step 4: The First Chill
Wrap the dough tightly in plastic wrap and place it in the refrigerator for 30 minutes. This rest period allows the flour to fully hydrate and the butter to firm up again, which is the key to preventing the cookies from spreading too much in the oven.
Step 5: Roll and Cut
Divide the chilled dough in half, keeping one half in the fridge while you work. Roll the dough on a floured surface to about 1/4 inch thickness. Use your favorite holiday shapes. The dough should feel like soft clay—pliable but firm.
Step 6: The Second Chill
This is a step many skip, but it is vital for texture. Place your cut cookies on a parchment-lined sheet and chill them again while the oven preheats to 350F (180C). This “cold-into-hot” transition creates the best crumb structure.
Step 7: The Perfect Bake
Bake for 10-12 minutes. You are looking for a very light golden color on the bottom. The tops should still look pale. Overbaking is the primary cause of hard cookies, so keep a close eye on them during the final two minutes.
Step 8: Cooling and Finishing
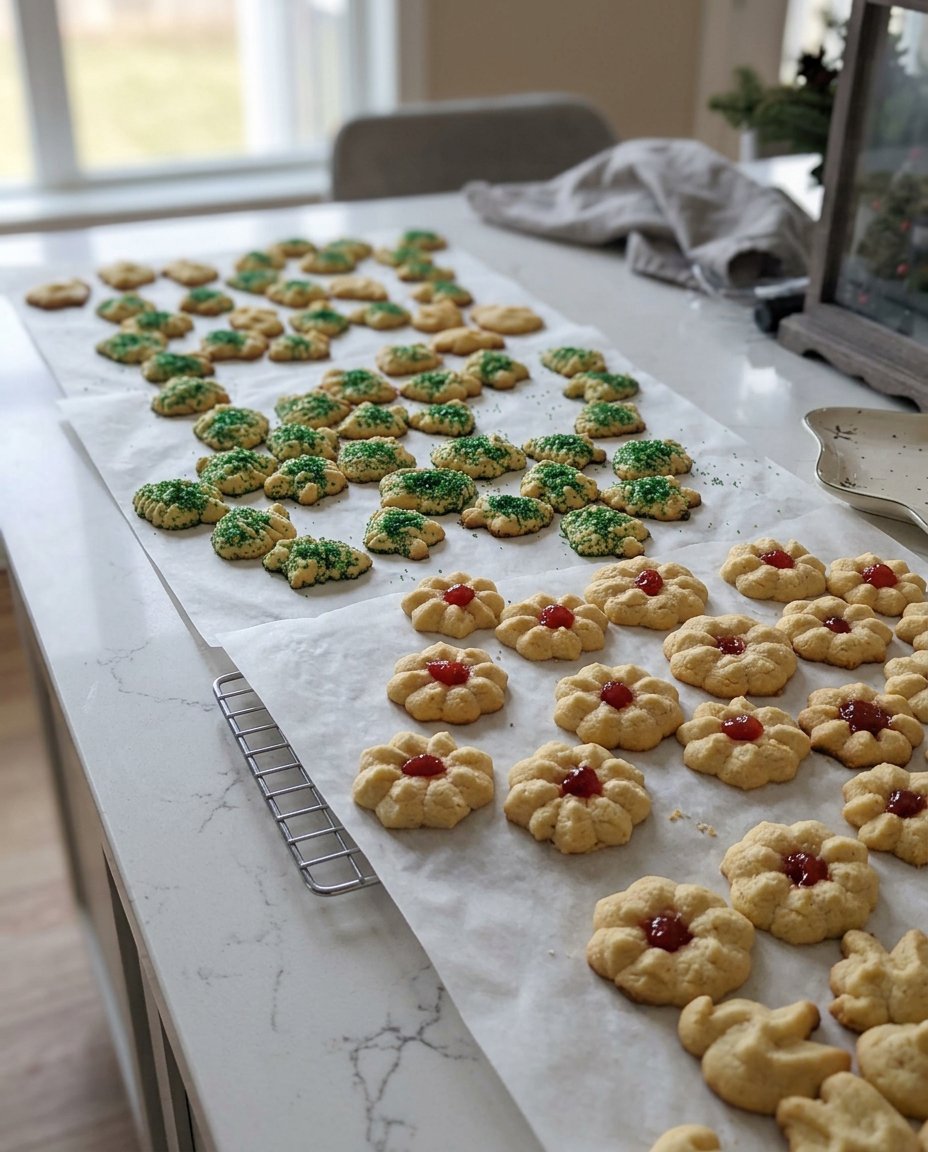
Let the cookies rest on the baking sheet for 5 minutes to set their structure. Move them to a wire rack to cool completely. Once cool, dust with powdered sugar or prepare your favorite fillings for sandwiching.
Mehmet’s Secrets for Soft Cookies
To make sure your Italian Christmas Cookies 2 stay soft for a full week, never skip the cooling rack. If cookies cool on a flat surface, steam gets trapped underneath, which can lead to a soggy bottom that eventually turns hard. My favorite trick for long-term freshness is to place a single slice of white bread in the airtight container with the cookies. The cookies will pull moisture from the bread, keeping them perfectly tender.
When rolling out the dough, avoid using too much extra flour. Excessive flour on the work surface gets incorporated into the dough, which dries it out. Instead, try rolling the dough between two sheets of parchment paper. For more advice on maintaining texture across different styles, check out our guide on Classic Cookie Recipes. Always remember that a slightly underbaked cookie will soften as it sits, whereas a fully browned cookie will only get harder over time.
Flavor Tweaks for Your Holiday Batch
While the 1940s original is perfection, you can easily adapt this dough for different flavor profiles without losing that stays-fresh quality. Try adding the zest of one large lemon and a teaspoon of lemon extract for a bright, citrusy version that pairs beautifully with afternoon tea. If you prefer a nuttier profile, replace the vanilla with almond extract and press a sliver of toasted almond into the center before baking.
For a more decadent treat, turn these into sandwich cookies. Spread a thin layer of hazelnut cream or a high-quality apricot jam on the flat side of one cookie and press another on top. This added moisture from the filling actually helps keep the cookies even softer. For more festive inspiration, look at our collection of Holiday Cookie Celebrations. You can also dip half of each cookie into melted dark chocolate and sprinkle with sea salt for a modern twist on this vintage heritage recipe.
Serving Your Cookies for Maximum Freshness

These cookies are best served at room temperature, ideally alongside a warm beverage like a rich espresso or a spicy chai. If you are serving them from the refrigerator, let them sit out for about 20 minutes to allow the butter to soften, which restores that melt-in-your-mouth feel. For a beautiful presentation, arrange them on a vintage tiered stand with sprigs of fresh mint or holly.
If you are giving these as gifts, wrap them in cellophane bags inside a tin to provide double protection against the air. These are perfect for holiday exchanges because they don’t crumble easily during transport. If you’re looking for more ways to present your treats, see our tips on Cookie Decorating Traditions. For a special touch, serve these cookies as part of a larger dessert board featuring fresh berries and a selection of soft cheeses.
Keeping the Tradition Tender
Baking these cookies is about more than just a sweet treat; it is about preserving a piece of history and sharing it with the people you love. By focusing on the texture and moisture retention, we make sure that every bite is as good as the first, honoring the heritage of the 1940s while bringing it into the modern kitchen. If you need a faster option for busy weekdays, you might enjoy our Quick & Easy Cookies. For more heritage inspiration and to see these cookies in action, visit An Italian In My Kitchen. We would love to see your holiday bakes! Share your photos with us on Instagram, Pinterest, or Facebook and join our community of texture-obsessed home bakers.
