I spent years watching my grandmother’s favorite citrus treats turn into hard, dry pucks in the cookie jar after just twelve hours. It was a texture tragedy that I was determined to solve while keeping her heritage flavors intact. By adjusting the creaming time and moisture ratios, I discovered the secret to keeping these zesty delights soft for days.

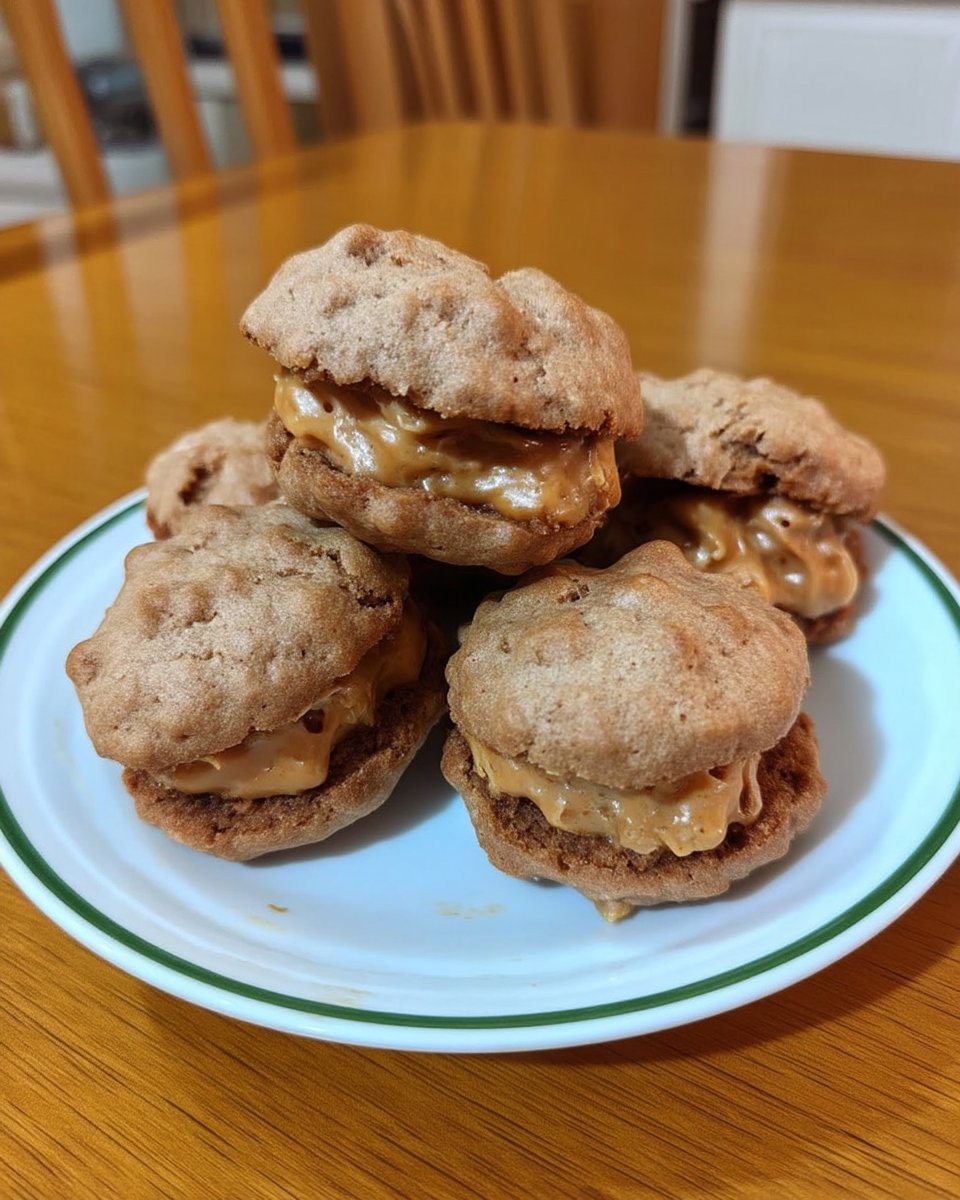
These Lemon Glazed Cookies are the ultimate answer to the stale cookie problem, offering a pillowy bite that stays tender long after baking. They are bright, buttery, and come together in under thirty minutes without the need for any chilling time in the fridge.
Why This Recipe Stays Jar-Fresh
You are going to love these cookies because they finally solve the issue of citrus bakes drying out. Most recipes lose their moisture almost immediately, but the specific ratio of butter to sugar here creates a tender crumb that feels like it came straight from a professional bakery. The bright lemon glaze doesn’t just add a punch of tart flavor; it actually helps seal in the moisture of the cookie itself. Whether you are filling a vintage cookie jar or bringing a batch to a friend, you can be sure they will remain soft and satisfying for the full three days. They represent the perfect balance of old-fashioned flavor and modern texture science.
Print
Lemon Glazed Cookies
- Total Time: 29 mins
- Yield: 24 cookies
- Diet: Vegetarian
Description
These pillowy-soft lemon cookies feature a bright citrus zest and a tangy glaze that locks in moisture for days. Perfect for cookie jars, they offer a professional bakery texture with a simple, no-chill preparation that takes less than thirty minutes.
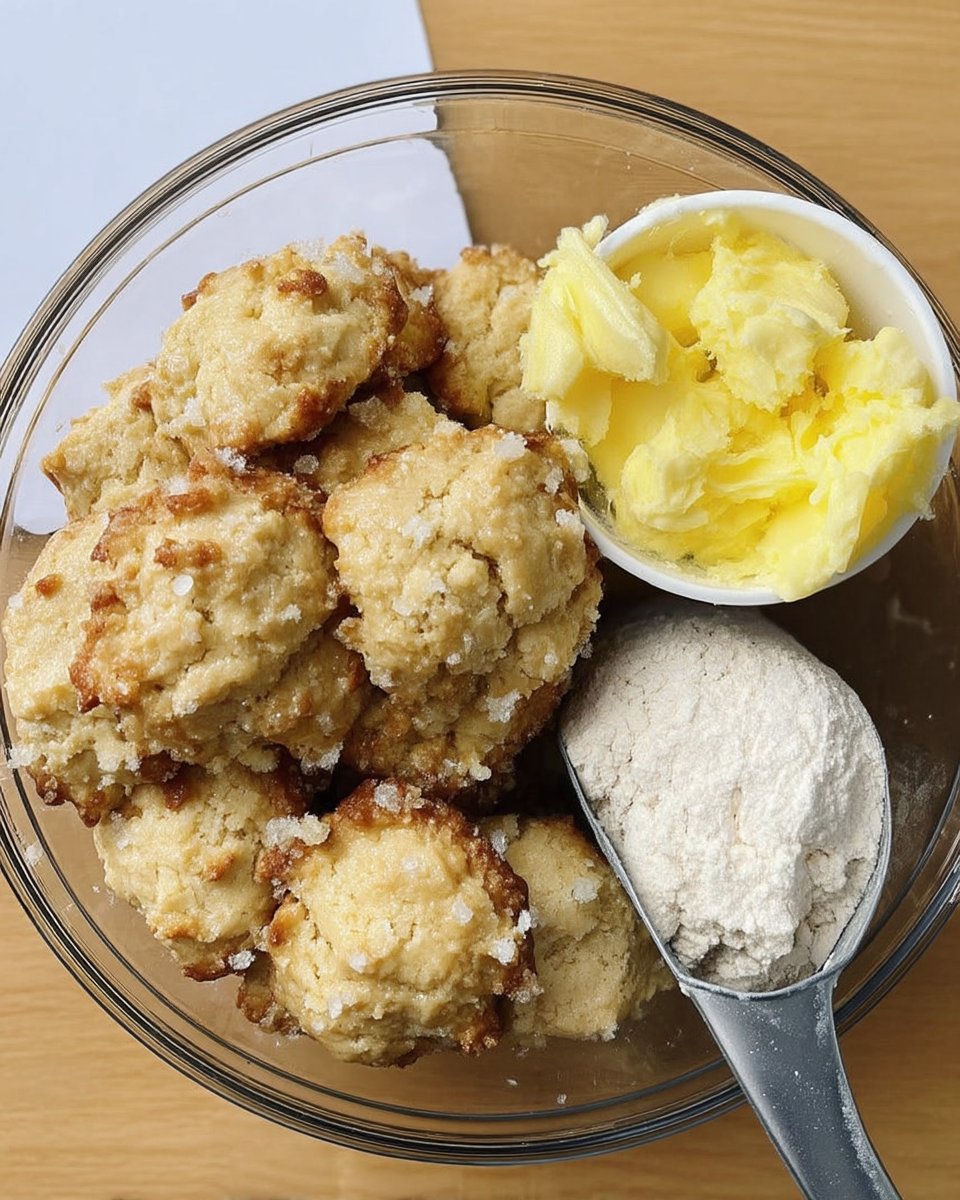
Ingredients
- 227g Unsalted Butter, cool room temperature
- 200g Granulated Sugar
- Zest of 3 medium lemons
- 1 Large Egg
- 286g All-Purpose Flour
- 1 teaspoon Baking Powder
- 1/4 teaspoon Fine Sea Salt
- 1.5 cups Sifted Powdered Sugar
- 3 tablespoons Fresh Lemon Juice
Instructions
- Preheat your oven to 350°F (175°C) and line two large baking sheets with parchment paper.
- In a medium bowl, whisk together the all-purpose flour, baking powder, and fine sea salt until well combined.
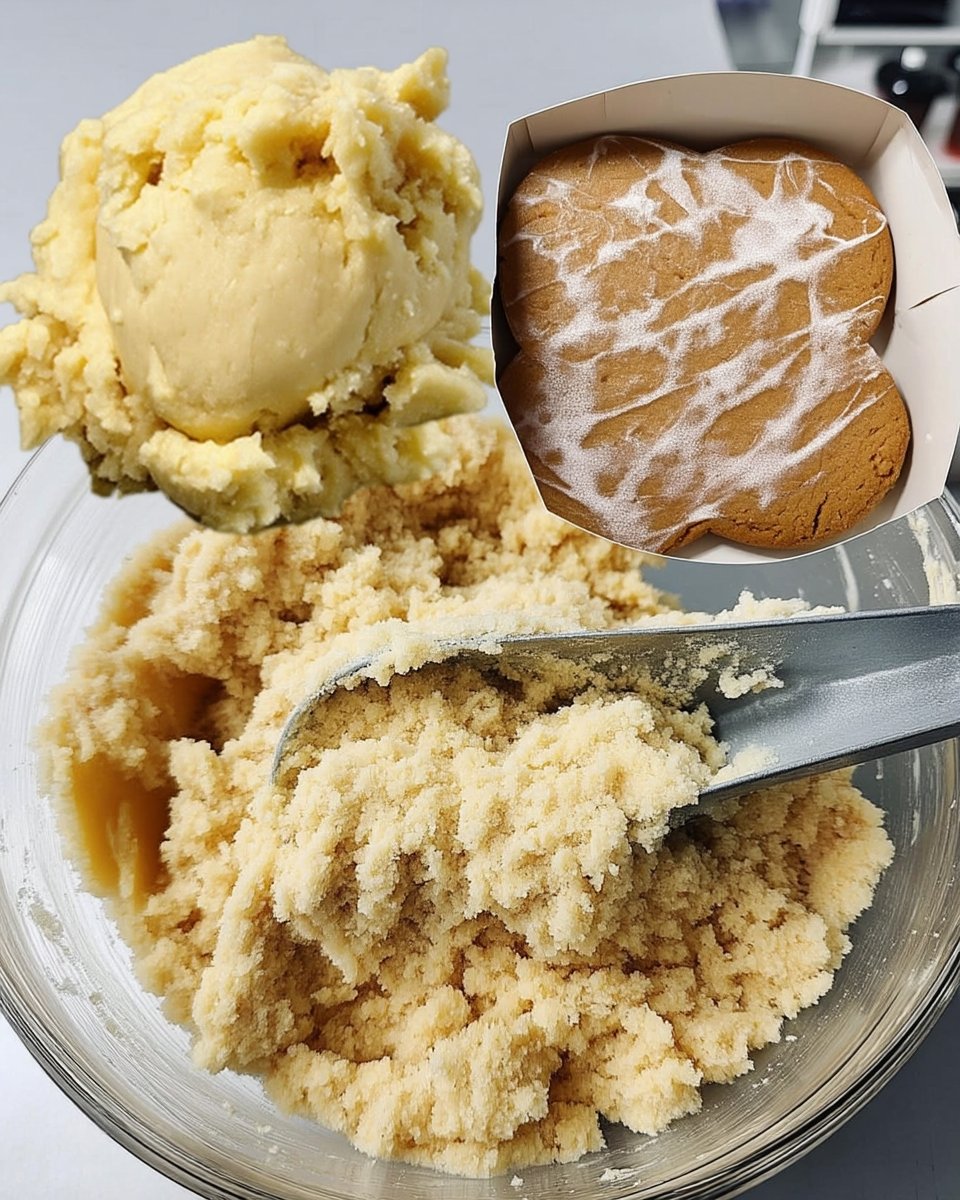
- Using an electric mixer with a paddle attachment, beat the butter, granulated sugar, and lemon zest for 3 to 4 minutes until light and fluffy.
- Add the egg to the creamed mixture and beat for another minute, scraping down the sides of the bowl to ensure full emulsification.
- Turn the mixer to low speed and slowly add the flour mixture, mixing until just incorporated without overworking the dough.
- Use a 1.5-tablespoon scoop to form balls, roll them briefly in your palms, and place them 2 inches apart on the prepared sheets.
- Gently press the dough balls down until they are about 1/3-inch thick and bake for 12-14 minutes until the edges are barely golden.
- Let the cookies rest on the hot pan for 5 minutes before moving to a wire rack to cool completely.
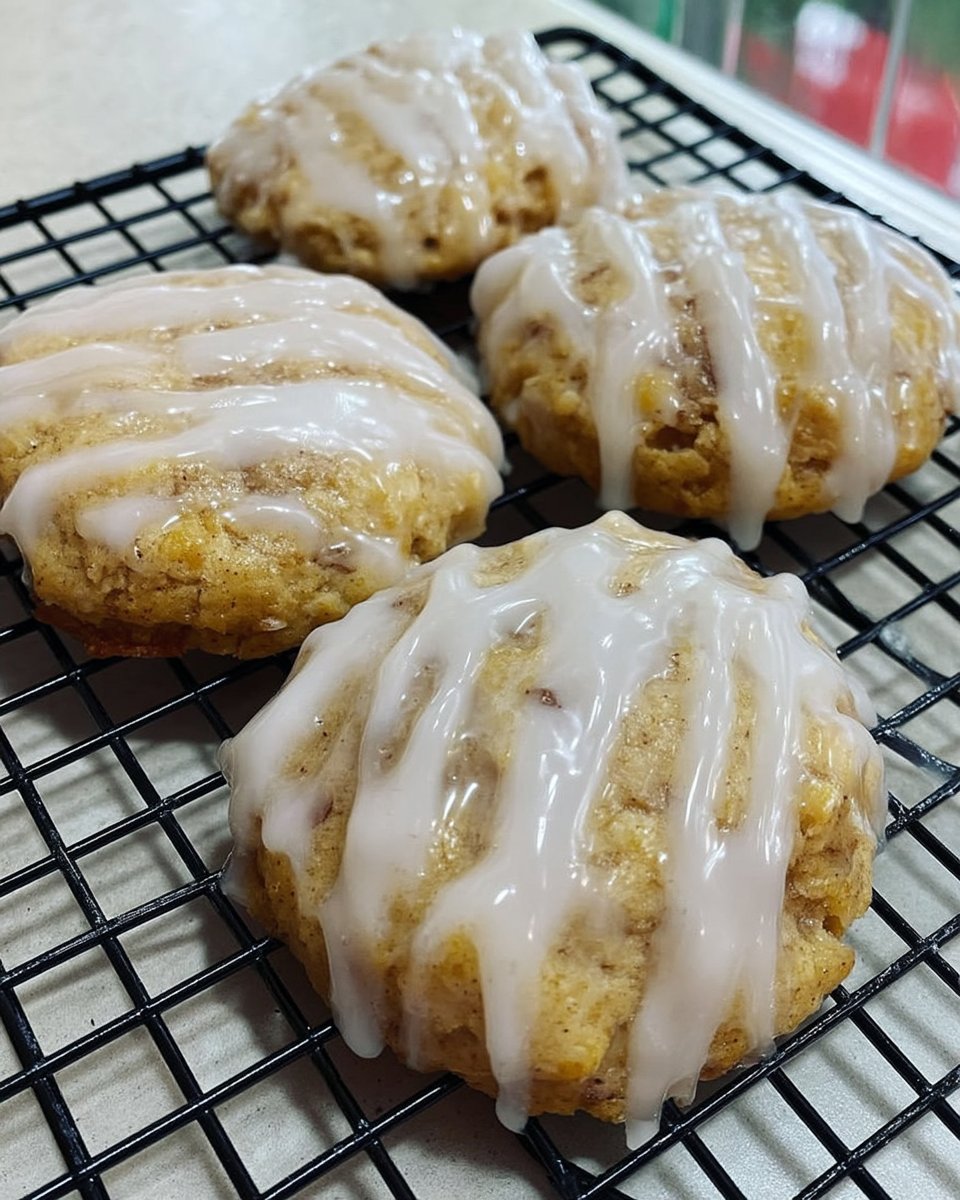
- Whisk the powdered sugar and lemon juice into a thick glaze and spoon it over the stone-cold cookies.
Notes
To achieve a deeper citrus profile, try rubbing the lemon zest into the granulated sugar with your fingertips before creaming it with the butter to release the essential oils. If you prefer a more opaque, royal-icing style finish, replace one teaspoon of the lemon juice with a teaspoon of heavy cream.
- Prep Time: 15 mins
- Cook Time: 14 mins
- Category: Dessert
- Method: Baking
- Cuisine: American
The Soft Texture Secret Ingredients
To achieve that signature Cookies Fresh chewiness, we focus on ingredients that promote moisture retention and a fine crumb.
- Unsalted Butter (227g): We use butter at a cool room temperature. This is vital because butter that is too warm won’t hold the air bubbles needed for a soft, lifted structure.
- Fresh Lemon Zest: Using the zest of three medium lemons provides the essential oils that give a deep, natural citrus aroma without adding excess liquid that could ruin the dough consistency.
- Large Egg: The protein and fat in the egg act as the binder that ensures the cookie doesn’t crumble apart when you take a bite.
- All-Purpose Flour (286g): We weigh this carefully to avoid the common mistake of adding too much flour, which is the primary cause of a dry, tough cookie.
- Sifted Powdered Sugar: Sifting is a small but important step for the glaze to ensure a smooth, professional finish that sets beautifully without lumps.
How to Bake the Perfect Lemon Cookie
Step 1: Prepare Your Kitchen
Preheat your oven to 350°F (175°C). Line two large baking sheets with parchment paper. This is a crucial step for even heat distribution and ensuring the bottoms of your cookies don’t brown too quickly.
Step 2: Whisk the Dry Components
In a medium bowl, whisk together the all-purpose flour, baking powder, and fine sea salt. This ensures your leavening agent is perfectly distributed so every cookie in the batch rises at the same rate.
Step 3: Cream the Butter and Zest
Using an electric mixer with a paddle attachment, beat the butter, granulated sugar, and lemon zest for about 3 to 4 minutes. You are looking for a light, fluffy texture. This step builds the air pockets that keep the cookies soft.
Step 4: Incorporate the Egg
Add the egg to the creamed mixture and beat for another minute. Scrape down the sides of the bowl to ensure everything is fully combined and the fats are emulsified.
Step 5: Mix in the Flour
Turn your mixer to low speed and slowly add the flour mixture. Mix until just incorporated. The dough might appear slightly dry, but do not be tempted to add liquid; this thickness is what gives the cookie its wonderful chew.
Step 6: Shape and Flatten
Use a 1.5-tablespoon scoop to form balls. Roll them briefly in your palms, then place them 2 inches apart on the sheets. Use your palm to gently press them down until they are about 1/3-inch thick.
Step 7: The Precision Bake
Bake for 12-14 minutes. Watch for the edges to become just barely golden. The centers should look set but still tender. Overbaking is the enemy of the soft cookie, so err on the side of caution.
Step 8: Cool and Glaze
Let the cookies rest on the hot pan for 5 minutes before moving them to a wire rack. Once completely cool, whisk your powdered sugar and lemon juice into a thick glaze and spoon it over the tops. Garnish with extra zest if you like.
Mehmet’s Wisdom for Lasting Softness
One of the most important things you can do to prevent dry cookies is to store them correctly once they have cooled. I always recommend placing a small piece of white bread inside your cookie jar; the cookies will draw moisture from the bread and stay soft even longer. For those who want to master more traditional techniques, I recommend looking through our Classic Cookie Recipes to see how different fats affect the final chew. Another tip is to ensure your lemon juice is fresh-squeezed for the glaze; bottled juice lacks the bright acidity needed to balance the sweetness of the powdered sugar. Always wait until the cookies are stone-cold before glazing, or the icing will simply run off the sides.
Flavor Tweaks and Texture Options
While the lemon is the star here, you can easily swap the citrus for a different profile. Using lime zest and juice creates a refreshing ‘Mojito’ style cookie, while orange zest provides a mellower, sweeter flavor that children often love. If you prefer a thinner, crispier edge, you can increase the sugar by two tablespoons and flatten the dough slightly more before baking. For more inspiration on how to adapt your bakes, check out our Quick & Easy Cookies section. If you want to make these into bars, follow the instructions in the notes section to press the dough into an 8×8 pan for a denser, fudgier texture.
How to Serve Your Zesty Treats
These cookies are the perfect companion for a mid-afternoon tea or a light summer dessert. I love serving them on a vintage ceramic platter to highlight their heritage feel. If you are planning a larger event, you can find great display ideas in our Cookie Decorating Traditions guide. To give your guests a truly special experience, serve the cookies slightly chilled on a hot day; the lemon flavor becomes even more refreshing when the glaze is cool and crisp.
The Secret to a Perfect Lemon Batch
Mastering these Lemon Glazed Cookies is all about respecting the balance between the bright citrus and the buttery dough. By following these texture-focused steps, you can say goodbye to dry, brittle treats and hello to a cookie that stays soft for days. For more detailed guides on perfect baking, visit Handle the Heat or browse our Holiday Cookie Celebrations. We would love to see your baking results, so please connect with us on Instagram and Pinterest to share your photos. Happy baking!
