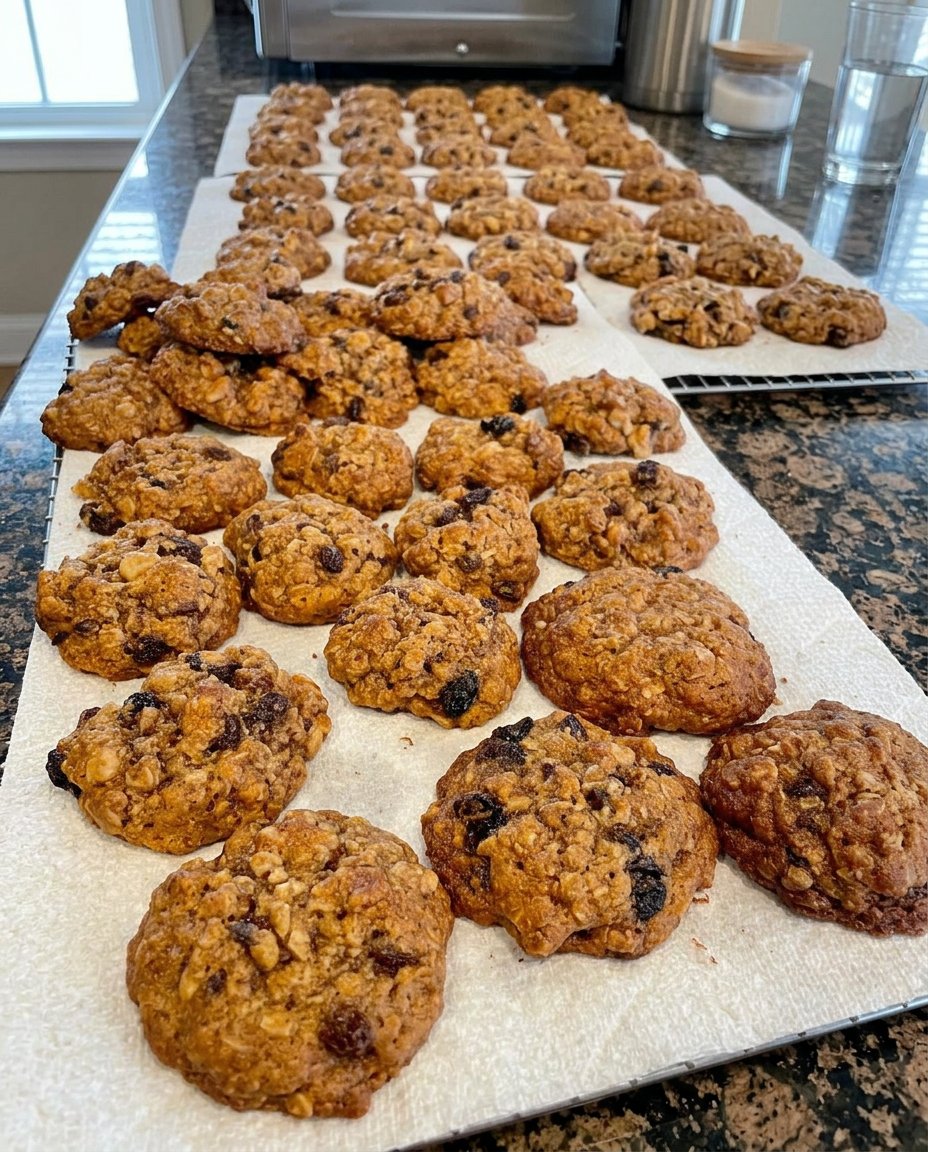
My grandmother always said that a cookie jar should never be empty, for an empty jar meant a house without a heartbeat. I remember the soft click of the ceramic lid and the sweet, buttery scent that would waft through her sun-drenched kitchen every Saturday afternoon. These milk chocolate chip cookies are a tribute to those quiet moments and the simple joy of a recipe shared across generations.

While many folks reach for semi-sweet morsels, our family has always held a special place for the mellow, creamy sweetness of milk chocolate. This particular version uses a unique blend of flours and a high-heat baking method to create a cookie that is thick, soft, and reminds me of the ones Grandma used to tuck into my lunchbox. It is a timeless treasure that I am honored to pass down from my kitchen to yours.
A Timeless Classic for Your Cookie Jar
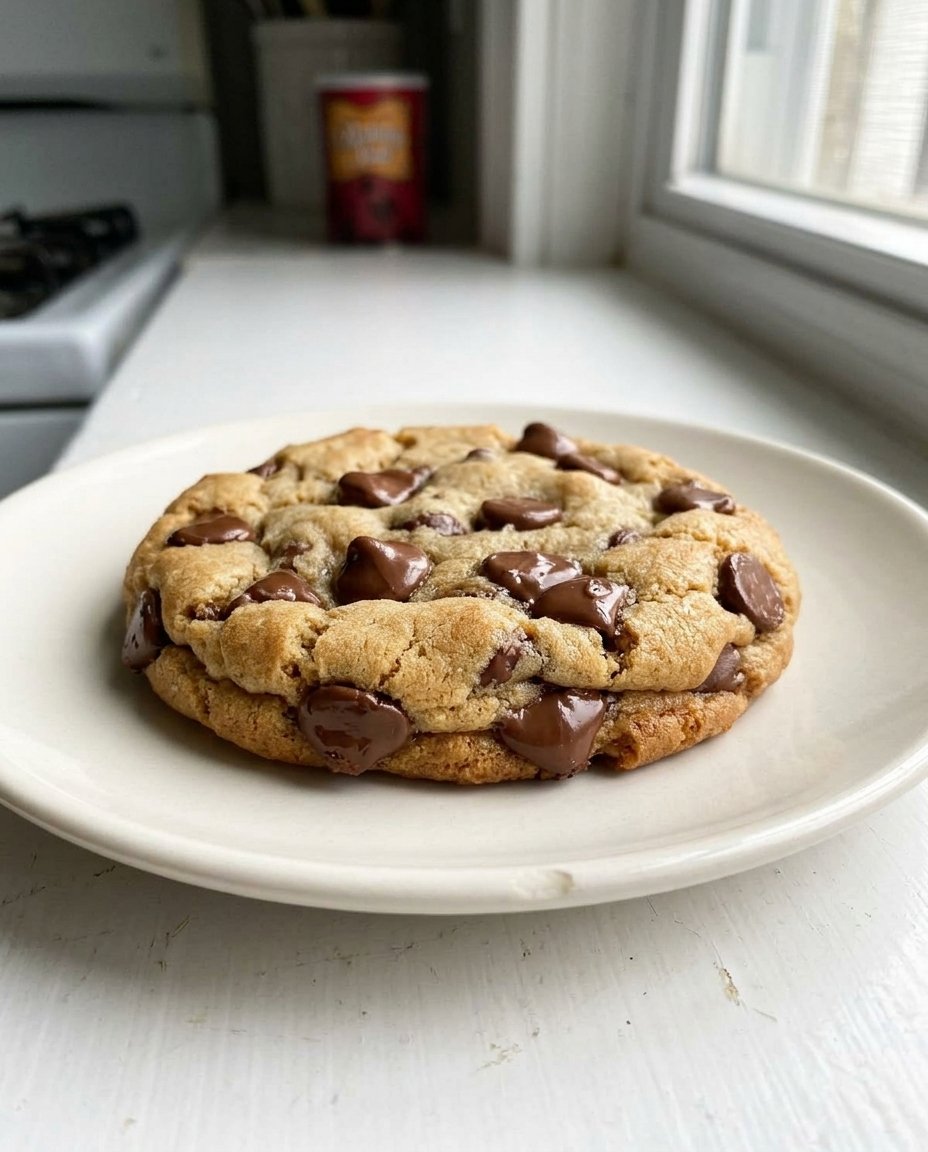
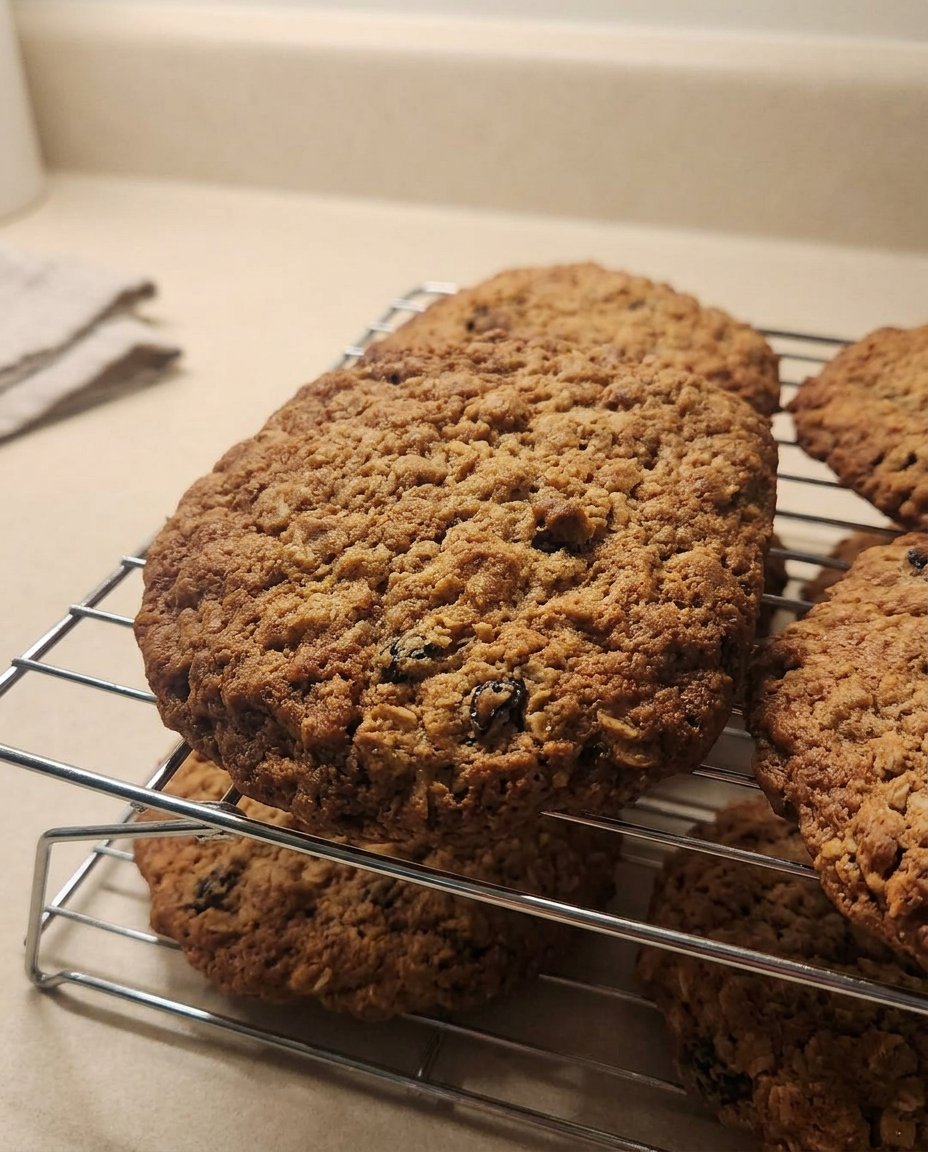
There is something truly magical about the way these cookies come together, bridging the gap between a traditional home-baked treat and a professional bakery masterpiece. You will love these because they offer a gentle sweetness that only milk chocolate can provide, wrapped in a dough that stays soft and tender for days. Unlike thinner cookies that crisp up and crumble, these have a satisfying weight to them that feels like a warm hug in every bite.
They are remarkably consistent and reliable, making them a favorite for both seasoned bakers and those just starting their journey. Because we use simple pantry staples, you likely have everything you need sitting in your cupboard right now. These cookies are also a visual delight; the way the milk chocolate pools and the light sprinkle of sea salt catches the light makes them look just as beautiful as they taste. They represent the heart of heritage baking: taking humble ingredients and turning them on their head to create something extraordinary.
Print
Milk Chocolate Chip Cookies
- Total Time: 25 mins
- Yield: 12 cookies
- Diet: Vegetarian
Description
These thick, bakery-style cookies feature a delicate blend of flours and a high-heat baking technique to achieve a soft, tender crumb. Packed with creamy milk chocolate chunks and finished with a hint of sea salt, they are the ultimate nostalgic comfort treat.
Ingredients
- 1 cup Unsalted Butter, cubed and cool
- 1 cup Brown Sugar, packed
- 1/2 cup Granulated White Sugar
- 2 Large Eggs
- 1 tablespoon Pure Vanilla Extract
- 2 cups All-purpose Flour
- 1 cup Cake Flour
- 1 teaspoon Cornstarch
- 1 teaspoon Baking Soda
- 1/2 teaspoon Salt
- 1.5 cups Milk Chocolate Chips
- 1/2 cup Milk Chocolate Chunks
- Maldon Sea Salt Flakes, for topping
Instructions
- In a large mixing bowl, cream together the cubed butter, brown sugar, and granulated sugar for 3 to 4 minutes until pale and fluffy, scraping the bowl as needed.
- Add the eggs and vanilla extract to the mixture and mix for one minute until a smooth emulsion forms.
- Slowly fold in the all-purpose flour, cake flour, cornstarch, baking soda, and salt using the lowest mixer setting or a spoon until no flour streaks remain.
- Fold in the milk chocolate chips and chunks by hand, then optionally chill the dough for 24 to 48 hours for deeper flavor.
- Preheat your oven to 395 degrees Fahrenheit (200 degrees Celsius) and roll the dough into 4-ounce balls, placing them on a parchment-lined baking sheet.
- Bake for 9 to 11 minutes until edges are golden; immediately sprinkle with sea salt flakes and let rest on the sheet for 10 minutes before moving.
Notes
For the best results, use a light-colored baking sheet to prevent the bottoms of these high-heat cookies from browning too quickly. If you do not have cake flour on hand, you can substitute it with more all-purpose flour, though the texture will be slightly denser than the original heritage version.
- Prep Time: 15 mins
- Cook Time: 10 mins
- Category: Dessert
- Method: Baking
- Cuisine: American
Pantry Staples for the Perfect Bite
Creating a cookie that tastes like a memory starts with choosing the right ingredients, even if they are the ones you have seen a thousand times before. We focus on quality and simplicity here, ensuring each element has its own story to tell in the final bake.
- Unsalted Butter: We use butter cut into cubes while it is still cool, which helps create a sturdy structure in the dough. Real butter is the soul of this recipe, providing that unmistakable richness and depth of flavor.
- Brown and White Sugars: A higher ratio of brown sugar gives these cookies their characteristic chewiness and a hint of molasses warmth, while the granulated white sugar helps those edges get that perfect, light golden brown.
- Large Eggs and Pure Vanilla: These are the binders and the aromatics. Always use pure vanilla extract if you can find it; that scent is the hallmark of a traditional kitchen.
- The Flour Blend: By mixing all-purpose flour with a bit of cake flour, we achieve a texture that is exceptionally soft yet holds its shape. If you don’t have cake flour, you can use all all-purpose, but the blend is Grandma’s secret for that melt-in-your-mouth quality.
- Cornstarch and Baking Soda: These are the quiet heroes. A touch of cornstarch keeps the cookies thick and soft, while the baking soda ensures they rise just enough.
- Milk Chocolate Chips and Chunks: I love using a mix of chips and hand-cut chunks from a quality milk chocolate bar. It creates different textures of melted chocolate throughout the cookie.
- Maldon Sea Salt Flakes: This is optional but highly recommended. A tiny pinch on top balances the creamy sweetness of the milk chocolate perfectly.
The Heritage Method
Step 1: Cream the Butter and Sugars
Begin by placing your cubed butter, brown sugar, and granulated sugar into a large mixing bowl. Using your mixer, cream these together for about 3 to 4 minutes. You are looking for the mixture to become pale and fluffy. Be sure to stop halfway through to scrape down the sides of the bowl with a spatula, making sure every bit of butter is fully incorporated into the sugars.
Step 2: Incorporate the Eggs and Vanilla
Add your two large eggs and the vanilla extract to the creamed mixture. Mix for another minute. This step is about building a smooth emulsion that will carry the flavors throughout the dough. Again, a quick scrape of the bowl ensures a uniform texture.
Step 3: Folding in the Dry Ingredients
Slowly add the all-purpose flour, cake flour, cornstarch, baking soda, and salt. Turn your mixer to the lowest setting or use a sturdy spoon to fold these in. It is vital not to overmix here; you want to stop just as the white streaks of flour disappear. Overmixing can lead to a tough cookie, and we want these to be as tender as a soft summer breeze.
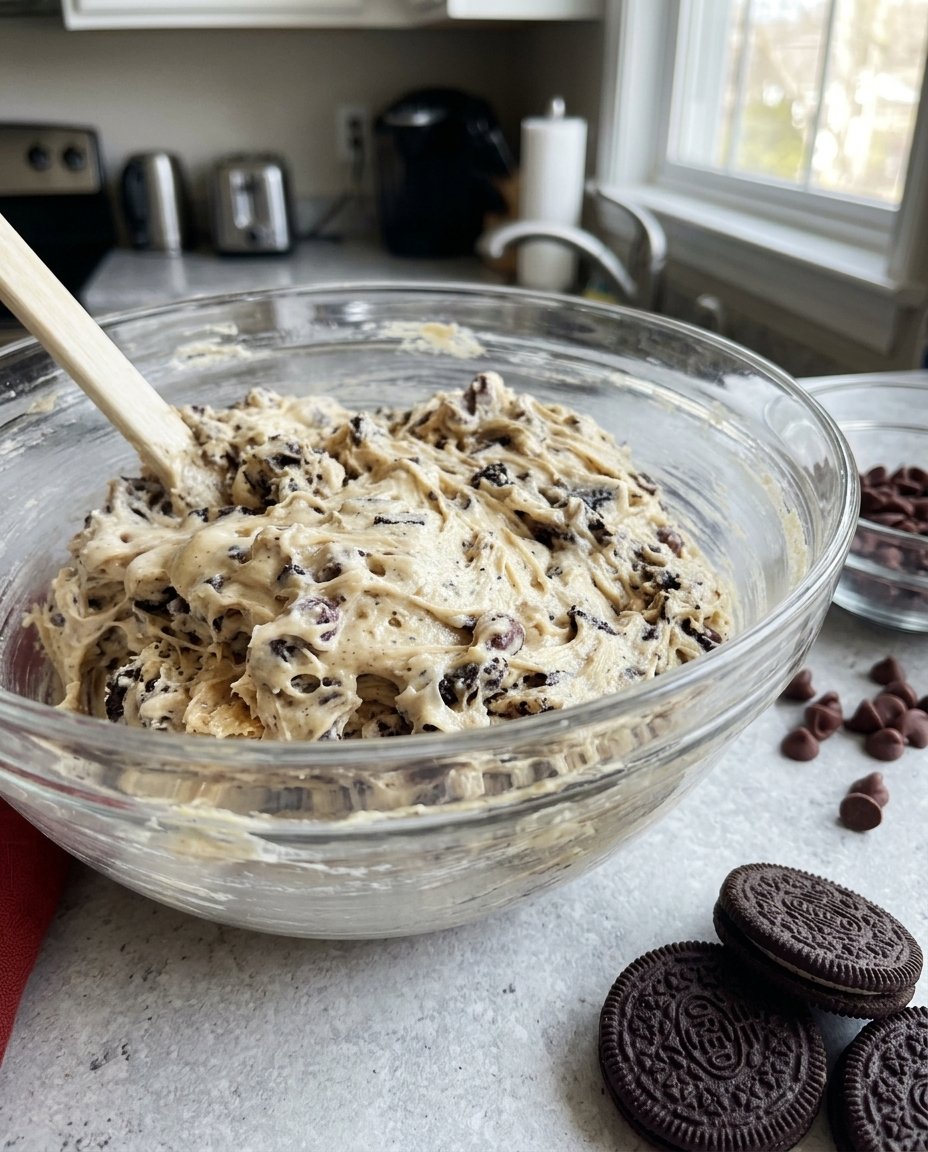
Step 4: The Chocolate and Chilling
Fold in your milk chocolate chips and chunks by hand. If you have the patience, wrapping the dough tightly and letting it rest in the refrigerator for 24 to 48 hours will allow the flavors to deepen significantly. However, if the craving is too strong, you can proceed straight to baking.
Step 5: Shaping and Baking
Preheat your oven to 395 degrees Fahrenheit (200 degrees Celsius). Roll the dough into generous 4-ounce balls—about the size of a large plum. Place them on a light-colored baking sheet lined with parchment paper. If you want them to look like they came from a fancy shop, press a few extra chocolate chips into the top of each ball. Bake for 9 to 11 minutes until the edges are just turning golden. They will look slightly underdone in the middle, but that is the secret to their softness.
Step 6: The Finishing Touch
Remove the tray from the oven and immediately sprinkle a few flakes of sea salt over the warm cookies. Let them sit on the baking sheet for at least 10 minutes. This resting time allows the internal structure to set so they don’t fall apart when you move them to the cooling rack or, better yet, straight into your hand.
Grandma’s Secrets for the Best Batch
One of the most important things I’ve learned over the years is that the temperature of your baking sheet matters just as much as the oven temperature. I always suggest using a light-colored baking sheet because dark pans absorb more heat and can cause the bottoms of your cookies to brown too quickly before the centers are set. If you are looking for more foundational wisdom, you might enjoy reading through our Classic Cookie Recipes for more timeless techniques.
Another tip is to avoid over-crowding the pan. Give these cookies plenty of space to breathe; I usually only bake six at a time on a standard sheet. For more inspiration on the science of the perfect bake, you can see how others approach this milk chocolate chip cookies style. Finally, if you want a flatter, more traditional look, gently press down on the dough balls with the palm of your hand before they go into the oven. This helps them spread just enough while keeping that chewy center we all love.
Heritage Twists for Every Occasion
While the milk chocolate is the star here, there are many ways to make this recipe your own. For a bit of crunch, many in our family love adding a cup of chopped walnuts or pecans to the dough. The earthy nuttiness provides a lovely contrast to the creamy chocolate. If you prefer a deeper flavor profile, try browning your butter first and letting it cool before cubing it. This adds a toasted, caramel-like note that is simply divine.
For those who enjoy a bit of variety in their baking routine, you can find many other Quick & Easy Cookies that follow similar traditional principles. You might also consider swapping half of the milk chocolate for dark chocolate chunks if you want a more complex sweetness. During the holidays, a touch of cinnamon added to the dry ingredients can bring a festive warmth to the entire batch.
Sharing the Tradition
There is no better way to serve these than with a tall, cold glass of milk. It is the quintessential childhood pairing that never goes out of style. If you are hosting a small gathering, I like to arrange them on a vintage glass platter alongside a pot of hot coffee or tea. The warmth of the drink makes the milk chocolate melt just a little more with every bite. To make the presentation even more special, you can look at our Cookie Decorating Traditions for ideas on how to style your dessert table.
These cookies also make wonderful gifts. I often wrap a few in parchment paper and tie them with a bit of twine to give to neighbors or friends. They are sturdy enough to be transported but soft enough to feel like a decadent treat. Whether you are filling a jar for your grandkids or bringing a plate to a church social, these cookies carry with them a sense of home and heritage that everyone appreciates.
Timeless Joy in Every Crumb
Baking these cookies is more than just following a set of instructions; it is about honoring the traditions that make a house a home. I hope that as you pull these golden treasures from your oven, you feel the same warmth and nostalgia that I do. For more ways to celebrate the seasons with your oven, be sure to visit our Holiday Cookie Celebrations page. Please share your baking journey with us on Pinterest, Instagram, or Facebook. There is a seat at our table for every baker who cherishes the simple, sweet things in life. Keep your jars full and your hearts warmer.
