Most home bakers struggle with the dreaded day-two crunch, where a once-soft treat turns into a dry biscuit. I spent years adjusting my techniques to solve this stale problem because a great cookie should stay bendy and tender long after it leaves the oven. This recipe focuses on moisture retention to guarantee that every bite feels just as fresh as the moment you pulled them from the cooling sheet.

This version of the iconic mall classic uses a specific temperature and mixing method to achieve that signature pale, dense, and chewy crumb. We avoid the preservatives found in commercial versions and instead rely on the science of cold fats and low heat. These cookies are a tribute to heritage flavors with a modern focus on lasting texture.
The Secret to a Soft, Lasting Chew
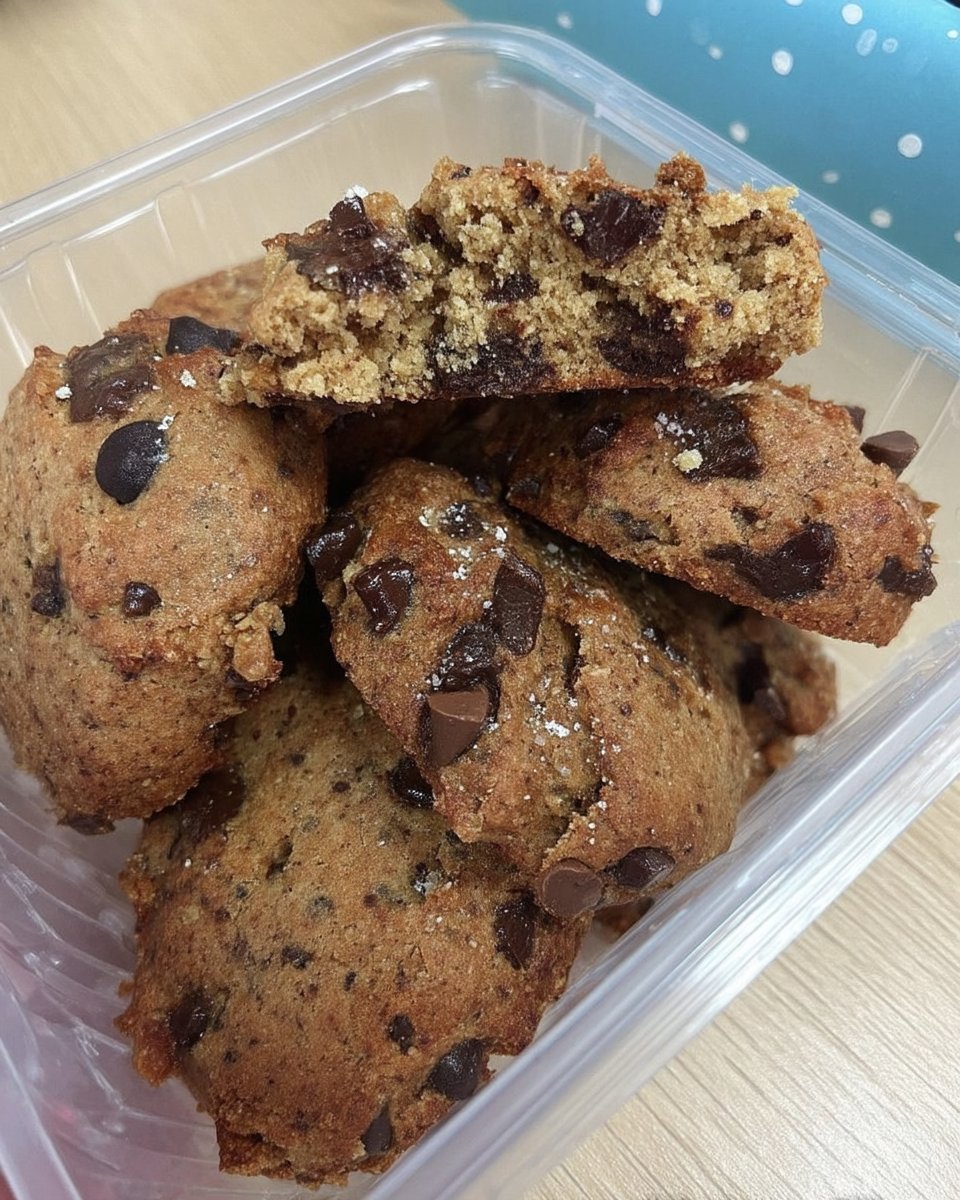
You will love these cookies because they stay soft for days, effectively ending the tragedy of the rock-hard cookie jar. By using a high ratio of dark brown sugar, we create a deep moisture profile that keeps the center tender while the edges remain perfectly set. This is the ultimate recipe for anyone who treasures the nostalgic flavor of a thick, chocolate-heavy cookie but wants a reliable, chewy result every single time.
Another reason to adore this method is the low-and-slow baking process. Baking at 300F (149C) prevents the sugars from caramelizing too quickly, which keeps the dough pale and soft rather than crisp and brown. It is a satisfying way to fill your home with a warm, vanilla-rich aroma while producing a treat that feels truly special. Your family will appreciate having a reliable snack that maintains its quality from the first bite to the last.
Print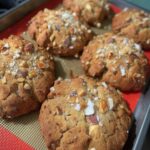
Mrs Fields Copycat
- Total Time: 1 hour 1 min
- Yield: 19 cookies
- Diet: Vegetarian
Description
Experience the nostalgic taste of mall-style cookies with this recipe designed for a pale, dense, and ultra-chewy finish. By utilizing cold butter and a low-temperature bake, these chocolate-rich treats remain soft and tender for days.
Ingredients
- 1 cup dark brown sugar
- 1/2 cup granulated sugar
- 1 cup cold salted butter, cubed
- 2 large eggs
- 2 teaspoons vanilla extract
- 2 1/2 cups all-purpose flour
- 3/4 teaspoon baking soda
- 1/2 teaspoon salt
- 12 ounces semi-sweet chocolate chips
Instructions
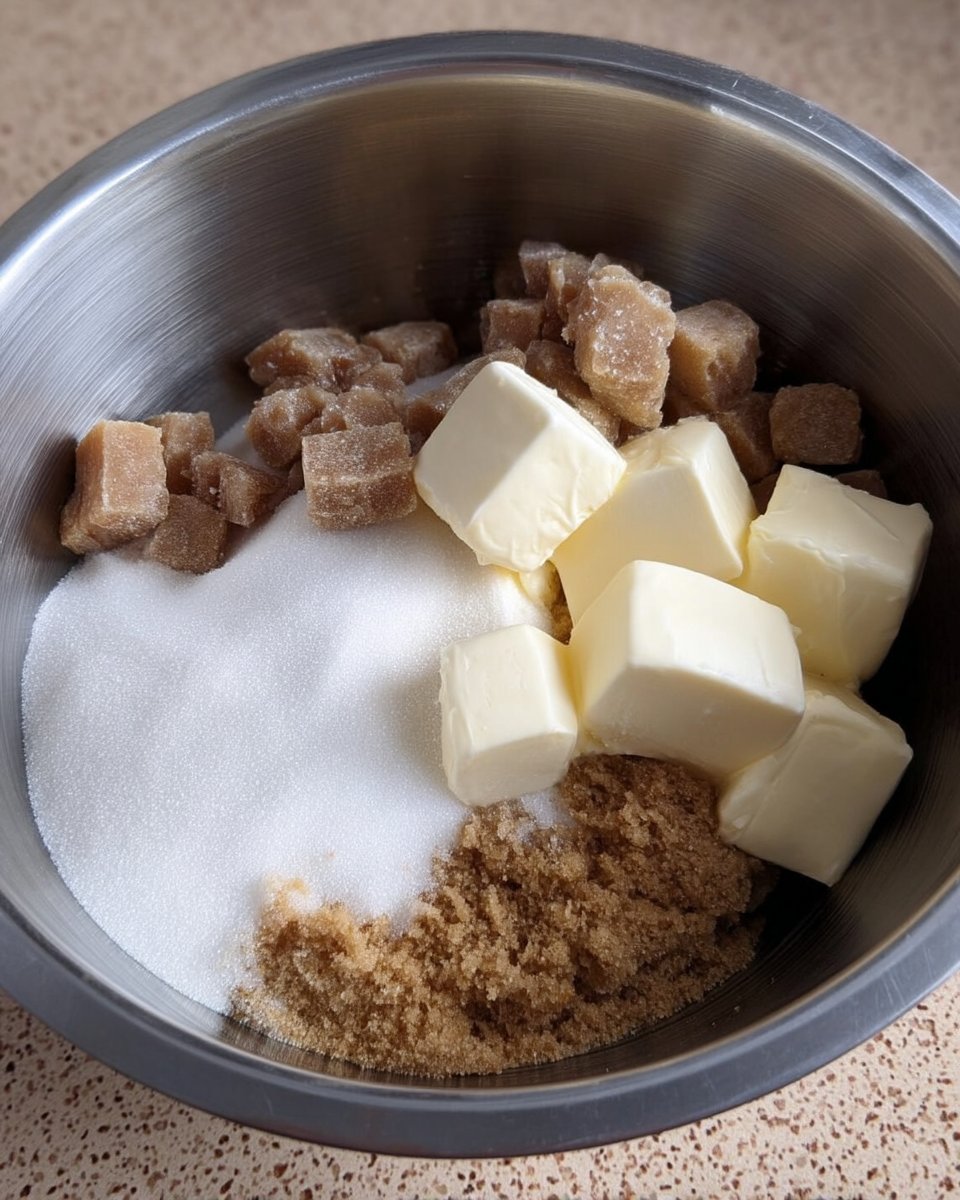
- Cream the dark brown sugar and granulated sugar in a mixer on medium speed for one minute.
- Add the cold cubed butter and beat on medium-high for four to five minutes until a grainy paste forms.
- Mix in the eggs and vanilla extract on medium-low speed for exactly one minute.
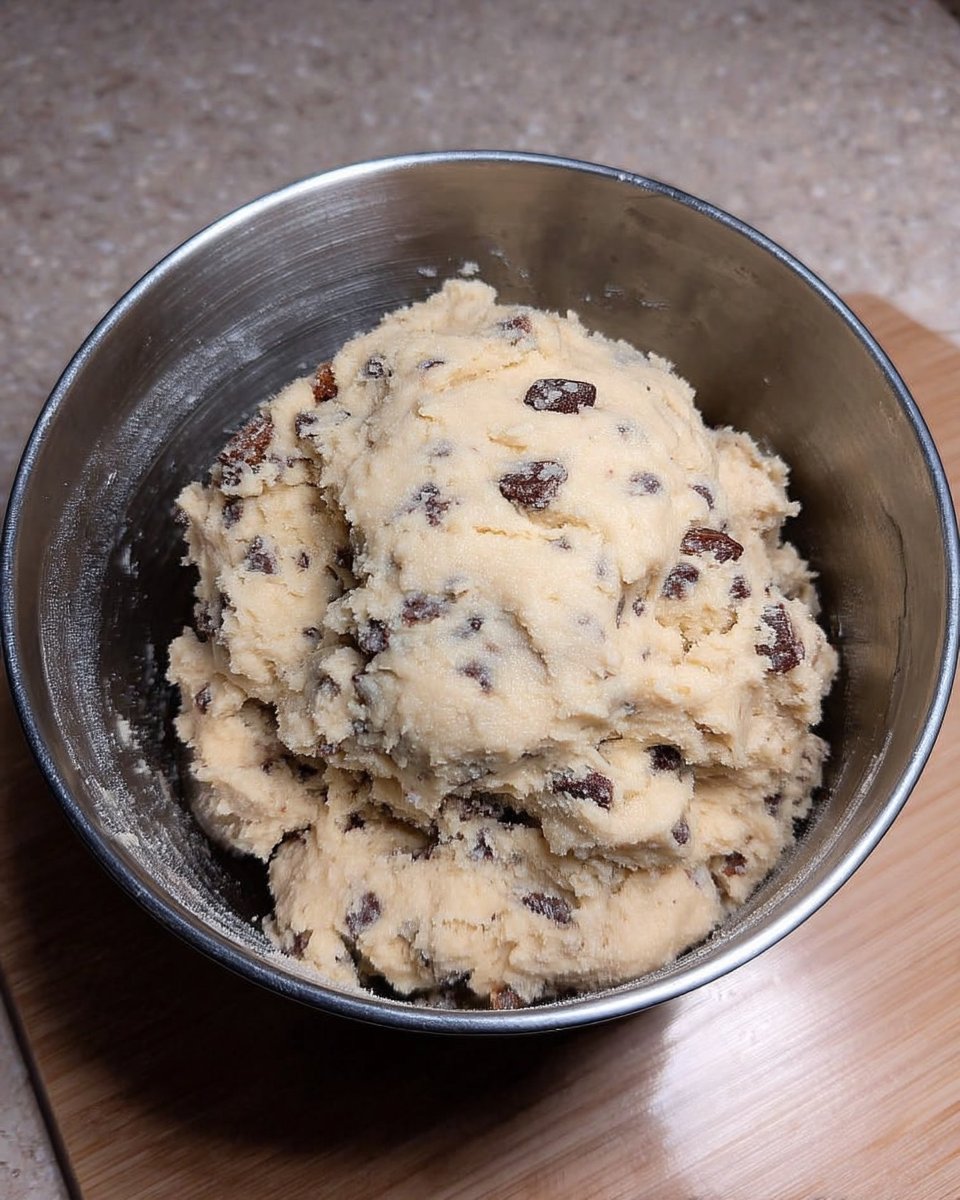
- Add the flour, baking soda, salt, and chocolate chips, mixing on low speed until the flour is just incorporated.
- Scoop the dough into 19 equal mounds using a quarter-cup measure and flatten the tops slightly.
- Cover the dough mounds and refrigerate for at least 30 minutes to ensure the proper chill.
- Preheat the oven to 300F (149C) and bake the chilled mounds for 15 to 16 minutes.
- Let the cookies rest on the hot baking sheet for 10 minutes to allow the centers to firm up properly.
Notes
For an even more professional look, reserve a handful of chocolate chips to press into the tops of the dough mounds before they go into the oven. Chilling the dough is the most critical step to prevent thinning, so do not skip the refrigeration period if you want that signature thick texture.
- Prep Time: 15 mins
- Cook Time: 16 mins
- Category: Dessert
- Method: Baking
- Cuisine: American
The Foundation of a Chewy Cookie
To achieve the perfect Mrs Fields Copycat texture, every ingredient serves a specific purpose in moisture management and structure.
- Dark Brown Sugar: This is the most important element for softness. Its high molasses content attracts moisture and creates that dense, chewy mouthfeel we all crave.
- Cold Salted Butter: Unlike most recipes that call for softened butter, we use cold cubes. This prevents the butter from fully emulsifying with the sugar, resulting in a grainy paste that keeps the cookies from spreading too thin in the oven.
- Large Eggs: These provide the necessary fat and protein to bind the dough while contributing to a rich, satisfying texture.
- Vanilla Extract: Quality vanilla acts as the foundation of the flavor profile, making the chocolate chips taste even richer.
- All-Purpose Flour: This provides the structure. We use just enough to hold the dough together without making it bready or dry.
- Semi-Sweet Chocolate Chips: A full 12 ounces guarantees a high chocolate-to-dough ratio, ensuring melty pockets in every mouthful.
Using cold butter is a deliberate choice to maintain the height of the cookie. When the cold fat hits the oven heat, it melts slowly, allowing the structure to set before the cookie flattens. This results in a thick, substantial treat that feels substantial and moist.
The Texture-Focused Method
Step 1: Cream the Sugars
Add the dark brown sugar and granulated sugar to your mixer. Beat them on medium speed for about one minute until they are thoroughly combined. You want a uniform mixture that is ready to accept the fat.
Step 2: Incorporate Cold Butter
Add your cubed, cold butter to the sugars. Mix on medium-high speed for four to five minutes until a grainy paste forms. Scrape the sides of the bowl frequently to make sure every bit of butter is integrated into the sugar without melting.
Step 3: Add Liquids
Pour in the eggs and vanilla extract. Beat on medium-low speed for just one minute. It is vital that you do not overmix here; you want the ingredients just incorporated so the sugar granules do not fully dissolve, which protects the final texture.
Step 4: Mix Dry Ingredients
Add the flour, baking soda, salt, and chocolate chips. Turn the mixer to low speed and run it for about one minute until the flour disappears. Stop immediately once the dough forms to prevent the development of tough gluten.
Step 5: Scoop and Shape
Use a large cookie scoop or a quarter-cup measure to create 19 equal mounds of dough. Place them on a plate and flatten the tops very slightly. For a professional look, take a few chocolate chips from the bottom of the mound and press them into the top.
Step 6: The Essential Chill
Cover the dough mounds with plastic wrap and refrigerate for at least 30 minutes. Chilling the dough is a mandatory step that prevents the cookies from spreading into thin, crispy puddles during the bake.
Step 7: Low and Slow Bake
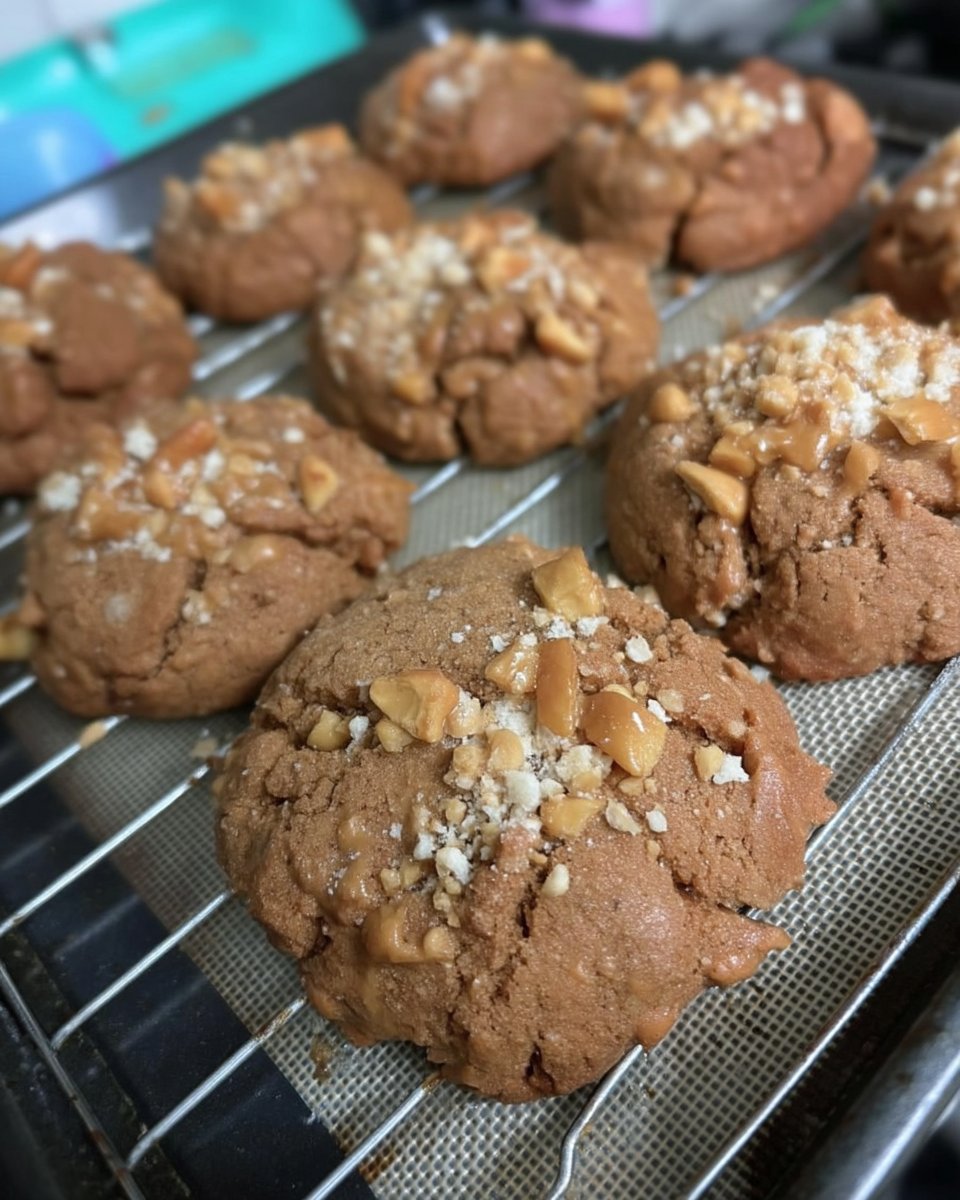
Preheat your oven to 300F (149C) and line your sheets. Space the mounds at least two inches apart. Bake for 15 to 16 minutes until the edges are set but the centers still look pale, glossy, and slightly undercooked.
Step 8: The Cooling Rest
Remove the cookies from the oven and let them sit on the hot baking sheet for 10 minutes. Do not move them to a wire rack. This carry-over cooking time allows the centers to firm up while remaining incredibly soft and chewy.
Mehmet’s Secrets for Jar-Fresh Softness
To keep your cookies tasting like they just came out of the oven, always pull them out when the centers look a bit raw. The residual heat from the baking sheet completes the process without drying out the dough. Using a large cookie scoop is also a great way to guarantee that every cookie is the same size, which prevents smaller ones from overbaking while larger ones stay doughy. Another secret for long-term softness is to store your finished treats with a small piece of white bread in the container; the cookies will draw moisture from the bread and stay tender for a full week. Always check your oven temperature with an external thermometer to make sure you are truly baking at 300F, as even a small increase in heat can lead to a crispier, drier result than intended.
Flavor Options and Texture Tweaks
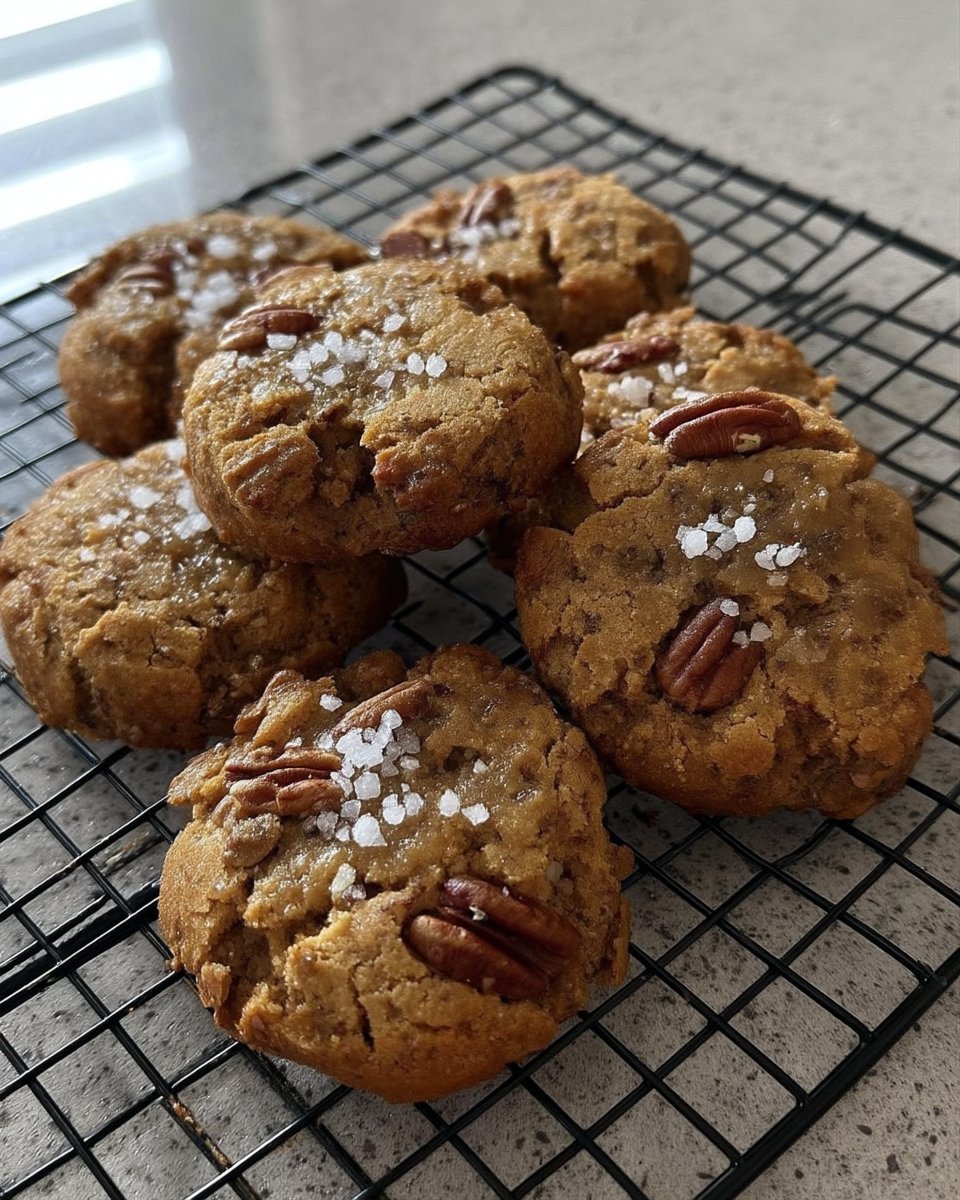
While the original chocolate chip is a classic, you can easily adapt this base for different occasions. For a more complex flavor, try using a mix of milk chocolate and dark chocolate chunks. If you enjoy a bit of texture in your bite, adding chopped walnuts or pecans provides a wonderful contrast to the soft dough. You can also turn these into Holiday Cookie Celebrations by adding a half-teaspoon of cinnamon to the flour mixture for a warm, spiced undertone. For those who prefer a slightly saltier finish, a small pinch of flaky sea salt on top right after baking creates a sophisticated balance against the sweet dark brown sugar. If you find yourself out of chocolate chips, white chocolate and dried cranberries also work beautifully with this moisture-rich base.
How to Serve and Store for Freshness
These cookies are best enjoyed at room temperature, but they are absolutely divine when slightly warm. If you are serving them a few days after baking, a quick five-second burst in the microwave will revive the chocolate and soften the crumb to its original glory. They pair perfectly with a cold glass of milk or a hot cup of coffee, making them a staple for Quick & Easy Cookies sessions. For a special dessert, use two cookies to sandwich a scoop of vanilla bean ice cream; the chewy texture holds up perfectly against the cold cream. To keep them fresh, always use an airtight container and avoid storing them in the refrigerator, as the cold air can actually speed up the staling process by crystallizing the starches.
The Texture Truth for Perfect Cookies
Achieving the perfect Mrs Fields Copycat is a rewarding journey that proves how small changes in temperature and mixing can yield a superior, long-lasting texture. These cookies are a testament to the fact that you don’t need preservatives to keep your treats soft and delicious for days. I hope this recipe becomes a new favorite in your household, bringing back memories of mall trips and warm kitchen moments. For more inspiration on maintaining the best cookie textures, look at our Old Fashioned Chip collection. You can also find more professional insights on this style of baking at Averie Cooks. Please share your baking results with us on Instagram, Facebook, or Pinterest, and let us know how your texture turned out! Happy baking to everyone striving for the perfect chew.
