I remember the soft glow of Sunday afternoons in Grandma’s kitchen, where the scent of browning butter always signaled something special was tucked away in her handwritten recipe box. These cookies aren’t just treats; they are little pockets of joy that remind me of how she could turn simple pantry items into a bit of magic. It was a time when the kitchen was the heart of the home and every bake was a labor of love.

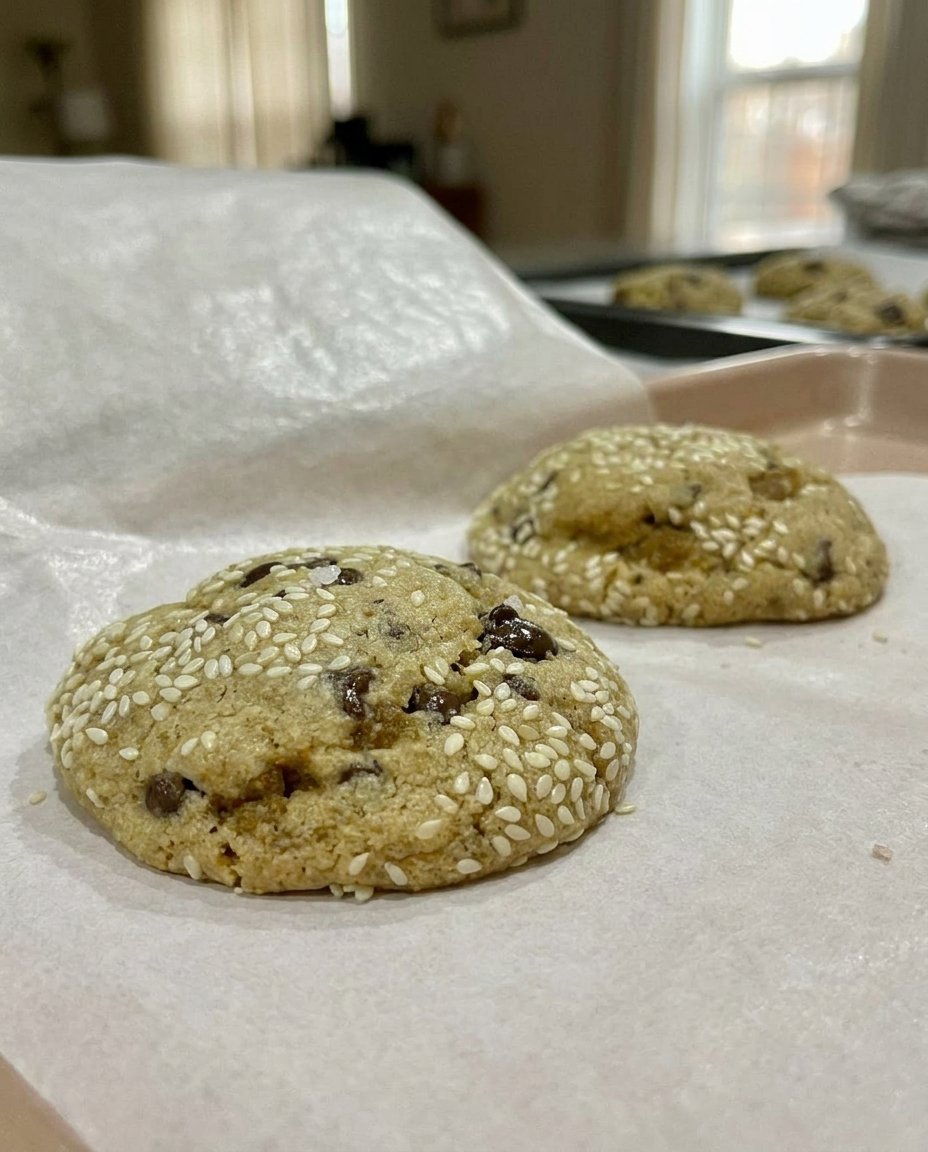
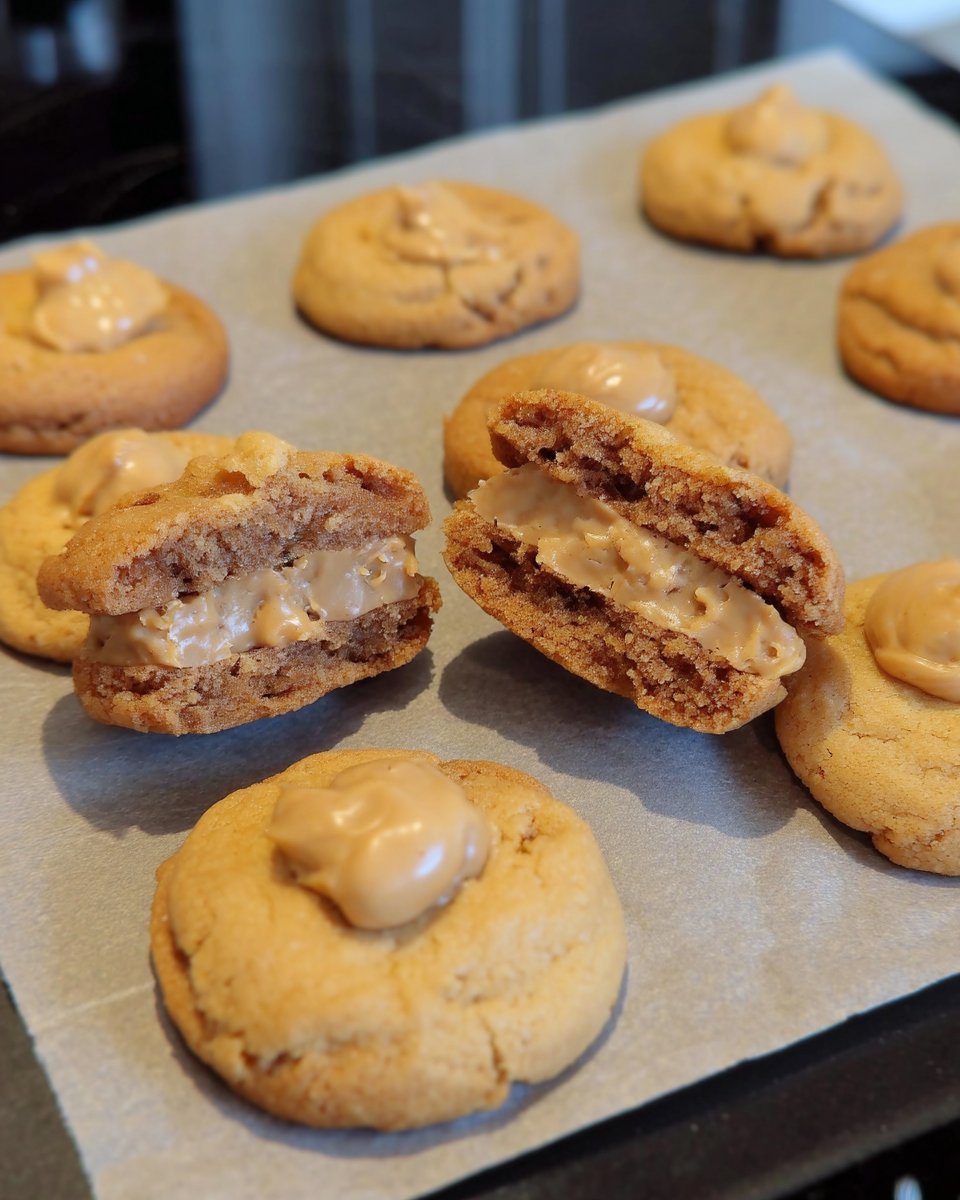
Our Nutella Stuffed Cookies 2 take that classic foundation and add a molten heart of hazelnut cocoa cream that feels like a hidden treasure. They are thick, chewy, and perfectly balanced with a touch of sea salt to honor the old-fashioned ways of baking with heart and patience. These cookies stay fresh in the jar for a week, just like the ones that used to wait for us on the counter.
A Timeless Jar Favorite
There is something truly wonderful about a cookie that holds a secret inside. When you take that first bite, the rich, golden dough gives way to a center that is smooth and indulgent, much like the surprises Grandma used to hide in her holiday tins. These cookies are a celebration of everything we love about heritage baking—simple ingredients brought together with a bit of extra care.
The use of browned butter gives these cookies a deep, nutty aroma that fills the whole house, reminding me of the heritage kitchens of my youth. It is a flavor that feels earned, a depth that you just can’t get from standard softened butter. When paired with the crunch of finely chopped chocolate and the sparkle of sea salt, these cookies become a new tradition for your own family’s cookie jar.
You will love these because they represent the perfect balance of textures. The edges are just crisp enough to satisfy, while the center remains soft and molten. It is a recipe that asks you to slow down, to enjoy the process of browning the butter and chilling the dough, rewarding your patience with a cookie that tastes like home.
Print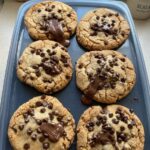
Nutella Stuffed Cookies 2
- Total Time: 1 hour 13 mins
- Yield: 18 cookies
- Diet: Vegetarian
Description
Experience the ultimate indulgence with these thick, chewy cookies featuring a rich browned butter base and a molten hazelnut cocoa center. Hand-chopped chocolate and a delicate sprinkle of sea salt create a sophisticated balance of flavors in this modern heritage bake.
Ingredients
- 1 cup unsalted butter, cut into pieces
- 1/2 cup Nutella (hazelnut spread)
- 3/4 cup light brown sugar, packed
- 1/2 cup granulated white sugar
- 2 large farm fresh eggs, room temperature
- 1 tablespoon pure vanilla extract
- 2 1/4 cups all-purpose flour
- 1 tablespoon cornstarch
- 1 teaspoon baking powder
- 1/2 teaspoon baking soda
- 1/2 teaspoon fine sea salt
- 4 oz semisweet chocolate bar, finely chopped
- Flaky sea salt, for topping
Instructions
- Line a cookie sheet with wax paper, drop the Nutella by two teaspoon-sized dollops onto the sheet, and place in the freezer until solid.
- Brown the butter in a medium saucepan over medium-low heat until it smells nutty and toasted, then transfer to a bowl and let cool for 25 minutes.
- Preheat your oven to 375F (190C) and stir the brown and white sugars into the cooled browned butter until well combined.
- Incorporate the eggs one at a time, followed by the vanilla extract, stirring until the mixture is smooth.
- Whisk the flour, cornstarch, baking powder, baking soda, and salt in a separate bowl before gradually stirring into the butter mixture.
- Fold in the chopped chocolate bar and chill the dough in the refrigerator for 20 minutes to make it easier to handle.
- Wrap heaping tablespoons of dough around the frozen Nutella dollops, roll into balls, freeze for 15 minutes, then bake for 12-13 minutes and top with sea salt immediately.
Notes
To achieve the perfect golden texture, ensure the browned butter is completely cooled to room temperature before mixing in the sugars; adding sugar to warm butter can cause the cookies to spread too thin. For the best molten center, keep the stuffed dough balls in the freezer until the very moment they go into the oven.
- Prep Time: 1 hour
- Cook Time: 13 mins
- Category: Dessert
- Method: Baking
- Cuisine: American
Pantry Staples for the Soul
To make these treasures, we look to the simple staples that have lived in pantry jars for generations. Each ingredient plays a part in creating a cookie that feels both substantial and delicate.
- Unsalted Butter: We brown this to create a toasted, nutty base that defines the entire flavor profile.
- Nutella: This hazelnut spread serves as our molten heart; be sure to freeze the dollops so they stay put during stuffing.
- Brown and White Sugars: A mix of both provides the moisture for chewiness and the sweetness for that classic golden edge.
- Farm Fresh Eggs: Always used at room temperature to help the dough come together smoothly and evenly.
- Pure Vanilla Extract: A generous splash of good vanilla is the foundation of any heritage bake.
- All-Purpose Flour and Cornstarch: The flour provides the structure, while the cornstarch is Grandma’s secret for a tender, soft bite.
- Baking Powder and Soda: These work together to give the cookies their gentle lift and perfect spread.
- Semisweet Chocolate Bar: Finely chopping a real chocolate bar ensures that every bite has tiny flecks of cocoa throughout.
- Sea Salt: A final sprinkle on top brings all the sweetness into focus and honors the traditional way of balancing flavors.
The Heritage Method
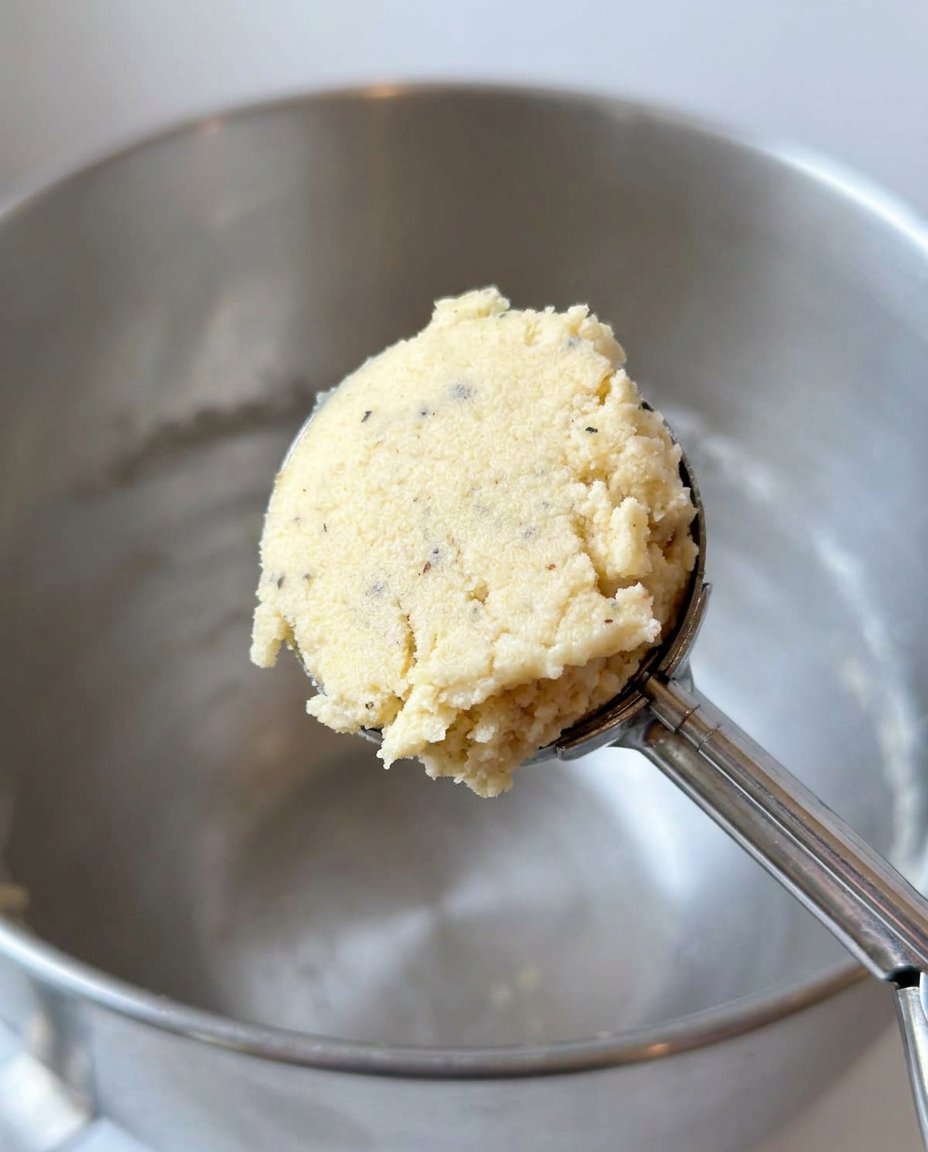
Step 1: Portion the Nutella
Prepare your filling by lining a cookie sheet with wax paper. Drop the hazelnut spread by two teaspoon-sized dollops onto the sheet and place them in the freezer to harden. This step is vital to making sure the center stays centered while you work with the dough.
Step 2: Brown the Butter
Cut your butter into pieces and place them in a medium saucepan over medium-low heat. Once melted, turn the heat up slightly and watch closely as it bubbles and pops. When the popping slows and you smell a nutty aroma, remove it quickly and pour it into a bowl to cool for 25 minutes.
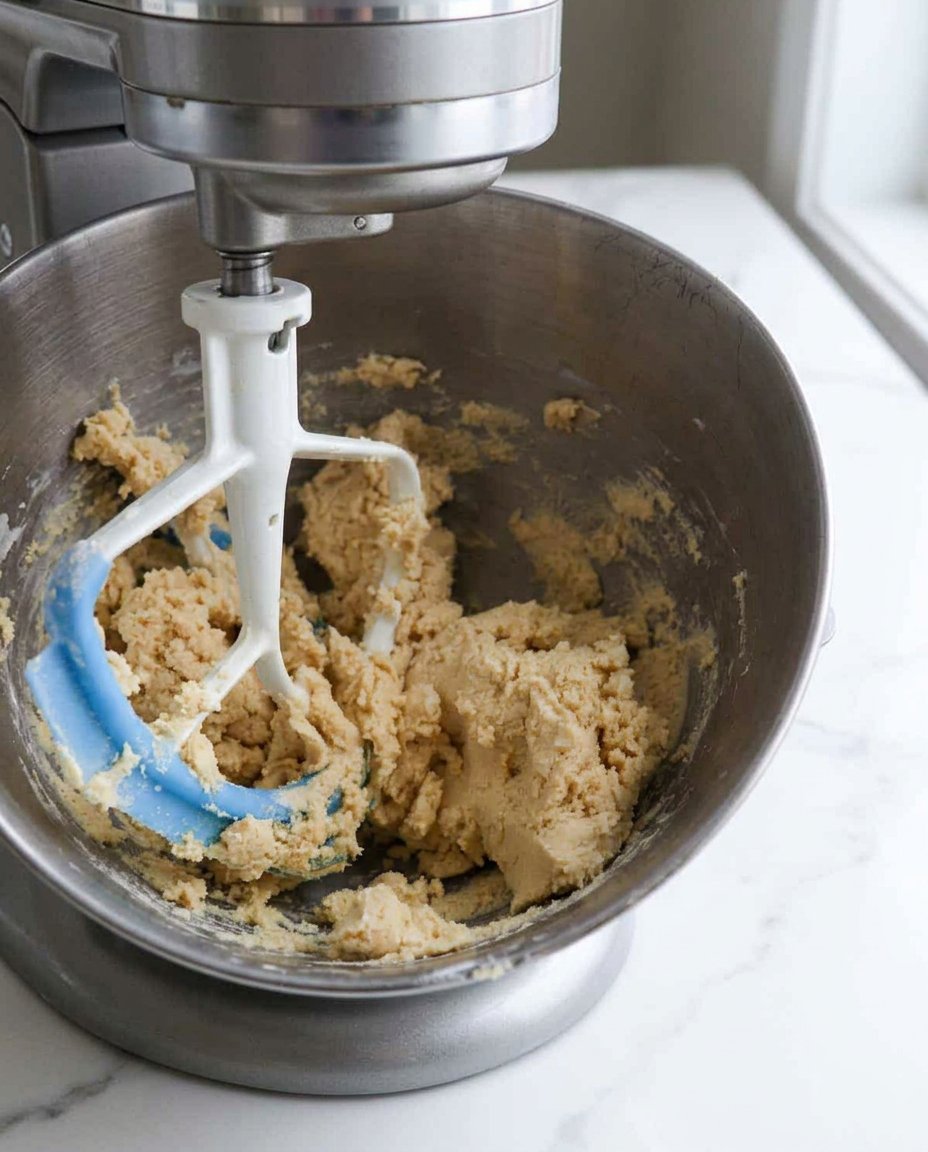
Step 3: Prepare the Dough Base
Preheat your oven to 375F (190C). In your cooled butter, stir in the brown and white sugars until well combined. Stir in your eggs one at a time, followed by the vanilla extract, just as we did when learning to bake at the kitchen table.
Step 4: Whisk the Dry Ingredients
In a separate bowl, whisk together the flour, cornstarch, baking powder, baking soda, and salt. Gradually add this to your butter mixture, stirring until the dough is smooth and the flour has disappeared into the golden base.
Step 5: Fold in the Chocolate
Take your finely chopped chocolate bar and stir it into the dough. This adds a beautiful texture that chips alone cannot provide. Place the dough in the refrigerator to chill for about 20 minutes to make it easier to handle.
Step 6: Stuff the Cookies
Take a heaping tablespoon of dough and press a frozen Nutella dollop into the center. Wrap the dough around it completely so the filling is hidden. Roll into a ball and freeze these stuffed balls for another 15 minutes to keep them sturdy.
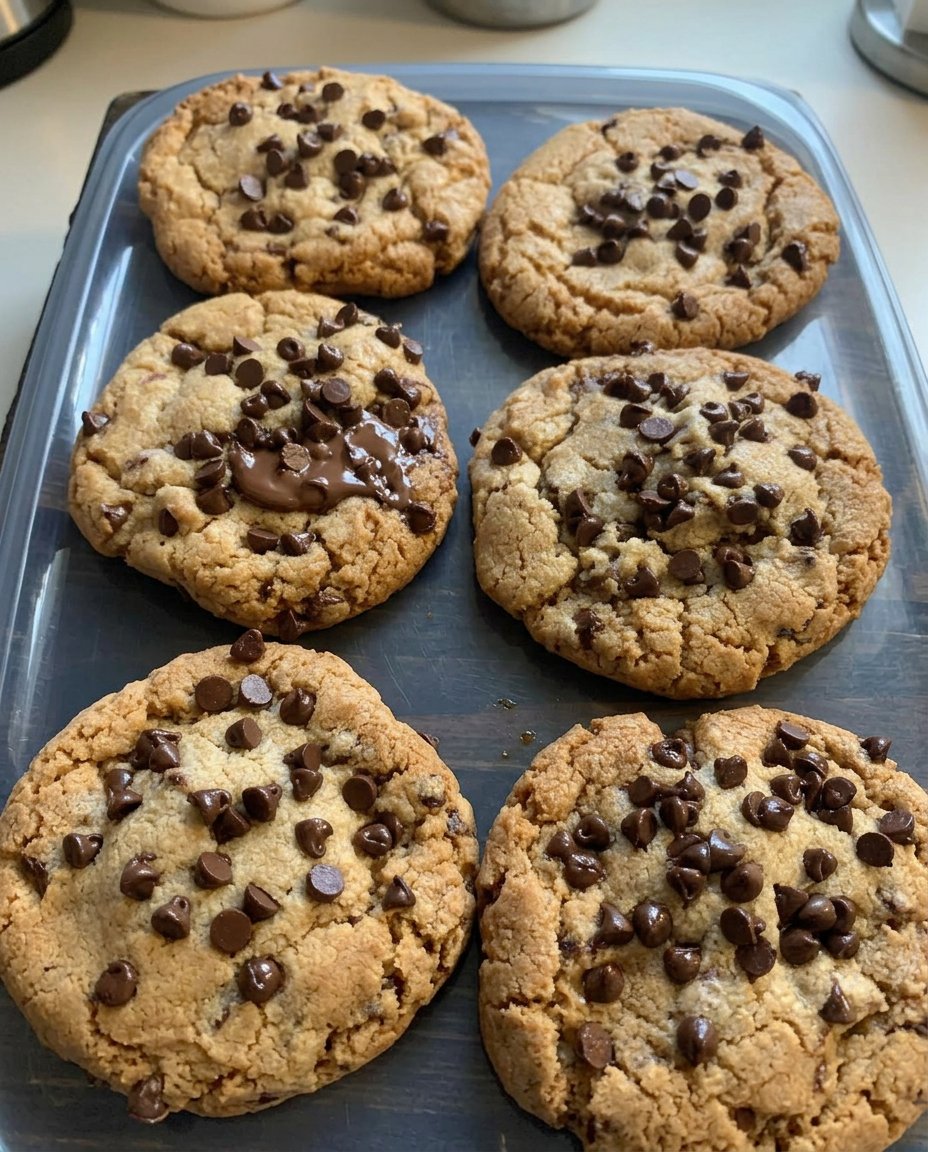
Step 7: The Final Bake
Place the dough balls two inches apart on your parchment-lined sheets. Bake for 12 to 13 minutes until the edges are just beginning to show a golden hue. Sprinkle with sea salt immediately while they are warm and let them cool completely on the pan.
Grandma’s Secret Wisdom
The most important part of this recipe is the cooling of the butter. If you add your sugars to butter that is still hot, it will melt the sugar and change the texture of your cookie entirely. Patience is a virtue in the kitchen, and letting that butter come to a cool state is what makes the cookies chewy rather than greasy. If you are looking for more tips on building your baking skills, our Quick & Easy Cookies section has many guides to help you master the basics.
Another secret I learned over the years is to use a high-quality chocolate bar rather than just chips. Finely chopping the chocolate allows it to melt into the dough, creating thin layers of cocoa that complement the hazelnut center. When you are stuffing the cookies, make sure no hazelnut spread is peeking through the dough, or it might leak out and burn on the pan. For more on the science of a perfect bake, you can see how others handle these Nutella stuffed cookies.
Family Heritage Twists
While the classic recipe is a treasure on its own, our family often experimented with what was in the pantry. You might try adding a half cup of toasted, crushed walnuts to the dough for a bit of crunch that mirrors the hazelnut flavor. Some of my cousins prefer using a dark chocolate bar for a more sophisticated bite that isn’t quite as sweet. These little changes are how a recipe becomes your own over the years. We often feature these kinds of seasonal adjustments in our Holiday Cookie Celebrations collection.
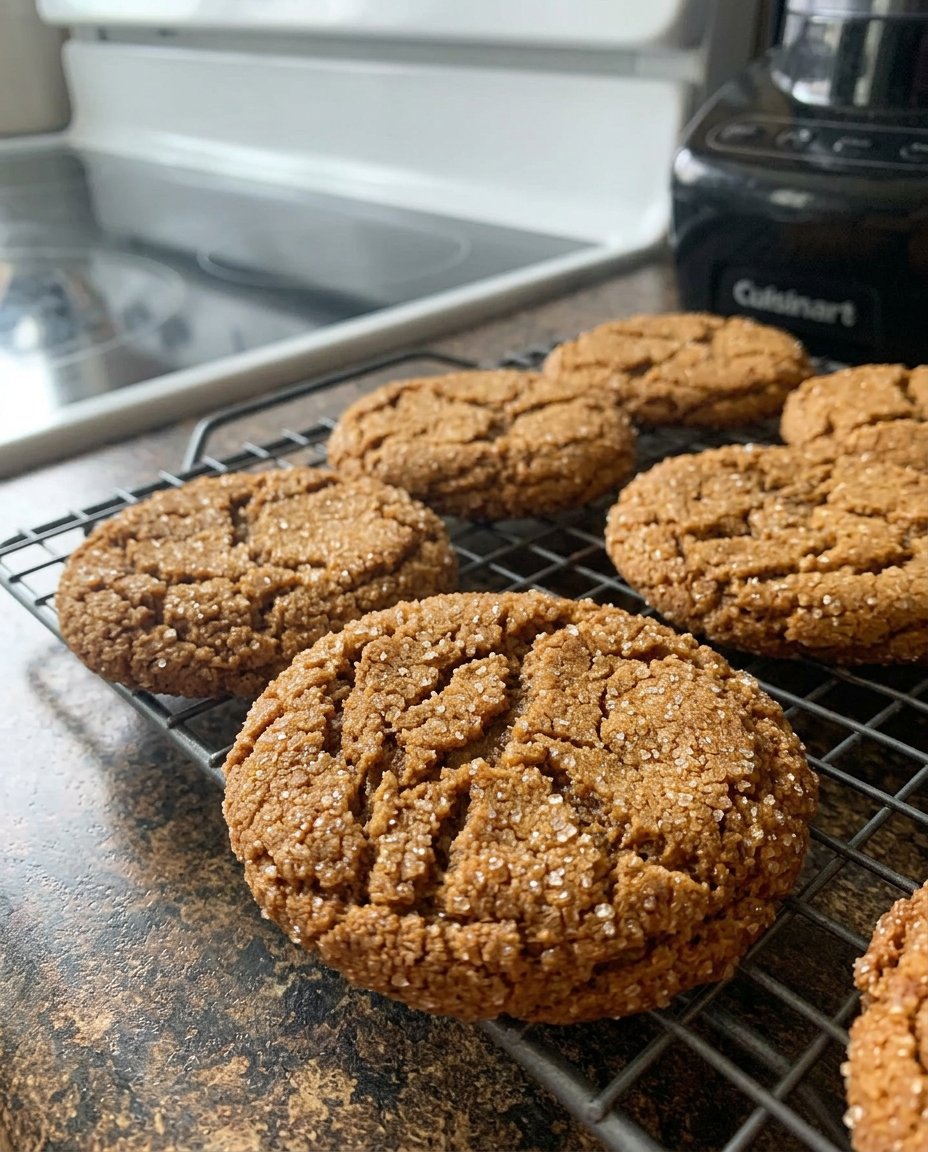
You could also try a “Double Stuffed” version by adding a small piece of marshmallow along with the hazelnut spread for a campfire-inspired treat. If you prefer a more traditional look, skip the sea salt on top and instead roll the dough balls in a bit of granulated sugar before baking. This gives them a sparkling, crinkle-top finish that looks beautiful in any glass cookie jar.
A Tradition of Sharing
There is no better way to serve these than with a tall, cold glass of milk or a warm cup of coffee as the sun begins to set. In our house, these cookies are often the centerpiece of a Sunday visit, served on a vintage floral platter that has seen many generations of sweets. For those who enjoy a bit of flair, you can find inspiration in our Classic Cookie Recipes for how to arrange a beautiful cookie plate.
If you are bringing these to a potluck or a neighbor, tuck them into a simple tin lined with parchment paper. It’s a modest presentation that lets the quality of the bake speak for itself. These cookies also make wonderful gifts during the holidays, especially when you tell the story of the browned butter and the hidden heart inside. It’s these small gestures of sharing that keep our baking traditions alive and well.
The Sweet Heritage
Baking these Nutella Stuffed Cookies 2 is a way to bridge the gap between the past and the present. It’s about taking the time to do things the right way, with real butter and a patient heart, to create something that brings a smile to those we love. We hope these become a staple in your own kitchen, a recipe that gets smudged with flour and tucked into your own box of favorites. For more ideas on how to make your bakes look as good as they taste, visit our Cookie Decorating Traditions page. Please share your baking photos with us on Pinterest, Instagram, and Facebook. Happy baking, from my kitchen to yours.

